Using state transitions
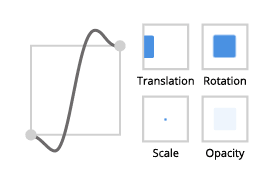
Use state transitions to define how the state manager reacts when the application state changes, such as when the user clicks a button. For example, you can:
Define the duration and start time of a transition
Define whether the user can interrupt the transition
Use a custom animation. See Using custom easing functions in state transitions.
Setting transitions between any to any state
When you create states the state manager uses the default transition to transition between states.
To set transitions between any to any state:
Create a node and set the node to use a state manager. See Using state managers or Tutorial: Creating a toggle button.
For example, create a toggle button and a state manager that has one state group with the states On and Off.
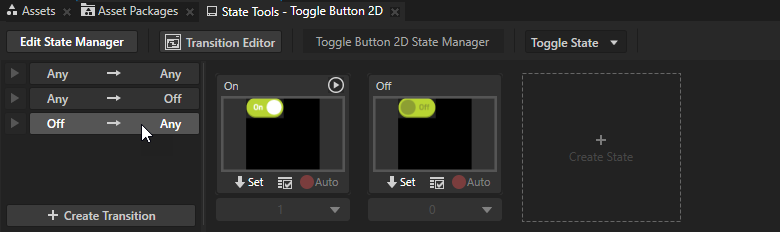
In the State Tools click Transition Editor to open the State Transition Editor.
To create a new transition, click + Create Transition under the existing transitions.
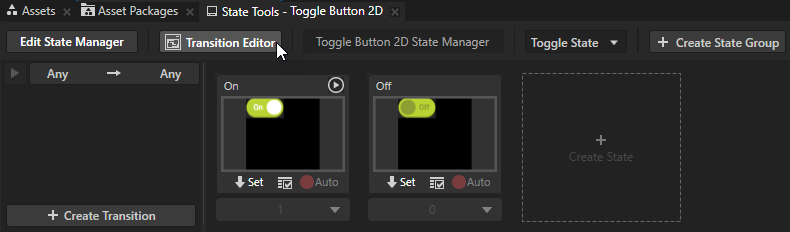
When you first open the State Transition Editor it shows the transition that is used between all states in that state group. Move your mouse pointer over
 to see the details of the transition.
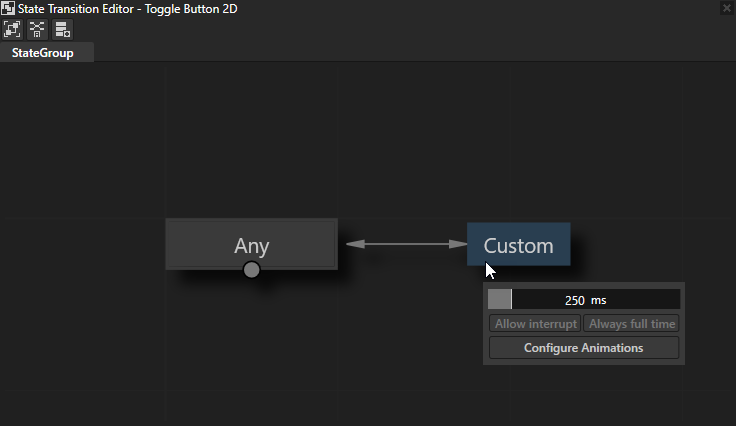
In the popup window set:
Duration to the length of the transition in milliseconds.
Either click and drag in the Duration area or enter the new value to set the duration of the transition.
Allow interrupt or Always full time set how Kanzi handles interruption of the transition:
Always full time uses the entire time set in the Duration to transition to the state after the interruption occurs.
Allow interrupt uses only the remaining time set in the Duration to transition to the state after the interruption occurs.
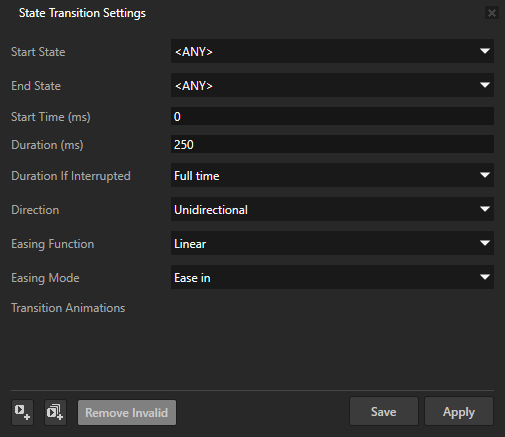
Configure Animations enables you to further define the details of the transition. In the State Transition Settings window set:
Start Time to the time in milliseconds that elapses before the transition starts.
Direction to whether the transition applies to the transition from the Start State to the End State, or to the transitions from both states:
Unidirectional applies the transition only to the transition from the Start State to the End State.
Bidirectional applies the transition to the transition from the Start State to the End State, and from the End State to the Start State.
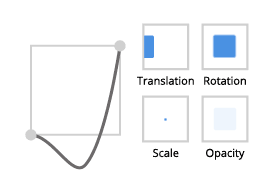
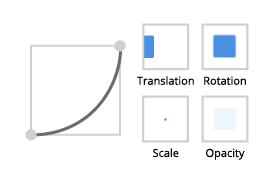
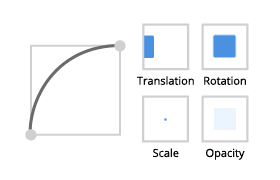
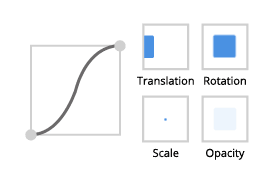
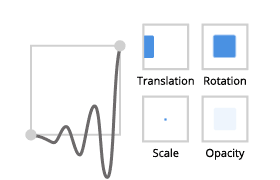
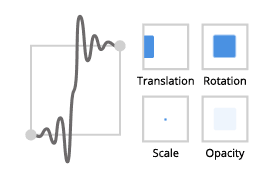
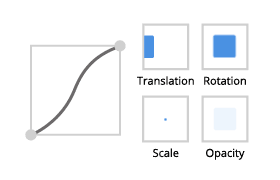
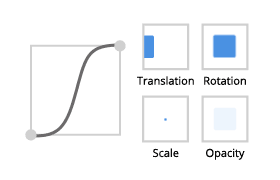
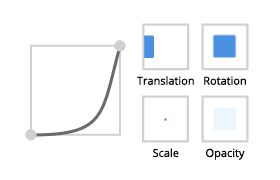
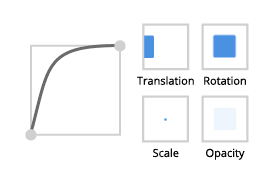
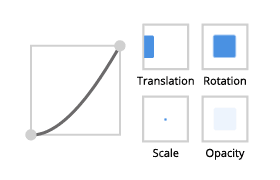
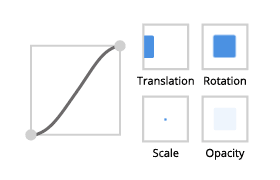
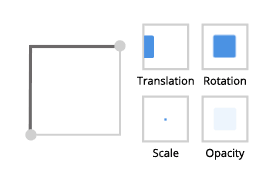
Easing Function sets the easing function that defines the curve of the transition.
Use an easing function to make UI elements more lifelike. Because objects in real life never start or stop immediately, an appropriate easing function can help you create a more pleasant user experience.
Select the most suitable easing function.
Hover over the image of an easing function to see the type of animation that it creates.
Back
Ease in
Ease out
Ease in out


Bounce
Ease in
Ease out
Ease in out


Circle
Ease in
Ease out
Ease in out


Cubic
Ease in
Ease out
Ease in out


Elastic
Ease in
Ease out
Ease in out


Exponential
Ease in
Ease out
Ease in out


Linear
Ease in, Ease out, Ease in out

Power
Ease in
Ease out
Ease in out


Quadratic
Ease in
Ease out
Ease in out


Quartic
Ease in
Ease out
Ease in out


Quintic
Ease in
Ease out
Ease in out


Sine
Ease in
Ease out
Ease in out


Smoother step
Ease in, Ease out
Ease in out


Smooth step
Ease in, Ease out
Ease in out


Step
Ease in, Ease out
Ease in out


Easing Mode defines how the easing function is applied to the transition:
Ease in applies to the transition the easing function as it is.
Ease out applies to the transition the negative value of the easing function.
Ease in-out applies to the first half of the transition the easing function as it is, and to the second half of the transition the negative value of the easing function.
Transition Animations enables you to use a custom animation for the transition. See Using custom easing functions in state transitions.
Setting transitions between specific states
You can set custom transitions between specific states. You can add states to the State Transition Editor canvas and configure transition settings between them.
To set transitions between specific states:
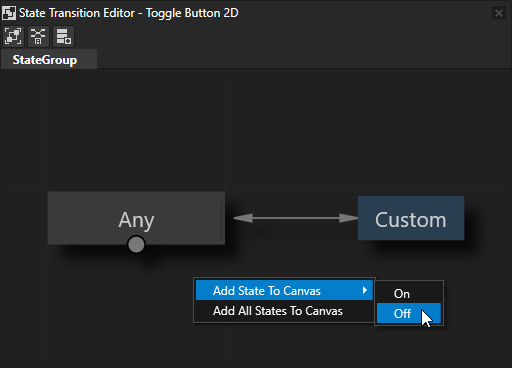
In the State Transition Editor right-click, select Add State To Canvas, and select the state for which you want to set the transitions.
To show all states, right-click and select Add All States To Canvas.
Click the state to select it and click the Default transitions to set a Custom transition.

Move your mouse pointer over the
transitions to see the details of the transitions.In the State Tools you see the transitions that you define in the State Transition Editor. To edit the settings for a transition, click that transition.
Using custom easing functions in state transitions
You can use animations to define custom easing functions for transitions between states. For example, define a custom easing function to make a phone call alert blink when you enter that state.
To use custom easing functions in state transitions:
Create or select a node that uses a state manager. See Using state managers or Tutorial: Creating a toggle button.
For example:
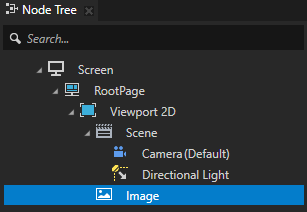
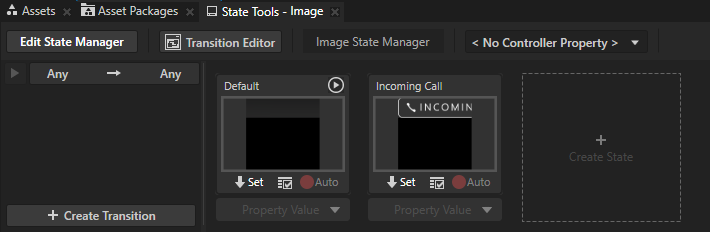
Create an Image node that shows the image that alerts the user about an incoming phone call.

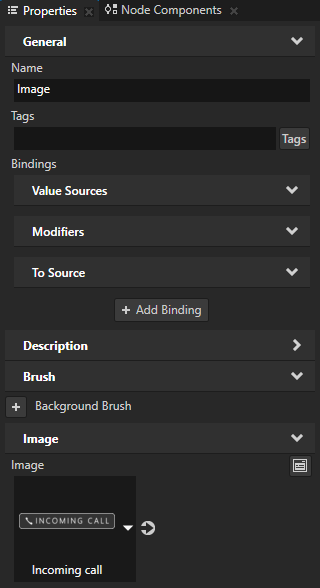
Create for the Image node a state manager that has one state group with the states Default and Incoming Call, and add and set the value of the Opacity property of the Image node for each state:
For the Default state set it to 0 This way you hide the incoming call image in the Default state when the phone is not ringing.
For the Incoming Call state set it to 1 This way you show the incoming call image in the Incoming Call state when the phone is ringing.
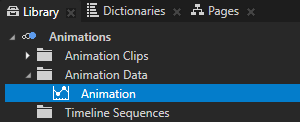
Create an Animation or Animation Clip resource. You use this animation to change the value of the property that you use in the states which you created in the previous step. See Creating keyframe animations.
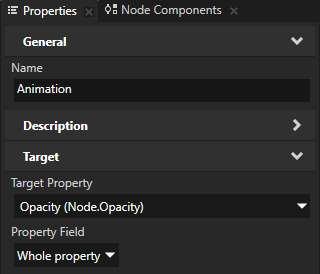
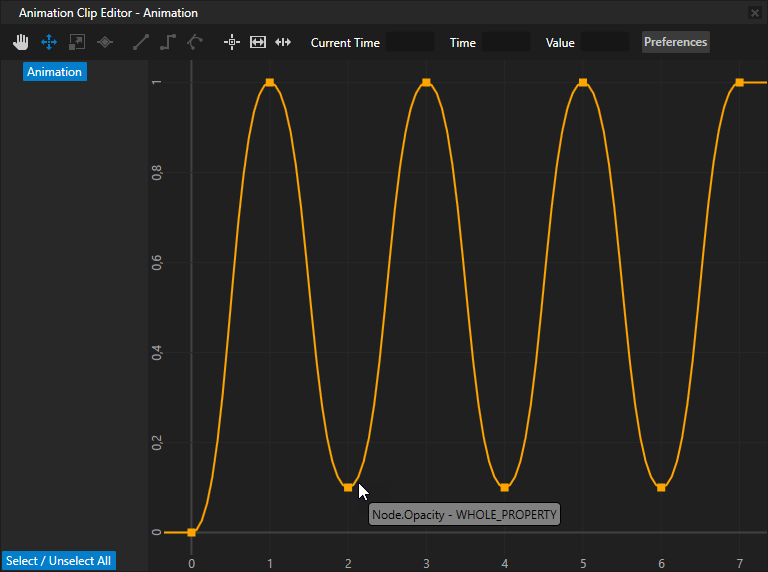
For example, in the Library > Animations > Animation Data create an Animation that animates the Opacity property of a node. You use this animation to make the node blink three times when the node enters the Incoming Call state.
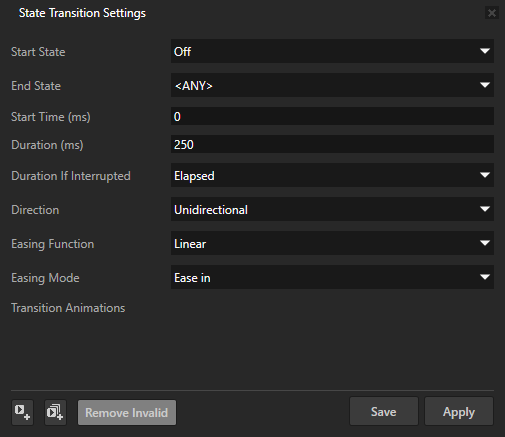
In the Node Tree select the node that you created in the first step and in the State Tools click Any -> Any to open the State Transition Settings.
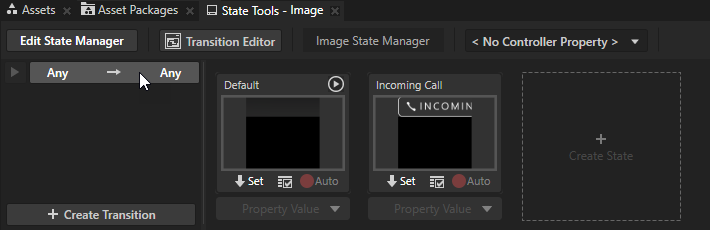
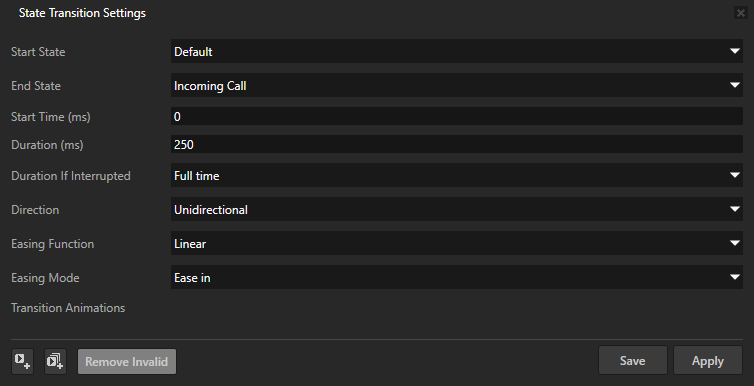
In the State Transition Settings set:
Start State to the state the transition from which you want to animate
For example, set it to Default.
End State to the state the transition to which you want to animate
For example, set it to Incoming Call.
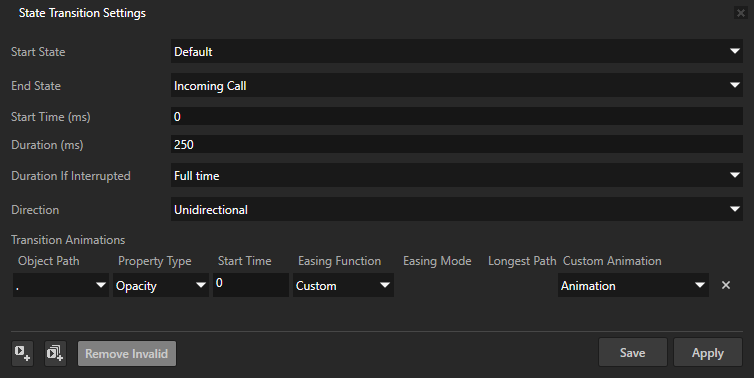
At the bottom of the State Transition Settings click
 to add a transition animation and in the Transition Animations set:
Property Type to the property that you want to animate
For example, set it to Opacity.
Kanzi Studio shows in the Property Type dropdown menu only the properties with different values in the Start State and End State states.
Easing Function to Custom
Custom Animation to the animation that you created earlier in this procedure
For example, set it to Animation.
Configuring easing functions
You can configure some of the easing functions in the State Transition Settings to define the values in the function that sets the transition curve.
The easing functions that you can configure in the State Transition Settings are:
Back
Use the Amplitude property to sets the amplitude or depth of the transition curve.

Elastic
Use the Oscillations property to set the amount of oscillations in the transition curve.
Use the Springiness property to set the elasticity of the oscillations in the transition curve.

Exponential
Use the Exponent property to set the exponent to the power of which the transition curve multiplies.

Power
Use the Power property to set the speed by which the transition curve accelerates.
