Step 2 - Create the application structure
In this step you use the Page node and the Pages window to create the application structure. You also learn how to paint the background of 2D nodes using Brushes.
Create Page nodes
In this section you use the Pages window to create three Page nodes, each representing a different part of your application.
Use the Page nodes to create the structure of the user interface in your application, and the Page Host nodes to manage navigation requests and transitions between Page nodes under a Page Host node. For example, you can use Page and Page Host nodes to create different parts of the user interface in your Kanzi application, such as Page Host nodes Home, Media, Navigation, or Settings screens, each having their own hierarchy of Page and Page Host nodes.
In this and the following steps of this tutorial you add content to the Page nodes you create here.
To create Page nodes:
Select the Pages window next to the Library and Dictionaries windows.
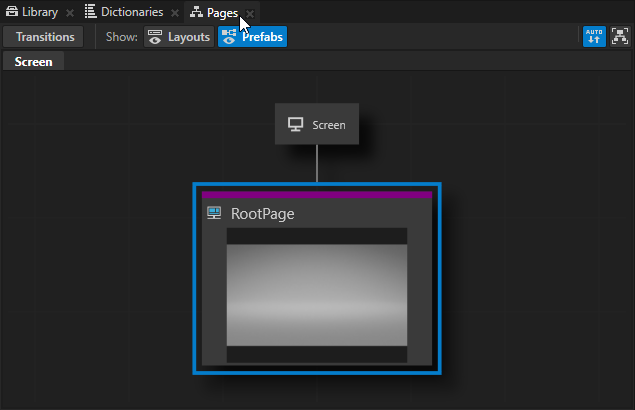
In the Pages window click
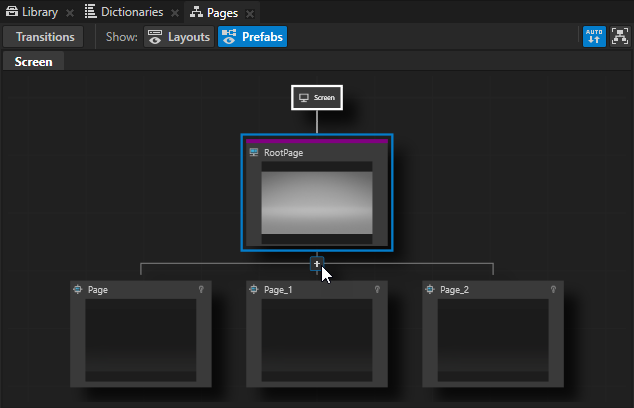
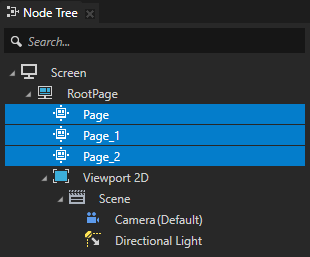
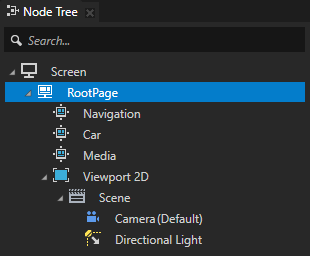
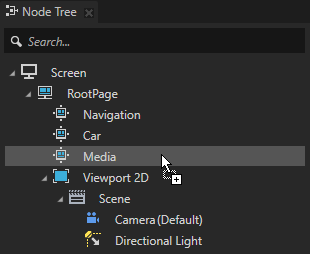
 below the RootPage node to create a Page node. Create three Page child nodes in the RootPage node. As you add Page nodes in the Pages window, in the Node Tree window Kanzi Studio shows the location of these nodes in the node tree.
When you click a Page node in the Pages window Kanzi Studio transitions to that Page node using the Push transition. Because there is no content in the Page nodes you just created, clicking does not have any visual effect in the Preview.
Action
Shortcut
Pan
Click and drag the middle mouse button.
Press the Space key, and click and drag the left mouse button.
Zoom
Scroll the mouse wheel.
Press the Shift and Alt keys, and click and drag the left mouse button.
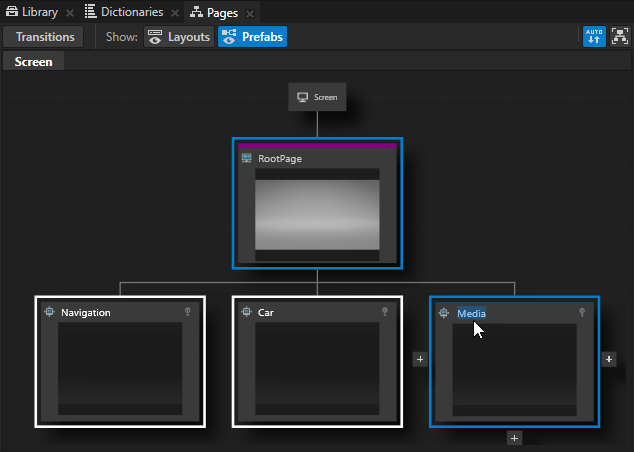
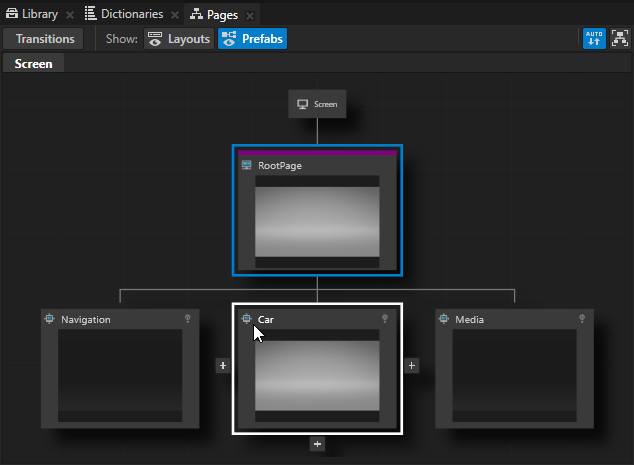
In the Pages double-click the name of a Page node, enter a new name, and press Enter.
For example, call the three nodes Navigation, Car, and Media.
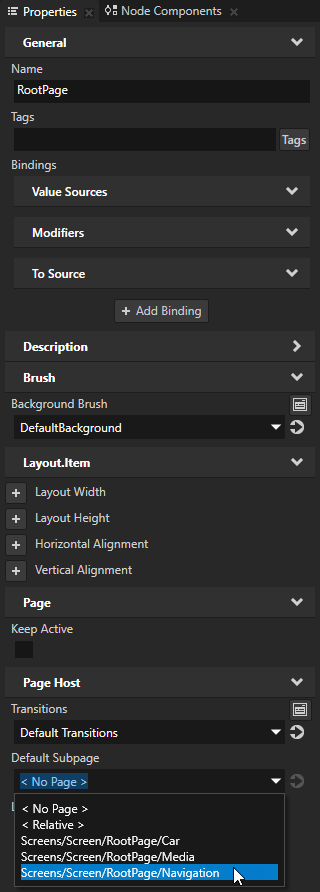
In the Node Tree select the RootPage node and in the Properties set the Default Subpage property to the Page node Navigation.
When you activate the Page Host node where you set the Default Subpage property, Kanzi activates the selected Page node. For example, when you set the Navigation node as the default subpage of the RootPage node, when you start the application Kanzi shows the Navigation node.
Set the background of the Page nodes
Use brushes to set the background of 2D nodes. In Kanzi all 2D nodes by default have transparent background.
In Kanzi you can use these brushes:
Use a Color Brush to fill a 2D node with a solid color.
Use a Texture Brush to fill a 2D node with a texture.
Use a Material Brush to fill a 2D node with a material.
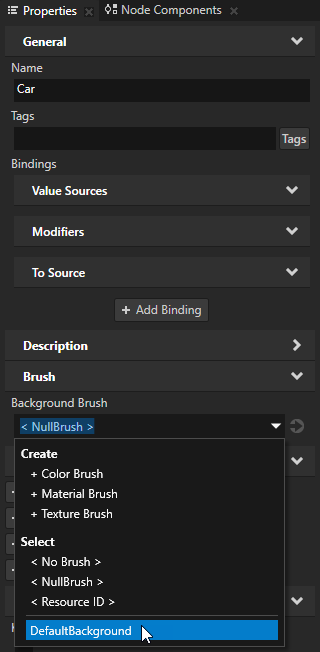
When you create a Kanzi Studio project it has a default Texture Brush called DefaultBackground and it paints the background of the RootPage node.
To set the background of the Page nodes:
In the Node Tree select the Page node Car.

In the Properties click
 next to the Background Brush to add that property to the Car node.
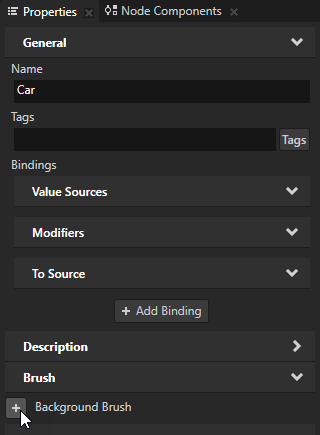
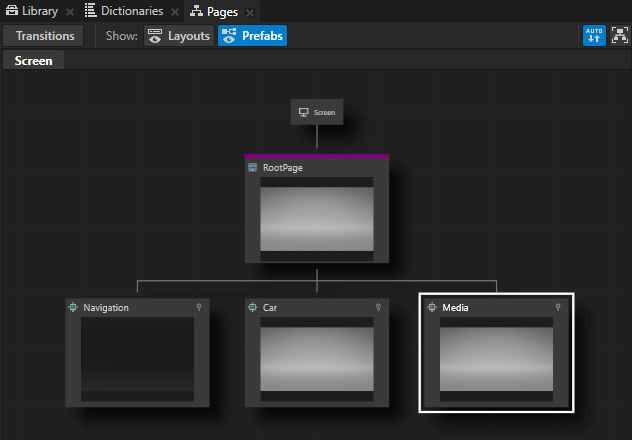
Set the Background Brush property to the DefaultBackground brush.
In the Pages you can see the brush you set to the Background Brush property.
From the Properties drag the Background Brush property of the Car node to the Node Tree window, and drop it on the Media node.
When you drag a property from the Properties and drop it on a node in the Node Tree, Kanzi Studio adds that property and its value to that node.
Now when you view in the Pages window the Car and Media nodes, you can see that they have the background that you set with the Background Brush property.
Add content to the Page nodes Navigation and Car
In this section you add content to the Page nodes Navigation and Car.
To add content to Page nodes:
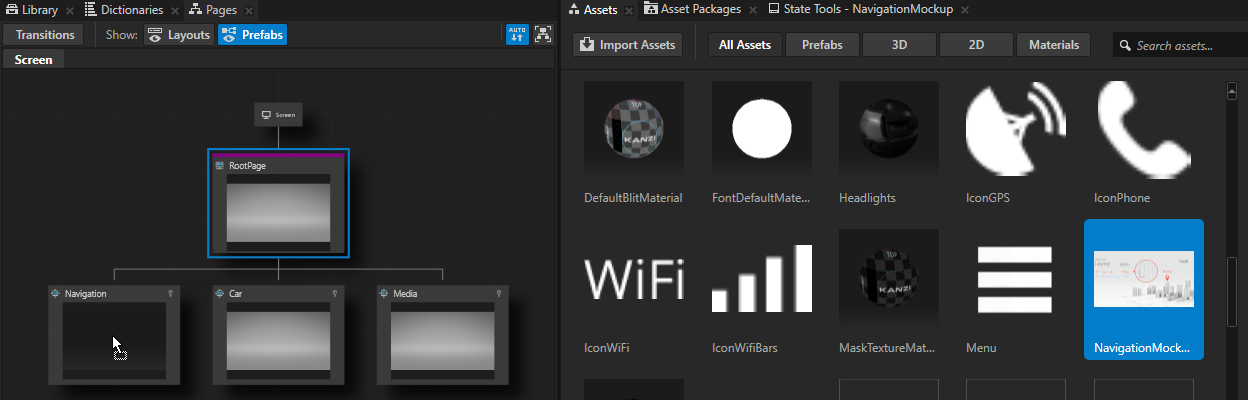
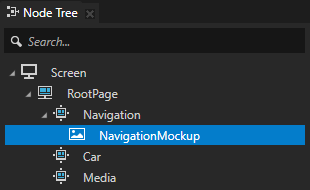
From the Assets window drag the NavigationMockup.png image to the Pages window, and drop it on the Navigation Page node.
Kanzi Studio automatically creates an Image node that uses the image you dragged from the Assets and adds the Image node to the Page node where you dropped the image.
Tip
In the Assets window you can search and browse the content in your project:
In the search box enter the word contained in the name of the item you are looking for.
Click the buttons to show only the content of a certain type.

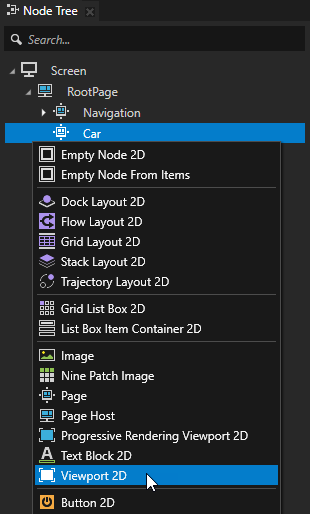
In the Node Tree press Alt and right-click the Car node and select Viewport 2D.
Viewport 2D node can render both 2D nodes, such as Image or Button 2D, and a Scene, which is a 3D node.
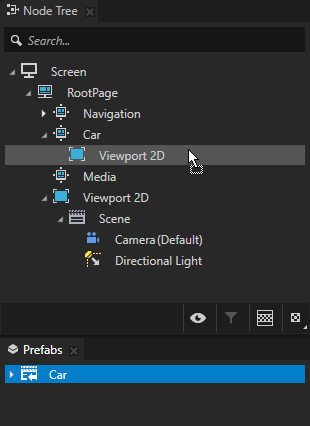
When you create a Kanzi Studio project, that project contains a Viewport 2D node with a Scene that contains a Camera and a Directional Light.
Tip
When you press Alt and right-click a node in the Node Tree window or a resource in the Library window, you get a direct access to the node and resource creation menu. If you only right-click a node or a resource, in the context menu select Create to access the creation menu.
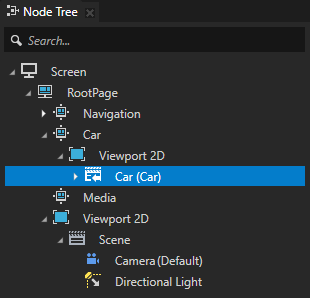
From the Prefabs window drag the Car prefab to the Node Tree window and drop it on the Viewport 2D node that you just created in the Page node Car.
When you drag a prefab from the Prefabs window, Kanzi Studio creates an instance of that prefab in the node tree in the node where you drop the prefab.
Transitioning between Page nodes
When you click a Page or a Page Host node in the Pages, in the Preview you can see the transition. However, to transition between the nodes in your application you need to use a trigger with one of the Navigate to actions.
By default Kanzi uses the Push transition when you navigate to and leave that Page node. You can customize the transition using the Transitions editor in the Pages window.
In the next step of this tutorial you create the buttons that use the Navigate to Page action to move between the Page nodes.
See also
To find out more about working with the Page nodes, see Using the Page and Page Host nodes.
To find out more about working with the Brushes, see Using brushes.