Adding 2D nodes to a 3D scene
Use the Viewport 3D node to add 2D nodes to a 3D scene.
Using the Viewport 3D node
To create a Viewport 3D node:
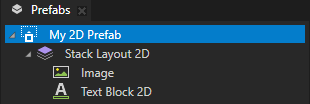
In the Prefabs, create a 2D prefab whose content you want to add to a 3D scene.
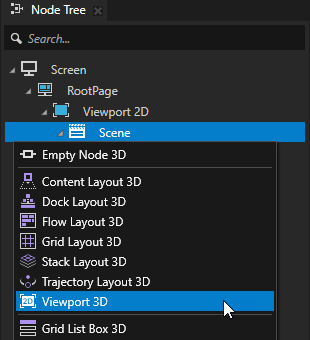
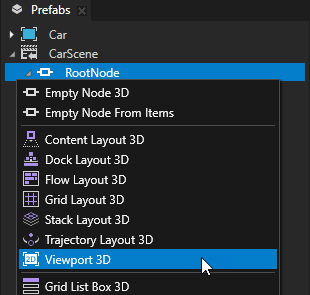
In the Node Tree or Prefabs, press Alt and right-click a 3D node to which you want to add 2D nodes, and select Viewport 3D.
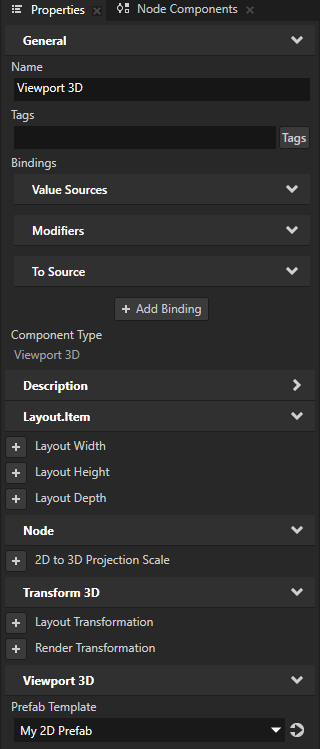
Select the Viewport 3D node. In the Properties, add the Prefab Template property and set it to the 2D prefab that you created.
Kanzi first renders the content of the prefab to a texture, and then renders that texture on a 3D plane using an unlit alpha-blended textured material.
(Optional) To set the material that you want to use to render the content of the 2D prefab, in the Properties:
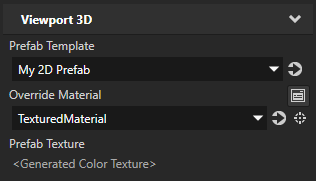
Add the Override Material property and set it to a textured material that you want to use to render the content of the 2D prefab. See Using materials and Creating textured materials.
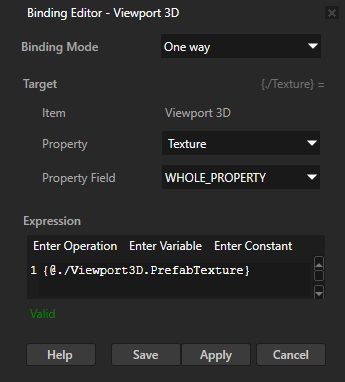
Click + Add Binding and in Binding Editor, set:
Property to a texture property of the material that you set in the Override Material property.
Expression to
{@./Viewport3D.PrefabTexture}
Click Save.
This way you set the override material to render the texture to which Kanzi renders the content of the 2D prefab.
Adding a 2D UI control to a 3D scene
In this procedure, you use the Viewport 3D node to add a 2D color picker to a 3D scene.
To add a 2D UI control to a 3D scene:
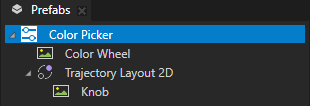
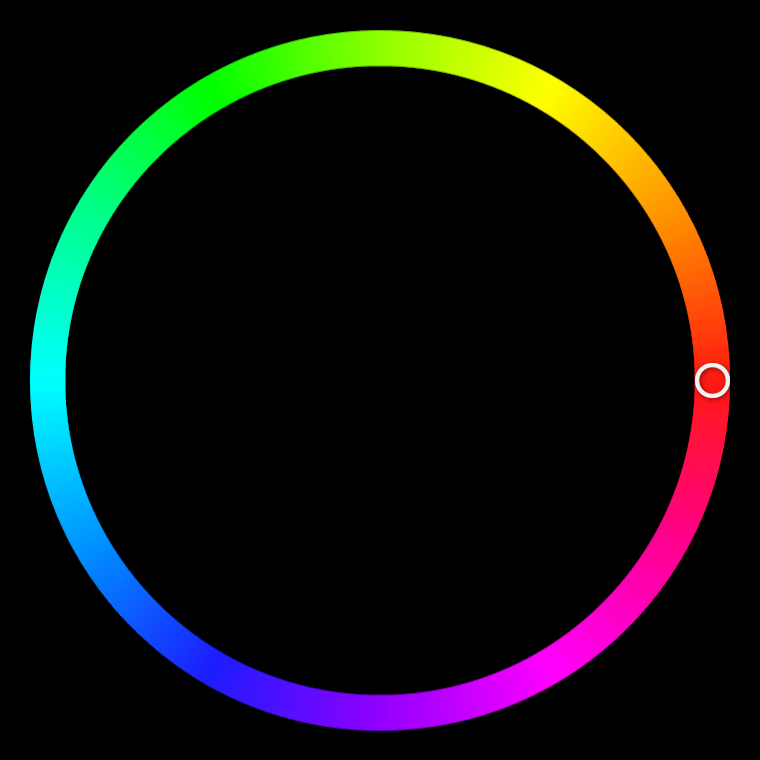
In the Prefabs, create a 2D prefab that contains the 2D nodes that you want to add to a 3D scene.
For example, create a color picker with a slider. See Creating a color picker with a slider.
In the Node Tree or Prefabs, create a 3D scene to which you want to add 2D nodes.
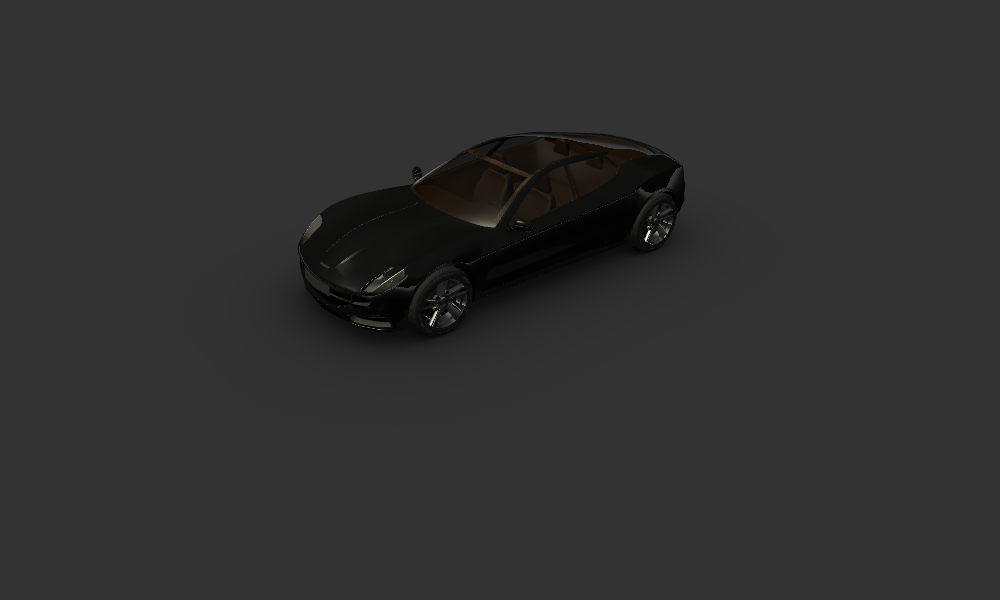
For example, use the Car from the Factory Content.
See Using the Factory Content assets.
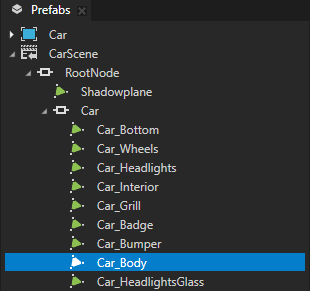
In the Node Tree or Prefabs, press Alt and right-click the 3D node to which you want to add 2D nodes and select Viewport 3D.
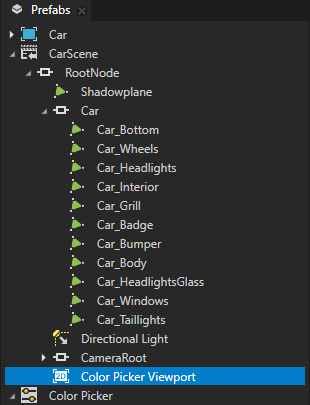
For example, create a Viewport 3D node in the Prefabs > CarScene > RootNode node.
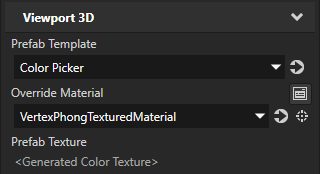
Select the Viewport 3D node and in the Properties, add and set:
Prefab Template property to the 2D prefab whose content you want to add to the 3D scene.
For example, select the Color Picker prefab.
Kanzi first renders the content of the prefab to a texture, and then renders that texture on a 3D plane.
Render Transformation or Layout Transformation to position and orient the 2D prefab in the 3D scene.
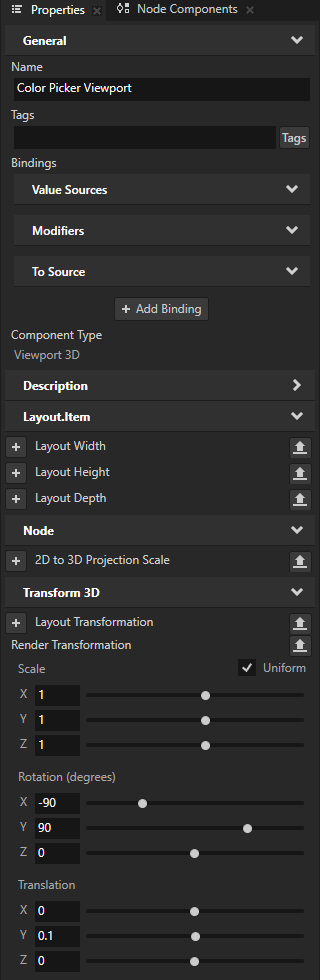
For example, add the Render Transformation property and set:
Rotation X property field to -90
Rotation Y property field to 90
Translation Y property field to 0.1
This way you position the 2D prefab just above the floor under the car.
To set the size of the 2D content in the 3D scene, in the Properties, add and set:
2D to 3D Projection Scale to the scaling factor that you want to use to project the 2D content to the 3D space.
For example, if the width of your 2D prefab is 710 pixels and you set the 2D to 3D Projection Scale property to 0.08, the width of that prefab in 3D space is 56.8 units.
(Optional) Layout Width and Layout Height
For example, set these properties when you do not set the layout size of the prefab and it stretches to the size of its parent node.

Kanzi by default uses an unlit alpha-blended textured material to render the content in a Viewport 3D node.
To set the material that you want to use to render the content, in the Properties:
Add the Override Material property and set it to any textured material.
For example, set it to the VertexPhongTexturedMaterial material. This material uses lights.
Tip
If your project does not contain the VertexPhongTextured material type, in the Library > Materials and Textures press Alt and right-click Material Types, and select VertexPhongTextured.
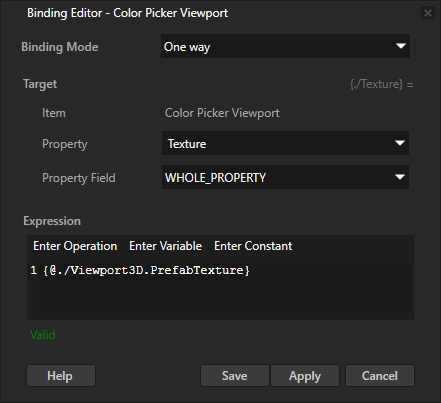
Click + Add Binding and in Binding Editor, set:
Property to a texture property of the material that you set in the Override Material property.
Expression to
{@./Viewport3D.PrefabTexture}
Click Save.
This way you set the override material to render the texture to which Kanzi renders the content of the 2D prefab.
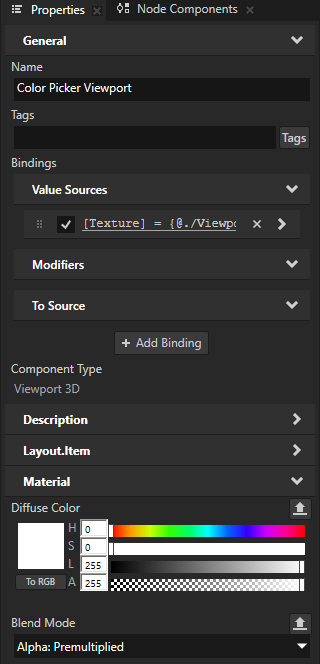
Adjust the properties of the material that you set in the Override Material property.
For example, add and set:
Material > Diffuse Color property Lightness (L) property field to 255
Material > Blend Mode to Alpha: Premultiplied
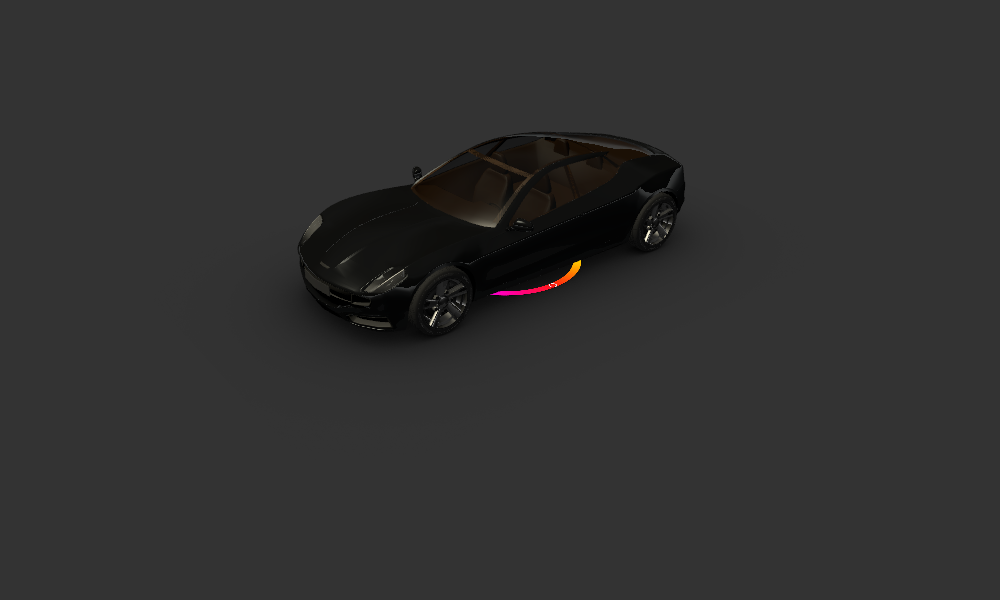
When you turn off the lights in the scene, Kanzi renders the color picker with darker colors.
To access the properties of the 2D prefab that the Viewport 3D node renders, use bindings.
For example, if your color picker prefab has a property that holds the selected color, to paint the body of a car model with that color:
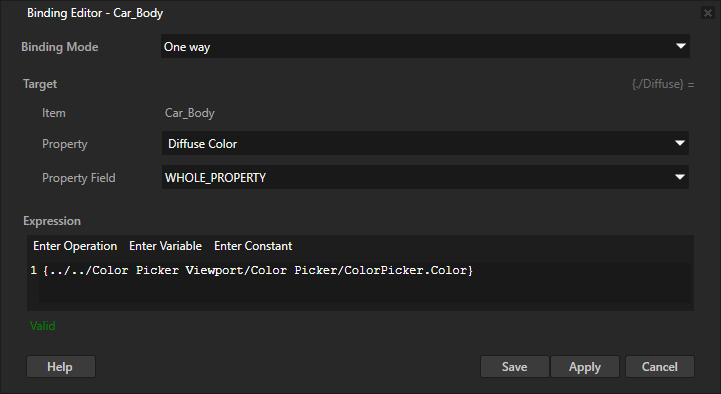
Select the 3D node that renders the body of the car. In the Properties, add a binding and set:
Property to Diffuse Color
This property sets the color of a material when that material is lit.
Expression to point the property that contains the currently selected color in the color picker.
For example, set it to
{../../Color Picker Viewport/Color Picker/ColorPicker.Color}
Click Save.
Repeat the previous step for the Ambient Color property, which sets the color of a material when no lights are present.
For example, set the binding expression to
{../../Color Picker Viewport/Color Picker/ColorPicker.Color} * Color4(0.2, 0.2, 0.2, 1)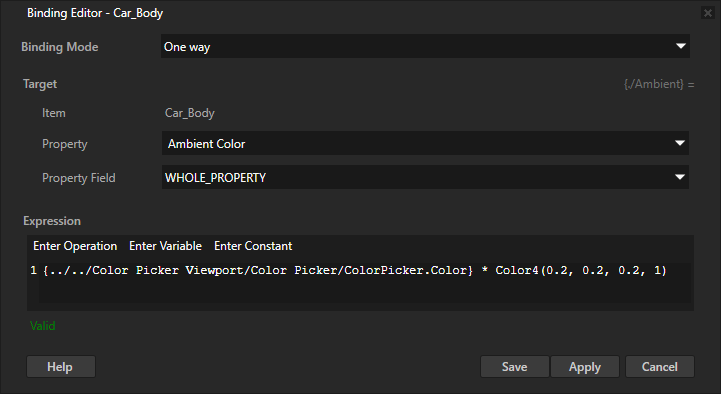
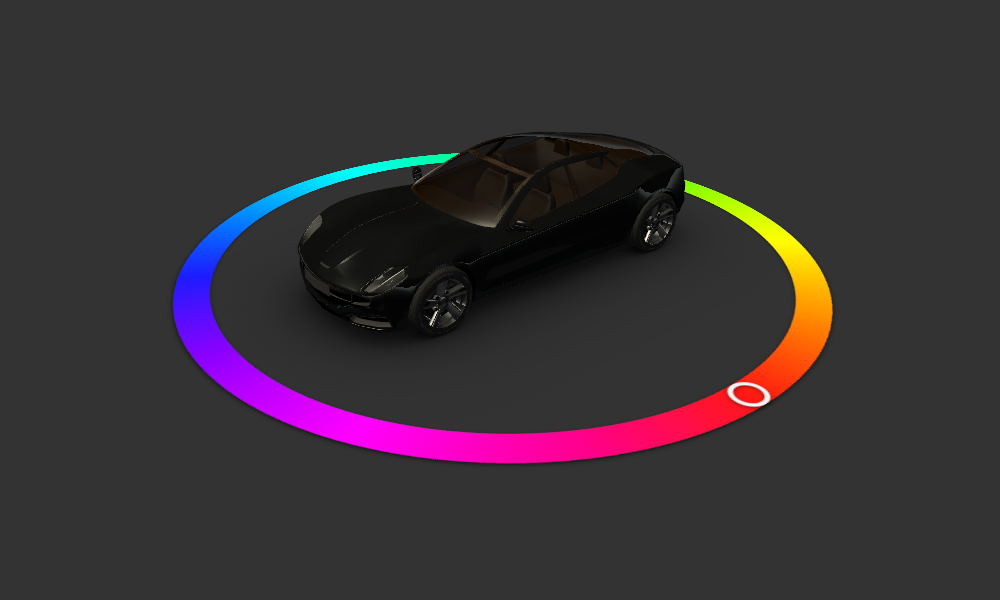
In the Preview, when you use the color picker to select a color, the paint of the car changes to use that color.
