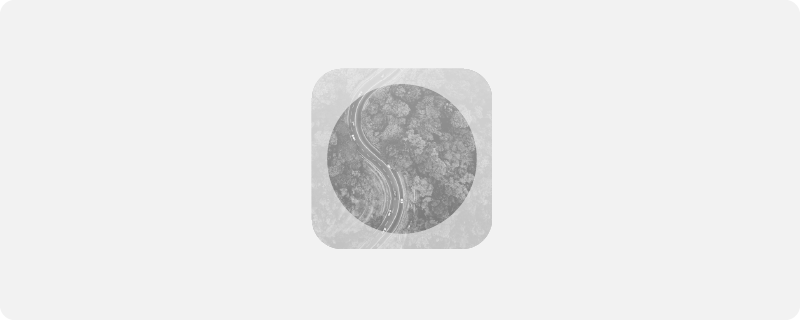
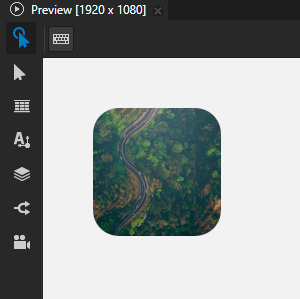
Using the Mask Effect 2D effect
Use the Mask Effect 2D effect to apply a mask to a 2D node.
Creating a mask effect for a 2D node
To create a mask effect for a 2D node:
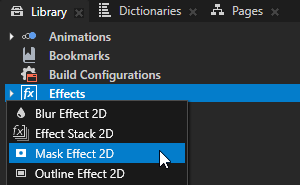
In the Library press Alt and right-click Effects and select Mask Effect 2D.
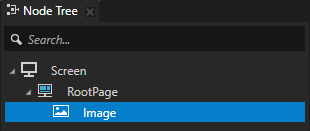
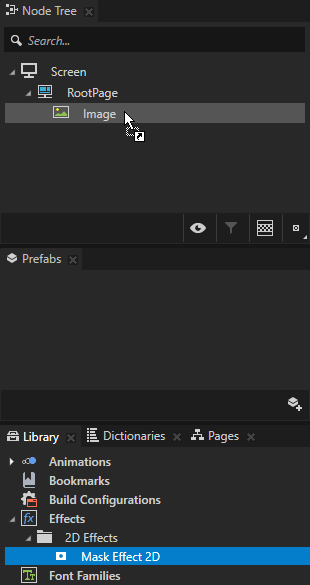
In the Node Tree or Prefabs create a 2D node to which you want to apply the mask effect.
From the Library > Effects > 2D Effects drag the Mask Effect 2D effect to the Node Tree or Prefabs and drop it on the 2D node to which you want to apply the mask effect.
This way you set in that 2D node the Effect Prefab property to the Mask Effect 2D effect.
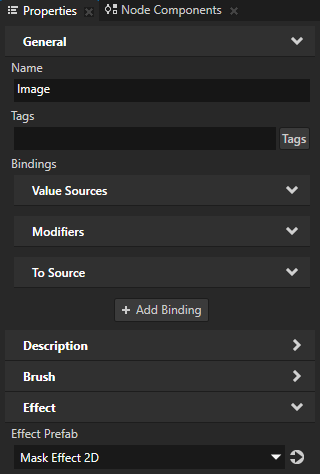
In the Library select the Mask Effect 2D effect and in the Properties add and set the Mask Effect 2D properties.
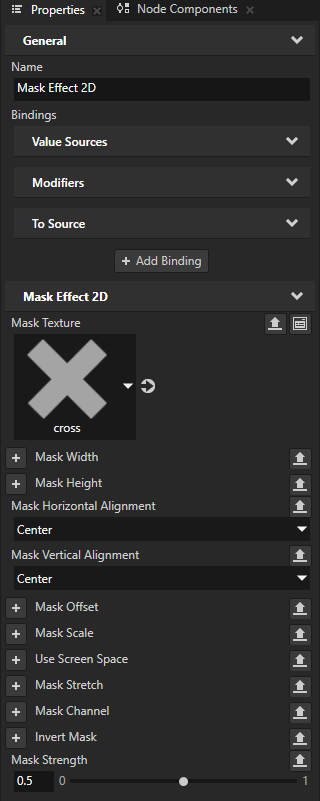
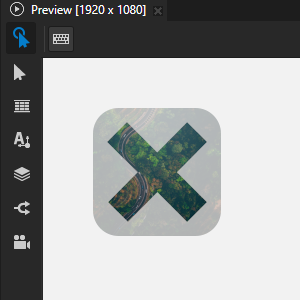
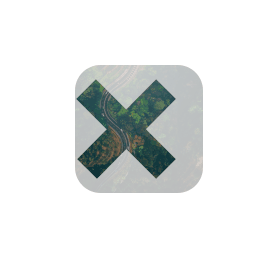
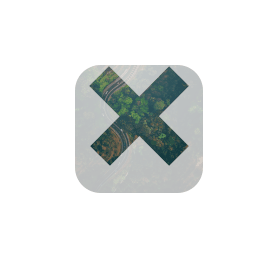
Mask Texture sets the texture that you want to use as the mask.
To use the mask effect, you must set this property.

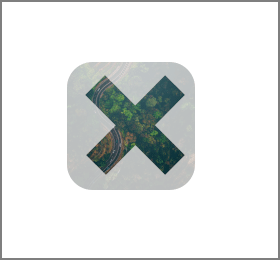
Mask Width sets the width of the mask.
By default the width of the mask is the width of the texture that you set as the Mask Texture.

Mask Height sets the height of the mask.
By default the height of the mask is the height of the texture that you set as the Mask Texture.

Mask Horizontal Alignment sets the horizontal alignment of the mask:
Left aligns the left edge of the mask with the left edge of the node. This is the default value.
Right aligns the right edge of the mask with the right edge of the node.
Center aligns the mask horizontally to the center of the node.
Stretch stretches the mask horizontally to fit the node from the left edge to the right edge.
Mask Vertical Alignment sets the vertical alignment of the mask:
Top aligns the top edge of the mask with the top edge of the node. This is the default value.
Bottom aligns the bottom edge of the mask with the bottom edge of the node.
Center aligns the mask vertically to the center of the node.
Stretch stretches the mask vertically to fit the node from the top edge to the bottom edge.
Mask Offset sets the mask offset along the x and y axes.
Kanzi applies this property after the Mask Stretch, Mask Horizontal Alignment, Mask Vertical Alignment, and Mask Scale properties.

Mask Scale sets the factor by which to scale the mask.
Kanzi applies this property after the Mask Stretch, Mask Horizontal Alignment, and Mask Vertical Alignment properties.

Use Screen Space sets whether to layout the mask relative to the screen.
By default Kanzi layouts a mask relative to the node that uses the mask effect.
Mask Stretch sets the stretch mode of the mask:
None does not stretch the mask.
Fill stretches the mask so that it fills the node.
Uniform stretches the mask using uniform scaling to fill the node in either vertical or horizontal direction, whichever requires smaller scale.
Uniform To Fill stretches the mask using uniform scaling to fill the node in either vertical or horizontal direction, whichever requires larger scale.
Repeat does not stretch the mask, but allows the mask to repeat outside of its area based on the value of the Wrap Mode property in the texture that you set as the Mask Texture.

Mask Channel sets the channel in the Mask Texture that you want to use as input for the mask:
Alpha uses the alpha channel from the texture. This is the default value.
Red uses the red color channel from the texture.
Green uses the green color channel from the texture.
Blue uses the blue color channel from the texture.
Luminance uses the luminance value calculated from the red, green, and blue color channels.

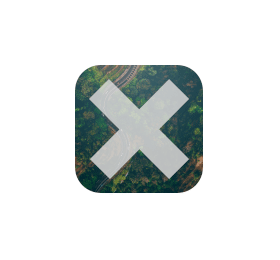
Invert Mask sets whether to invert the mask so that transparent areas in the mask become opaque and the other way around.
Mask Strength sets the strength of the mask in the range from 0 to 1:
To apply the mask effect at full strength, use the value 1. This is the default value.
To apply the mask partially as if blending the non-masked result with the fully masked version, use a value between 0 and 1.
To disable the mask effect, use the value 0.
Customizing an instance of a mask effect
When you edit the properties of an effect in the Library > Effects, you change the appearance of that effect for all nodes that use it. You can customize each effect instance by overriding the effect property values. For example:
When you create a Shadow Effect 2D effect, you can vary the softness of the shadow in different instances of that effect.
When you create a Mask Effect 2D effect, you can vary the size of the mask in different instances of that effect.
When you create a Blur Effect 2D effect, you can vary the amount of blur in different instances of that effect.
When you create an Outline Effect 2D effect, you can vary the color of the outline in different instances of that effect.
To customize an instance of an effect:
Create an effect and set a node to use it.
For example, create a Shadow Effect 2D effect and set an Image node to use it. See Creating a shadow effect for a 2D node.

Customize a property in the effect:
In the Library, select the effect that you created. In the Properties, next to the property that you want to customize, click
 .
.Kanzi Studio creates from that property a custom property, adds it to the root of the effect prefab, and creates a
##Templatebinding to the property in the 2D effect.For example, click
next to Shadow Blur Radius property. Kanzi Studio creates a custom Shadow Blur Radius property, adds it to the root effect prefab, and creates in the Shadow Effect 2D effect prefab a ##Templatebinding to the custom Shadow Blur Radius property.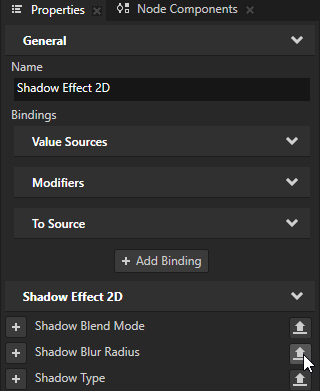

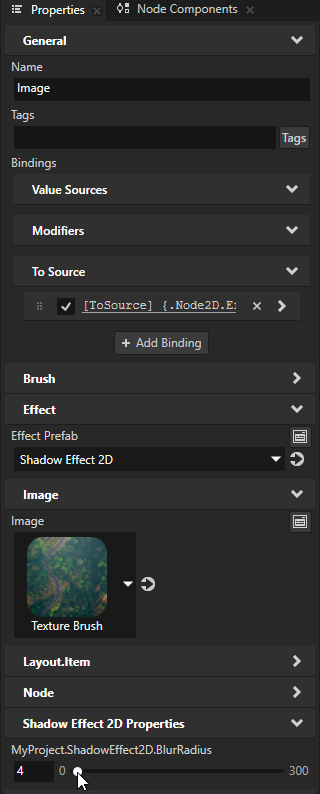
In the Node Tree or Prefabs, select the 2D node that uses the effect that you created. In the Properties, click
 next to the property that you customized and set the value of the property.
Kanzi Studio adds to the 2D node a To Source binding which pushes the value of that property to the effect instance made available through the
Node2D.Effectproperty of the node.You can set multiple 2D nodes to use the same effect and in each 2D node, you can add and set the property to have different values.
For example, in the Properties, add the Shadow Effect 2D Properties > ShadowEffect2D.BlurRadius property and use it to adjust the softness of the shadow only in the Image node.
(Optional) Repeat the previous step for each effect property that you want to customize.
Tip
When you want to remove from a node a property and its To Source binding, right-click that property and select Remove Property And Binding.
Using the Mask Effect 2D effect in the API
To create a mask effect:
// Create an effect template.
NodeEffectTemplate2DSharedPtr maskEffectTemplate =
    NodeEffectTemplate2D::create(MaskEffect2D::getStaticMetaclass()->getName(), "MaskEffect");

// Set the value of the MaskProperty in the template.
// The MaskProperty defines the mask texture which you must set before you can use the mask effect.
TextureSharedPtr maskTexture = acquireMaskTexture(getDomain());
maskEffectTemplate->addPropertyValue(MaskEffect2D::MaskProperty, Variant(maskTexture));

// Create a mask effect prefab.
NodeEffectPrefab2DSharedPtr maskEffectPrefab =
    NodeEffectPrefab2D::create(getDomain(), "MaskEffect prefab", maskEffectTemplate);

// Assign the mask effect to a 2D node.
node2d->setEffectPrefab(maskEffectPrefab);

// Get the node-specific effect instance created from the assigned prefab.
MaskEffect2DSharedPtr maskEffect = dynamic_pointer_cast<MaskEffect2D>(node2d->getEffect());

// Set the mask stretch mode to uniform.
maskEffect->setStretch(MaskEffect2D::Stretch::Uniform);
For details, see the MaskEffect2D class.