Using the Blur Effect 2D effect
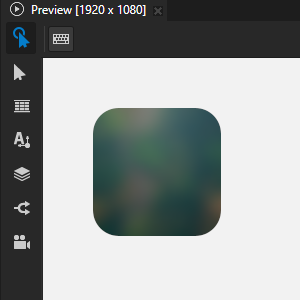
Use the Blur Effect 2D effect to apply a Gaussian blur to a 2D node.
Learn how to use the Blur Effect 2D effect by completing a tutorial. See Tutorial: Create a Gaussian blur effect.
Creating a blur effect for a 2D node
To create a blur effect for a 2D node:
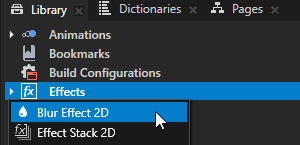
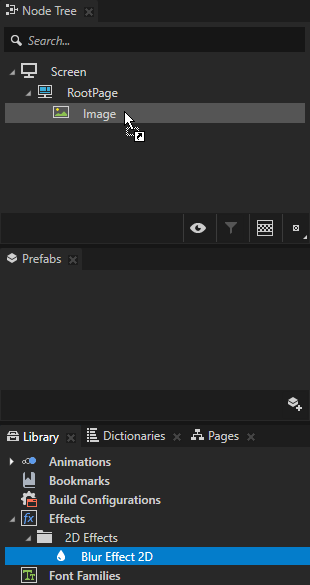
In the Library press Alt and right-click Effects and select Blur Effect 2D.
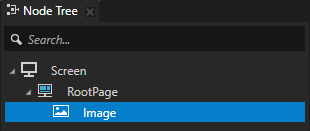
In the Node Tree or Prefabs create a 2D node to which you want to apply the blur effect.
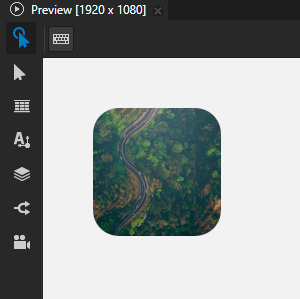
From the Library > Effects > 2D Effects drag the Blur Effect 2D effect to the Node Tree or Prefabs and drop it on the 2D node to which you want to apply the blur effect.
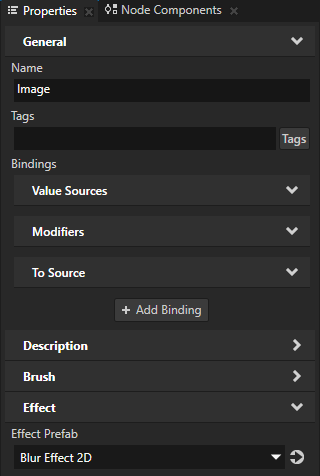
This way you set in that 2D node the Effect Prefab property to the Blur Effect 2D effect.
In the Library select the Blur Effect 2D effect and in the Properties add and set the Blur Effect 2D properties.
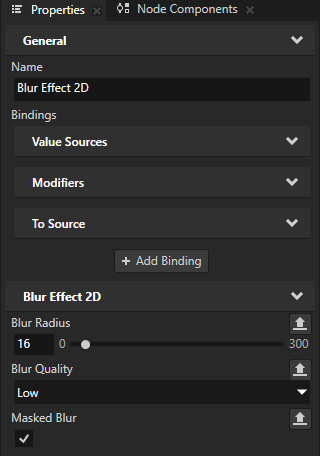
Blur Radius sets the amount of blur by defining the radius of the circular area of pixels that blend into each other. The default radius is 8 pixels.
This property also determines the distance in pixels that the blur expands the render area at the node borders unless you enable the Masked Blur property.
Blur Quality sets the visual quality of the blur. Lower quality uses less computing and memory resources.
Masked Blur sets whether to blur only the pixels whose alpha channel value is not zero.
When you enable this property, the blur does not spread to fully transparent pixels and the edges of the content stay sharp.
Customizing an instance of a blur effect
When you edit the properties of an effect in the Library > Effects, you change the appearance of that effect for all nodes that use it. You can customize each effect instance by overriding the effect property values. For example:
When you create a Shadow Effect 2D effect, you can vary the softness of the shadow in different instances of that effect.
When you create a Mask Effect 2D effect, you can vary the size of the mask in different instances of that effect.
When you create a Blur Effect 2D effect, you can vary the amount of blur in different instances of that effect.
When you create an Outline Effect 2D effect, you can vary the color of the outline in different instances of that effect.
To customize an instance of an effect:
Create an effect and set a node to use it.
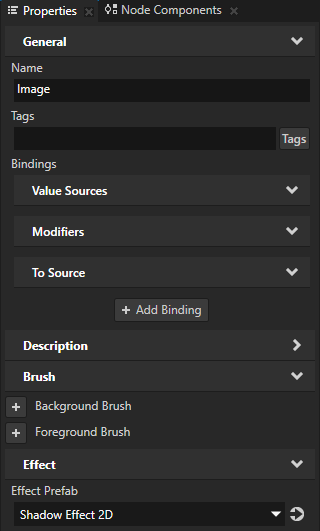
For example, create a Shadow Effect 2D effect and set an Image node to use it. See Creating a shadow effect for a 2D node.

Customize a property in the effect:
In the Library, select the effect that you created. In the Properties, next to the property that you want to customize, click
 .
.Kanzi Studio creates from that property a custom property, adds it to the root of the effect prefab, and creates a
##Templatebinding to the property in the 2D effect.For example, click
next to Shadow Blur Radius property. Kanzi Studio creates a custom Shadow Blur Radius property, adds it to the root effect prefab, and creates in the Shadow Effect 2D effect prefab a ##Templatebinding to the custom Shadow Blur Radius property.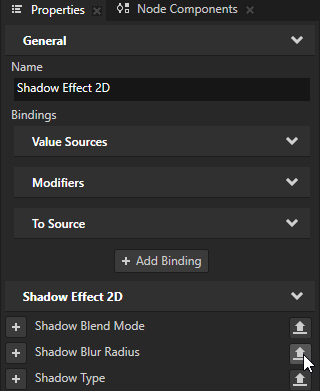

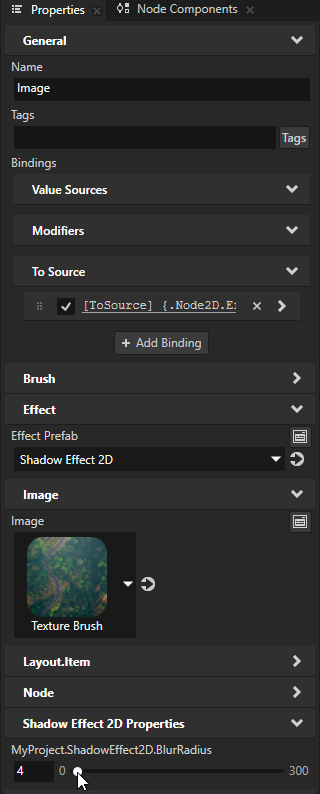
In the Node Tree or Prefabs, select the 2D node that uses the effect that you created. In the Properties, click
 next to the property that you customized and set the value of the property.
Kanzi Studio adds to the 2D node a To Source binding which pushes the value of that property to the effect instance made available through the
Node2D.Effectproperty of the node.You can set multiple 2D nodes to use the same effect and in each 2D node, you can add and set the property to have different values.
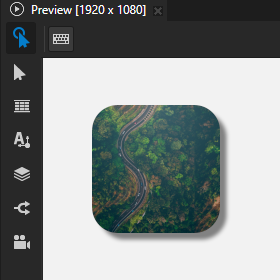
For example, in the Properties, add the Shadow Effect 2D Properties > ShadowEffect2D.BlurRadius property and use it to adjust the softness of the shadow only in the Image node.
(Optional) Repeat the previous step for each effect property that you want to customize.
Tip
When you want to remove from a node a property and its To Source binding, right-click that property and select Remove Property And Binding.
Using the Blur Effect 2D effect in the API
To create a blur effect:
// Create a blur effect template.
NodeEffectTemplate2DSharedPtr blurEffectTemplate =
    NodeEffectTemplate2D::create(BlurEffect2D::getStaticMetaclass()->getName(), "BlurEffect");

// Set the value of the RadiusProperty in the blur effect template.
// RadiusProperty defines the amount of blur.
blurEffectTemplate->addPropertyValue(BlurEffect2D::RadiusProperty, Variant(6.f));

// Create a blur effect prefab.
NodeEffectPrefab2DSharedPtr blurEffectPrefab =
    NodeEffectPrefab2D::create(getDomain(), "BlurEffect prefab", blurEffectTemplate);

// Assign the blur effect to a 2D node.
node2d->setEffectPrefab(blurEffectPrefab);

// Get the node-specific effect instance created from the assigned prefab.
BlurEffect2DSharedPtr blurEffect = dynamic_pointer_cast<BlurEffect2D>(node2d->getEffect());

// Set the MaskedProperty to true. Masked mode maintains the original alpha channel and
// prevents the blur from spreading to fully transparent pixels.
blurEffect->setMasked(true);
For details, see the BlurEffect2D class.