Using the Outline Effect 2D effect
Use the Outline Effect 2D effect to apply an outline to the content of a 2D node.
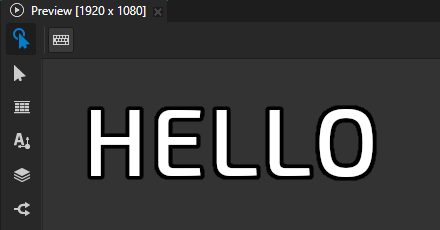
For example, use the Outline Effect 2D effect to apply an outline to text that comes from a data source.
Creating an outline color effect
To create an outline color effect:
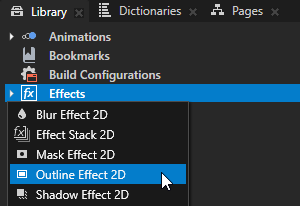
In the Library, press Alt and right-click Effects and select Outline Effect 2D.
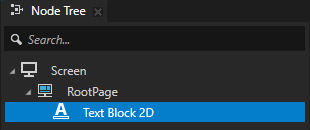
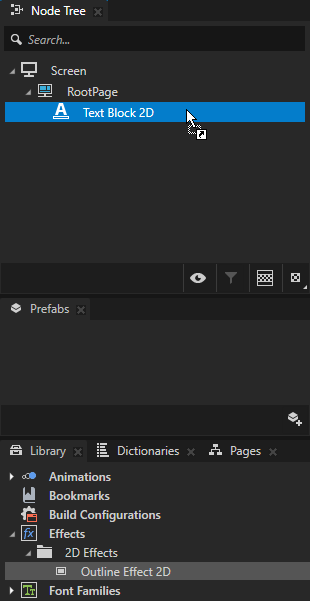
In the Node Tree or Prefabs, create a 2D node to which you want to apply the outline effect.
From the Library > Effects > 2D Effects, drag the Outline Effect 2D effect to the 2D node to which you want to apply the outline effect.
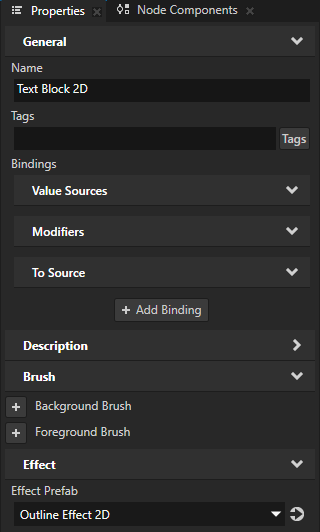
This way you set in that 2D node the Effect Prefab property to the Outline Effect 2D effect.
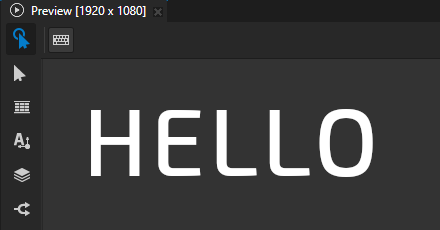
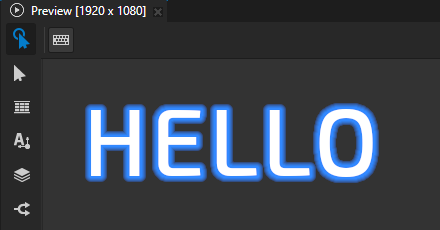
Kanzi applies to the visual shape of the content in the 2D node an outline that is black and four pixels wide.
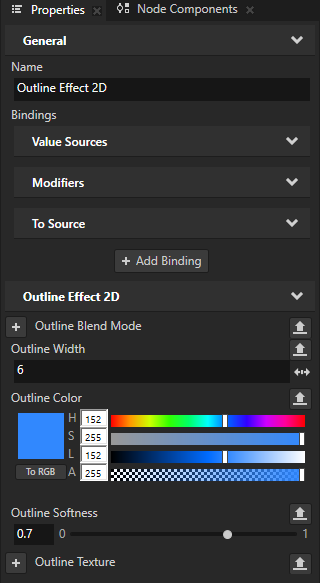
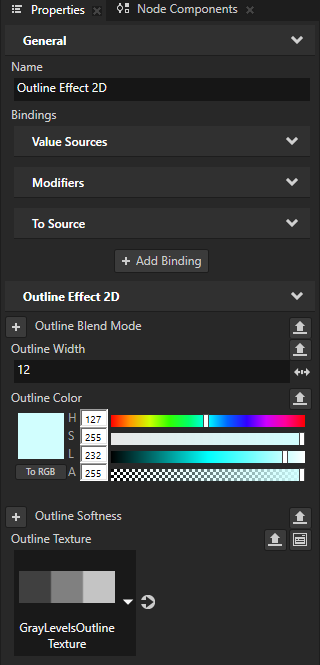
In the Library, select the Outline Effect 2D effect. In the Properties, use these properties to set the appearance of the outline:
Outline Blend Mode sets the blend mode that Kanzi uses to render the outline.
Outline Width sets the thickness of the outline in pixels.
Outline Color sets the color of the outline.
Outline Softness sets the length of a gradient, relative to the width of the outline, that softens the outline.
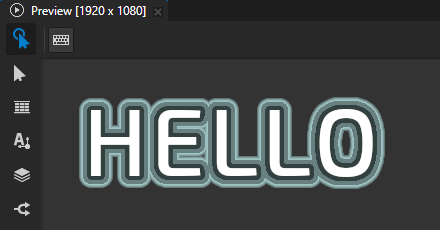
Creating a textured outline
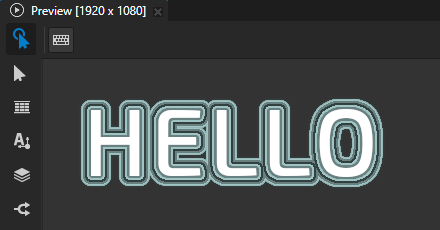
You can apply a one-dimensional texture to an outline that you create with the Outline Effect 2D effect. For example, you can use a texture to add multiple strokes to text.
To create a textured outline:
Create an outline effect for a 2D node. See Creating an outline color effect.
In the Library, select the Outline Effect 2D effect. In the Properties, add and set:
Outline Width to the thickness in pixels that you want for the outline.
Outline Color to the color with which you want to modulate the color values in the outline texture.
To apply the colors in the outline texture as they are, set Outline Color to white.
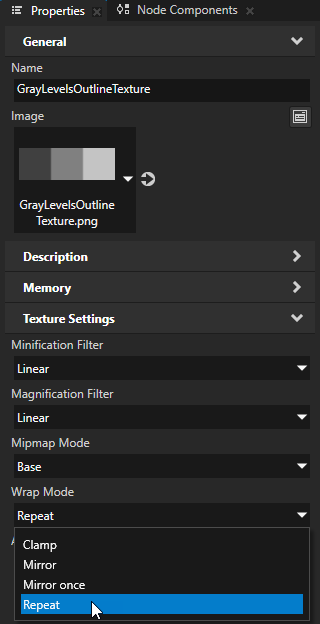
Outline Texture to the texture that you want to apply to the outline.
Kanzi applies to the outline only the top row of pixels from this texture. The leftmost pixel in the texture maps to the innermost part of the outline and the rightmost pixel to the outmost part of the outline. Kanzi scales the width of the texture to the width of the outline.
For example, in the Outline Texture dropdown select + Import Image and import this image:

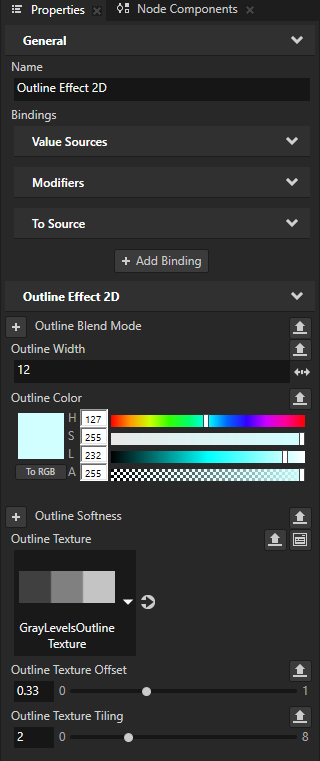
(Optional) To position and scale the texture along the outline, in the Properties, add and set these Outline Effect 2D properties:
Outline Texture Offset sets the relative start position at which Kanzi starts to sample the texture.
For example, to start the outline with the middle gray shade in the example texture, set Outline Texture Offset to 0.33.
Outline Texture Tiling sets the value by which Kanzi scales the outline texture.
For example, to create an outline that shows the texture twice, set Outline Texture Tiling to 2.
Tip
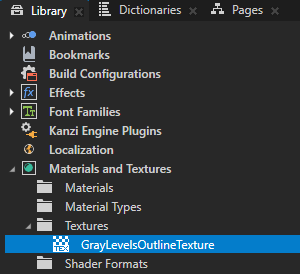
When you want a texture to repeat to cover the outline, in the Library > Materials and Textures > Textures, select that texture, and in the Properties, set Wrap Mode to Repeat.
Customizing an instance of an outline effect
When you edit the properties of an effect in the Library > Effects, you change the appearance of that effect for all nodes that use it. You can customize each effect instance by overriding the effect property values. For example:
When you create a Shadow Effect 2D effect, you can vary the softness of the shadow in different instances of that effect.
When you create a Mask Effect 2D effect, you can vary the size of the mask in different instances of that effect.
When you create a Blur Effect 2D effect, you can vary the amount of blur in different instances of that effect.
When you create an Outline Effect 2D effect, you can vary the color of the outline in different instances of that effect.
To customize an instance of an effect:
Create an effect and set a node to use it.
For example, create a Shadow Effect 2D effect and set an Image node to use it. See Creating a shadow effect for a 2D node.

Customize a property in the effect:
In the Library, select the effect that you created. In the Properties, next to the property that you want to customize, click
 .
.Kanzi Studio creates from that property a custom property, adds it to the root of the effect prefab, and creates a
##Templatebinding to the property in the 2D effect.For example, click
next to Shadow Blur Radius property. Kanzi Studio creates a custom Shadow Blur Radius property, adds it to the root effect prefab, and creates in the Shadow Effect 2D effect prefab a ##Templatebinding to the custom Shadow Blur Radius property.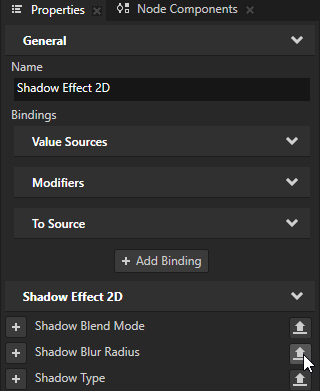

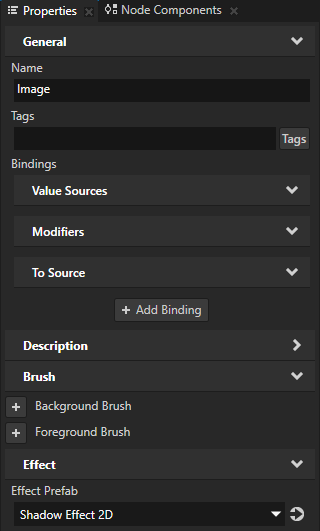
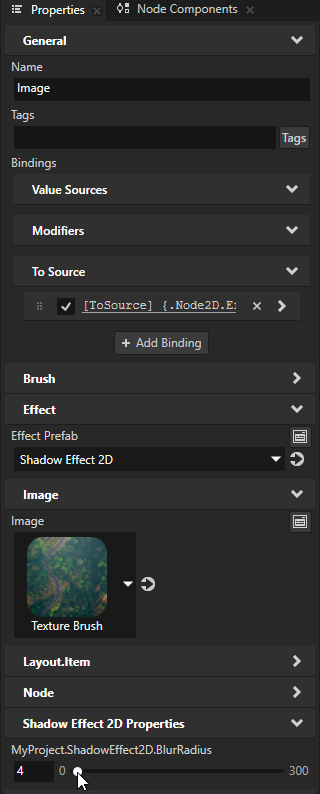
In the Node Tree or Prefabs, select the 2D node that uses the effect that you created. In the Properties, click
 next to the property that you customized and set the value of the property.
Kanzi Studio adds to the 2D node a To Source binding which pushes the value of that property to the effect instance made available through the
Node2D.Effectproperty of the node.You can set multiple 2D nodes to use the same effect and in each 2D node, you can add and set the property to have different values.
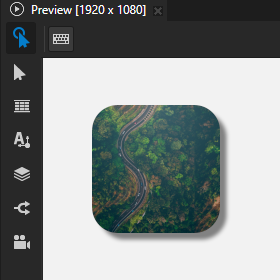
For example, in the Properties, add the Shadow Effect 2D Properties > ShadowEffect2D.BlurRadius property and use it to adjust the softness of the shadow only in the Image node.
(Optional) Repeat the previous step for each effect property that you want to customize.
Tip
When you want to remove from a node a property and its To Source binding, right-click that property and select Remove Property And Binding.
Using the Outline Effect 2D effect in the API
To create an outline effect:
// Create an outline effect template.
NodeEffectTemplate2DSharedPtr outlineEffectTemplate =
    NodeEffectTemplate2D::create(OutlineEffect2D::getStaticMetaclass()->getName(), "OutlineEffect");

// Set the value of the WidthProperty in the outline effect template.
// The WidthProperty defines the maximum width of the outline outside the content area.
outlineEffectTemplate->addPropertyValue(OutlineEffect2D::WidthProperty, Variant(8));

// Create an outline effect prefab.
NodeEffectPrefab2DSharedPtr outlineEffectPrefab =
    NodeEffectPrefab2D::create(getDomain(), "OutlineEffect prefab", outlineEffectTemplate);

// Assign the outline effect to a 2D node.
node2d->setEffectPrefab(outlineEffectPrefab);

// Get the node-specific effect instance created from the assigned prefab.
OutlineEffect2DSharedPtr outlineEffect = dynamic_pointer_cast<OutlineEffect2D>(node2d->getEffect());

// Set the SoftnessProperty to 0.7 for this node only. This overrides
// the property default value defined by the OutlineEffect2D metaclass.
outlineEffect->setSoftness(0.7f);
For details, see the OutlineEffect2D class.