Step 2 - Show the bloom effect
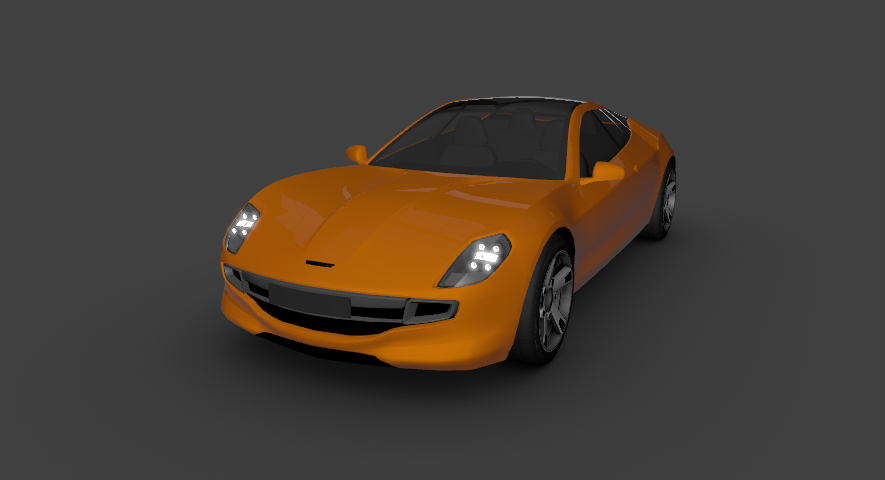
In this step, you first apply the bloom effect to the headlights of the car. Then you show the bloom effect by blending it on top of the normally rendered scene.
In the next step, you fine-tune the bloom effect by applying it three more times.
Apply the bloom
To apply the bloom:
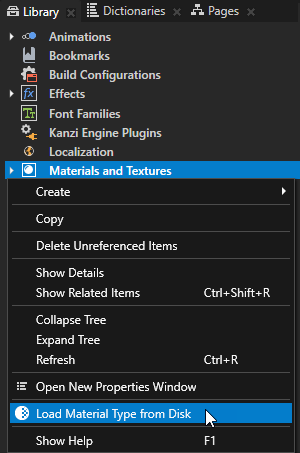
In the Library, right-click Materials and Textures and select Load Material Type From Disk. Go to
<KanziWorkspace>/Tutorials/Bloom/Assetsand load theGaussianBloom07.kzmatmaterial type.Kanzi Studio adds the GaussianBloom07 material type and creates the GaussianBloom07Material material that provides a directional Gaussian blur effect using a kernel size of 7 pixels. You use this material to create the bloom effect.
Apply the first pass of the bloom effect:
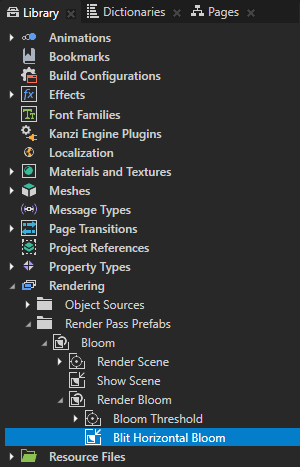
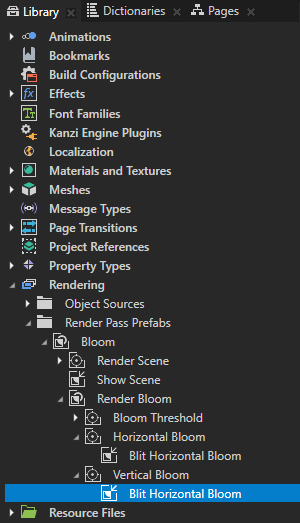
In the Library > Rendering > Render Pass Prefabs > Bloom > Render Bloom render pass, create a Blit Render Pass and name it Blit Horizontal Bloom. From the Library, drag the Bloom Threshold render pass to the Properties window, and drop it on the Texture 0 property of the Blit Horizontal Bloom render pass.
You set the Blit Horizontal Bloom render pass to draw to the screen the result texture of the Bloom Threshold render pass.

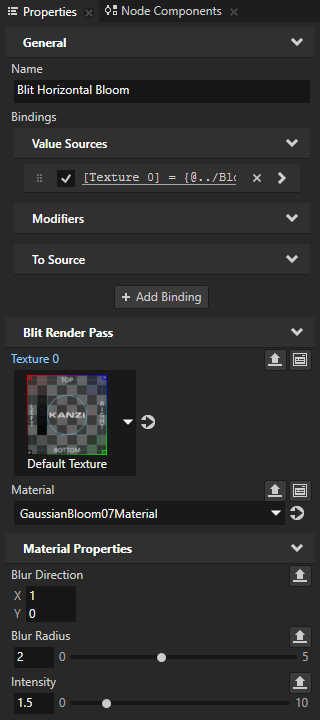
In the Properties, add and set:
Material to GaussianBloom07Material
Material Properties > Blur Direction property X property field to 1
This way, you apply the blur effect in the horizontal direction.
Material Properties > Blur Radius to 2
This way, you set the strength of the blur effect.
Material Properties > Intensity to 1.5
This way, you set the intensity of the bloom effect.
You use this render pass to draw the Bloom Threshold render pass using the GaussianBloom07Material material to apply to the Car node the bloom effect with Gaussian blur in the horizontal direction.

In the Library, in the Render Bloom render pass, create a Composition Target Render Pass and name it Horizontal Bloom. Drag the Blit Horizontal Bloom to the Horizontal Bloom render pass.
You use the Horizontal Bloom render pass to render the Blit Horizontal Bloom render pass to a composition target. Later in this section, you use the composition target as input to a render pass that applies the bloom effect with Gaussian blur in the vertical direction.
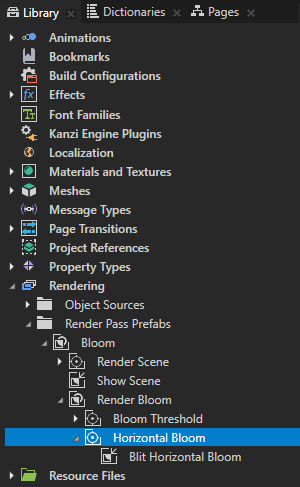
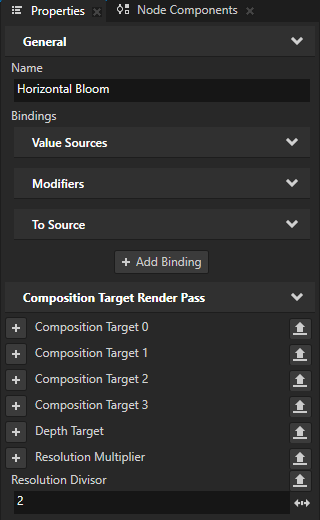
In the Library, select the Horizontal Bloom render pass. In the Properties, add the Resolution Divisor property, and set it to 2.
This way, you divide by 2 the resolution of the composition target to which the render pass renders itself.
You reduce the resolution of the composition target to improve performance.
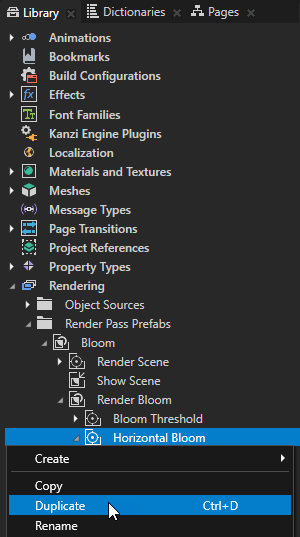
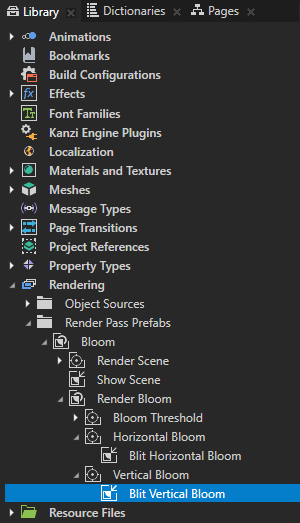
In the Library, duplicate the Horizontal Bloom render pass and rename the new render pass to Vertical Bloom.
You use this render pass to apply the blur in the vertical direction.
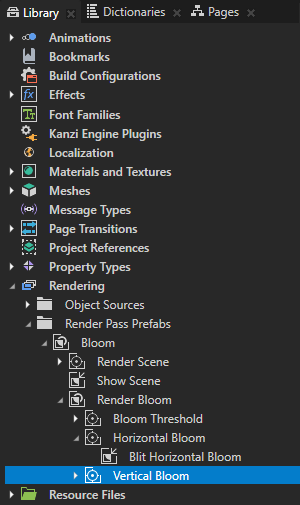
In the Library, select the Vertical Bloom > Blit Horizontal Bloom render pass. In the Properties:
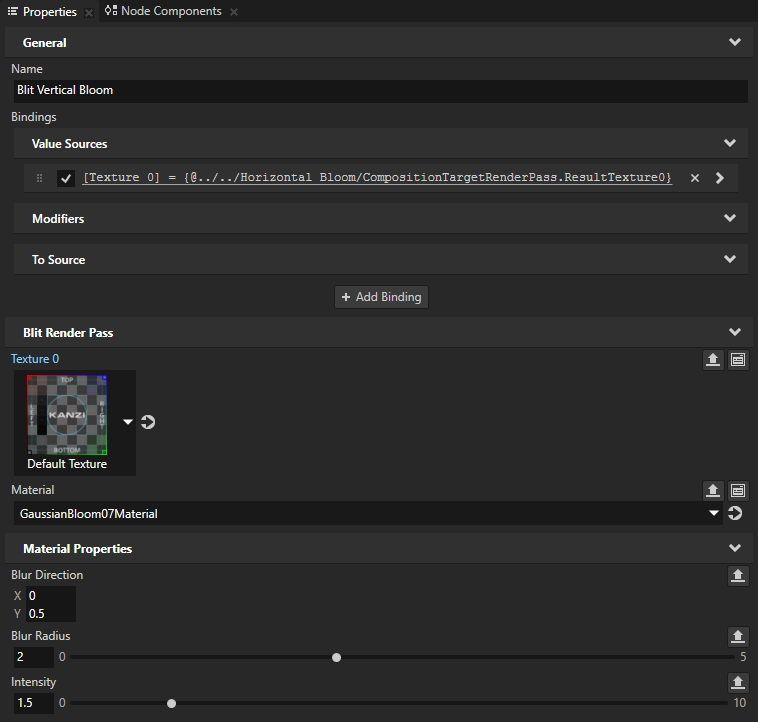
Set the Name property to Blit Vertical Bloom.
Click the binding that binds the Texture 0 property and in the Binding Editor, set the Expression to
{@../../Horizontal Bloom/CompositionTargetRenderPass.ResultTexture0}
Click Save.
Set the Blur Direction:
X property field to 0
Y property field to 0.5
This way, you apply the blur effect in the vertical direction.
You use the value 0.5 because you divided the resolution of the Horizontal Bloom render pass by 2. This way, you create a symmetrical blur effect.
You use this render pass to draw the Horizontal Bloom render pass using the GaussianBloom07Material material to apply to the Car node the bloom effect with Gaussian blur in the vertical direction.
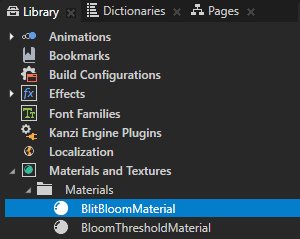
Add the material that you use to combine several passes of the bloom effect:
Load the
<KanziWorkspace>/Tutorials/Bloom/Assets/Combine.kzmatmaterial type.Kanzi Studio adds the Combine material type and creates the CombineMaterial material, which supports rendering four textures and defining a multiplication factor for each of them.
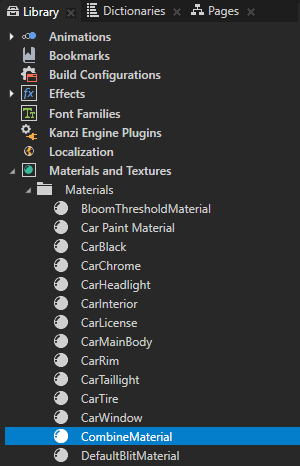
In the Library > Materials and Textures > Materials, select the CombineMaterial. In the Properties, set the Texture 0, Texture 1, Texture 2, and Texture 3 properties to < No Texture >.

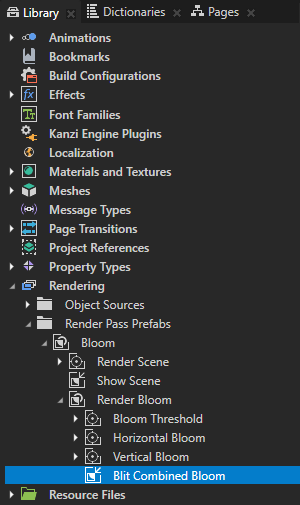
In the Library > Rendering > Render Pass Prefabs > Bloom > Render Bloom, create a Blit Render Pass, name it Blit Combined Bloom, and:
From the Library, drag the Vertical Bloom render pass to the Properties window, and drop it on the Texture 0 property of the Blit Combined Bloom render pass.
In the Properties, set Material to CombineMaterial.
You use this render pass to draw the Vertical Bloom render pass to the screen using the CombineMaterial. In the next step of this tutorial, you apply the bloom effect three more times and use this render pass to combine the outputs of all four passes.

Show the car with the headlights turned on
In this section, you create the render passes and material that you need to show the car with the headlights turned on.
To show the car with the headlights turned on:
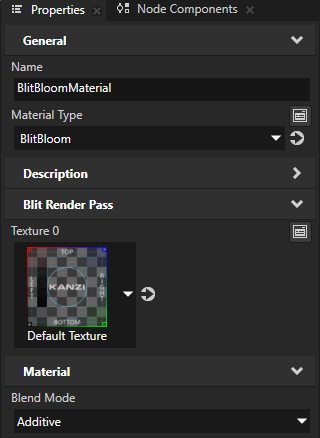
Create a material that supports blending the bloom effect with the normally rendered scene:
Load the
<KanziWorkspace>/Tutorials/Bloom/Assets/BlitBloom.kzmatmaterial type.Kanzi Studio adds the BlitBloom material type and creates the BlitBloomMaterial material, which supports blending the bloom effect with the normally rendered scene and setting the color of the bloom effect.
In the Library > Materials and Textures > Materials, select the BlitBloomMaterial. In the Properties, set the Blend Mode property to Additive.
You set the Blend Mode to Additive because to show the bloom effect, you want to add its pixel values to those of the normally rendered scene.
Show the scene with the bloom effect:
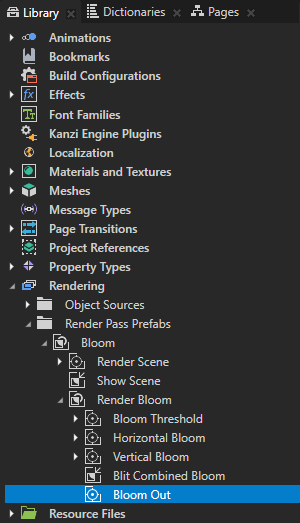
In the Library > Rendering > Render Pass Prefabs > Bloom > Render Bloom, create a Composition Target Render Pass and name it Bloom Out. Drag the Blit Combined Bloom render pass to the Bloom Out render pass.
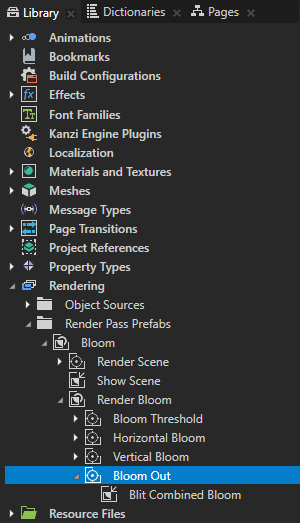
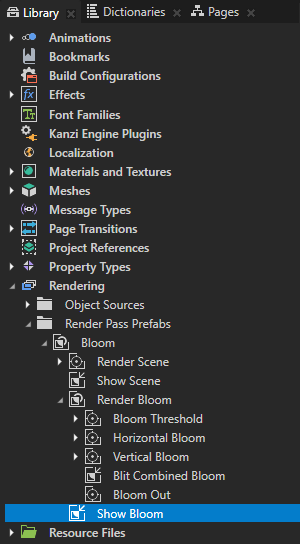
In the Library in the Bloom render pass prefab, create a Blit Render Pass, name it Show Bloom, and:
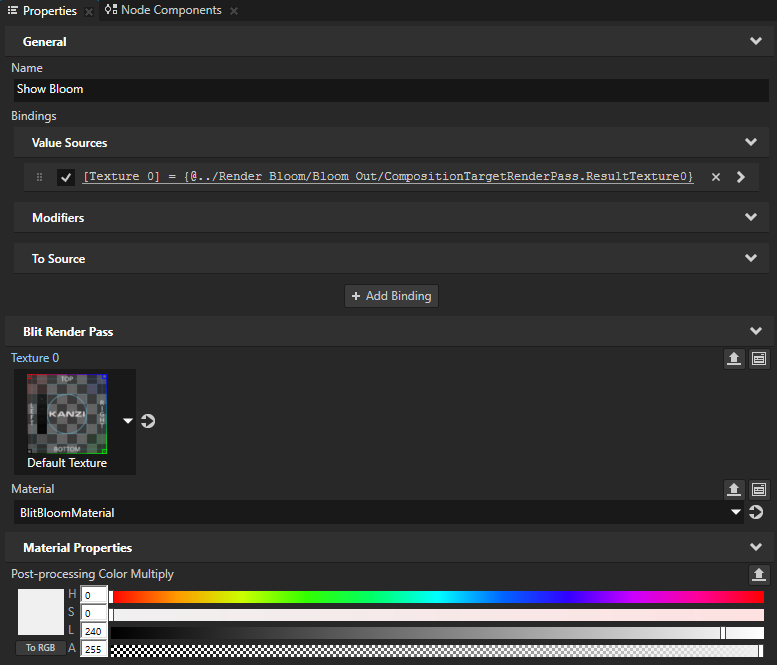
From the Library, drag the Bloom Out render pass to the Properties window, and drop it on the Texture 0 property of the Show Bloom render pass.
In the Properties, add and set:
Material to BlitBloomMaterial
Material Properties > Post-processing Color Multiply property Lightness (L) property field to 240
This way you, set the brightness of the bloom effect.
You use this render pass to draw the Bloom Out render pass using the BlitBloomMaterial material to show the bloom effect.
See also
To learn more about the render passes in Kanzi, see Rendering.
To learn more about materials and material types, see Material types and materials.