Layout example
This example shows how to dynamically create a contact list using the Kanzi Engine API. The layout and prefabs that set the structure of the contact items are defined in the Kanzi Studio project. The project uses the Kanzi Engine API to instantiate the prefabs. Build and run the example application using Visual Studio.
You can find the example in the <KanziWorkspace>/Examples/Layout.
In the Kanzi Studio project:
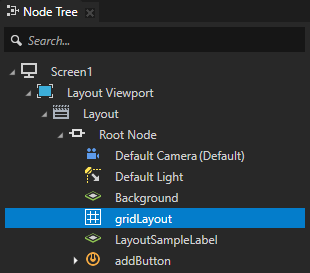
gridLayout node arranges the contact items.
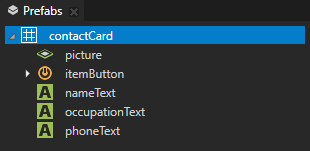
contactCard prefab defines the structure for each contact item.
Running the example
To run the example:
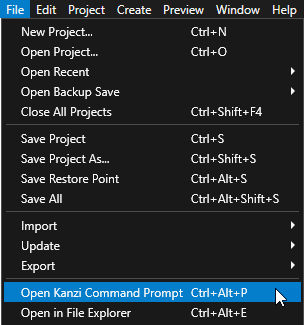
In Kanzi Studio, select File > Open Kanzi Command Prompt.
The Kanzi Command Prompt opens the Windows Command Prompt with the Kanzi environment variables set for the version of Kanzi for which you open a Kanzi Command Prompt.
Use the Kanzi Command Prompt to access Kanzi utilities and build tools, such as Gradle, SCons, and CMake, without using absolute paths or setting environment variables.
Tip
You can find the Kanzi Command Prompt in the Windows Start Menu in the Rightware directory.
When you have more than one version of Kanzi installed, make sure that you launch a Kanzi Command Prompt for the version of Kanzi with which you want to work in that command prompt.
In the Kanzi Command Prompt in the
<KanziWorkspace>/Examples/Layout/Applicationdirectory run the script that generates a Visual Studio solution for the example application.For example, if you use Visual Studio 2019, run
generate_cmake_vs2019_solution.bat
This script generates a Visual Studio solution for the application in the directory
<KanziWorkspace>/Examples/Layout/Application/build_vs2019.In Visual Studio open the
<KanziWorkspace>/Examples/Layout/Application/build_vs<Version>/Layout.slnVisual Studio solution.In Visual Studio in the Solution Explorer right-click the
Layoutproject and select Set as StartUp Project.Select the solution configuration that you want to use and run your application.
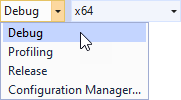
During development, select the Debug configuration. When you are ready to create a version for production, select the Release configuration.