Customizing instances of prefabs
When you customize an instance of a prefab, you modify property values of that prefab instance, but keep the structure of the prefab.
In Kanzi, these types of prefabs are available:
Use node prefabs (prefabricated templates) to structure your application and to create consistent interfaces. Prefabs allow you to create the building blocks of your application and make the application easier to maintain.
See Using node prefabs.
Use render pass prefabs to create render pass trees that define how Kanzi renders 3D content in your project.
See Using render passes.
Use effects to apply post-processing effects to 2D nodes.
See Effects for 2D nodes.
Customizing instances of a node prefab
A node prefab can contain a tree of nodes, each with their own properties. When you edit the nodes in a prefab or any of its instances in a project, you change those nodes in all instances of that prefab. You can customize each instance of a prefab to have its own property values by overriding the property values of the prefab. For example, when you create a prefab for an address book entry, you want to show a different name, number, and photo for each address book entry.
To customize instances of a node prefab:
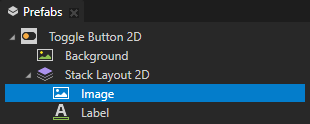
In the Prefabs select the node in a prefab that you want to customize in an instance of that prefab.
For example, to use a different texture for each instance of a prefab, select an Image node.
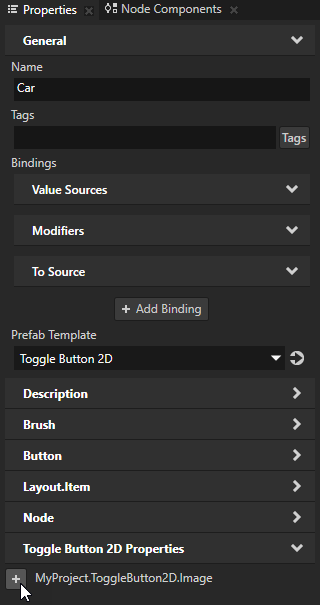
In the Properties, next to the property that you want to customize, click
 .
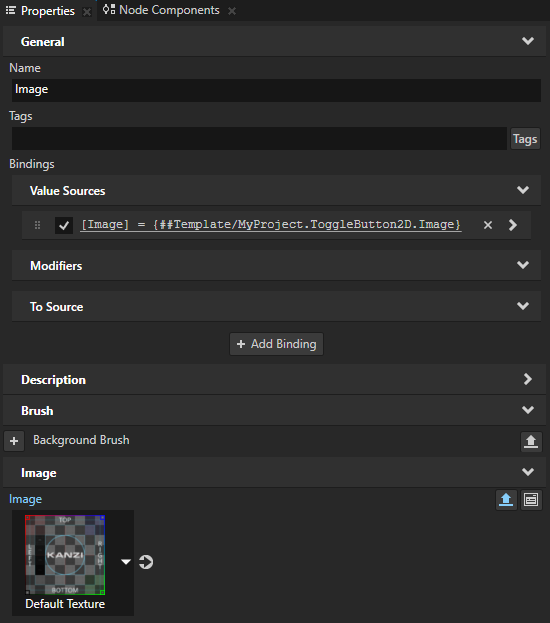
.Kanzi Studio creates from that property a custom property, adds it to the root node of that prefab, and creates a
##Templatebinding to the property in the root node of that prefab.See Prefab root bindings.
For example, to customize the texture that you want to show in different instances of that prefab, click
next to the Image property. Kanzi Studio creates a custom Image property, adds it to the root node of that node prefab, and creates in the Image node a ##Templatebinding to the custom Image property in the root node of that node prefab.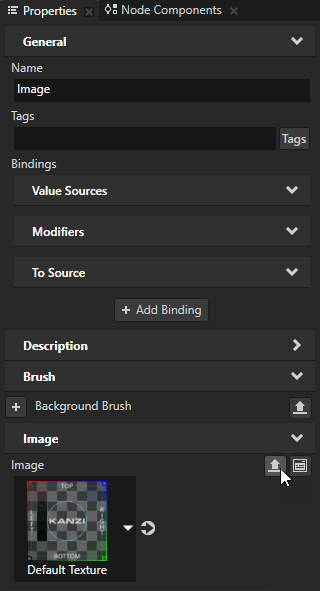
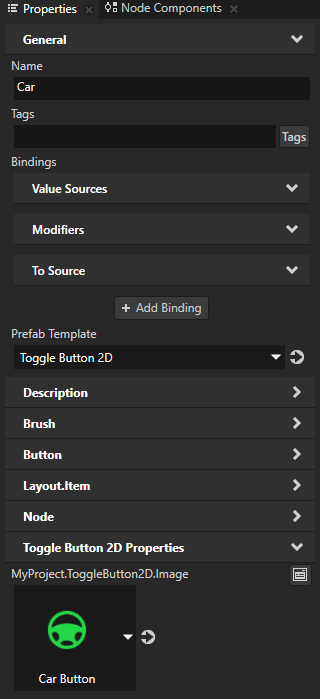
In the Node Tree select the root node of the prefab instance that you want to customize.
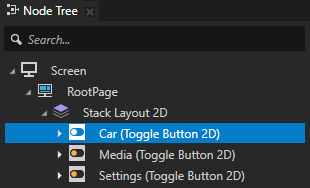
In the Properties click
 next to the property that you customized and set the value of the property.
Only this instance of the prefab uses the value that you set.
Customizing instances of a render pass prefab
A render pass can contain a hierarchy of render passes, each with their own properties. When you edit the render passes, you change how those render passes render content in all Viewport 2D nodes that use them. You can customize individual instances of a render passes to have individual values by overriding the values in the default render pass. For example, when you create a hierarchy of render passes that blits a composition target to the screen, you can blit the content using a different material in different instances of the render passes.
To customize instances of render passes:
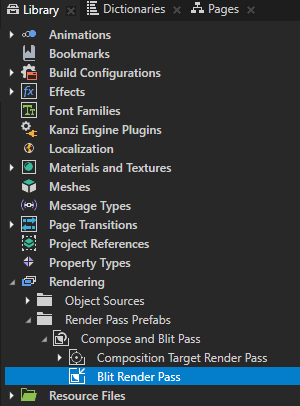
In the Library > Rendering > Render Pass Prefabs select the render pass that you want to customize.
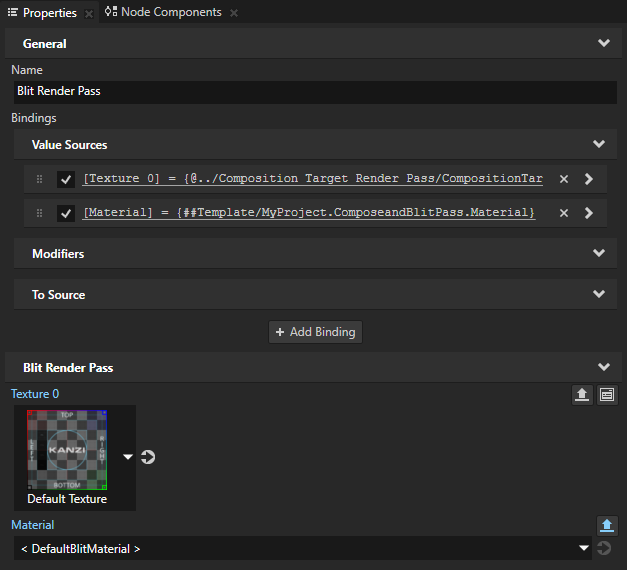
For example, to customize the material that you use to blit a composition target to the screen, in a Compose and Blit Pass render pass prefab, which renders content to a composition target and blits the result to the screen, select the Blit Render Pass. See Rendering content to composition targets.
In the Properties, next to the property that you want to customize, click
.Kanzi Studio creates from that property a custom property, adds it to the root of the render pass prefab, and creates a
##Templatebinding to the property in the render pass prefab root. See Prefab root bindings.For example, to customize the material which you use to blit the composition target to the screen, click
next to the Material property. Kanzi Studio adds the Material property to the Compose and Blit Pass render pass prefab and creates in the Blit Render Pass a ##Templatebinding to the Material property in that Compose and Blit Pass.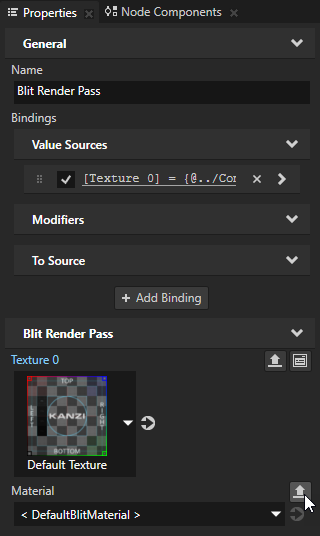
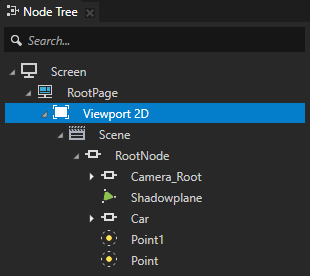
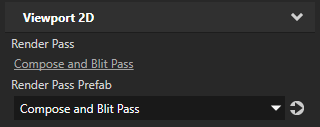
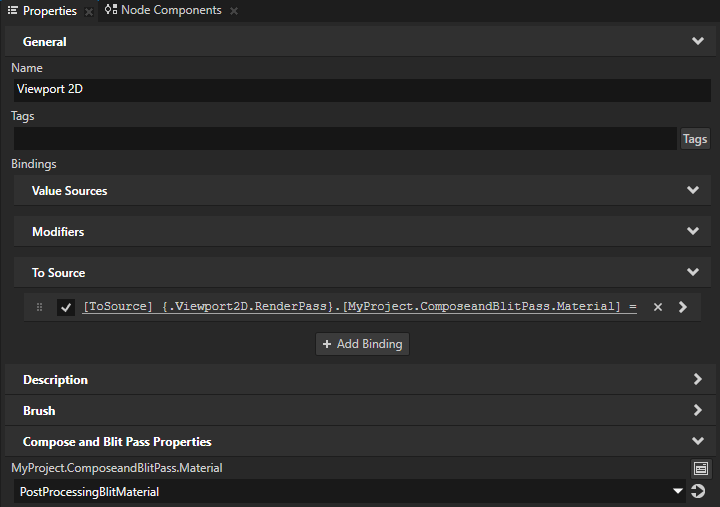
In the Node Tree or Prefabs select a Viewport 2D node and in the Properties set the Render Pass Prefab property to the render pass prefab that you customized.
When you set a Viewport 2D node or prefab to use a render pass prefab, Kanzi Studio shows in that Viewport 2D node the properties of that render pass prefab as frequently used properties.
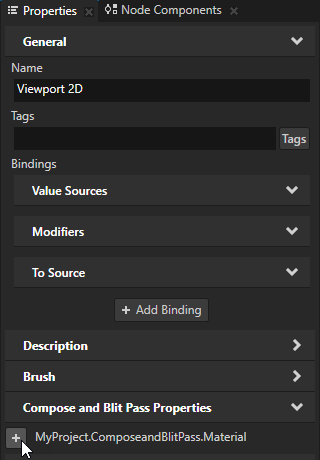
In the Properties click
next to the property that you customized and set the value of the property.Kanzi Studio adds to the Viewport 2D node a to-source binding which pushes the value of that property to the render pass prefab instance made available through the
Viewport2D::RenderPassPropertyproperty of the Viewport 2D node.You can set multiple Viewport 2D nodes to use the same render pass prefab and in each Viewport 2D node you can add and set the render pass prefab property to have different values.
Tip
When you want to remove from a node a property and its To Source binding, right-click that property and select Remove Property And Binding.
Customizing instances of a 2D effect prefab
When you edit the properties of an effect in the Library > Effects, you change the appearance of that effect for all nodes that use it. You can customize each effect instance by overriding the effect property values. For example:
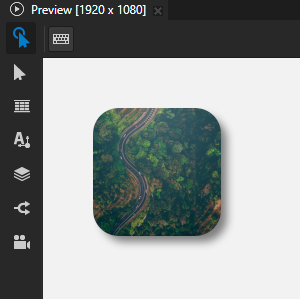
When you create a Shadow Effect 2D effect, you can vary the softness of the shadow in different instances of that effect.
When you create a Mask Effect 2D effect, you can vary the size of the mask in different instances of that effect.
When you create a Blur Effect 2D effect, you can vary the amount of blur in different instances of that effect.
When you create an Outline Effect 2D effect, you can vary the color of the outline in different instances of that effect.
To customize an instance of an effect:
Create an effect and set a node to use it.
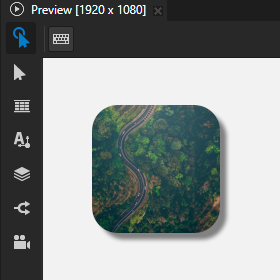
For example, create a Shadow Effect 2D effect and set an Image node to use it. See Creating a shadow effect for a 2D node.
Customize a property in the effect:
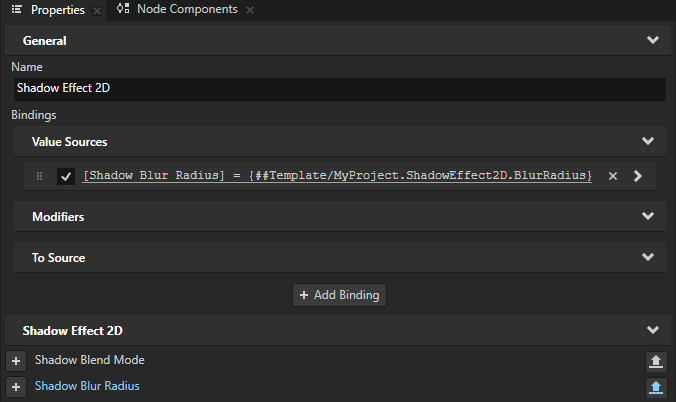
In the Library, select the effect that you created. In the Properties, next to the property that you want to customize, click
.Kanzi Studio creates from that property a custom property, adds it to the root of the effect prefab, and creates a
##Templatebinding to the property in the 2D effect.For example, click
next to Shadow Blur Radius property. Kanzi Studio creates a custom Shadow Blur Radius property, adds it to the root effect prefab, and creates in the Shadow Effect 2D effect prefab a ##Templatebinding to the custom Shadow Blur Radius property.
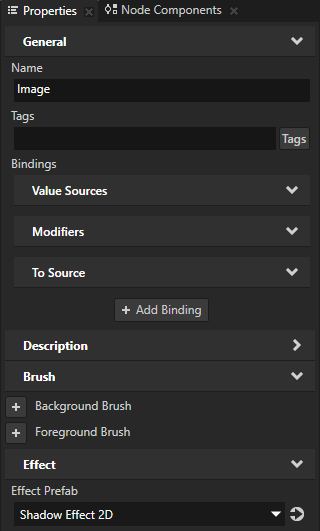
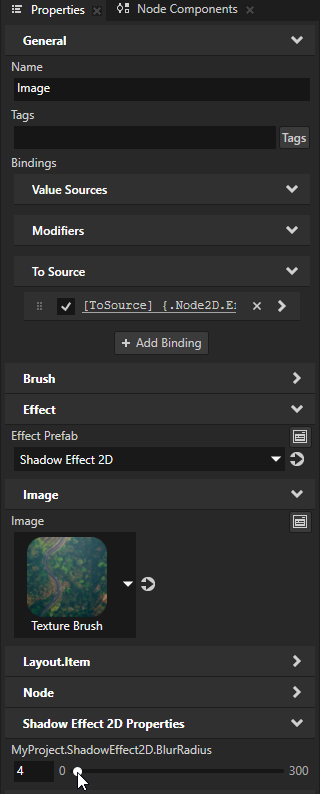
In the Node Tree or Prefabs, select the 2D node that uses the effect that you created. In the Properties, click
next to the property that you customized and set the value of the property.Kanzi Studio adds to the 2D node a To Source binding which pushes the value of that property to the effect instance made available through the
Node2D.Effectproperty of the node.You can set multiple 2D nodes to use the same effect and in each 2D node, you can add and set the property to have different values.
For example, in the Properties, add the Shadow Effect 2D Properties > ShadowEffect2D.BlurRadius property and use it to adjust the softness of the shadow only in the Image node.
(Optional) Repeat the previous step for each effect property that you want to customize.
Tip
When you want to remove from a node a property and its To Source binding, right-click that property and select Remove Property And Binding.