Step 1 - Import content and create the background
In this step you first create a new project in Kanzi Studio, import the content to your project, and define the background for the scene of your project. You start working with material types, materials, and textures in the next step.
Assets for the tutorial
The assets that you use in this tutorial are stored in the <KanziWorkspace>/Tutorials/Materials and textures/Assets directory:
Assets/3DAssets/Car.fbxcontains a 3D model of a car.Assets/Textures/Car/CarBody.pngis a texture for the car body.Assets/Textures/Car/CarRim.pngis a texture for the rims.Assets/Textures/Car/CarTire.pngis a texture for the tires.Assets/Textures/Car/RenderMap.pngis a render map for the car.Assets/Textures/Cubemapdirectory contains the images for the six faces of the cubemap texture.
You can find the completed tutorial in the <KanziWorkspace>/Tutorials/Materials and textures/Completed directory.
Create a new Kanzi Studio project and import content
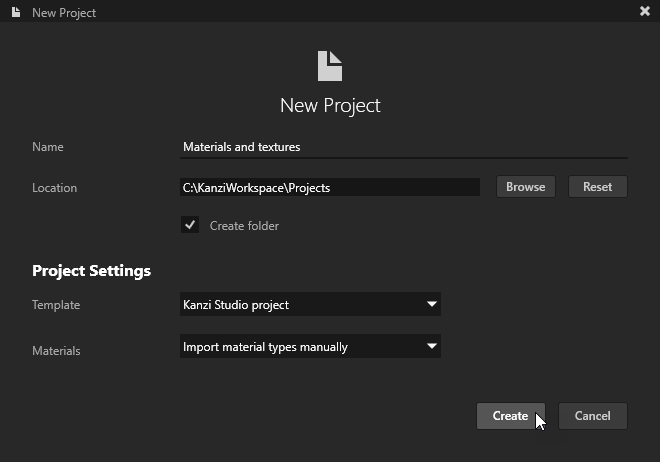
In the Kanzi Studio Quick Start window click New Project:
Name your project.
Set the Template to Kanzi Studio project.
Set the Materials to Import material types manually.
Leave all other settings as they are and click Create.
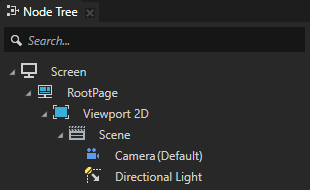
In the Node Tree window you can see the structure of your project.
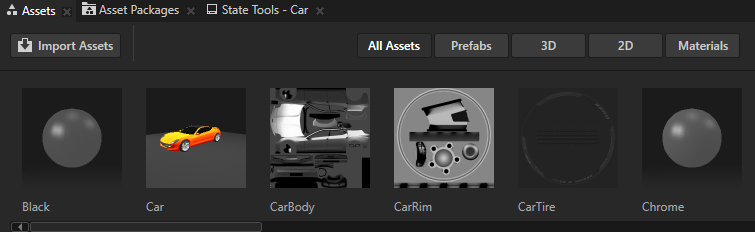
In the Assets window located in the bottom part of the Kanzi Studio interface click Import Assets.

Go to
<KanziWorkspace>/Tutorials/Materials and textures/Assetsand import the contents of the3DAssetsandTexturesdirectories.Kanzi Studio imports the assets and shows them in the Assets window.
When you import 3D assets, Kanzi Studio creates for each 3D asset:
In the Prefabs a Scene prefab for each scene in the imported file.
Kanzi Studio names each Scene prefab after the imported file. When you import a glTF file that contains multiple scenes, Kanzi Studio appends to the name of each Scene prefab the name of the scene.
In each Scene prefab Kanzi Studio creates the scene hierarchy from the imported file and places the assets from the imported file into that prefab.
In the Library Kanzi Studio places all resources from the imported file, such as Meshes, Splines, Animations, and Materials.
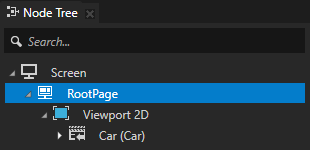
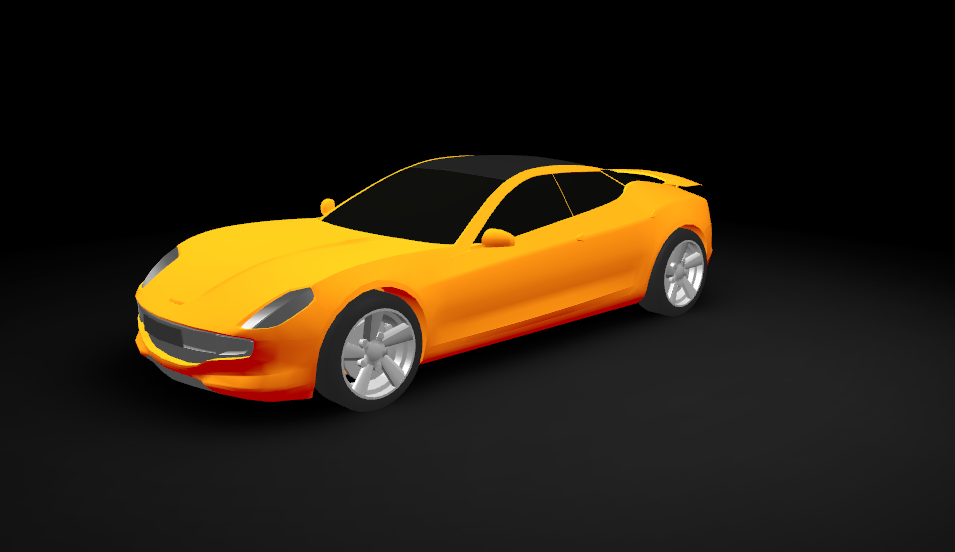
From the Prefabs window drag the Car scene to the Node Tree window and drop it on the Viewport 2D node. This way you make the content that you imported visible in the Preview.
When asked whether you want to delete the existing Viewport 2D scene, click Yes.


You can now see the imported content in the Preview.

Create the background and the floor below the car
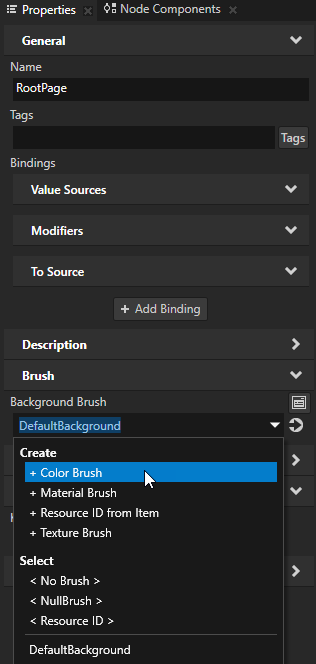
In the Node Tree select the RootPage, in the Properties set the Background Brush property to + Color Brush.
Kanzi Studio creates a color brush and sets the Background Brush property of the RootPage to use that color brush.
Tip
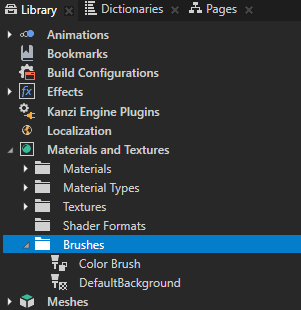
You can find the list of all brushes in a project in the Library > Materials and Textures > Brushes.
Click
 next to the Background Brush property and set the color to black.
Tip
In the Properties click
next to a property to access and edit the resource to which the property points without moving away from the currently selected node.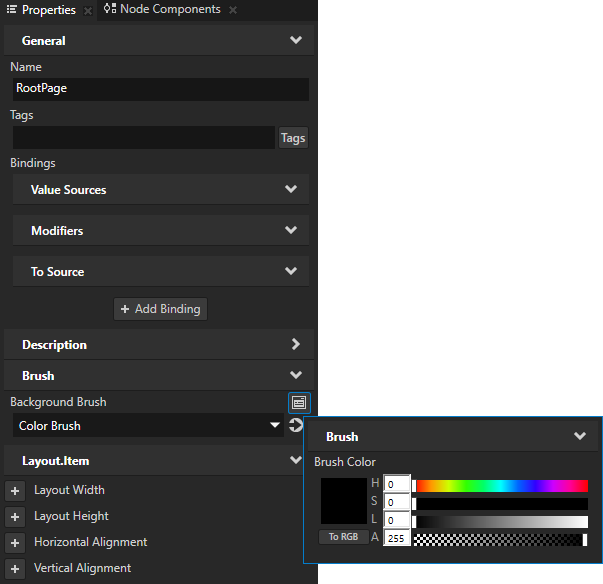
In the Library > Materials and Textures press Alt and right-click Material Types, and select VertexPhongTextured.
You can use the VertexPhongTextured material type for all materials in which you want to use textures.

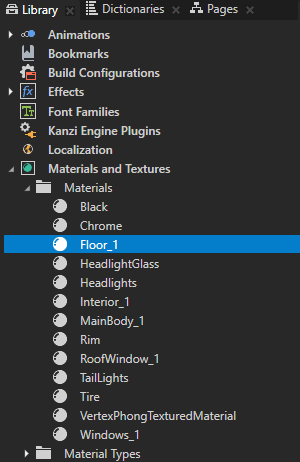
In the Library > Materials and Textures > Materials select the Floor_1 material, and in the Properties set:
Material Type to VertexPhongTextured
Ambient Color property Lightness (L) property field to 150
Diffuse Color property Lightness (L) property field to 20
Texture to RenderMap
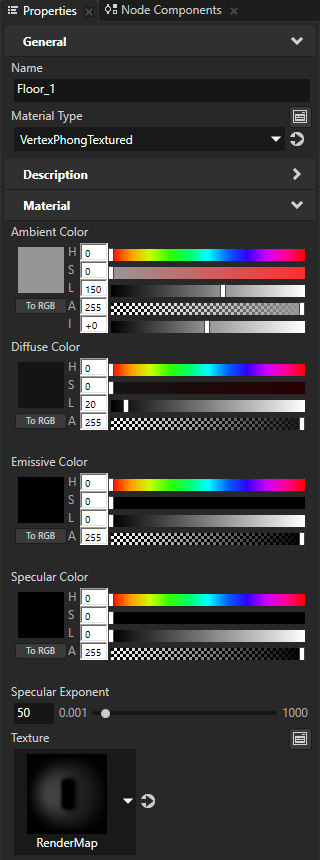
Floor_1 material defines the material that is used for the floor below the car. In this step you set the Floor_1 material to a material type that allows you to use textures, and applied a texture with the shadow of the car.
Tip
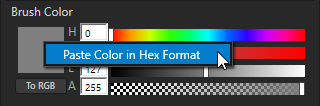
In Kanzi Studio, you can apply color in hexadecimal format to all properties that set a color:
Copy the hexadecimal code of a color to your clipboard.
In Kanzi Studio, in a color property, right-click the color swatch, and select Paste Color in Hex Format.
See also
To find out more about importing content to your projects, see Importing.
To find out more about brushes, see Using brushes.