Step 5 - Create the content for the Media screen
In this step, you create the content for the Media screen to show a list of albums in a list box. You first create a prefab template for an album item and then create a Trajectory List Box 3D node to enable users to browse the album items.
Create the prefab for the Media screen items
In this section, you create a prefab that defines the template for the items shown in the Media screen.
To create the prefab for the Media screen items:
In the Prefabs, create a Plane prefab and name it Item. In the Properties, set the Height property to 5.

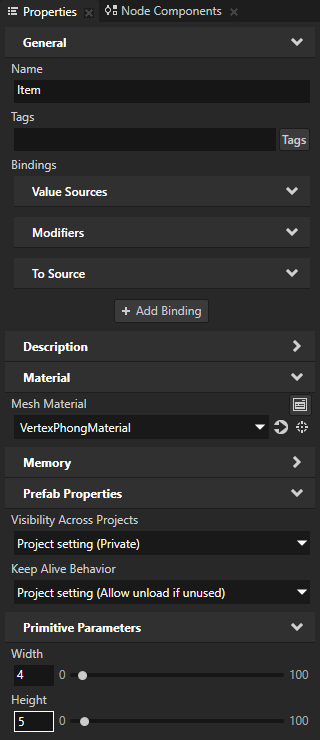
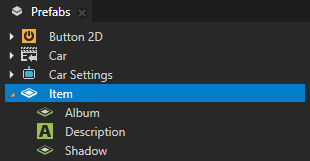
In the Prefabs, double-click the Item prefab to open it in its own Preview tab. In the Item prefab, create these nodes:
Plane and name it Album
Text Block 3D and name it Description
Plane and name it Shadow
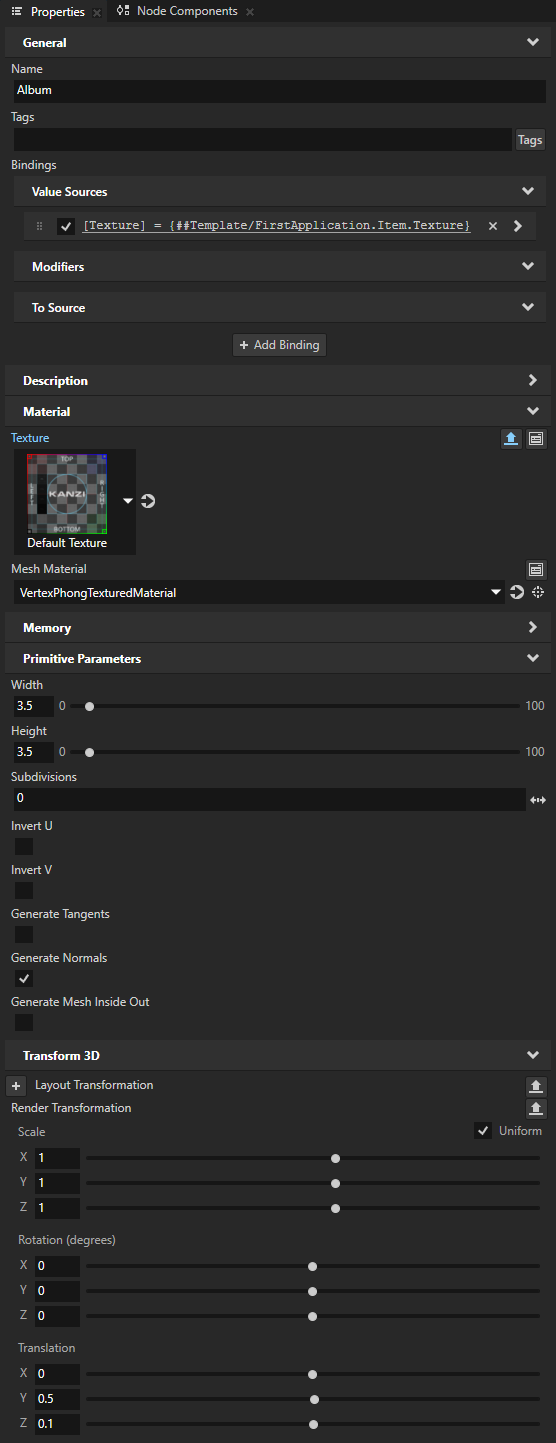
In the Prefabs, select the Item > Album node. In the Properties, add and set:
Mesh Material to VertexPhongTexturedMaterial
Width and Height to 3.5
Material > Texture and click

This enables you to display a different texture for each instance of the prefab.
Render Transformation property:
Translation Y property field to 0.5
Translation Z property field to 0.1
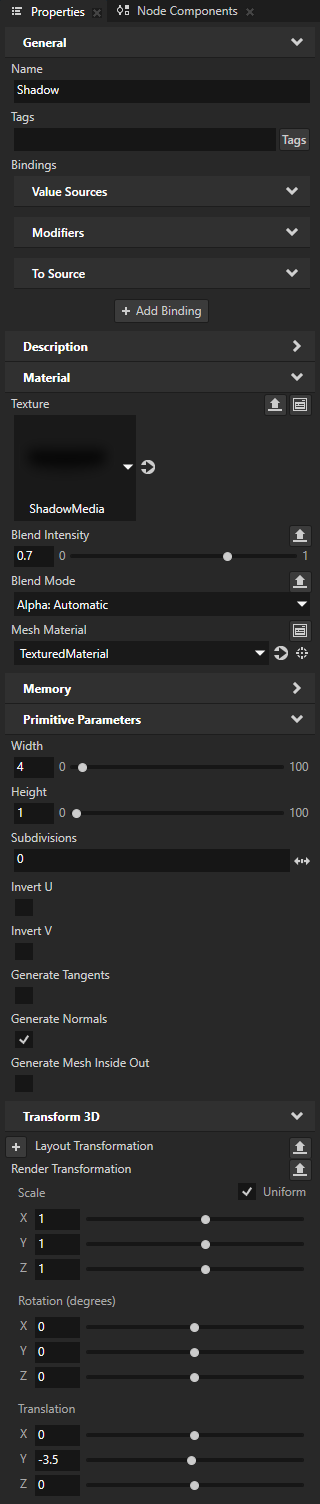
In the Prefabs, select the Item > Shadow node. In the Properties, add and set:
Mesh Material to TexturedMaterial
Height to 1
Render Transformation property Translation Y property field to -3.5
Material > Texture property to ShadowMedia
Material > Blend Mode to Alpha: Automatic
Material > Blend Intensity to 0.7

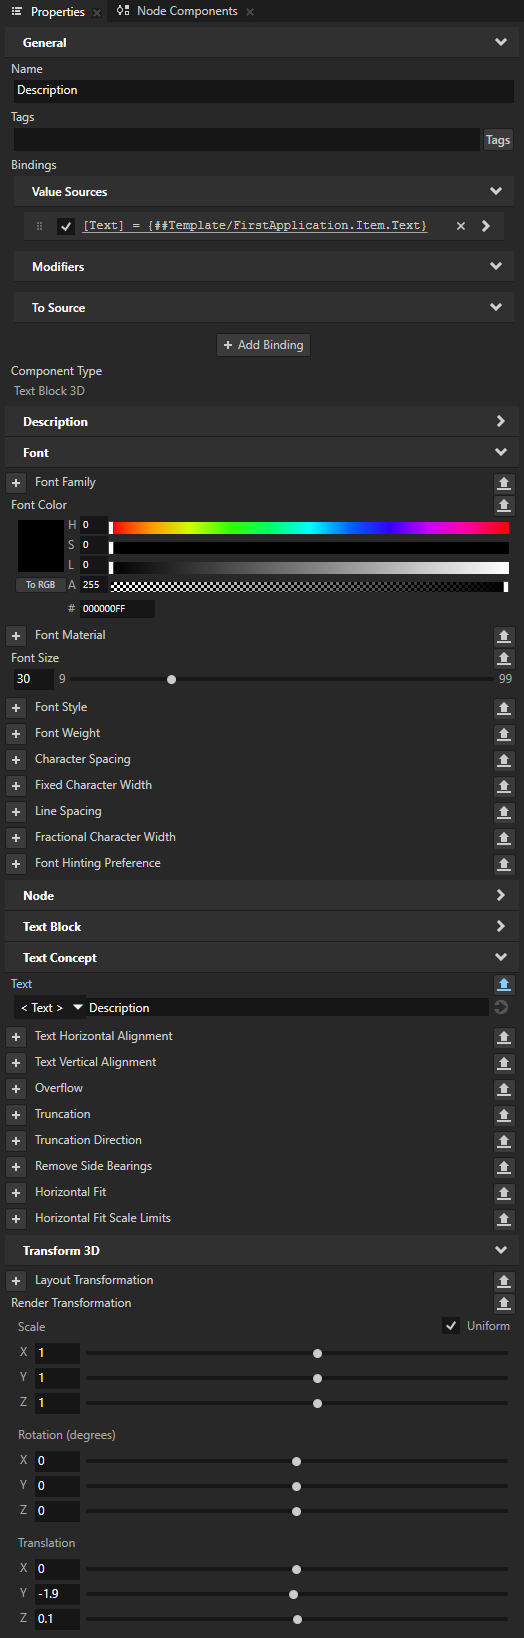
In the Prefabs, select the Item > Description node. In the Properties, add and set:
Font Color property Lightness (L) property field to 0
Font Size to 30
Text property and click
This enables you to display a different text for each instance of the prefab.
Render Transformation property:
Translation Y property field to -1.9
Translation Z property field to 0.1

Create the control to scroll media content
In this section, you create a Trajectory List Box 3D node that allows the users to scroll the media content.
To create the control to scroll media content:
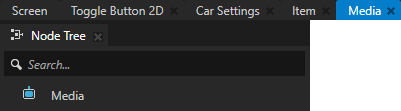
In the Prefabs, double-click the Media prefab to open it in its own Preview tab.
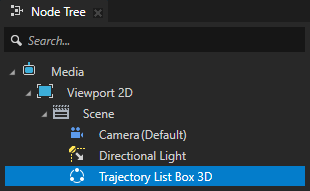
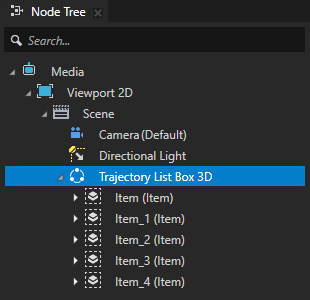
In the Node Tree > Media, create a Viewport 2D node, a Scene node, and a Trajectory List Box 3D node.
Use the Trajectory List Box 3D node to create scrollable lists of items arranged along a trajectory in 3D space.
Kanzi Studio creates and uses a circle trajectory by default. You can use an angle, arc, circle, ellipse, line, rectangle, spiral, spline, or a trapezoid trajectory. See Trajectories.
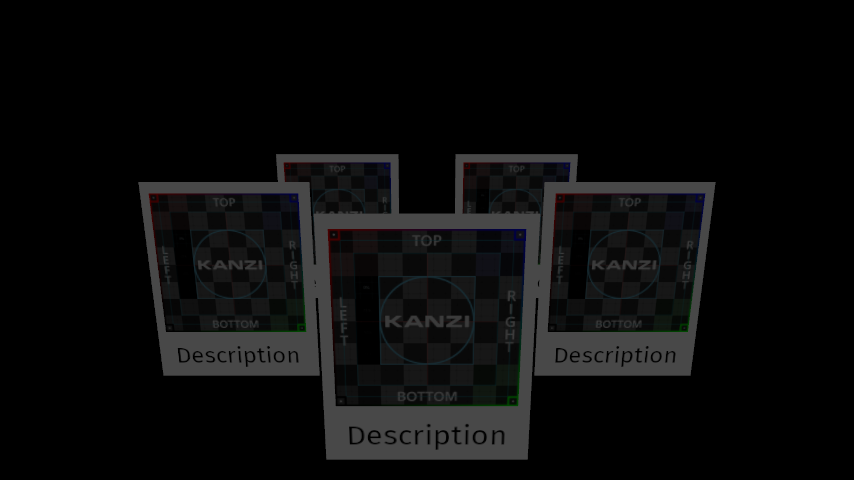
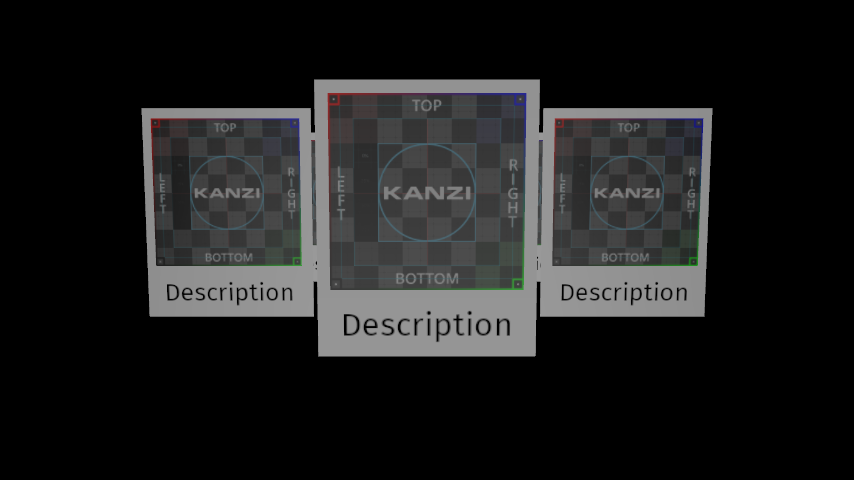
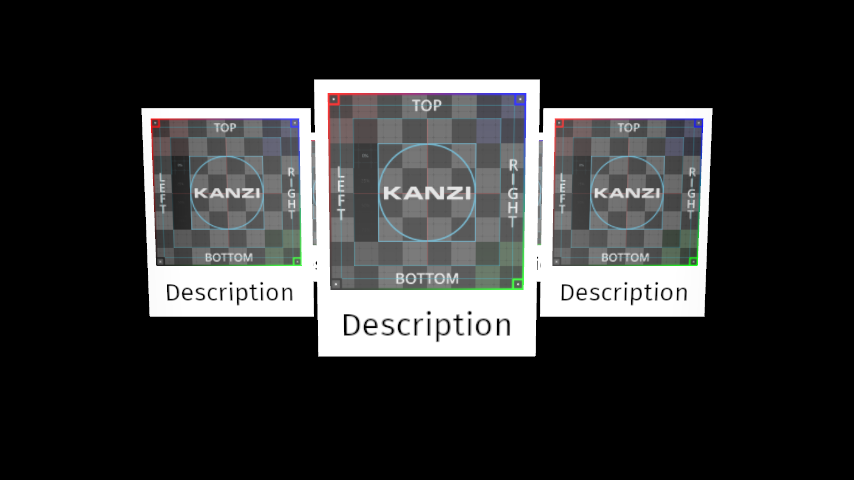
From the Prefabs, drag Item prefab several times to the Trajectory List Box 3D node.
In this tutorial, and when creating a prototype, you can add items to the Trajectory List Box 3D node manually by instantiating them in Kanzi Studio. When the number of items in a List Box node changes while the application is running, add the items to a List Box node using the Kanzi Engine API or data sources.
In the Node Tree, select the Trajectory List Box 3D node and in the Preview use the Node tool
 to rotate and position the Trajectory List Box 3D node in the center of the Media node.
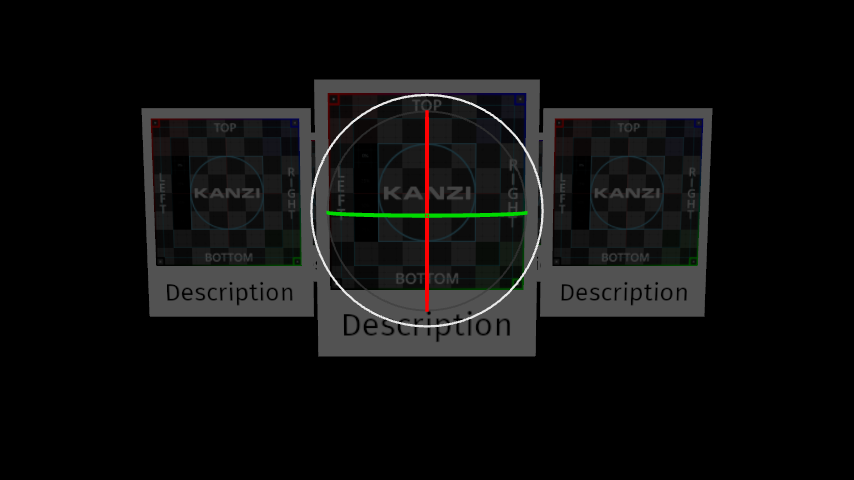
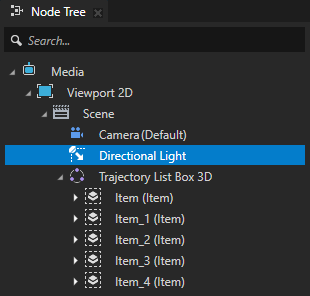
Adjust the scene lighting:
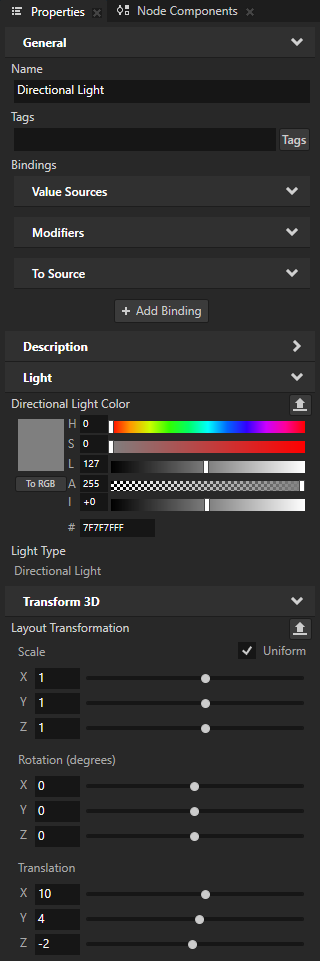
In the Node Tree, select the Media > Viewport 2D > Scene > Directional Light node. In the Properties, set the Layout Transformation property Rotation X and Rotation Y property fields to 0.
In the Node Tree, in the Scene node, create a Point Light node. In the Preview, use the Node tool
to move the Point Light in front of the front item in the Trajectory List Box 3D.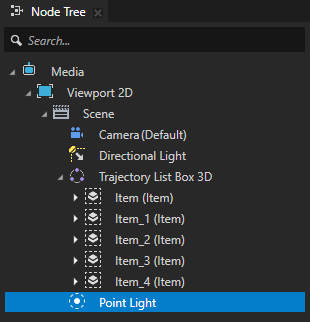
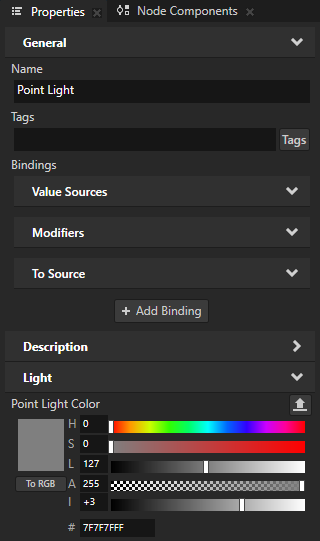
In the Properties, set the Point Light Color property Intensity (I) property field to +3.
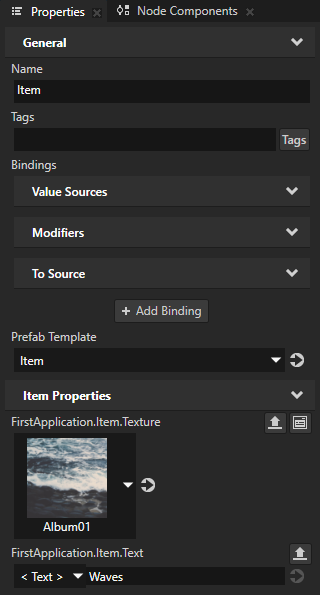
In the Node Tree, in the Trajectory List Box 3D node select each instance of the Item prefab. In the Properties, add and set:
FirstApplication.Item.Texture to one of the Album textures.
FirstApplication.Item.Text to the description of the that album.
Click the Screen tab under the main menu to show the entire application in the Preview.

See also
To find out more about working with the Trajectory List Box 3D, see Using the Trajectory List Box 3D node.
To find out more about the types of trajectories you can use, see Trajectories.