Step 2 - Create and modify content
In this step, you learn how to create and modify content in your Kanzi Studio project.
Create content
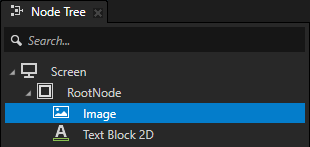
You create the structure of your Kanzi application in the Node Tree and Activity Browser windows. In this step, you create content in the Node Tree window.
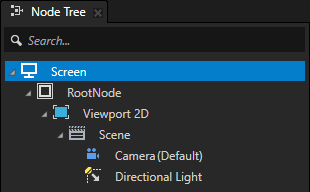
You can find the Node Tree window in the top-left side of the Kanzi Studio interface.
In the Node Tree window, the Screen contains the node tree of your application. When you start your Kanzi application on a device Kanzi loads into the device memory all nodes in the node tree.
The node tree is constructed from nodes that display content (for example, Image node) and implement logic (for example, Button 2D node). The same node tree supports 2D and 3D nodes and provides the means to connect them.
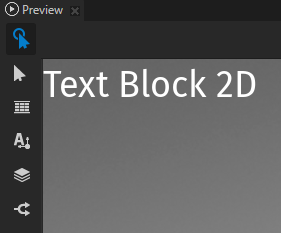
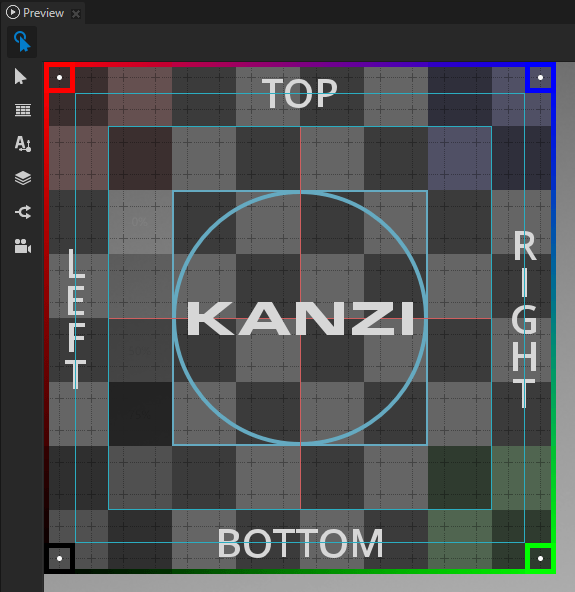
When you work on your project in Kanzi Studio you can see the content of the node tree in the Preview window.
To create content:
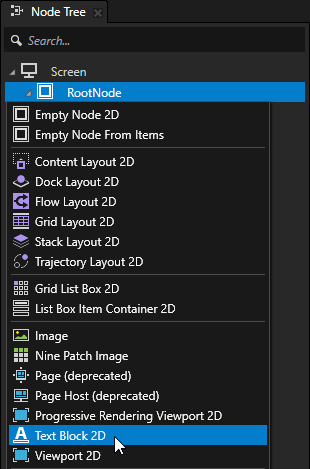
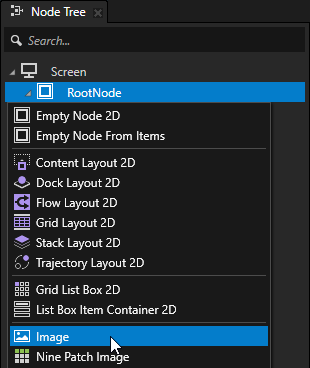
In the Node Tree window, press Alt and right-click the RootNode node and select Text Block 2D.
Tip
When you hold down the Alt key and right-click an item, you access the create menu that shows the types of items that you can create in the selected context.
Use the Text Block nodes to show a small amount of text in your application.
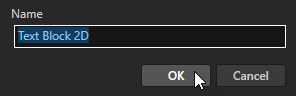
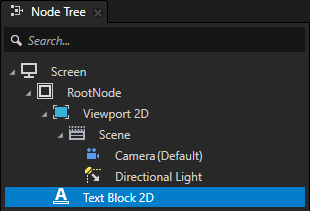
Name the node and click OK.
After you create a node in the node tree you can see that node in the Preview window.
Tip
When you want to rename a node, select it in the Node Tree window, press the F2 key, and enter a new name.
In the Node Tree window, press Alt and right-click the RootNode node and select Image.
Use the Image node to show a bitmap image.
In the Node Tree window, right-click the Viewport 2D node and select Delete.
Tip
Keep in the node tree only the nodes that you need to show at a particular state of your application. This way you make sure that your application does not use more resources than is necessary.
Move nodes in the node tree
The relationship between the nodes in the node tree is very important and defines how several Kanzi core technologies work. Rendering order, layout, property and resource inheritance, and input and message propagation all depend on the relationship between parent and child nodes in the node tree.
For example, the position of nodes in the node tree defines how Kanzi renders the content of your application. Kanzi uses the painter’s algorithm to render content: it renders the last node in the node tree on top of all the other nodes in the node tree.
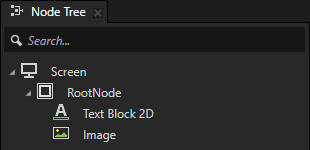
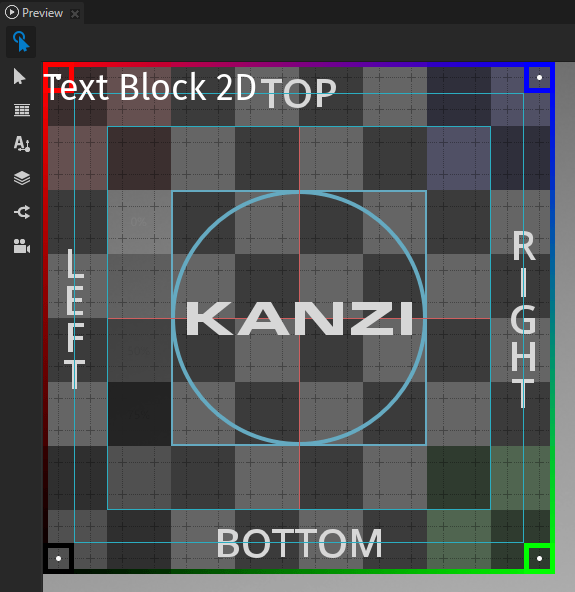
In the previous section, you first created in the RootNode node a Text Block 2D node and then an Image node. Because the Image node is in the node tree after the Text Block 2D node, and both nodes are positioned in the top-left corner of the RootNode node, the Image node covers the Text Block 2D node.
To move nodes in the node tree, in the Node Tree window:
Drag a node and drop it to its new position in the node tree.
Select a node, hold down the Ctrl key, and use the ↑ and ↓ keys to move the node up and down in the node tree.
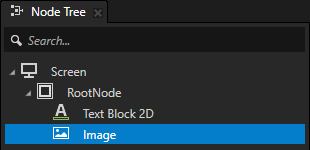
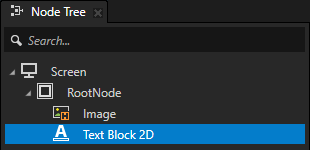
For example, select the Image node and move it above the Text Block 2D node.
Tip
To expand or collapse all elements under an item in any tree view, click the expander  while holding down Ctrl.
Modify content
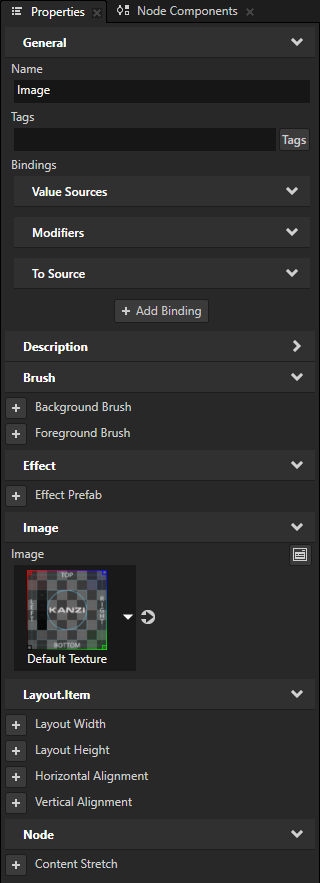
Properties define the characteristics of content in your Kanzi application. You can add, remove, and modify properties in the Properties window.
You can find the Properties window next to the Node Tree window.
To modify content:
In the Node Tree window, select the Image node and press the Ctrl H keys to hide the node in the Preview window.
An orange icon drawn on top of the node icon
 indicates that a node is hidden.
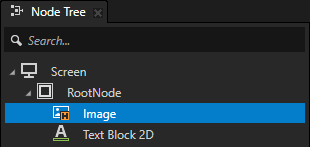
Tip
Hide a node when you want to see in the Preview window only the content that you want to focus on. To show a hidden node, select it in the Node Tree window and press the Ctrl H keys again.
In the Node Tree window, select the Text Block 2D node.
In the Properties window:
Click
 next to the Horizontal Alignment property to add that property to the node that you selected in the previous step.
Use the Horizontal Alignment property to align a node horizontally in relation to its parent node.

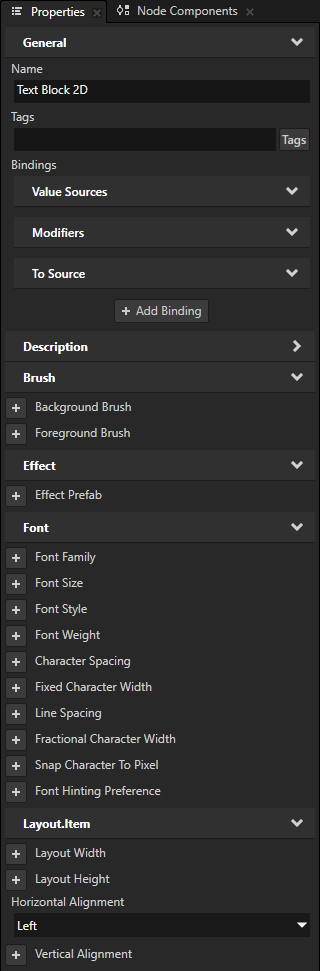
Set the Horizontal Alignment property to Center.
This way you place the Text Block 2D node to the center of the RootNode node, which is the parent node of the Text Block 2D node.
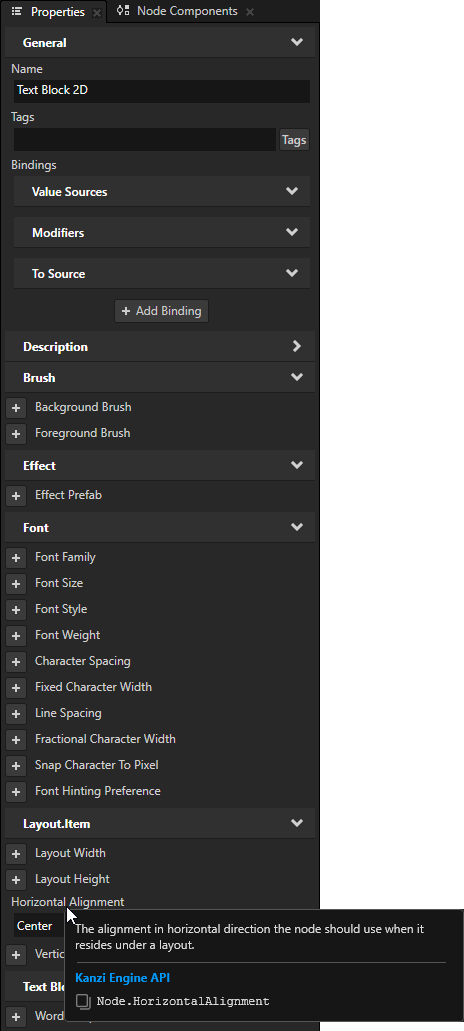
Tip
When you need a brief explanation on what a property does, in the Properties window move your mouse pointer over the name of that property.
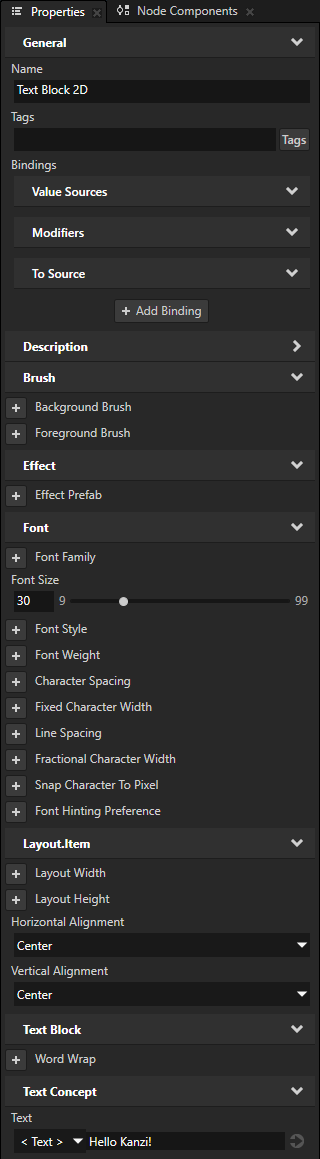
In the Properties window, add and set these properties:
Font Size to 30
Vertical Alignment to Center
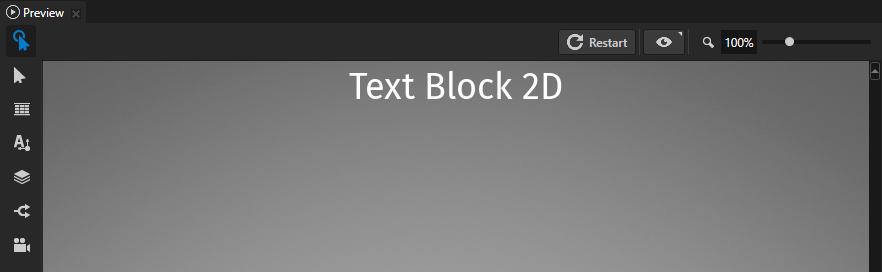
Text to Hello Kanzi!
Use the Text property to set the text you want the Text Block node to show.
This is what the Preview window shows when you complete this step.

Tip
You can add only the frequently used properties by clicking .
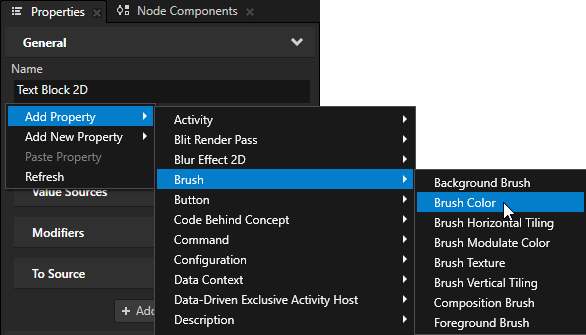
To add any other property:
In the Properties, right-click, select Add Property, and select the property that you want to add.
In the bottom-right corner of the Properties, click
 , in the search field enter the name of a property, and double-click the property that you want to add.
See also
To learn how to work with properties in Kanzi Studio, see Using properties in Kanzi Studio.
To learn more about the node tree and Kanzi nodes, see Presentation.
To learn more about prefabs, see Using node prefabs.
To learn more about properties, see Property system.