Using post-processing graphs
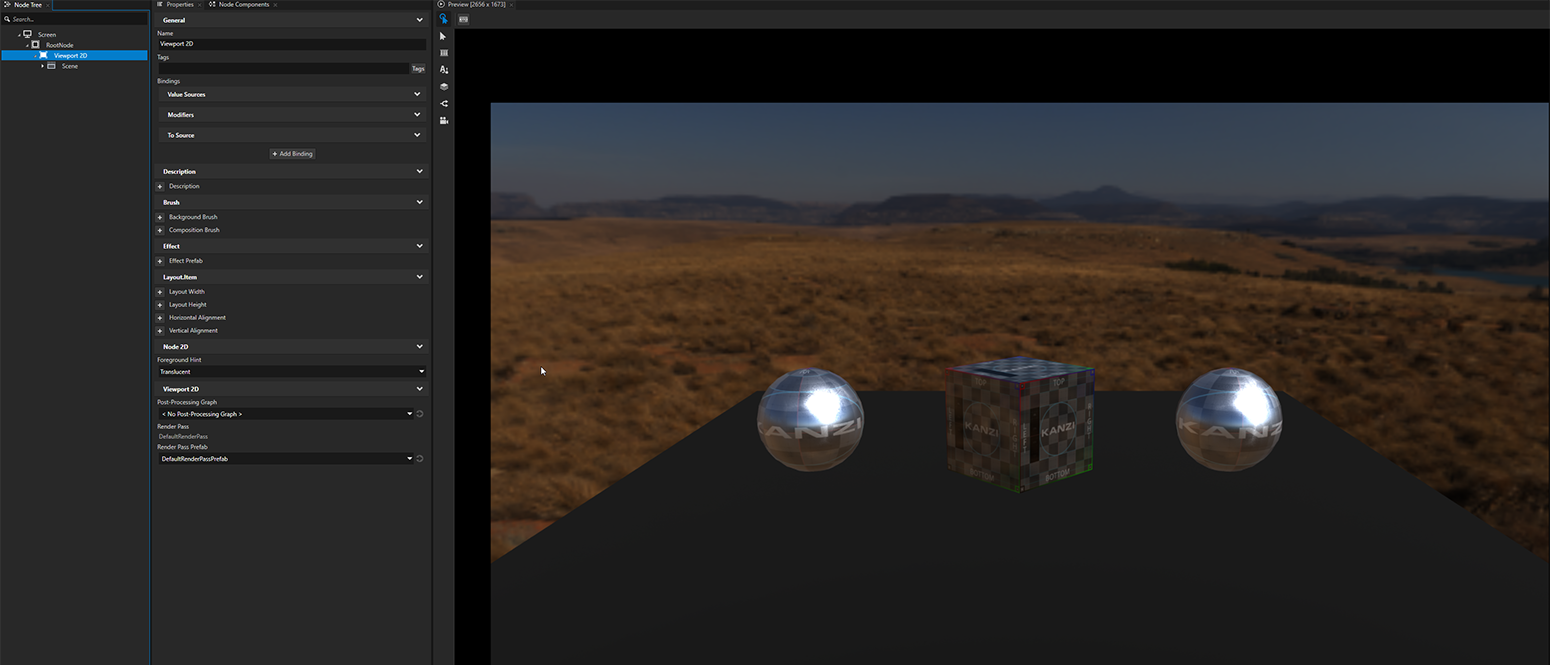
Use post-processing graphs to apply post-processing effects to your application. For example, use a post-processing graph to add a post-processing effect to a Viewport 2D node to apply color correction and bloom effects.
Getting Started
To create a post-processing graph:
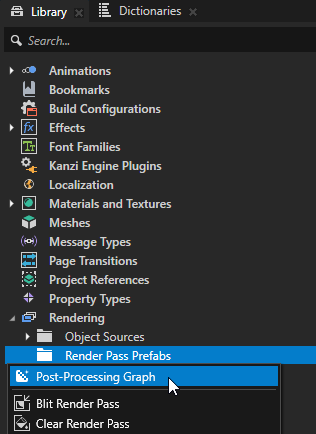
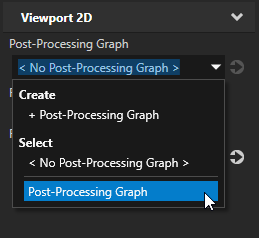
In the Library > Rendering, press Alt and right-click > Render Pass Prefabs, and select Post-Processing Graph.
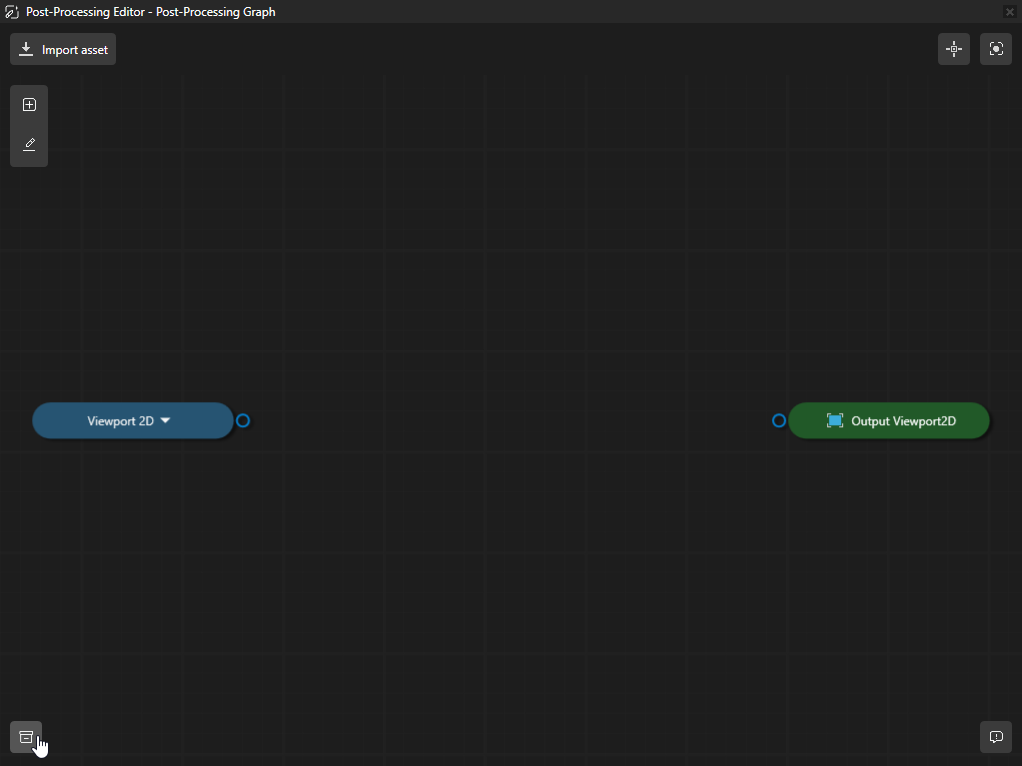
In the Library, double-click a Post-Processing Graph to open and edit the graph in the Post-Processing Editor.
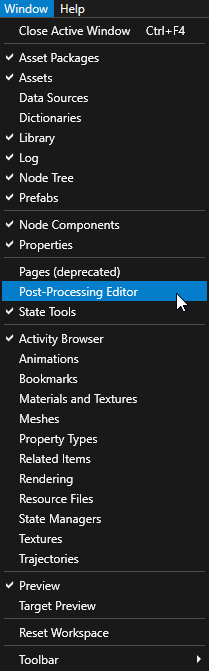
Alternatively use the Window-menu to select Post-Processing Editor to open the Post-Processing Editor in a separate window.
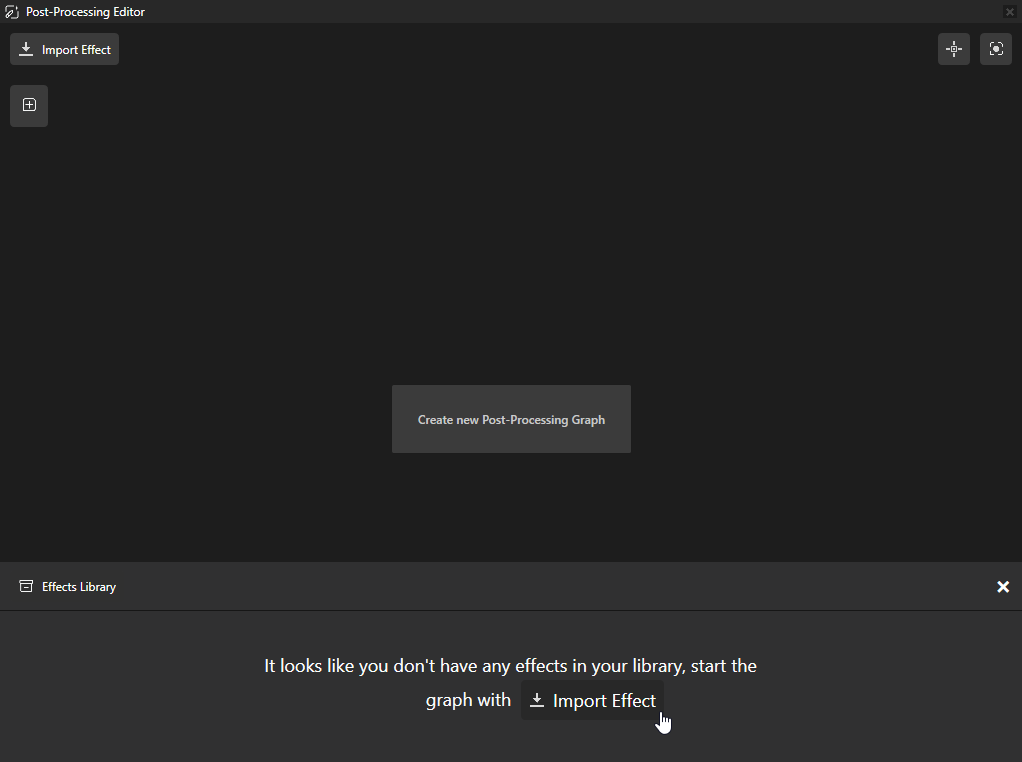
Importing Post-Processing Effects
To import an effect, open the Post-Processing Editor:
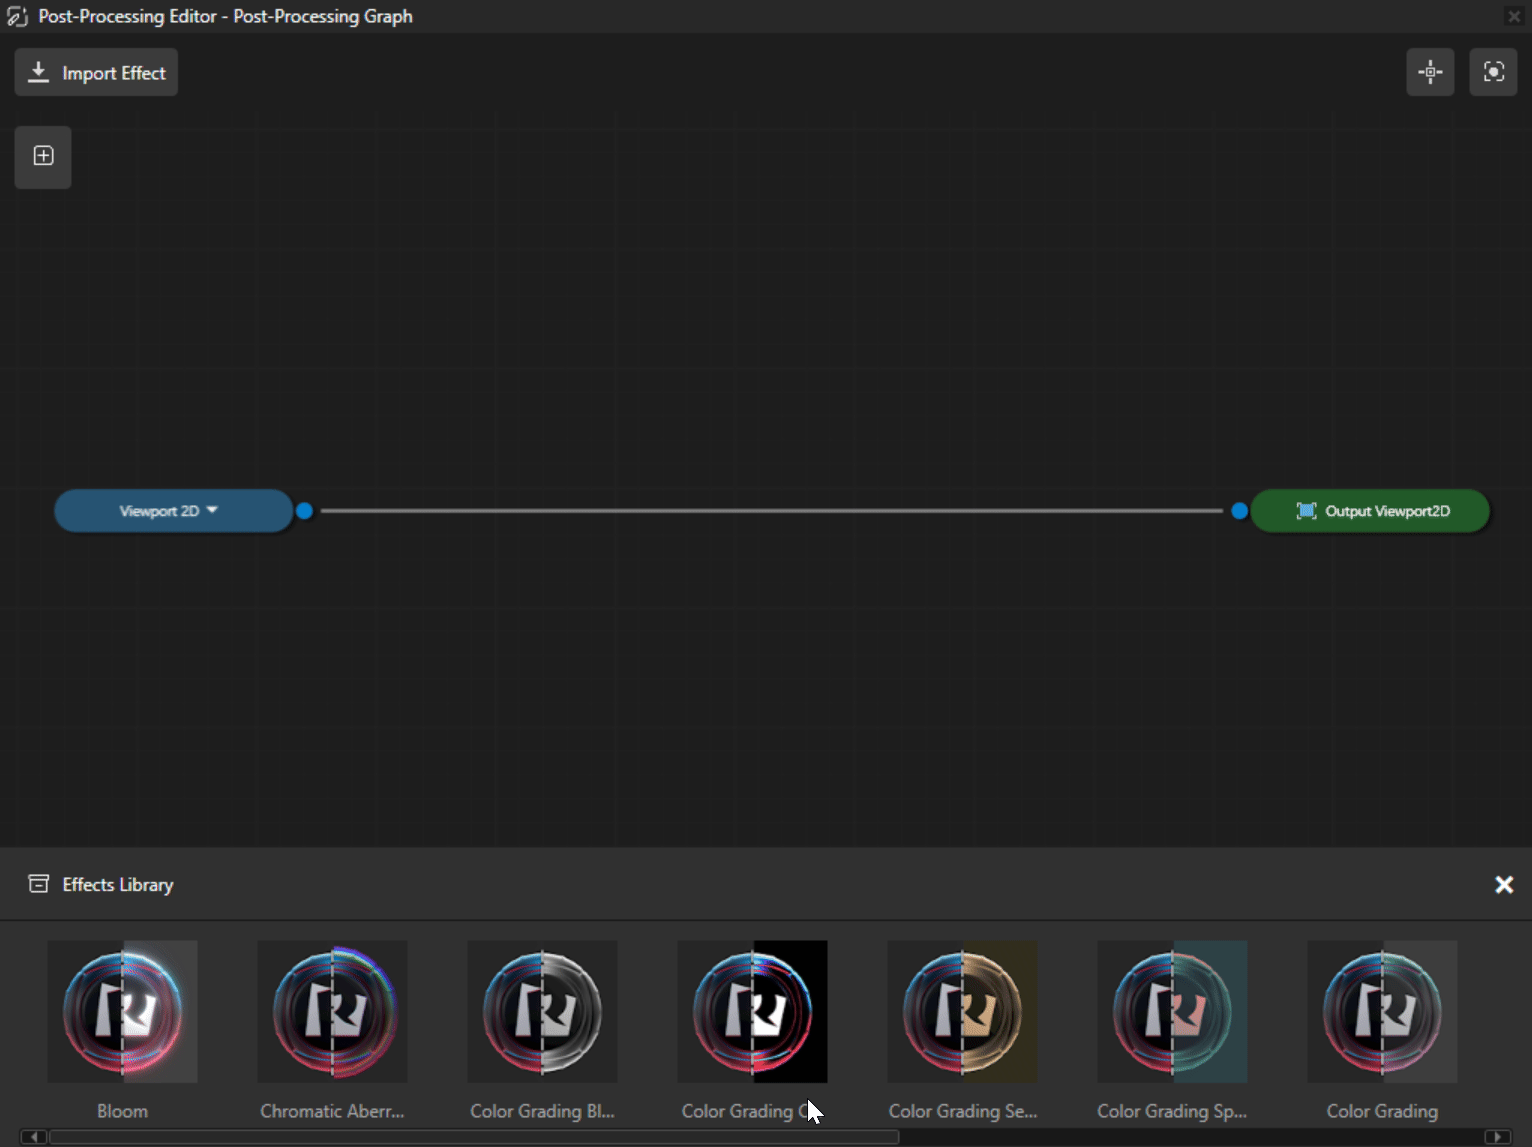
In the Post-Processing Editor select guilabel:`Import Effect from the Effects Library, and select the effect you want to import from the window.
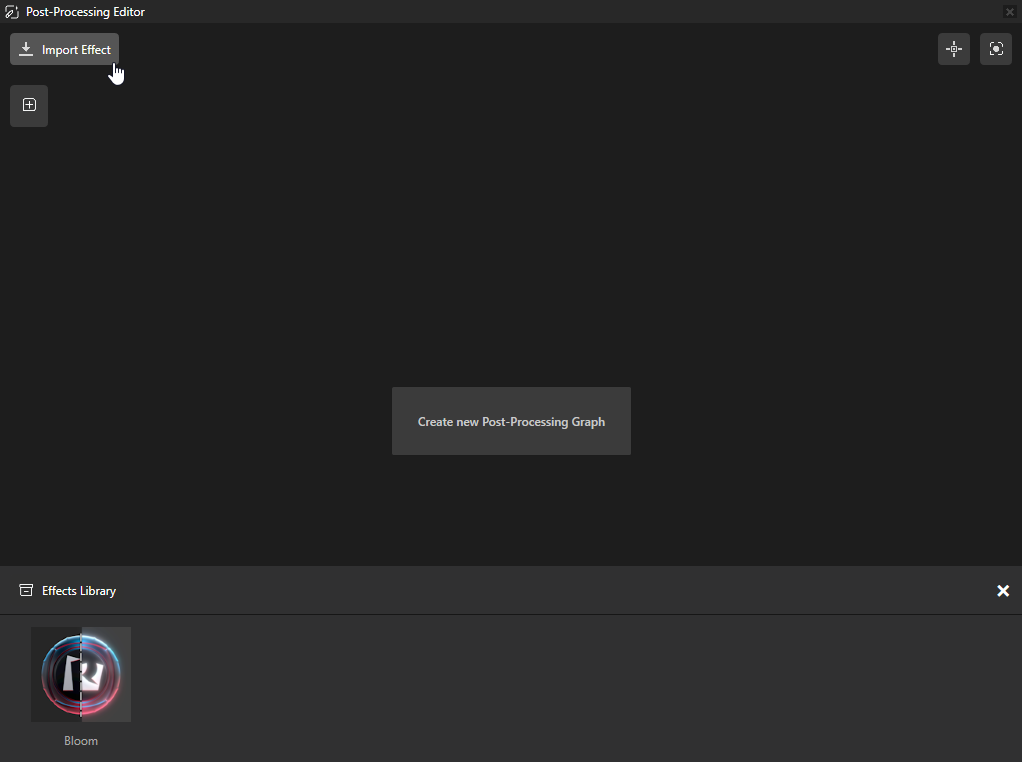
Once you have added some effects to the Effects Library, use Import Effect-Button in the Post-Processing Editor to import more effects.
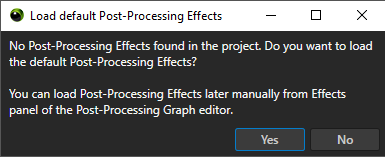
To import all of the Effects at once, create a Post-Processing Graph in Library > Rendering > Render Pass Prefabs, press Alt and right-click and select Post-Processing Graph. When asked whether you want to load the default Post-Processing Effects, select Yes to import, or No to import it manually later using steps 1 and 2.
Setting your viewport to Post-Processing Editor
To select a viewport where you wish the Post-Processing Graph to be applied:
In the Viewport2D node, set the created graph object as the Post-Processing Graph property value.
Alternatively, you have the Viewport2D selection inside the Post-Processing Editor, use the first node dropdown to select the Viewport2D node.

Note
When the first Post-Processing Graph is created in the Library, and you open the Post-Processing Graph-object in the Post-Processing Editor, it will automatically be assigned to the first Viewport2D in the Node Tree.
Using the Post-Processing Editor
To pan and zoom in the Post-Processing Editor window:
Action |
Shortcut |
|---|---|
Pan |
|
Zoom |
|
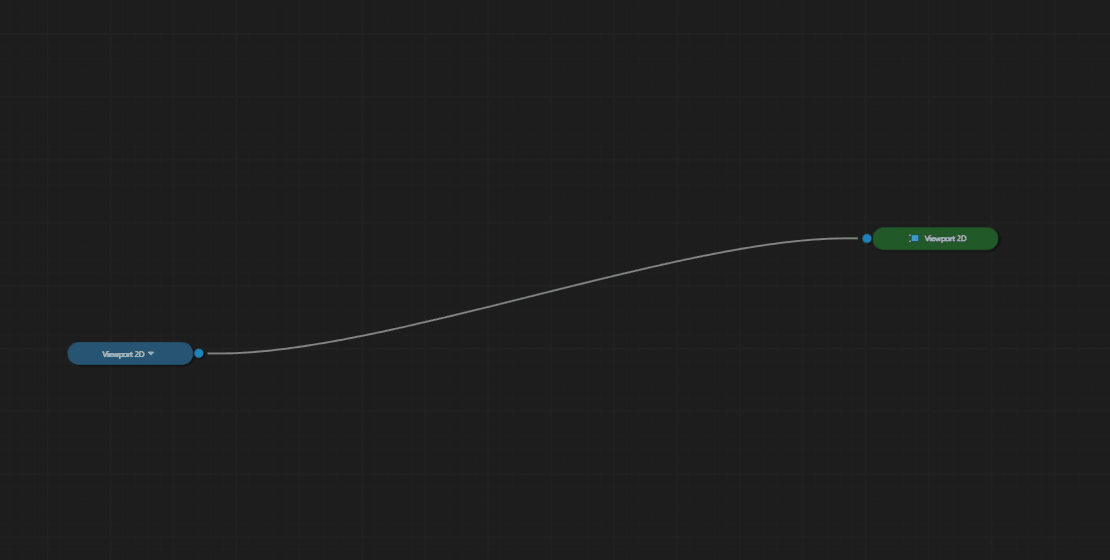
To create connections between nodes in the Post-Processing Editor, drag from an input or output socket, to the input or output of other nodes.
Note
To create a new connection, the previous connection has to be removed first.
To select a connection in the Post-Processing Editor window, left click the connection line. The selected connection will be highlighted in white color.
To remove an existion connection, select a line in the Post-Processing Editor window and hit delete. Alternatively, you can press Alt and click the left mouse button.
Note
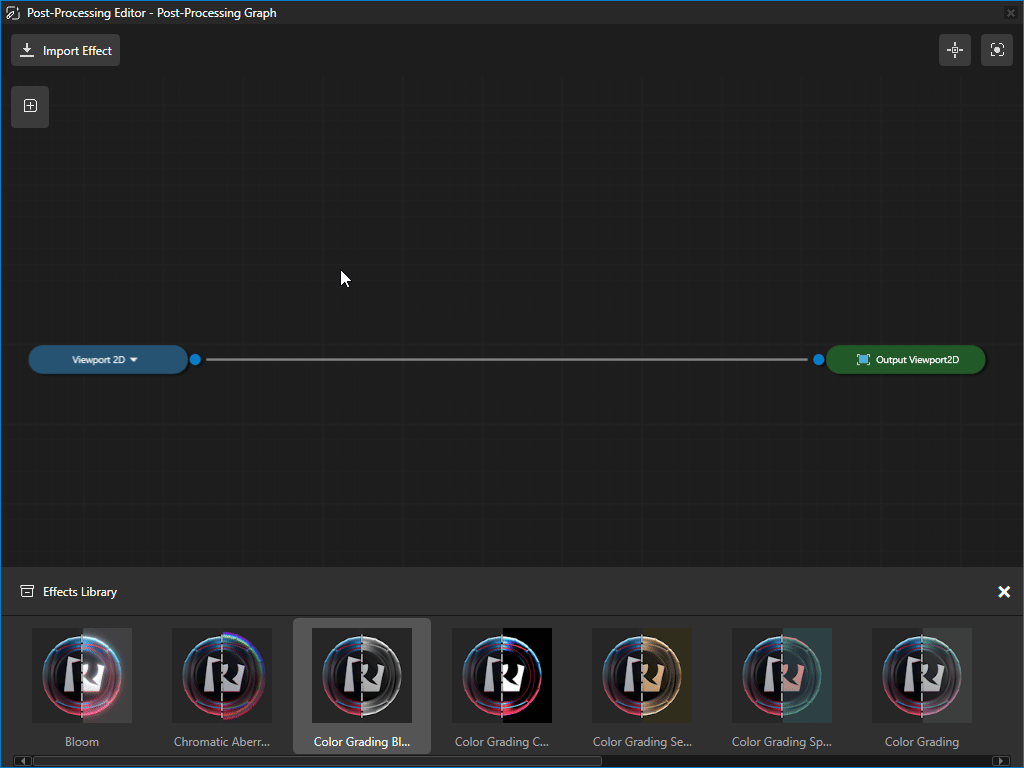
When there is no connection from the initial input into the output, you will only see Default Texture rendered on the preview. The Post-Processing Editor expects the initial viewport and the effects to be constructed, to create the full path into the Output Viewport2D.
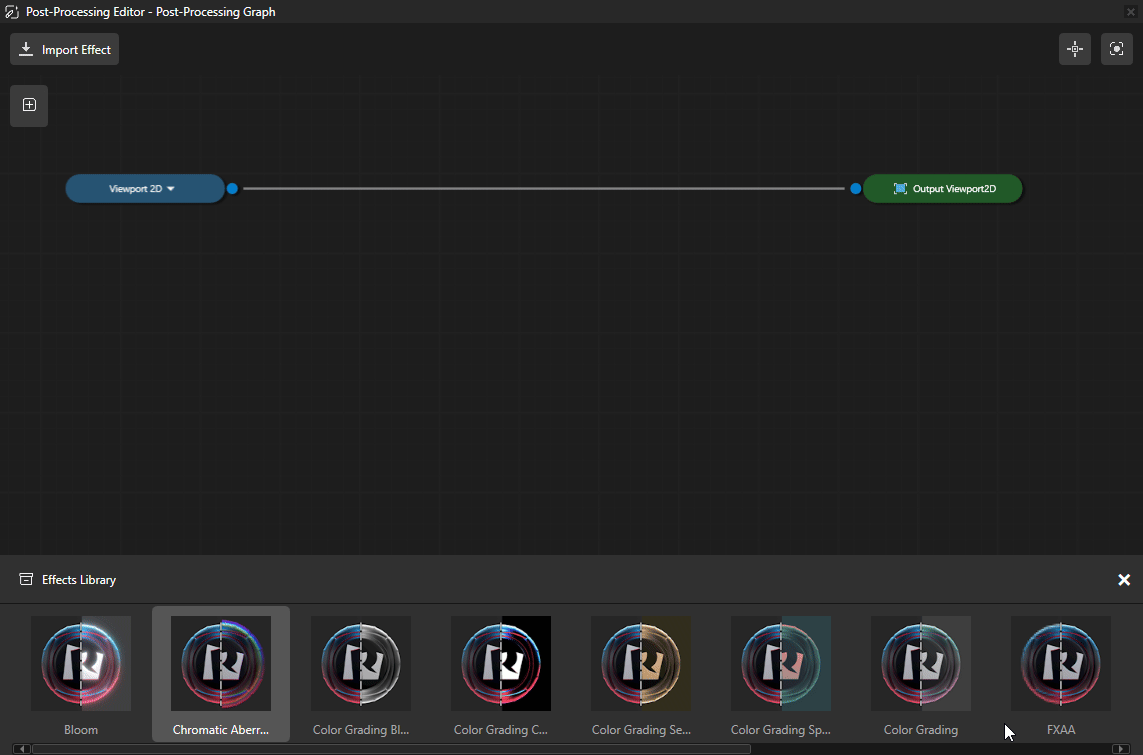
To add an effect to the Post-Processing Editor and connect it to an existing Viewport2D:
In the Post-Processing Editor, drag and drop an Effect from the Effects Library into the editor canvas.
Once you have added some effects to the canvas, remove the initial connection, and connect the Viewport2D to the input of the imported effect, and then connect the output of the effect to the Output Viewport2D.
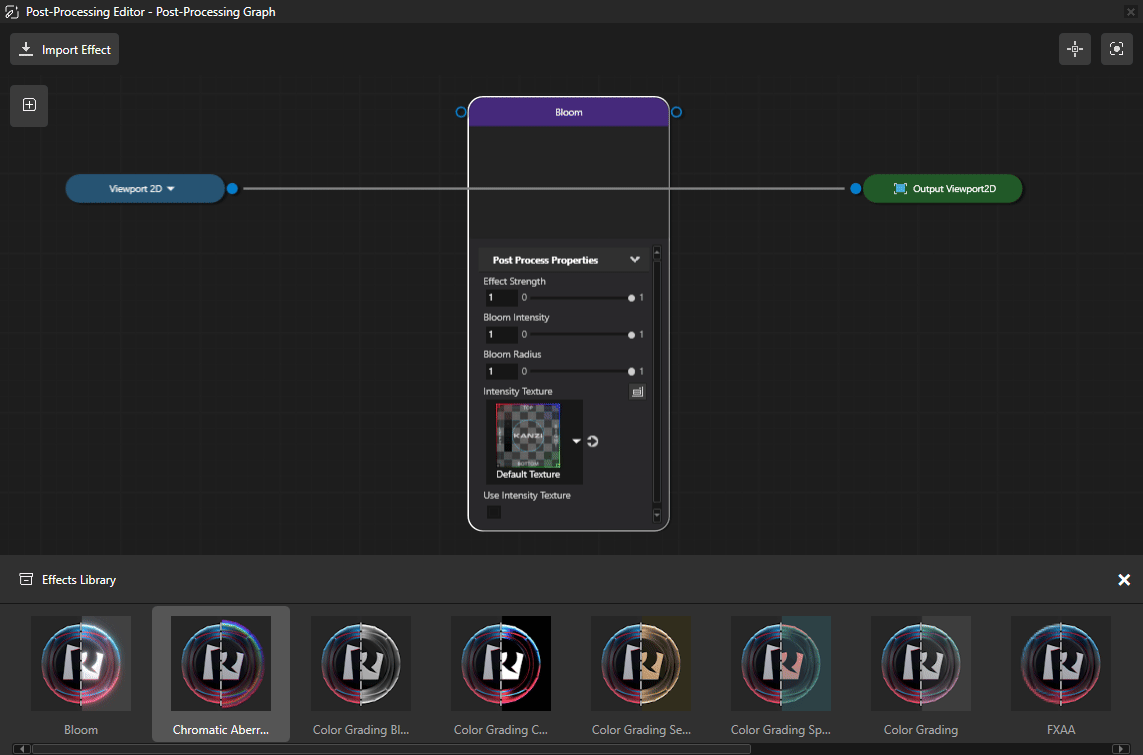
You can adjust the effect properties on the node that was added into the Post-Processing Editor, by setting the properties directly on the added node.

Adding Bloom and Color Grading Example
To add a Bloom and Color Grading effect to a Viewport2D node:
Create a Viewport2D on which you can use the Post-Processing Effects. Define and add content to this example.
To create a new Post-Processing Graph-object, in Library > Rendering > Render Pass Prefabs, press Alt and right-click and select Post-Processing Graph. Select to import all default effects when prompted.
Double click the created Post-Processing Graph to open it. The Post-Processing Editor will automatically be assigned as property to the Viewport2D.
To add the first effect to your Post-Processing Editor, drag and drop the effect from Effects Library.
Note
You can also add a new effect when you right-click the connection line, select Add Node, and then select the effect you want from the context menu. This will add the effect to the middle of the selected connection line.
To add the second effect to your Post-Processing Editor, drag and drop the effect from Effects Library or right-click the connection line.