Step 3 - Create user interface structure
In this step, you learn how to create user interface structure for your Kanzi application and add ready-made content to your application.
Create user interface structure
Use the Activity and Activity Host nodes to create different screens and parts of the user interface in your application. These nodes can contain parts of an application or even entire applications within your application.
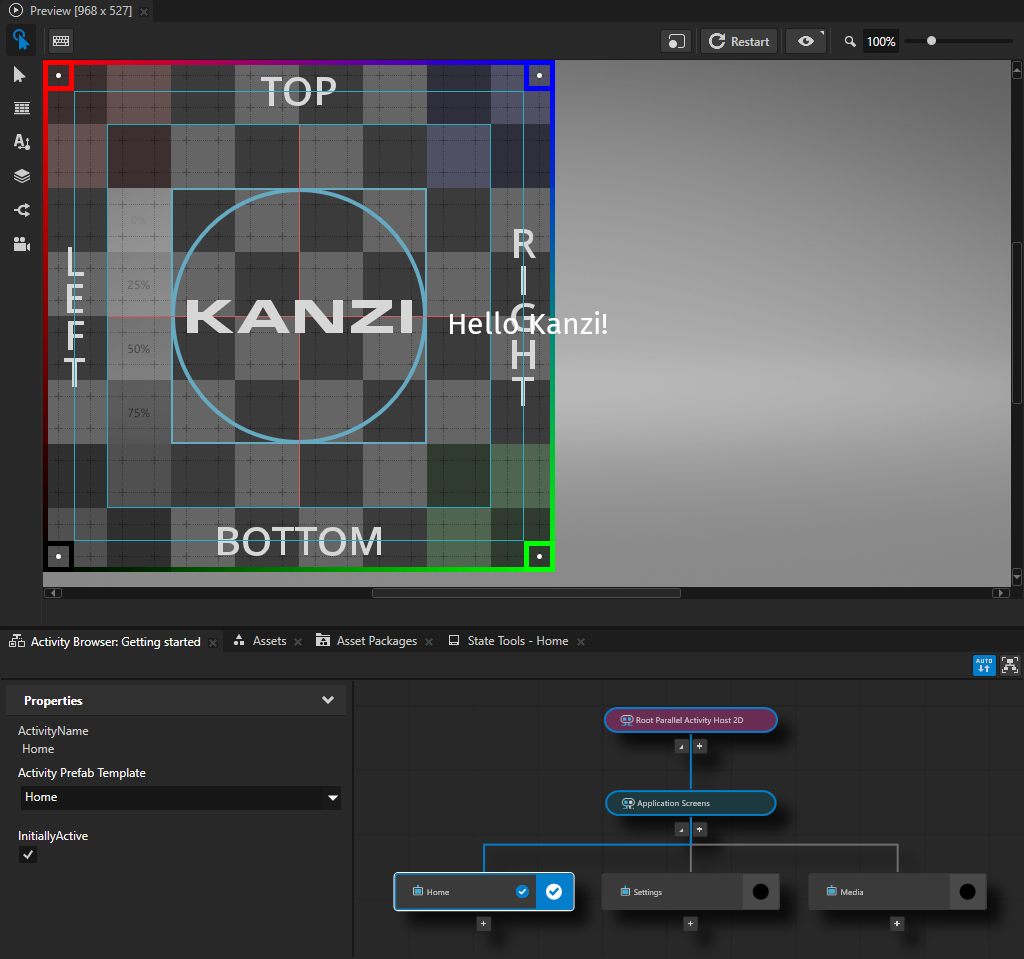
Use the Activity Browser to create and inspect Activities and Activity Hosts, and to simulate the activation of Activities. The Activity Browser shows all possible UI states of Activities in your application.
You can find the Activity Browser window below the Preview window.
To create user interface structure:
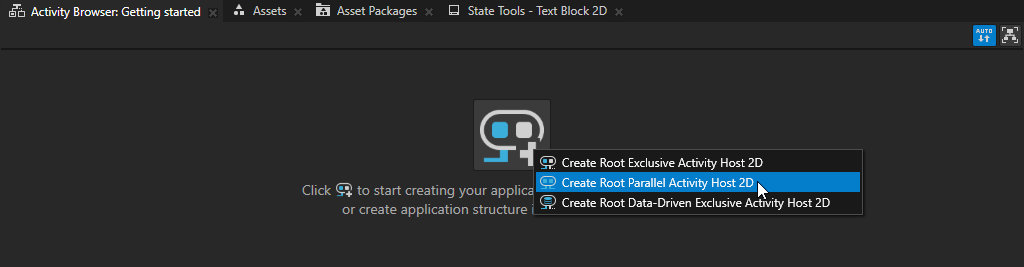
In the Activity Browser, click
 and select Create Root Parallel Activity Host 2D.
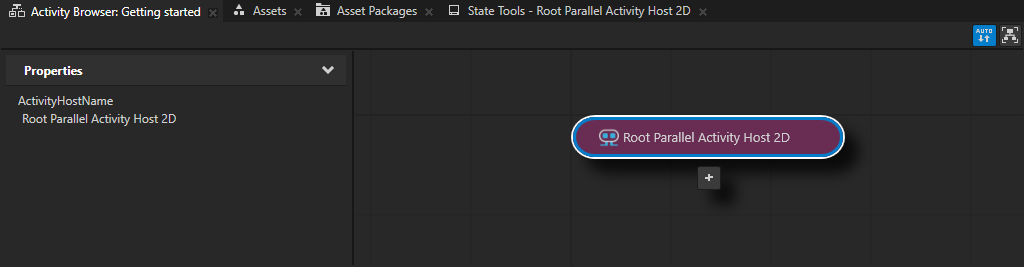
Kanzi Studio creates a Parallel Activity Host node under the Screen node in the Node Tree. In the Activity Browser Parallel Activity Hosts are purple.
An Activity Host defines the rules for when its child Activities are active. A Parallel Activity Host can activate more than one of its child Activities at a time. This feature often makes it the most suitable type of Activity Host for a top-level node of an application.
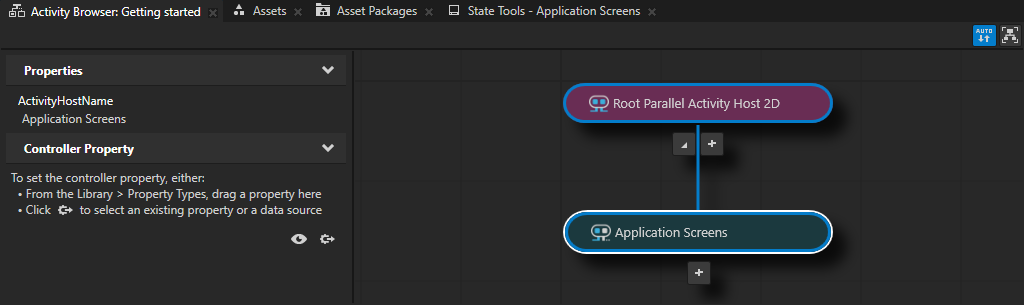
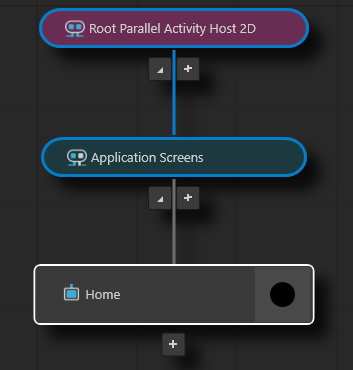
In the Activity Browser window, below the Root Parallel Activity Host, click
 , select Create Exclusive Activity Host, and name the Activity Host Application Screens.
You use this Exclusive Activity Host to show the screens of the application.
An Exclusive Activity Host can have only one of its child Activities active at a time. In the Activity Browser Exclusive Activity Hosts are teal.
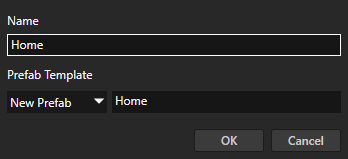
In the Activity Browser window, below the Application Screens, click
, select Create Activity, and name the Activity and its prefab Home.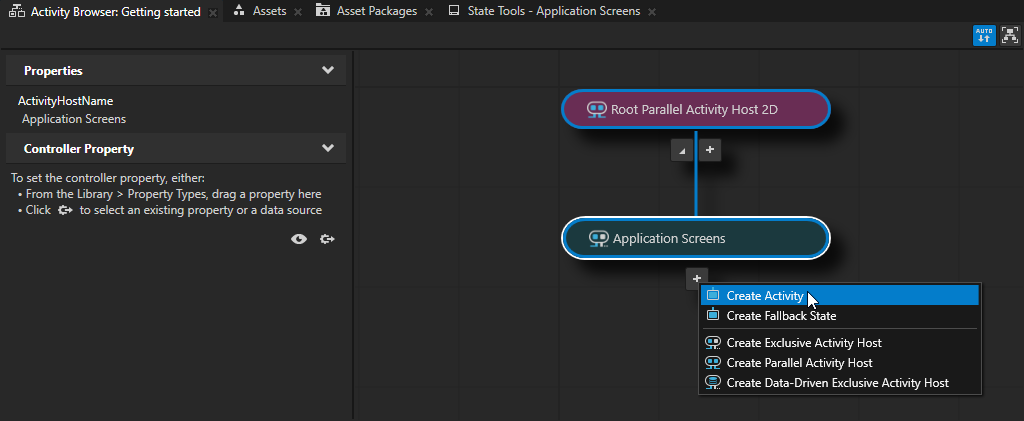
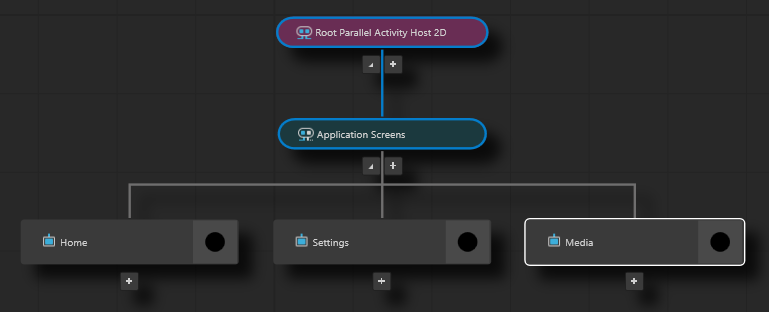
The Activity Browser shows the relationship between Activity Host and Activity nodes. The Prefabs window shows the prefabs that these Activities can instantiate when they are active.

Repeat the previous step to create Settings and Media Activities.
Tip
To pan and zoom in the Activity Browser window:
Action
Shortcut
Pan
Click and drag the middle mouse button.
Press the Space key, and click and drag the left mouse button.
Zoom
Scroll the mouse wheel.
Press the Shift and Alt keys, and click and drag the left mouse button.
Add content to Activities
Kanzi Studio comes with 2D and 3D assets that you can add to your application. This factory content is ideal for creating prototypes without spending time on creating assets to demonstrate your ideas.
To add content to Activities:
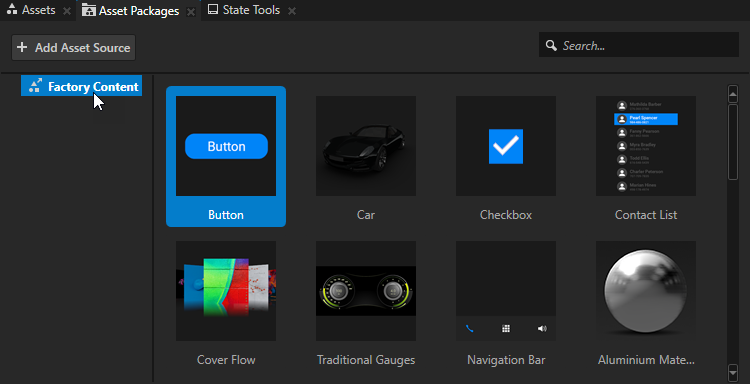
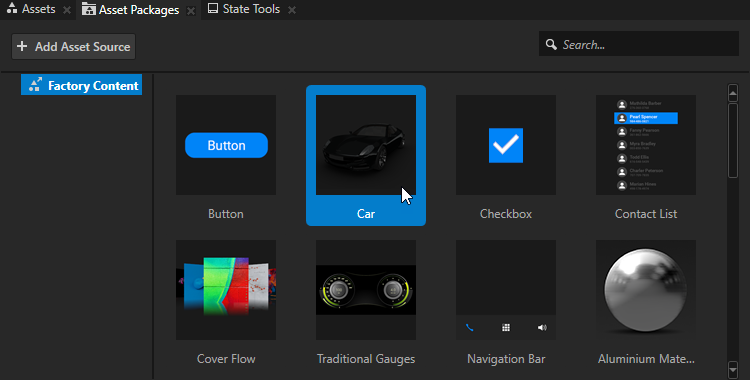
In the Asset Packages window, select the Factory Content asset source.
You can find the Asset Packages window below the Preview window.
Add content to the Settings Activity:
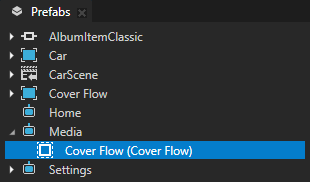
From the Asset Packages window, drag the Car asset to the Prefabs window.
When you drop content to the Prefabs window, Kanzi Studio adds that content to your project as a prefab.
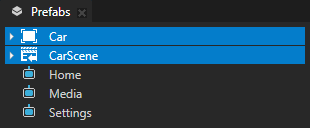
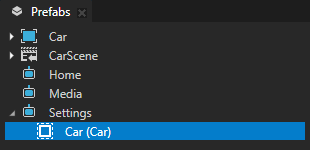
In the Prefabs, drag the Car prefab and drop it on the Settings prefab.
This way you instantiate the Car prefab in the Settings Activity prefab.
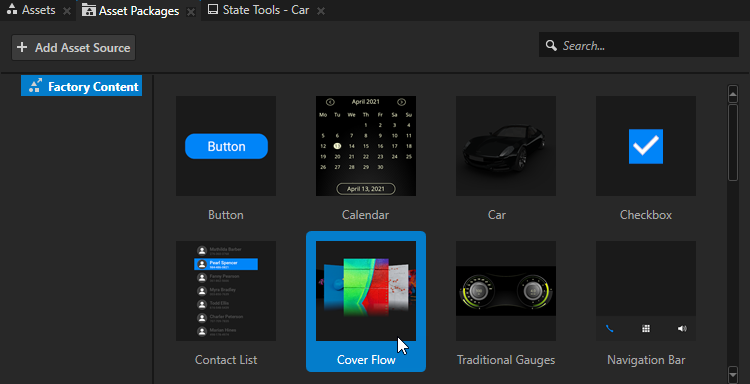
Repeat the previous step, but add to the project the Cover Flow asset and add it to the Media Activity.
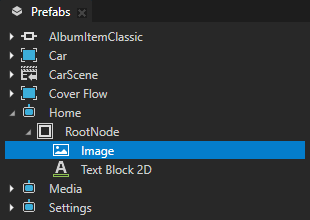
From the Node Tree, drag the RootNode to the Prefabs, and drop it on the Home Activity prefab.
This way you move the content from the node tree to the Home Activity prefab and the content is visible when the Home Activity is active.
In the Prefabs window, select the Image node and press the Ctrl H keys to show the Image node.
In the Activity Browser window, select the Home Activity. In the side panel, set the InitiallyActive property to enabled.
This way you set an Activity to be active when its Activity Host is active. To indicate this, the Activity Browser shows the
 icon for all such Activities.
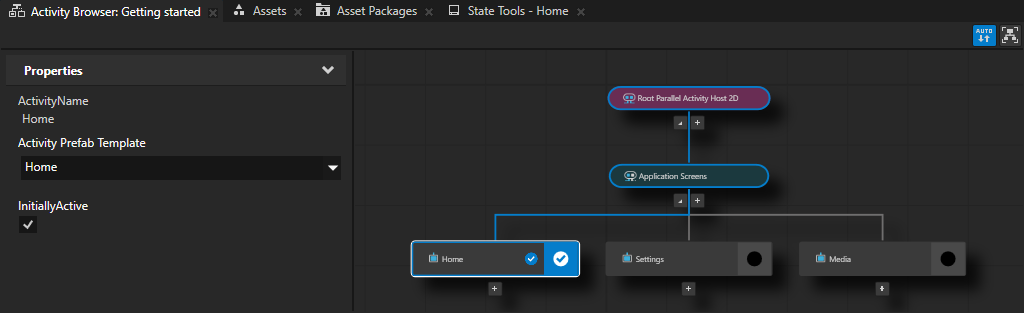
The Activity Browser simulates the activation of Activities in your application. To see the content of an Activity in the Preview, you can activate an Activity in the Activity Browser. In the Activity that you want to activate, click  .
.
In the Activity Browser, active Activities are marked with  and their border is blue.
By default, Kanzi uses instant transition between Activity nodes. However, you can add and define your own transitions.
In the next step of this tutorial, you create the buttons to move between the Activity nodes.
Import content
In this section, you learn how to import to your Kanzi Studio project content that you created with other tools and use that content in your Kanzi application.
When you import content to your project, Kanzi Studio copies the imported content to the project directory and, when needed, in the Library window creates from that content Kanzi resources that you can use in the project. For example, when you import a PNG image, Kanzi Studio creates a Single Texture resource, so that you can use that image in your project.
You can import and view the content in your project:
In the Assets window that you can find below the Preview window
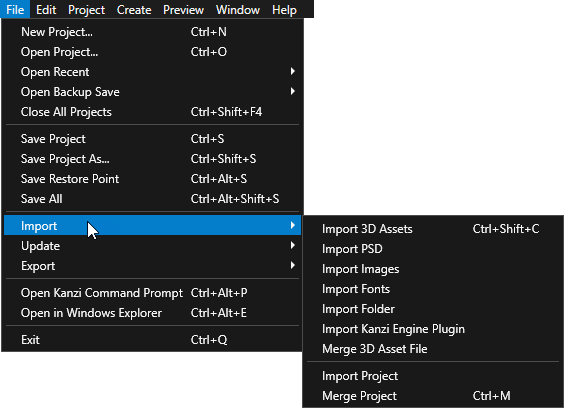
In the main menu, by selecting File > Import and selecting the type of content that you want to import
To import content:
In the Assets window, click Import Assets, select the content that you want to import, and click Open.
For example, go to
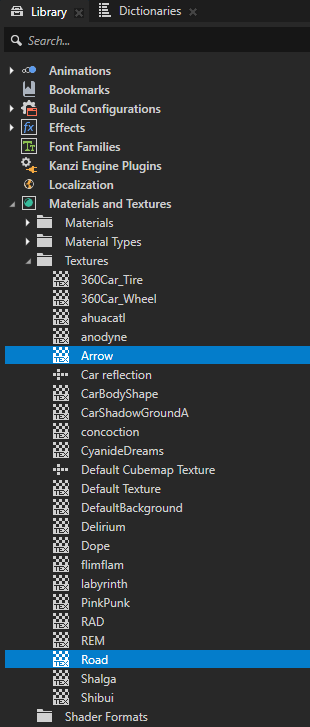
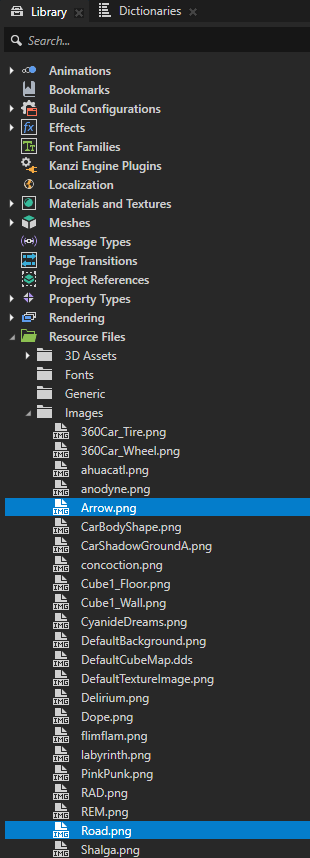
<KanziWorkspace>/Tutorials/Getting started/Assetsand import all content.Kanzi Studio copies the imported content to the project directory. You can access the content in the Library window, in the Resource Files. In the Library window, Kanzi Studio creates Kanzi resources from that content so that you can use the imported content in your project.

In the Activity Browser window, activate the Home Activity to show that Activity in the Preview.
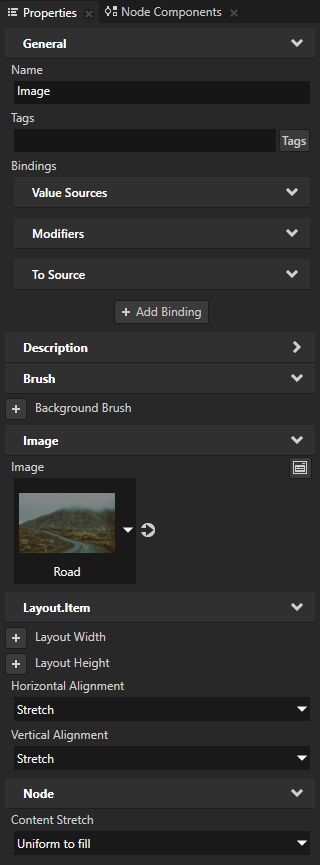
In the Prefabs window, select the Home > RootNode > Image node. In the Properties window, set the Image property to the Road texture.


In the Properties window, add and set these properties:
Horizontal Alignment to Stretch
Vertical Alignment to Stretch
Content Stretch to Uniform to fill
Use the Content Stretch property to set how the node stretches the content in this node without changing the node size.
In the Activity Browser, when you activate Activities, the Preview shows the content of the currently active Activity.
See also
To learn more about the Kanzi Studio factory content, see Factory Content assets.
To learn more about importing assets to Kanzi Studio, see Importing.