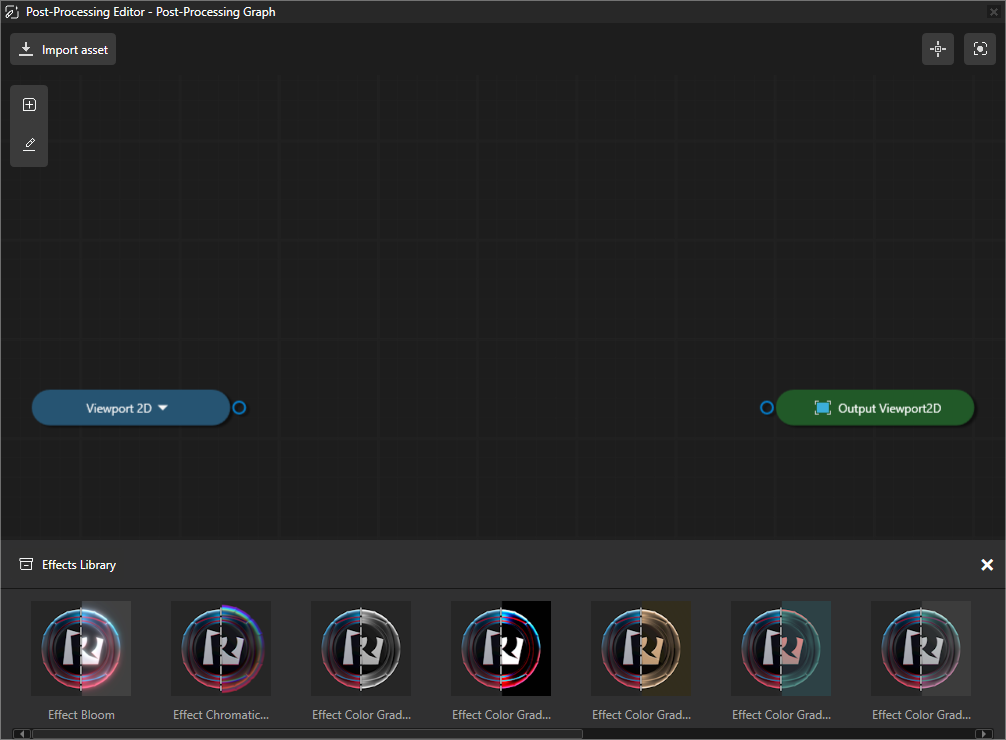
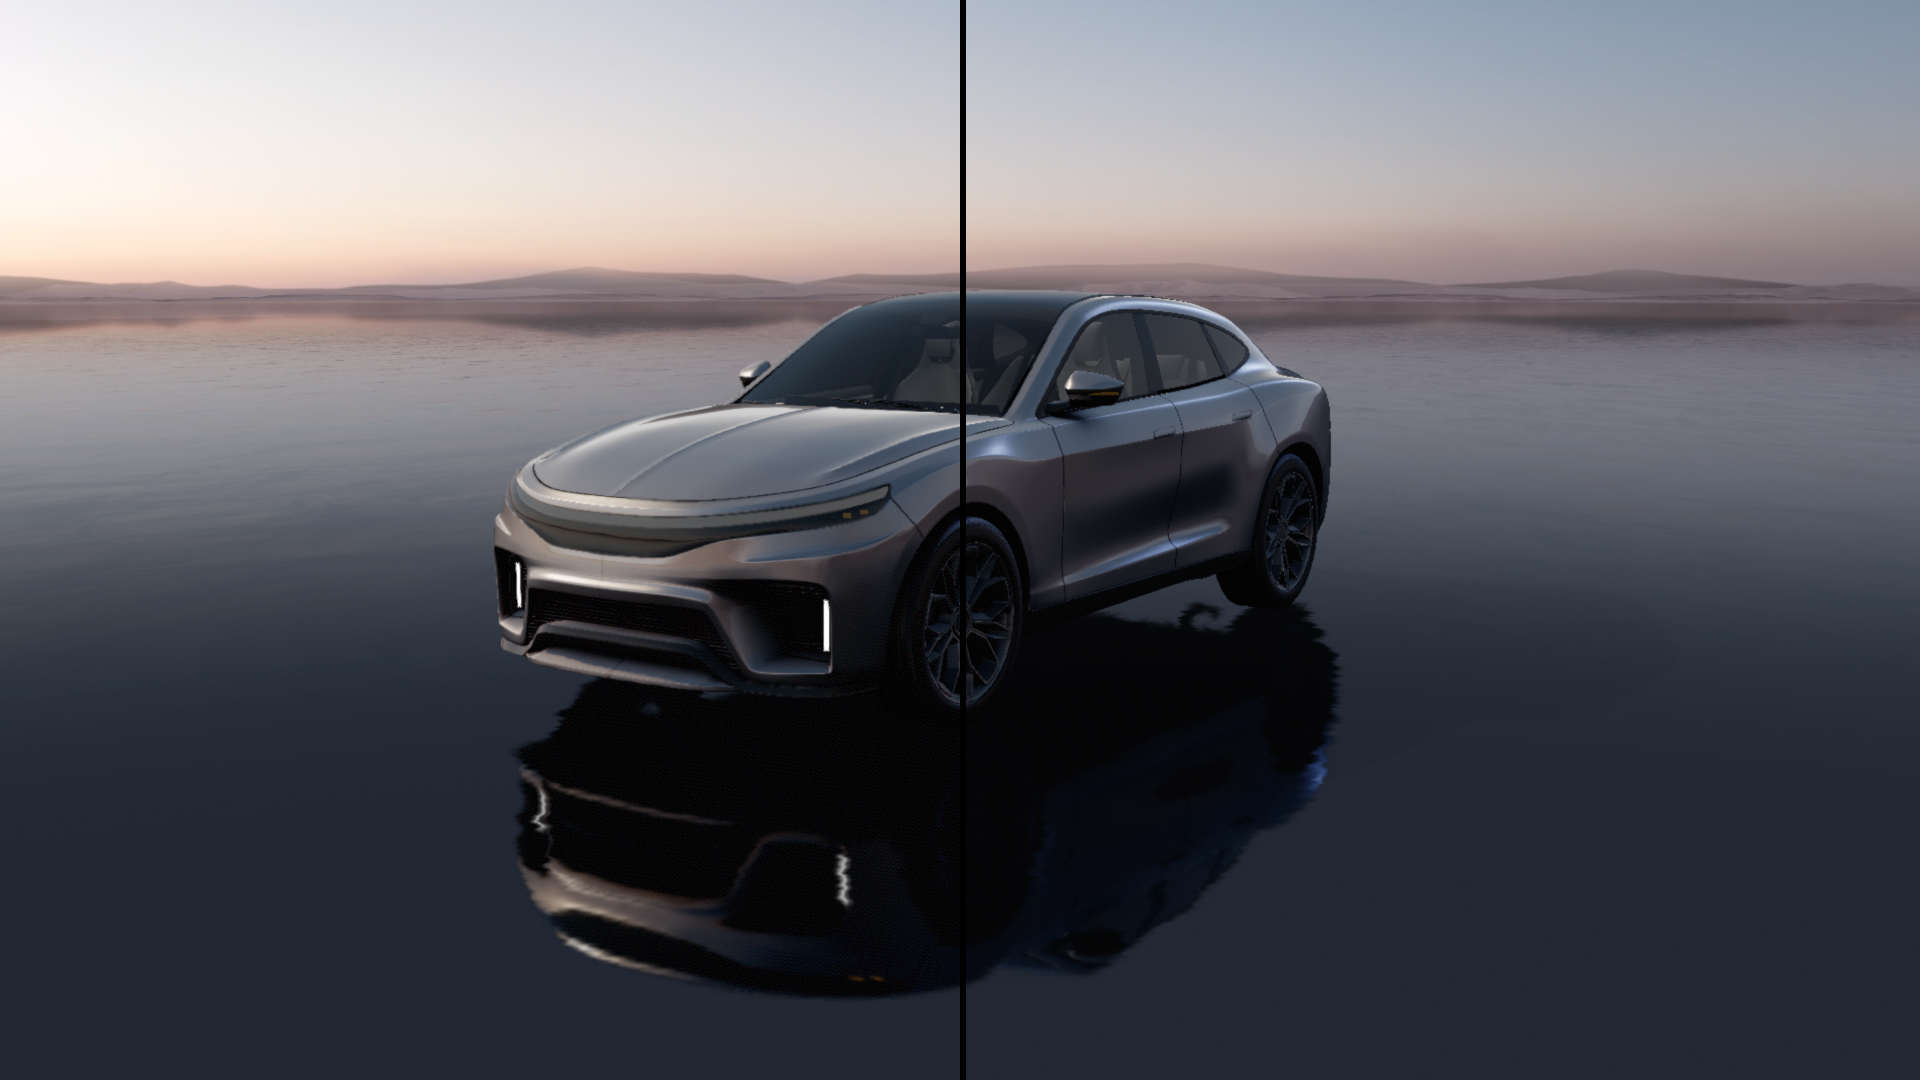
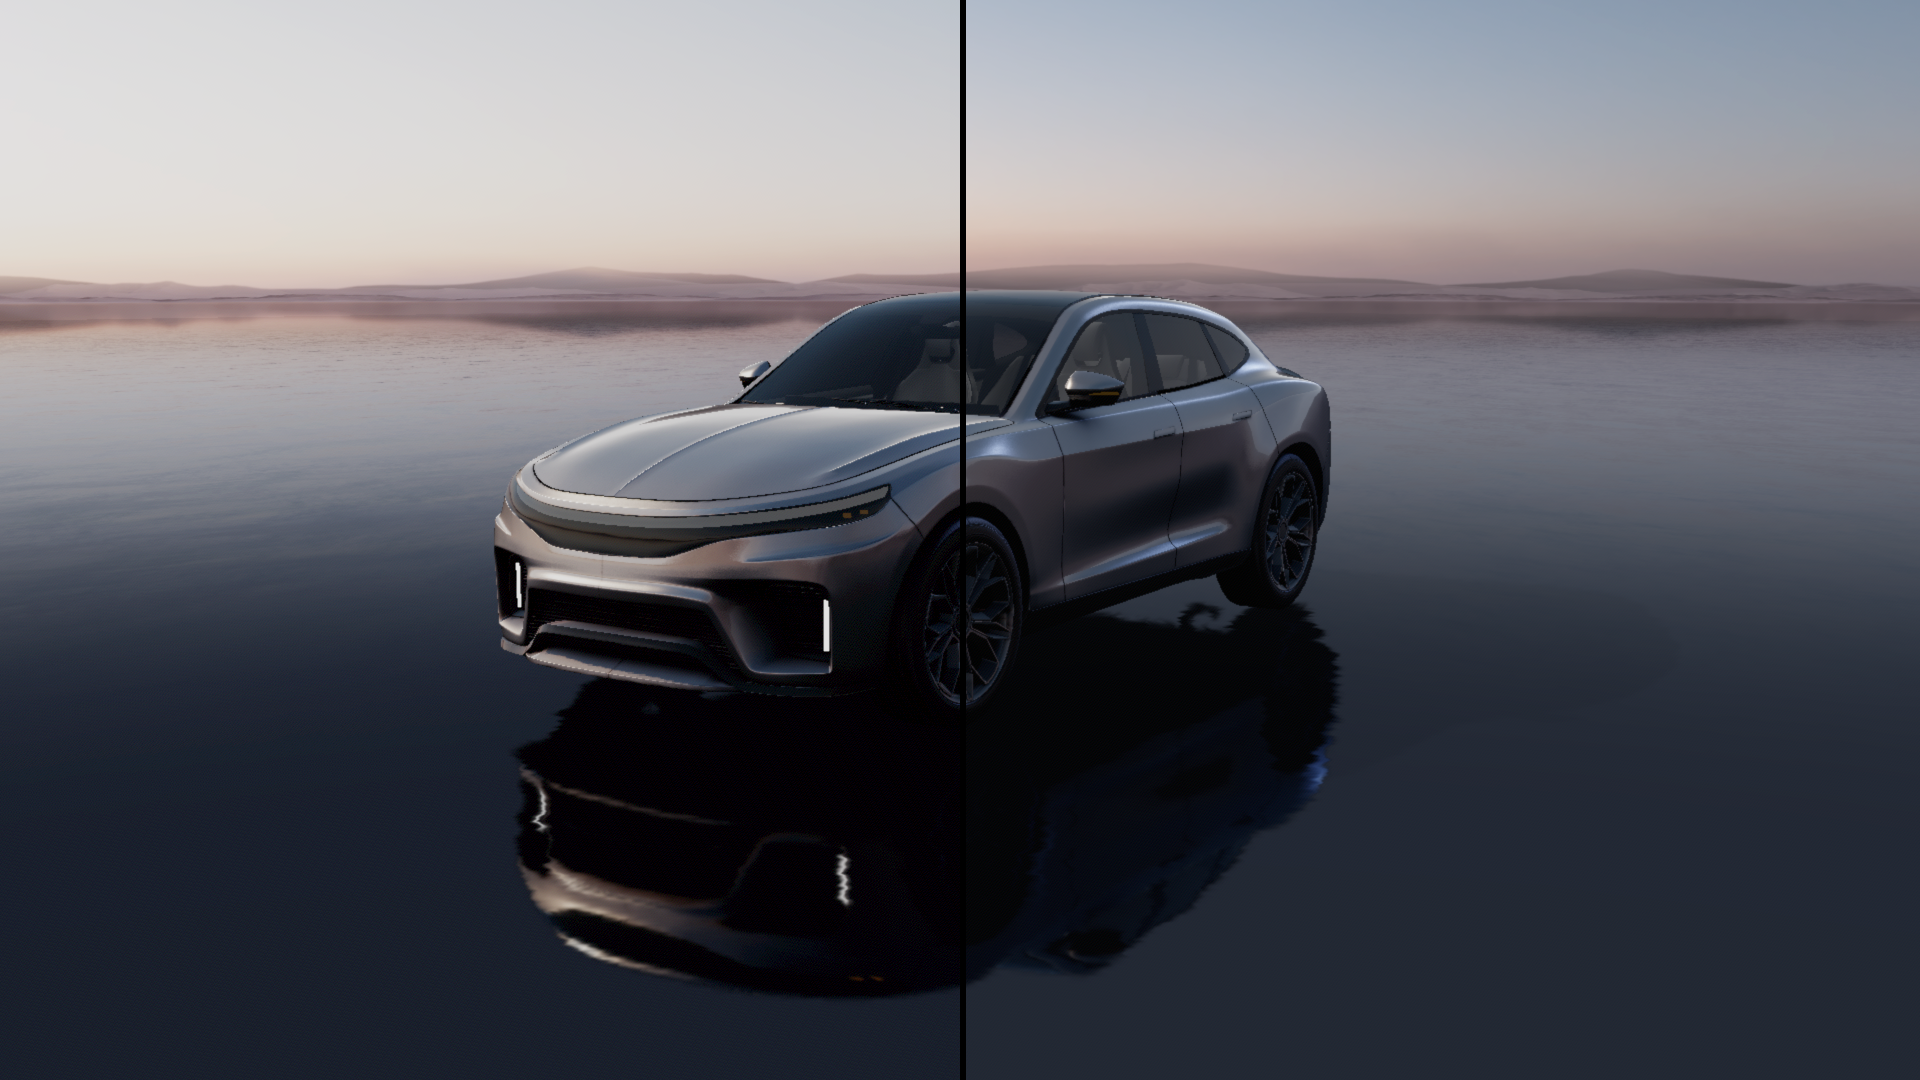
Post-processing effects
Use effects to apply post-processing effects to Viewport nodes.
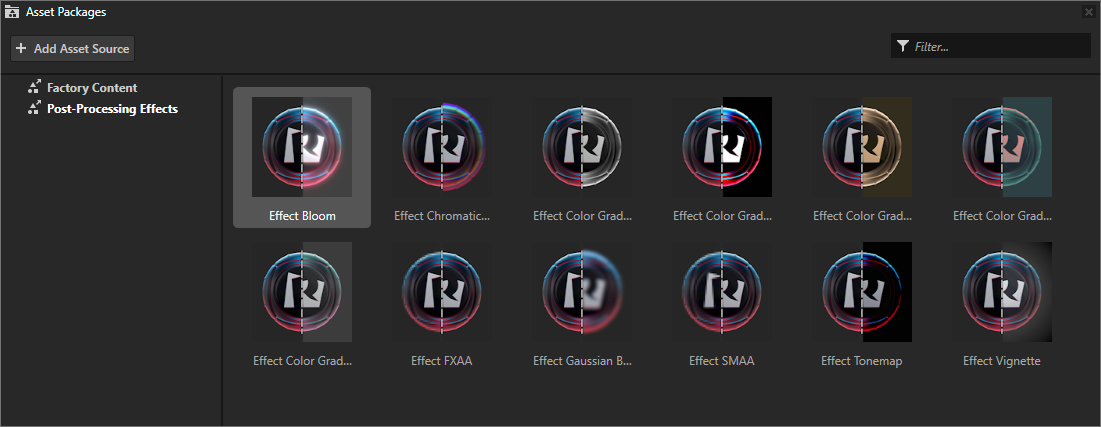
In Kanzi Studio, you can find the effects in the Post-Processing Editor window and in the Asset Packages window in the Post-Processing Effects asset package.
These effects are available in Kanzi:
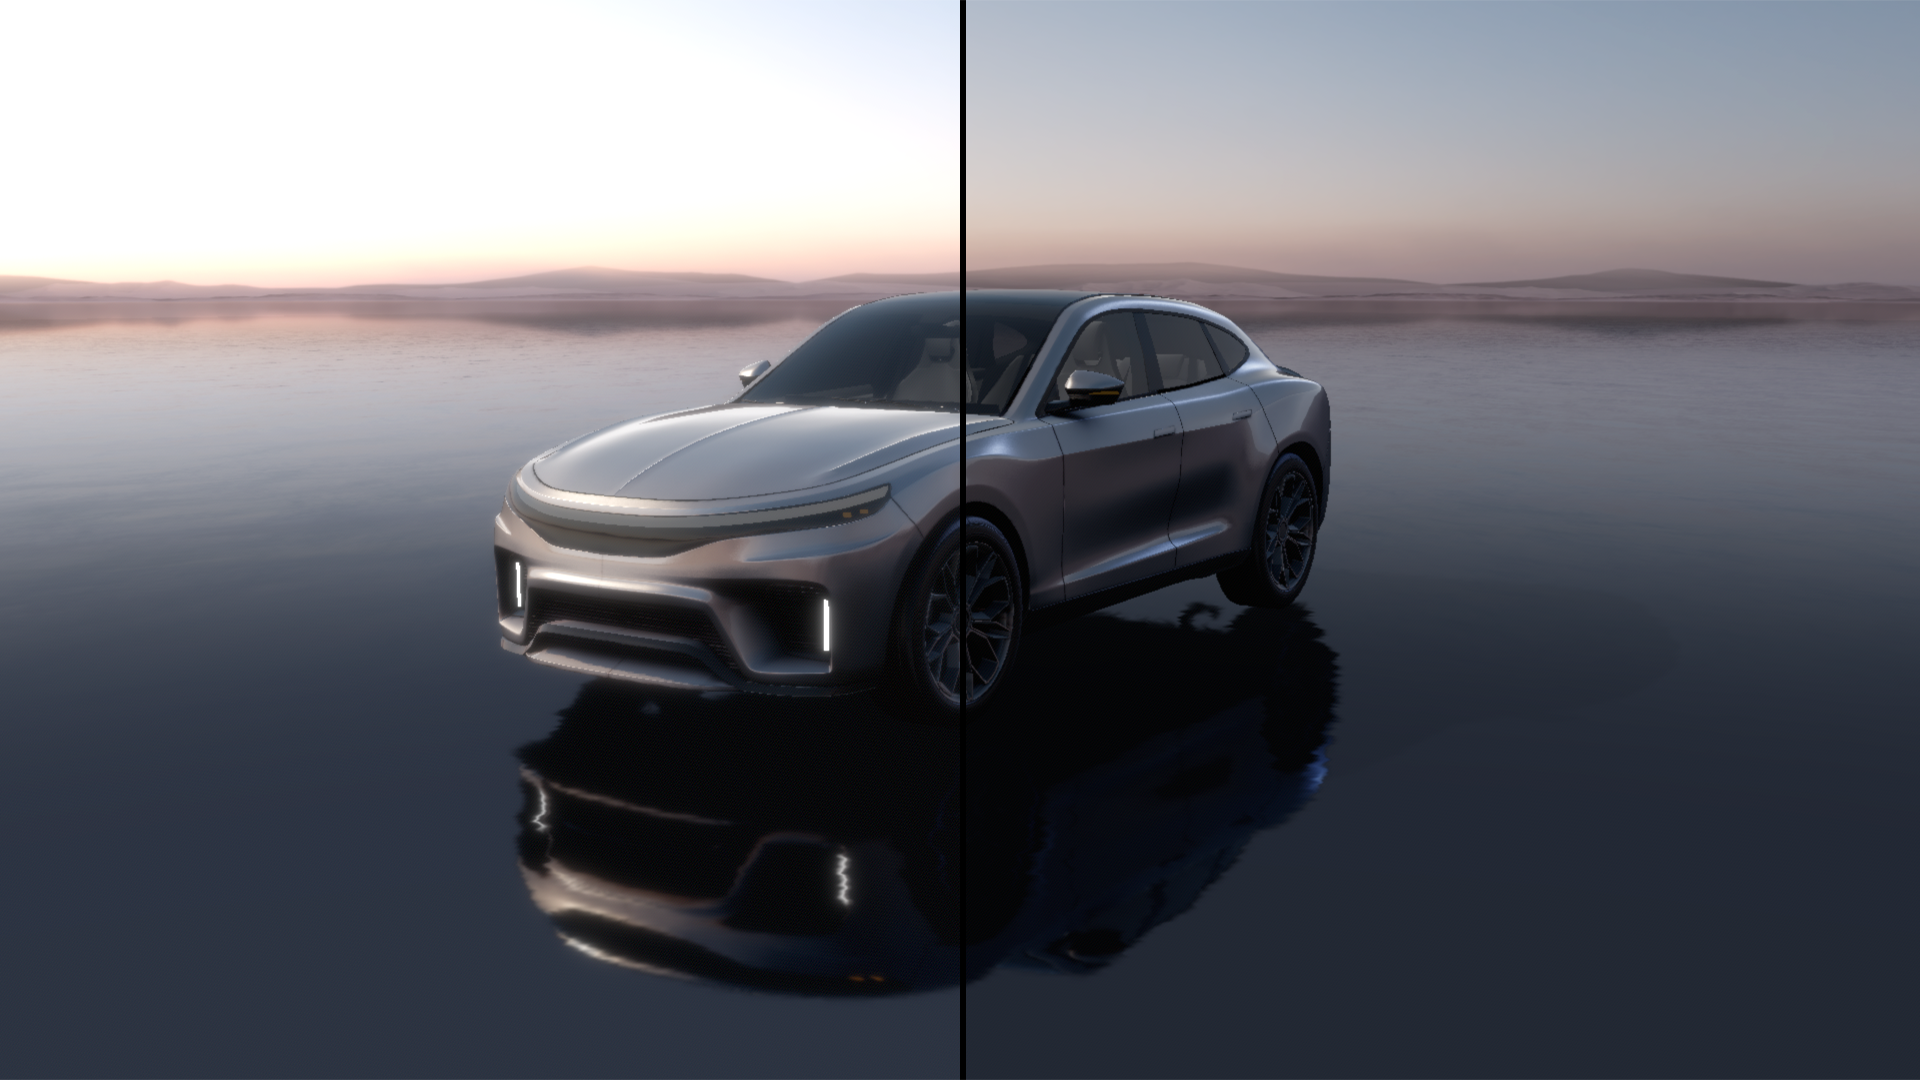
Use the Bloom effect to create a natural glow effect. See Bloom. |
|
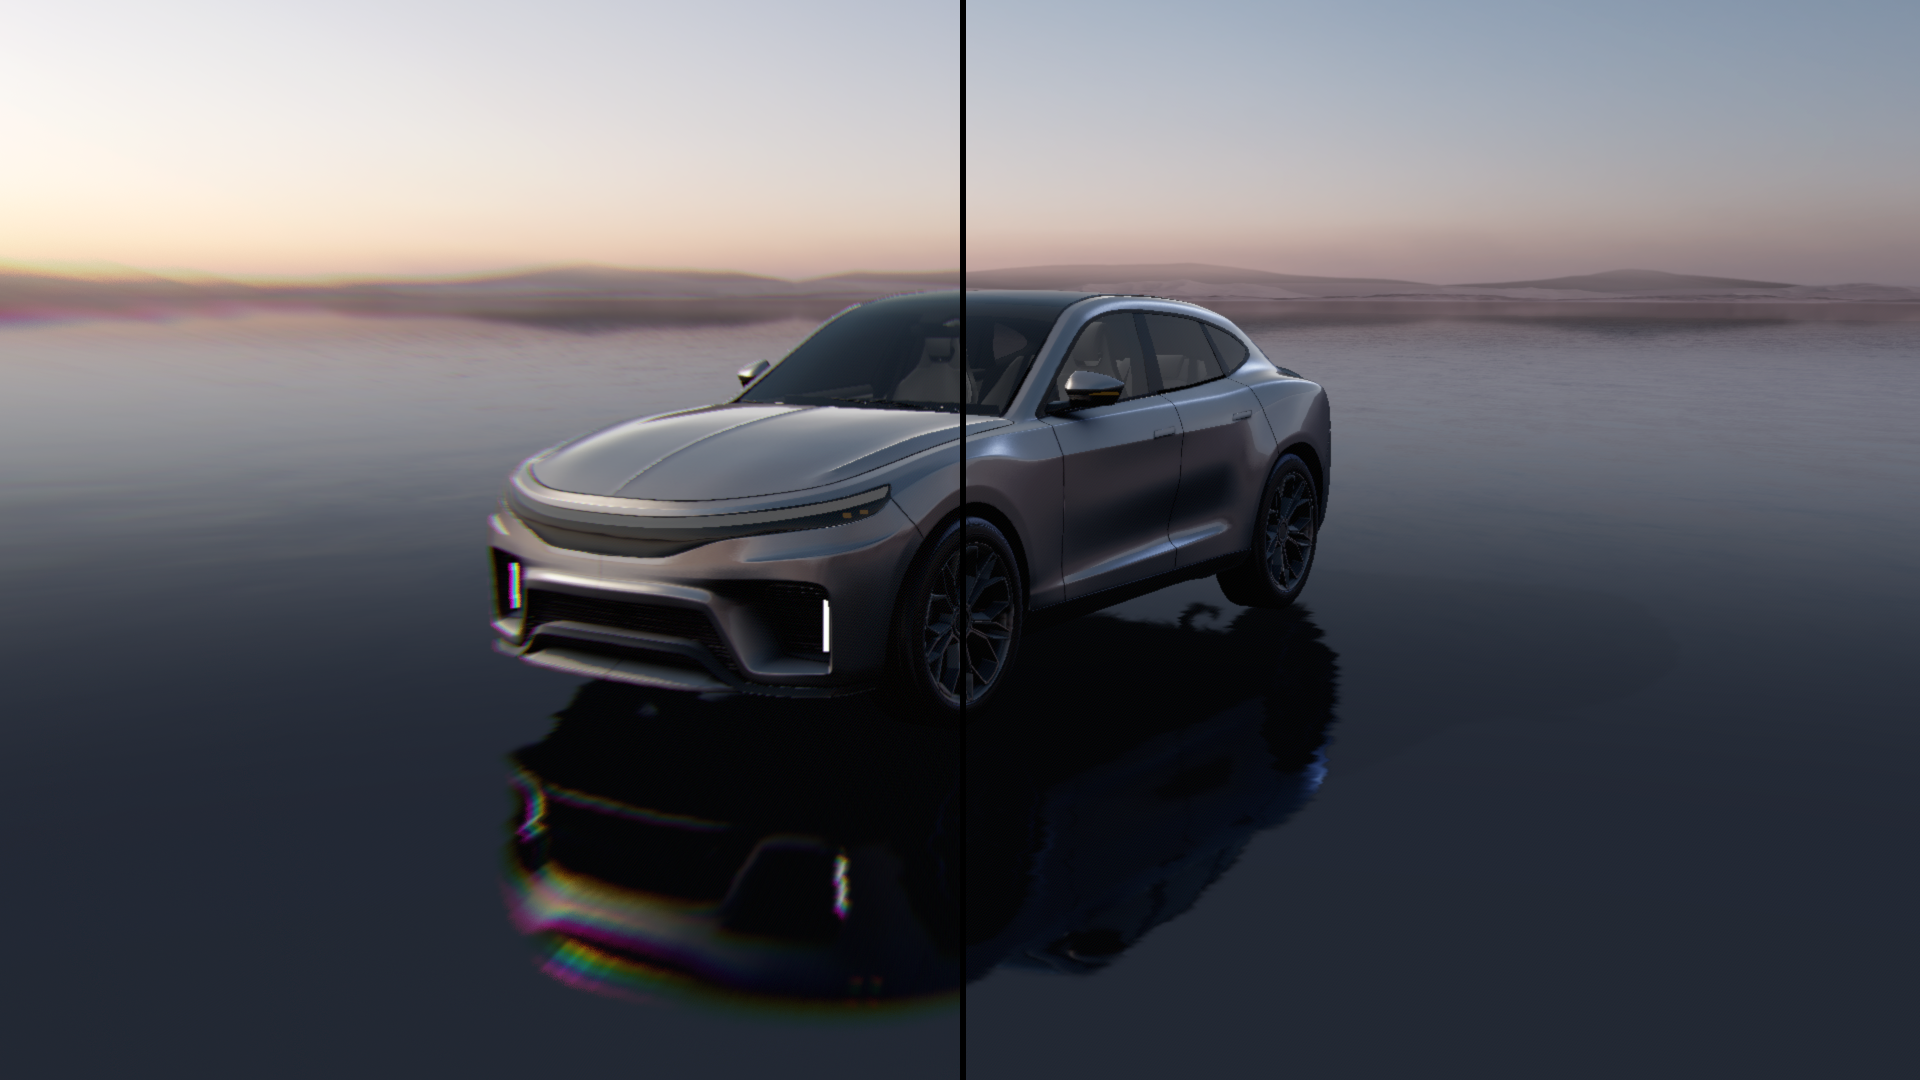
Use the Chromatic Aberration effect to create. See Chromatic aberration. |
|
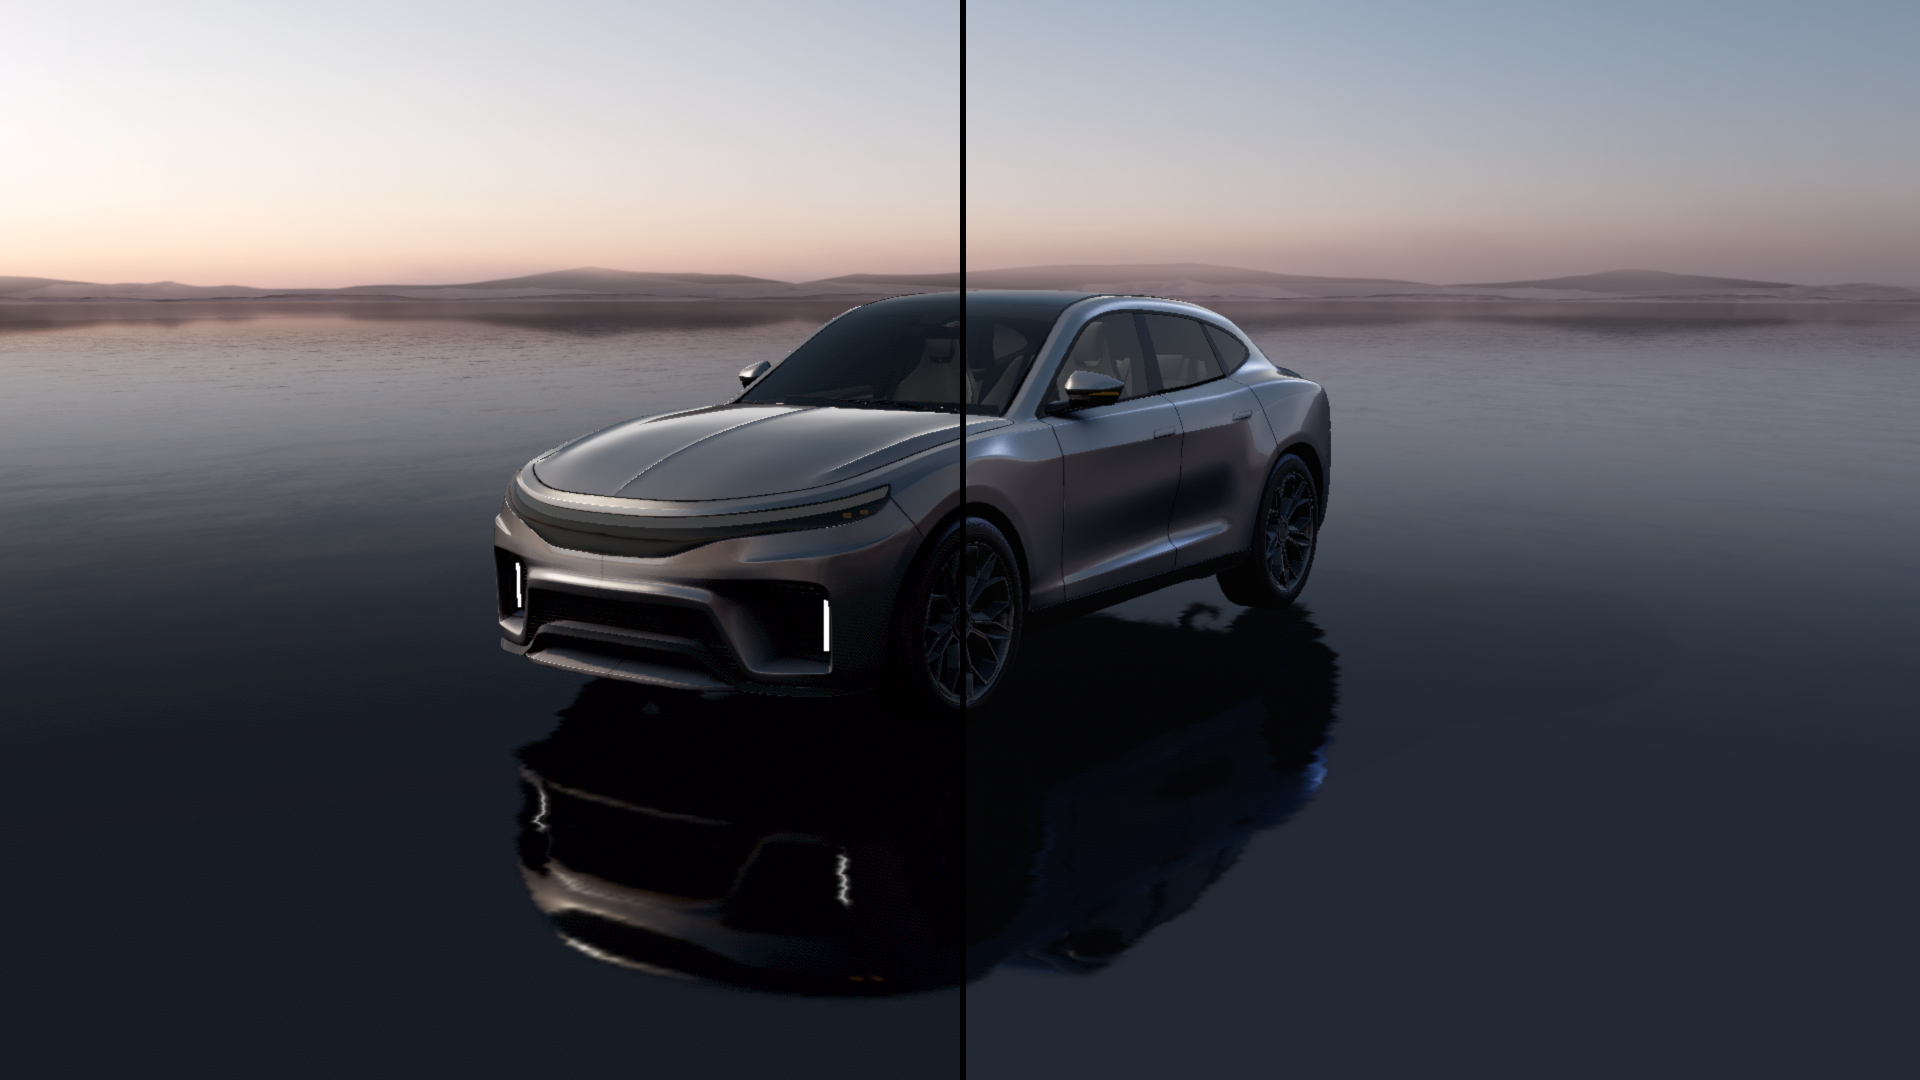
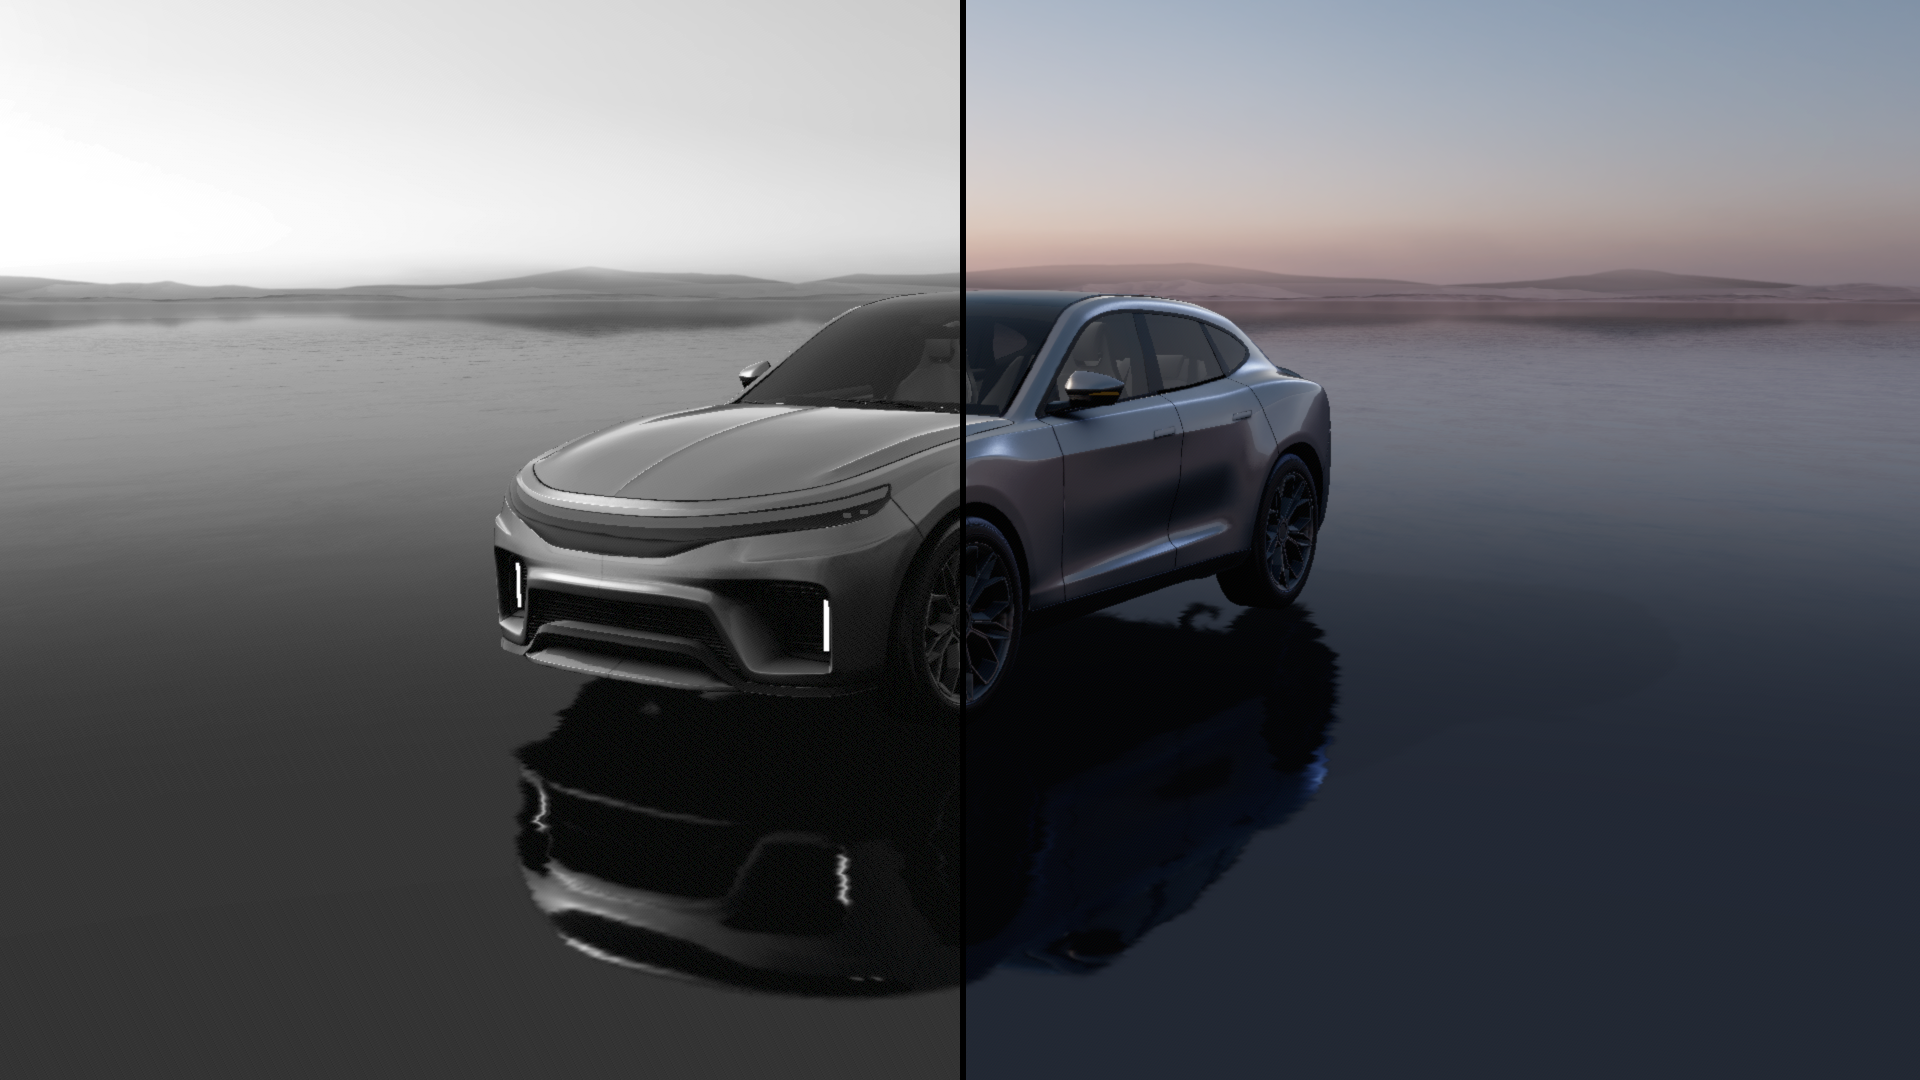
Use the Color Grading effect to create control the visual tone of a scene by adjusting colors across luminance ranges. See Color grading. |
|
Use the Color Grading Black and White effect to create the black and white effect using the Color Grading effect as a base. See Color grading black and white. |
|
Use the Color Grading Contrast effect to create the higher contrast effect using the Color Grading as a base. See Color grading contrast. |

|
Use the Color Grading Sepia effect to create the sepia toned image effect using the Color Grading effect as a base. See Color grading sepia. |
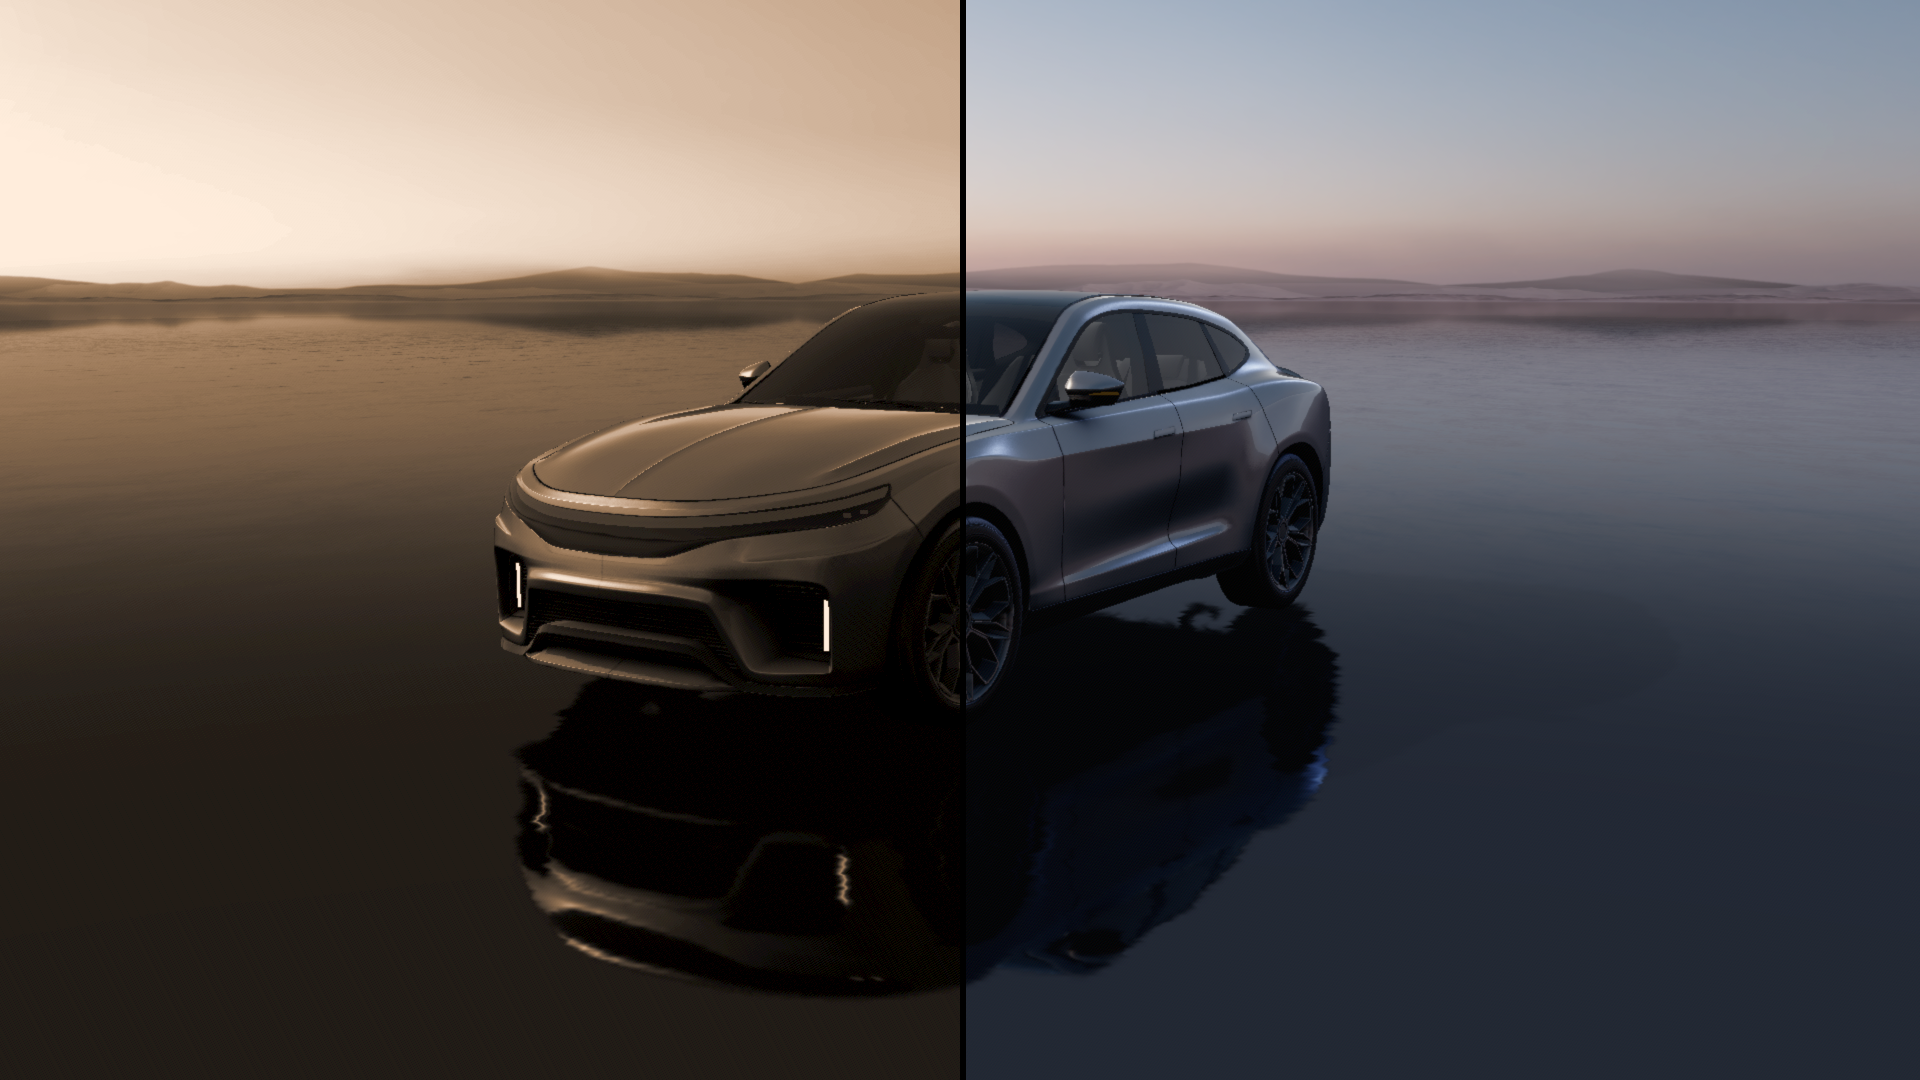
|
Use the Color Grading Split Tone effect to create the split tone effect using the Color Grading effect as a base. See Color grading split tone. |
|
Use the FXAA (Fast Approximate Anti-Aliasing) effect to create efficient anti-aliasing that smooths jagged edges without the performance cost of traditional multi-sampling techniques. See FXAA. |

|
Use the Gaussian Blur effect to create a smooth, gradual softening effect by averaging pixel values according to a bell-curved weighting function. See Gaussian Blur. |
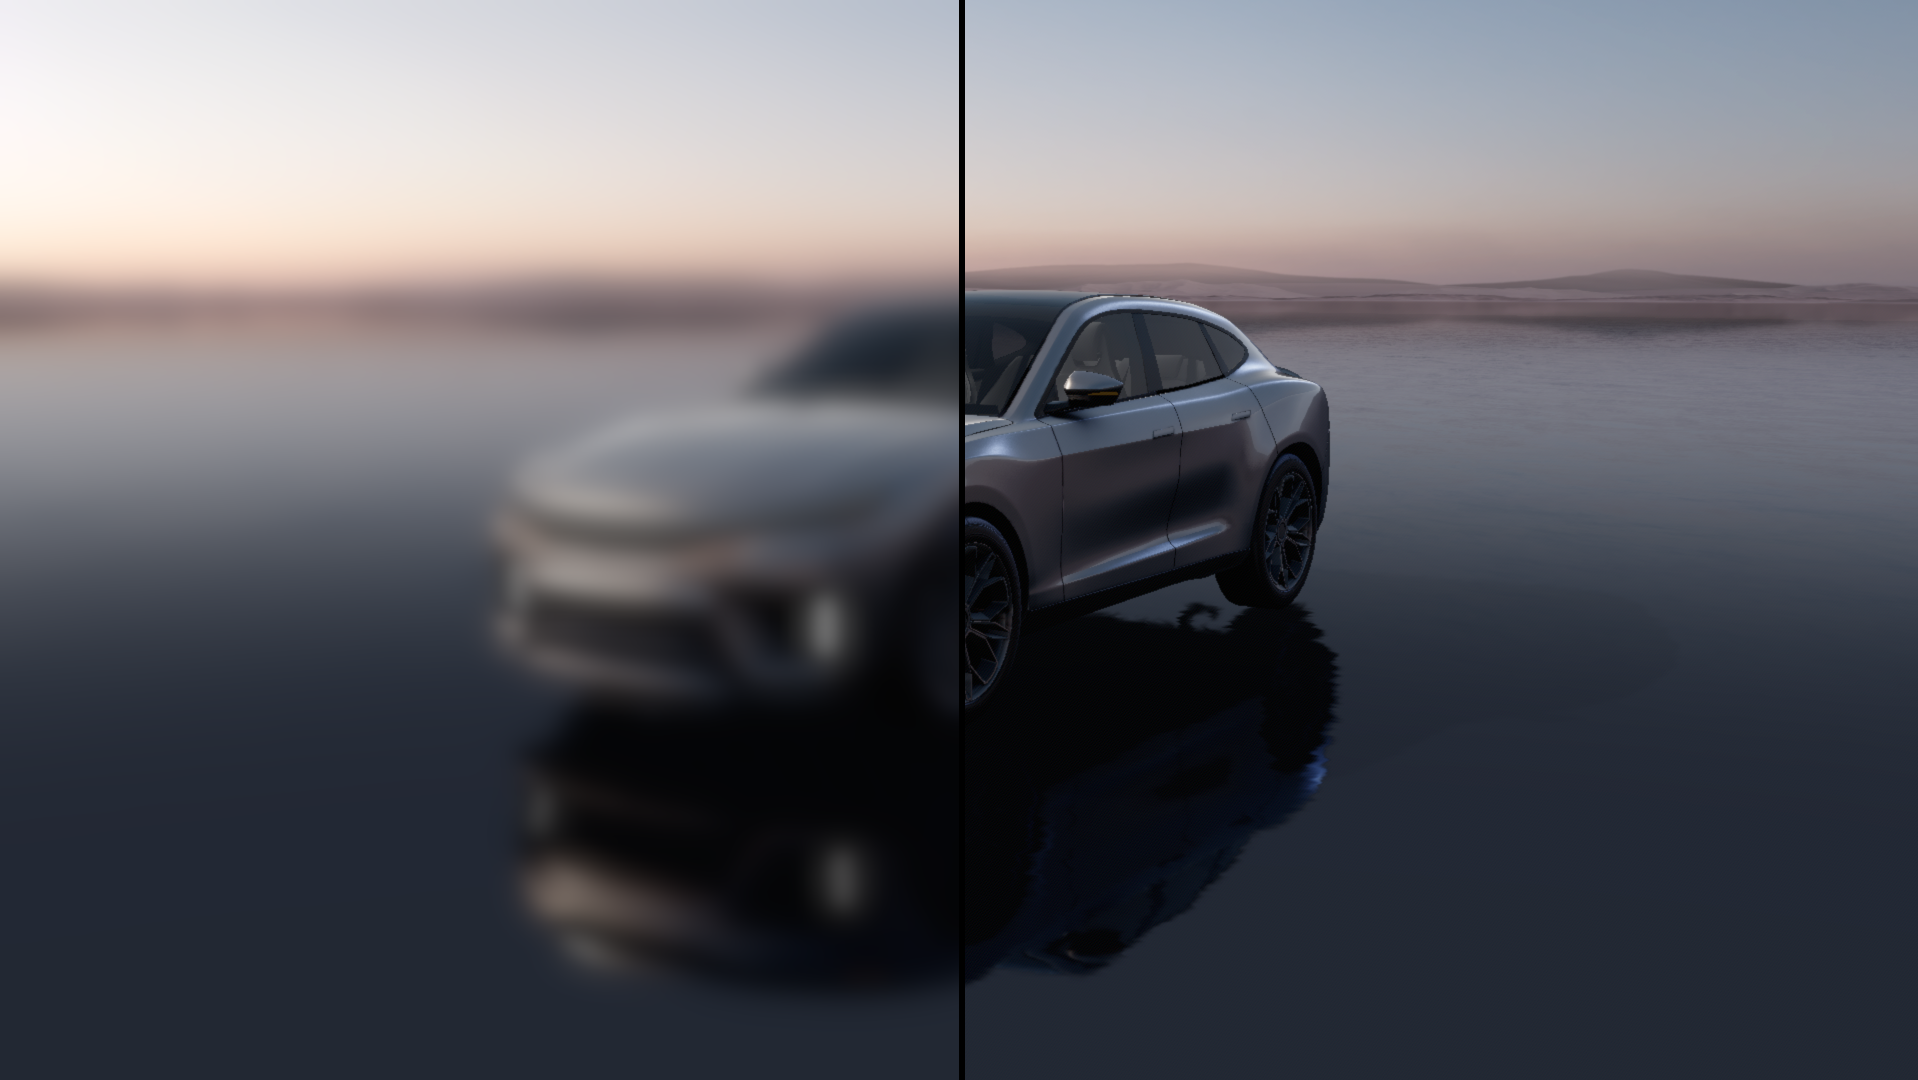
|
Use the SMAA (Subpixel Morphological Anti-Aliasing) effect to smooth the images with minimal performance impact. See SMAA. |
|
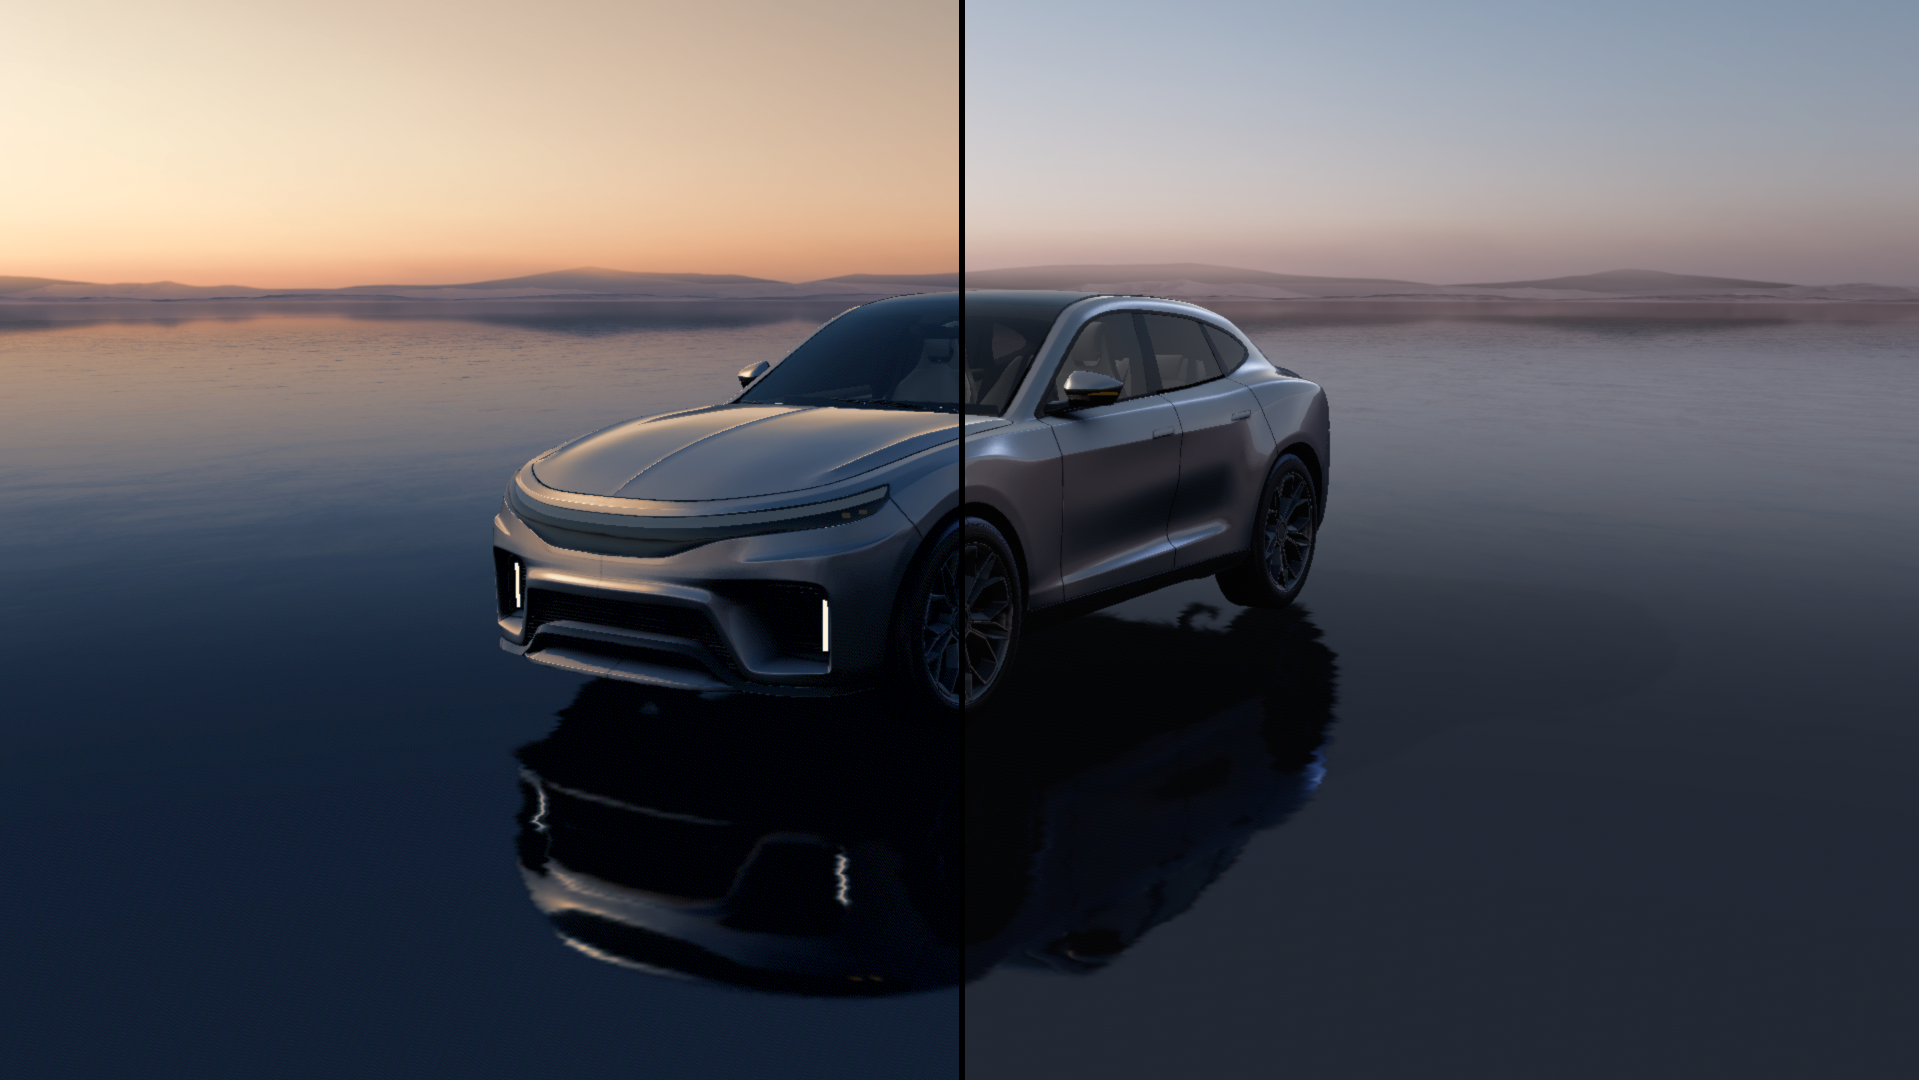
Use the Tonemap effect to bridge the gap between the HDR luminance range and the screen display capabilities. See Tonemap. |
|
Use the Vignette effect to gradually darken or color the periphery of an image. See Vignette. |

|
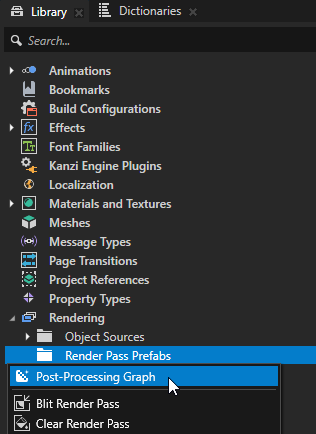
Importing post-processing effects
To import a post-processing effect:
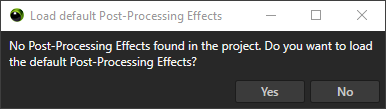
In the Library > Rendering > Render Pass Prefabs, create a Post-Processing Graph and import effects when Kanzi Studio prompts you to do so.
In the Asset Packages window, right-click an effect and select Import Asset Package.
After importing post-processing effects, you can find them in the Post-Processing Editor window Effects Library.