Controlling the Preview
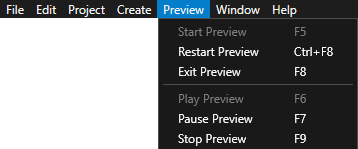
When Kanzi Studio loads a project, it shows in the Preview your project as if it was run as an application on a target device. You can control the Preview from the Project menu or use the shortcut keys.
Shortcut key |
Description |
|---|---|
F5 |
Start the Preview in paused mode. |
F6 |
Start playing the Preview. |
F7 |
Pause the Preview. |
F8 |
Exit the Preview. |
F9 |
Stop the Preview. |
Ctrl F5 |
Start the Preview in play mode. This is the default Preview setting when you open a Kanzi Studio project. To change this setting, go to Edit > User Preferences > Advanced > Preview. |
Ctrl F8 |
Restart the Preview. |
Controlling keyboard input in the Preview
To control how the Preview handles keyboard input, when the Preview has focus and is in the Interact mode  , in the Preview click
  .
.
For example, to set the Preview to pass to a Text Box node keyboard input also from the keys and key combinations that are reserved as Kanzi Studio shortcuts, enable the Keyboard Input mode.

Setting the font engine for the Preview
You can set which font engine you want the Kanzi Studio Preview to use to render the text in your application.
To set the font engine for the Preview:
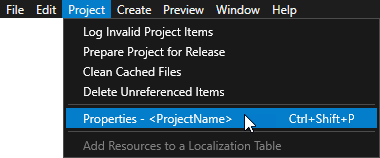
In the main menu select Project > Properties.
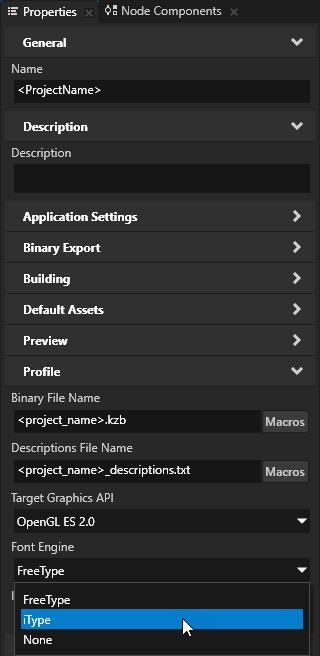
In the Properties set the Font Engine property:
FreeType uses the FreeType rasterizer, HarfBuzz shaper, and ICU bidirectional library, and libunibreak for line breaking. This is the default font engine.
iType uses the Monotype iType rasterizer and WorldType® Shaper™ for shaping. See Installing the iType font engine.
None to not load a font engine. When you do not load a font engine, the Preview does not render the text in your application.
To learn how to set which font engine to load at application startup, see FontEngine.
Installing the iType font engine
Submit the request for the Kanzi iType font engine through support.rightware.com.
To install the iType font engine for Kanzi Studio:
Extract the zip file that contains the iType font engine Kanzi Engine plugin.
Copy the dll file for each build configuration to the
<KanziInstallation>/Studio/Bin/EnginePluginsdirectory.For example, copy the
GL_vs<Version>_Release/kzitypeplugin.dllto the<KanziInstallation>/Studio/Bin/EnginePlugins/GL_vs<Version>_Releasedirectory.
Setting the Graphics API for the Preview
To set the Graphics API used by the Preview:
In the main menu, select Project > Properties.
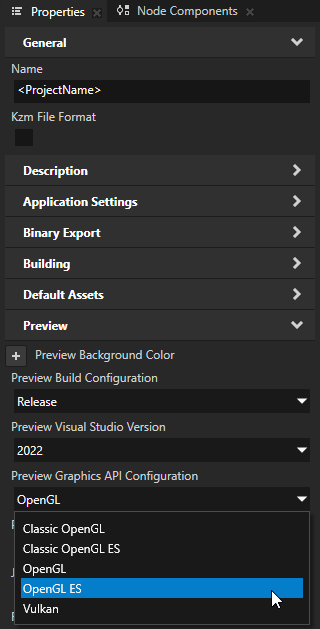
In the Properties, set the Preview Graphics API Configuration property:
OpenGL is the default setting.
OpenGL ES creates an OpenGL ES context using the regular OpenGL driver. OpenGL ES differs from regular OpenGL in features such as depth mipmaps, color formats, texture compression, and shader language.
Vulkan is a newer graphics API that allows efficient usage of graphics card resources.
You can set the default value for all your Kanzi Studio projects in the Edit > User Preferences > Advanced, by setting Preview Graphics API Configuration.
Setting the background color of the Preview
The background of the Preview is by default black. To make your content stand out from the background when the Preview is in the Interact mode , you can set the background color:
For all your Kanzi Studio projects.
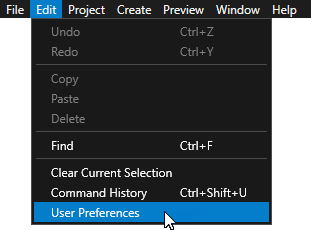
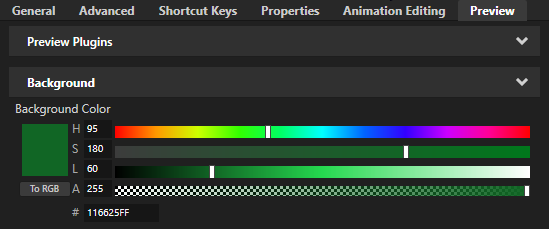
In the main menu, select Edit > User Preferences. In the Preview tab, set the Background Color property to the desired color.
For a specific Kanzi Studio project.
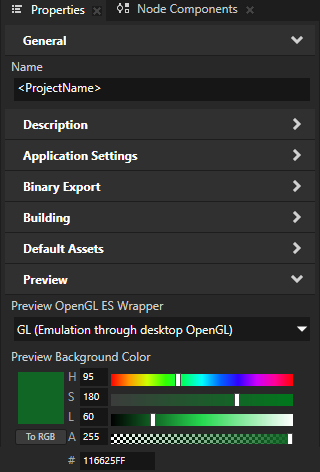
In the main menu, select Project > Properties. In the Properties > Preview property category, add and set the Preview Background Color property to the desired color.
When you do not set this property, the project uses the color that you set in the User Preferences.

Showing only the content of Page nodes and prefabs in the Preview
By default the Preview shows your entire Kanzi project as when it is run as an application on a target device. However, you can isolate parts of your application and view each as a separate item in the Preview. This means that you can work on the content of a prefab without instantiating the prefab.
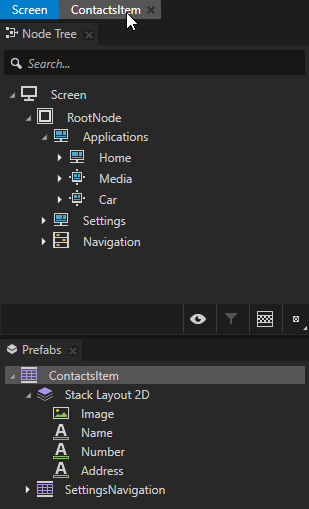
To show only the content of a prefab in the Preview, in the Prefabs double-click that prefab.
Kanzi Studio opens the prefab in a new Preview tab and shows the content of that prefab in the Preview.
To show only the content of a Page node, in the Node Tree or Pages double-click that page.
Kanzi Studio opens the Page node in a new tab and shows the content of that Page node in the Preview.
When you isolate content in this way, in the Preview, you can control that part of your application in the Preview with the timeline controls you can find in the bottom of Kanzi Studio. To show the timeline, in the Kanzi Studio main menu select Window > Toolbar > Timeline.

The Preview shows prefabs in your application either in play or paused mode:
In the play mode the prefab functions just as it would as a standalone application: user interface components are interactive and animations are playing.
In the paused mode the animations stop, but the user interface components remain active. If components execute animations, these are not played until you enter the playing mode.
When the Preview is in paused mode, you can set the application time in the timeline bar.
You can use these playback modes in the Preview.
Playback mode |
Description |
|---|---|
|
In the continuous play mode the Preview starts playing at start time you set in the timeline bar, but does not have a set end time. |
|
In the play range mode the Preview plays in a loop the range between the start and end times you set in the timeline bar. |
|
In the play range and stop mode the Preview plays once the range between the start and end times you set in the timeline bar. |


See also
Editing your application in the Preview