Step 1 - Prepare the content
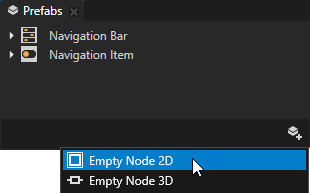
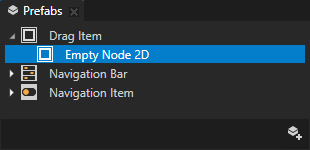
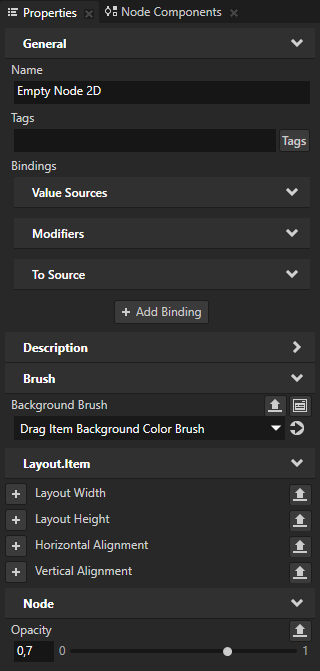
In this step of the tutorial you first create the prefab that visualizes the item that the user drags, then you set the texture for each item.
Assets for the tutorial
The starting point of this tutorial is the <KanziWorkspace>/Tutorials/Drag and drop/Start/Tool_project/Drag and drop.kzproj Kanzi Studio project.
You can find the completed tutorial in the <KanziWorkspace>/Tutorials/Drag and drop/Completed directory.
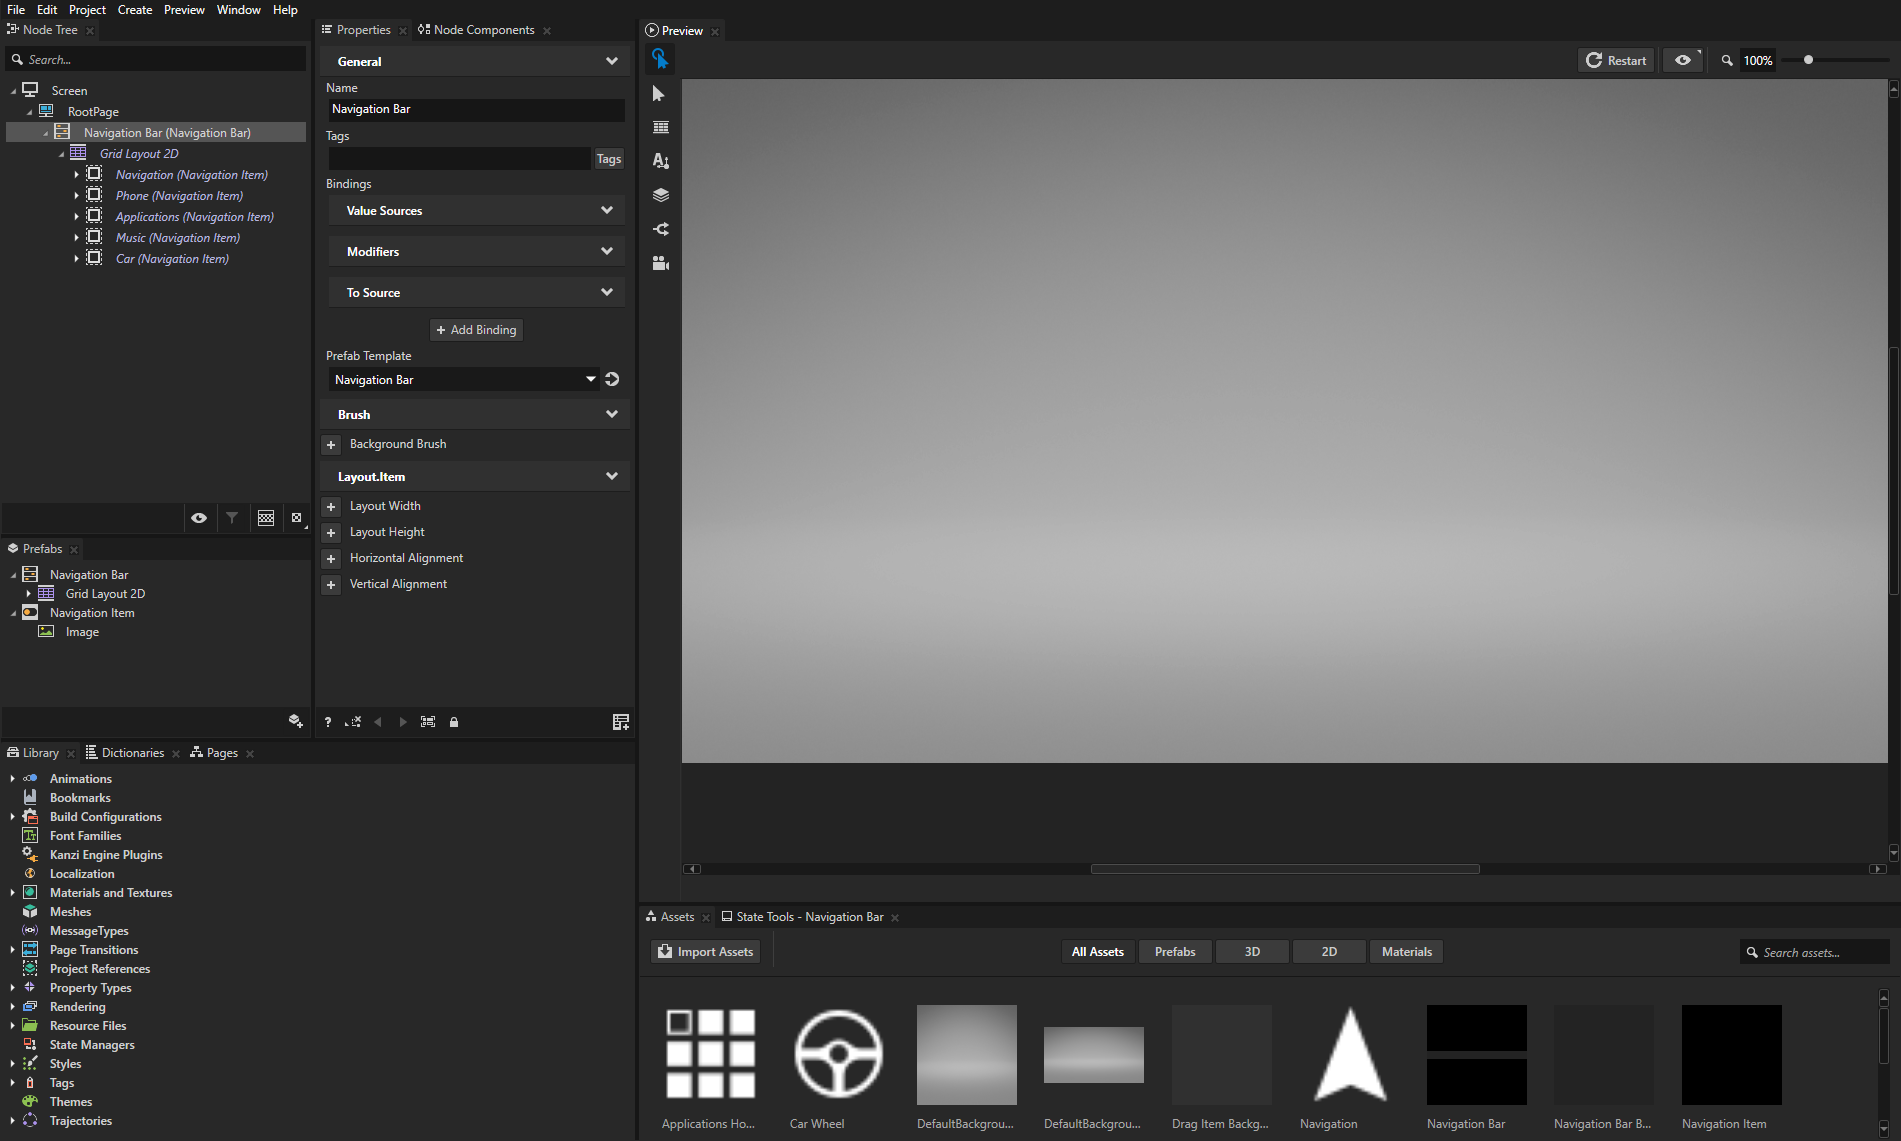
The starting point project contains the content that you need to complete this tutorial:
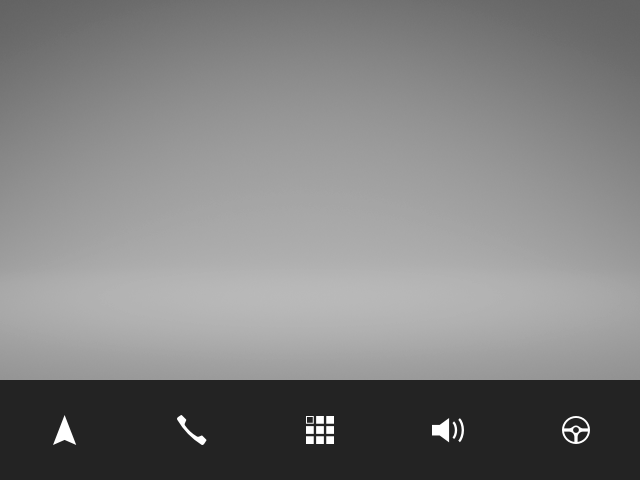
The Navigation Bar prefab.
The prefab is a Toggle Button Group 2D node with a Grid Layout 2D node that contains Toggle Button 2D nodes. The buttons use the Navigation Item prefab.
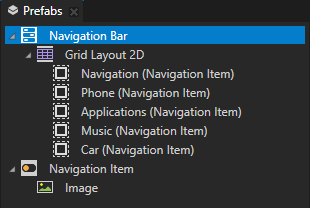
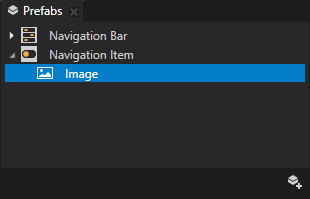
The Navigation Item prefab.
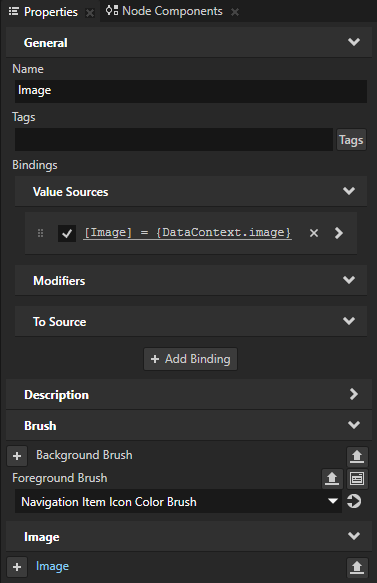
In the Navigation Item > Image node the Image property is bound to a data object that you create in this tutorial to set the icon of each button.
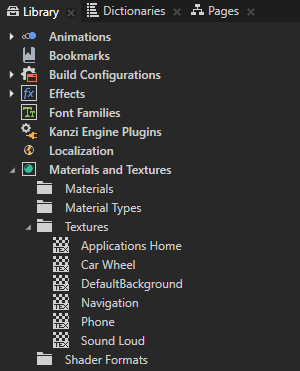
Textures that contain the icons for the Navigation Item nodes.
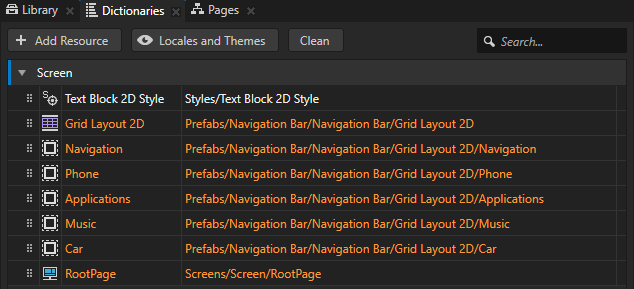
The resource dictionary of the Screen node contains aliases that point to the Grid Layout 2D, RootPage, and button nodes.
These aliases provide a convenient way to access the nodes using the Kanzi Engine API.
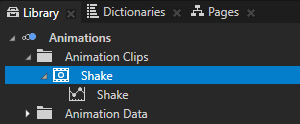
The Shake Animation Clip.
You use the animation to shake a node when the user is dragging that node.
See also
To learn more about prefabs, see Using node prefabs.
To learn more about data sources, see Data sources.
To learn more about aliases in Kanzi, see Using aliases.
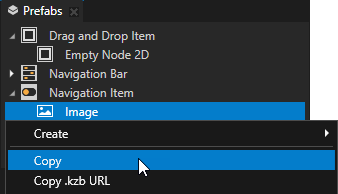
 , select