Using rulers and guides
Rulers and guides help you position the elements in your application.
To use rulers and guides, in the Preview:
Select the Node tool
 .
.Click
 to enter the Analyze mode.
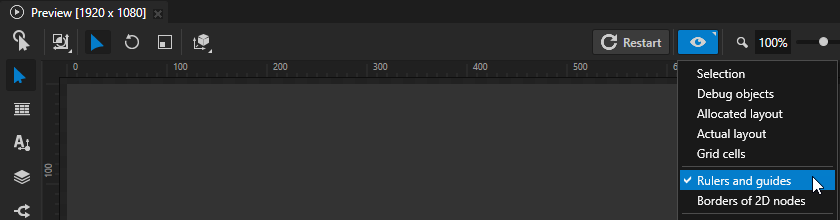
Right-click
 , and select Rulers and guides.
Adding a guide
To add a guide, in the Preview select the Node tool and drag a ruler to the preview area. Drag from the horizontal ruler to add a horizontal guide, and from the vertical ruler to add a vertical guide.
Tip
Use the Snap tool to snap an element in your application to a guide. To enable snapping, in the Node Tree select a 2D node, in the Preview select the Node tool , and select  . When you move 2D node in your application, it snaps to the nearest guide.


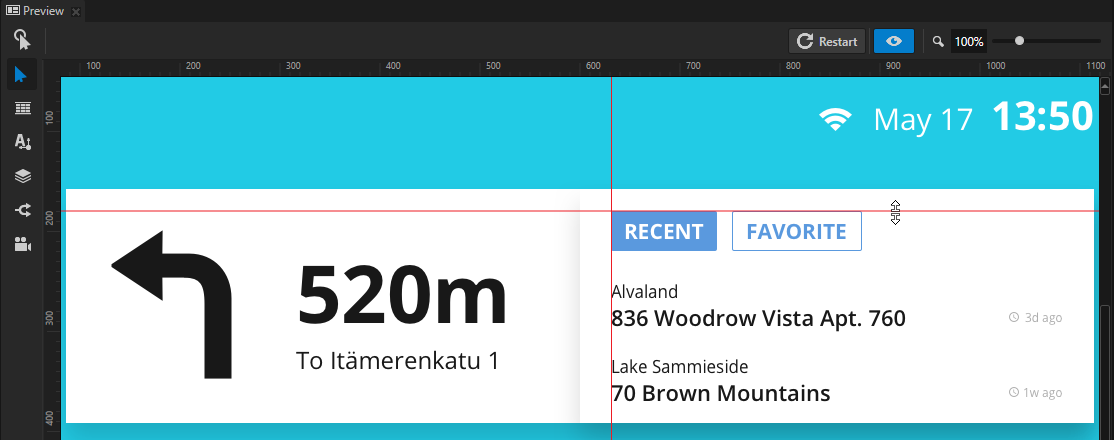
Moving a guide
To move a guide, in the Preview select the Node tool and drag the guide you want to move.
Removing a guide
To remove a guide, in the Preview select the Node tool , drag the guide, and drop it on the ruler.
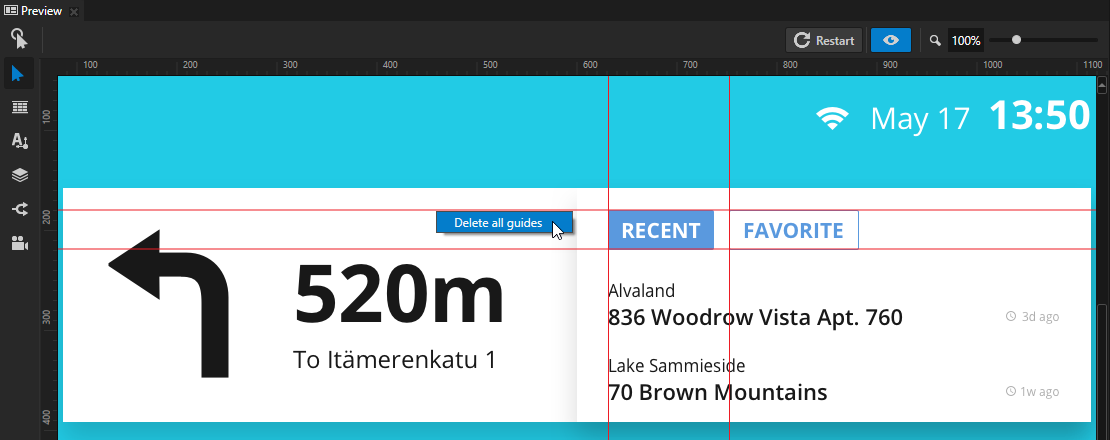
Removing all guides
To remove all guides, in the Preview select the Node tool , right-click one of the guides, and select Delete all guides.