Using multiple effects
Use an Effect Stack 2D effect prefab to apply multiple effects to a 2D node.

Kanzi Studio comes with the Default Effect Stack 2D preset that you can use to quickly apply multiple effects to a 2D node. See Using the Default Effect Stack 2D preset.
Applying multiple effects to a 2D node
To apply multiple effects to a 2D node:
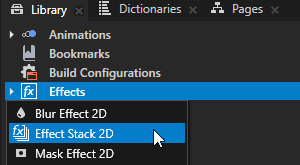
In the Library, press Alt and right-click Effects and select Effect Stack 2D.
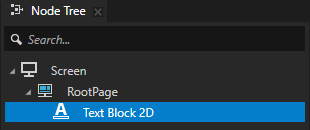
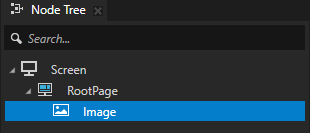
In the Node Tree or Prefabs, create a 2D node to which you want to apply multiple effects.
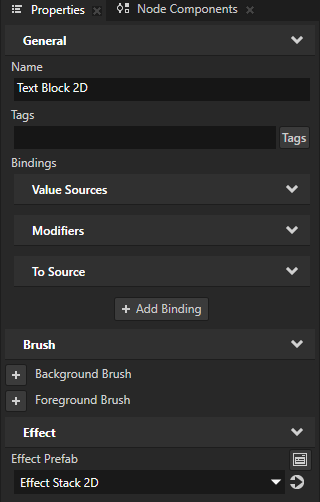
In the Properties, add the Effect Prefab property and set it to the Effect Stack 2D.
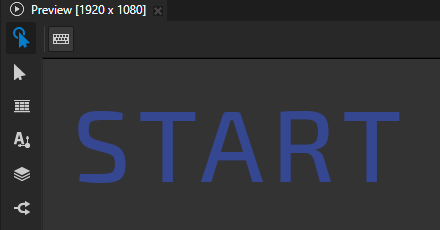
This way, you assign the effect prefab to the node so that you can follow the creation of the effects in the Preview.
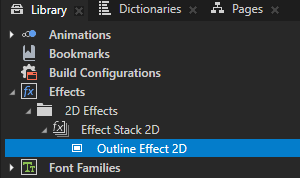
In the Library in the Effect Stack 2D effect prefab, create the effects that you want to apply to the 2D node.
Kanzi applies the effects to the content of the node in the order that the effects appear in the Effect Stack 2D, from top to bottom.
For example, create:
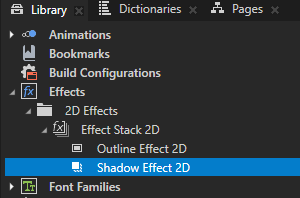
Outline Effect 2D effect. See Using the Outline Effect 2D effect.

Shadow Effect 2D effect. See Using the Shadow Effect 2D effect.
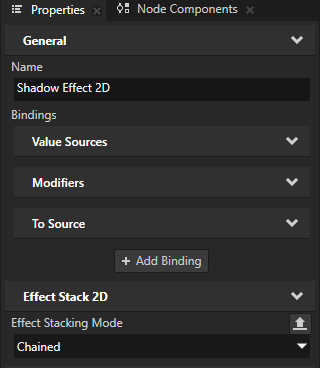
(Optional) To control how Kanzi applies the effects in a stack, in an effect, add the Effect Stack 2D > Effect Stacking Mode property and set it to:
Chained to use as input for the effect the output of the previous effect.
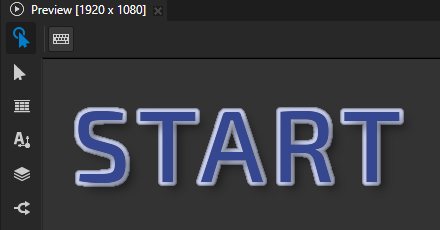
For example, this way, when you apply the Shadow Effect 2D after the Outline Effect 2D, you apply the shadow also to the outline. By default, the outline is not included in the shadow.
Layered to use as input for the effect the output of the previous chained effect.
This is the default mode for the Shadow Effect 2D and Outline Effect 2D effects.
The Effect Stacking Mode property has no impact on the Mask Effect 2D and Blur Effect 2D effects, which always use the Chained mode.
Using the Default Effect Stack 2D preset
To help you get started with the Effect Stack 2D, Kanzi Studio comes with the Default Effect Stack 2D preset.
To use the Default Effect Stack 2D preset:
In the Library, press Alt and right-click Effects and select Default Effect Stack 2D.
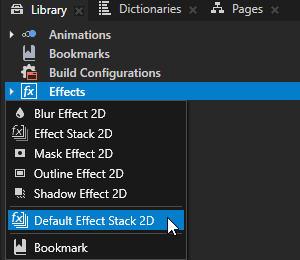
Kanzi Studio creates in the Library > Effects > 2D Effects an Effect Stack 2D effect prefab named Default Effect Stack 2D and inside it:
Mask Effect 2D effect named Mask
Shadow Effect 2D effect named Shadow
Outline Effect 2D effect named Outline
Blur Effect 2D effect named Blur
The most common properties of each effect have bindings to the Default Effect Stack 2D. This way you can set each effect in the Default Effect Stack 2D.

In the Node Tree or Prefabs, create a 2D node to which you want to apply multiple effects.
In the Properties, add the Effect Prefab property and set it to the Default Effect Stack 2D.
By default, the Default Effect Stack 2D preset applies the default Shadow Effect 2D effect. All other effects in the Default Effect Stack 2D are disabled.
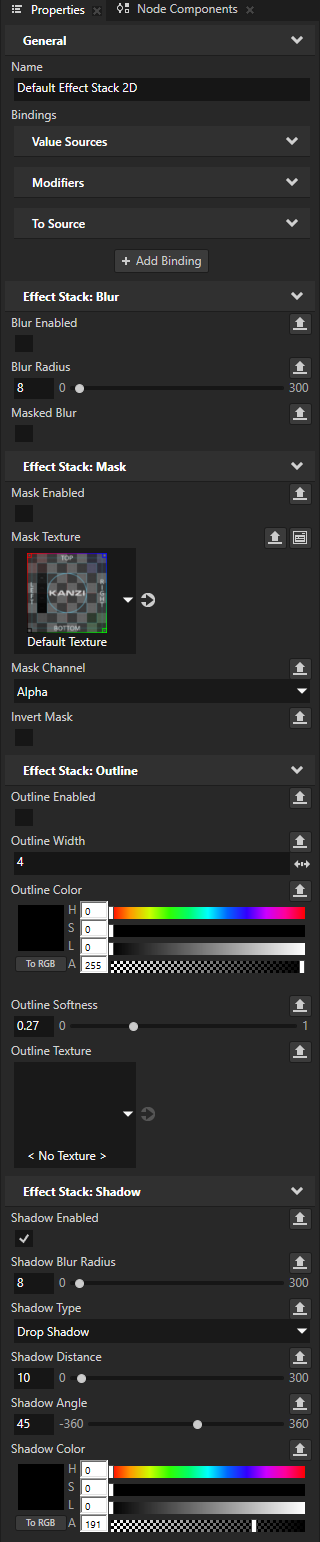
When you set a node to use the Default Effect Stack 2D, Kanzi Studio adds to that node the properties that you can use to set the blur, mask, outline, and shadow effects in the Default Effect Stack 2D.

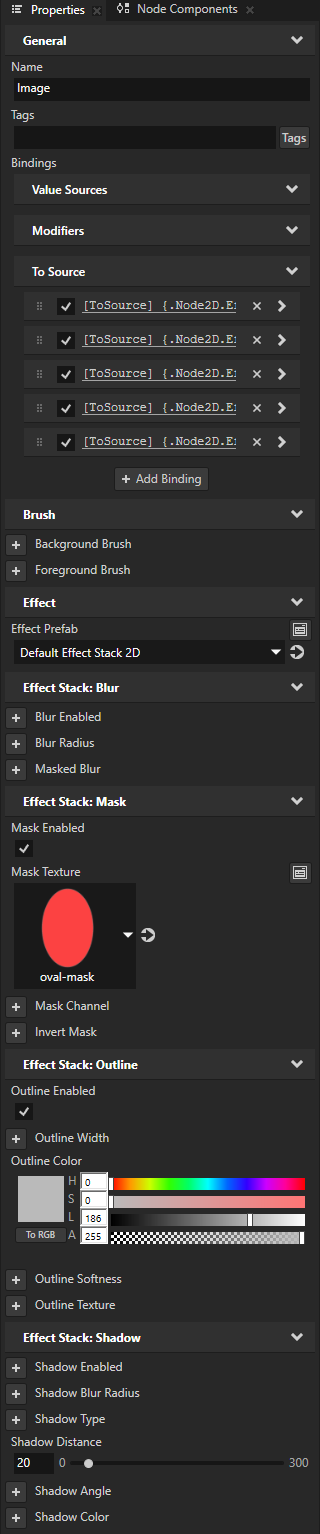
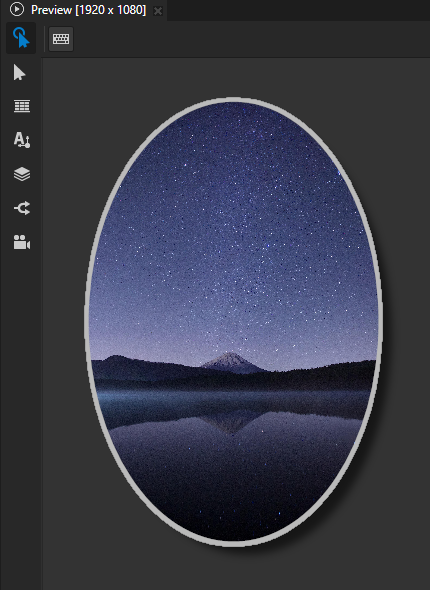
In the Properties, add and set the Effect Stack properties.
For example, add and set:
Mask Enabled to enabled
Mask Texture to the texture that you want to use as the mask
Outline Enabled to enabled
Outline Color to the color that you want to use for the outline
Shadow Distance to 20
For each property that you add, Kanzi Studio adds to the node a To Source binding that pushes the property value to the Default Effect Stack 2D preset.
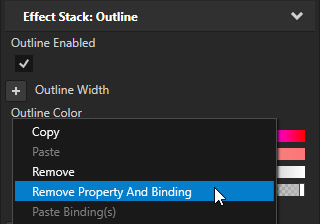
Tip
When you want to remove from a node an effect stack property and its To Source binding, right-click that property and select Remove Property And Binding.
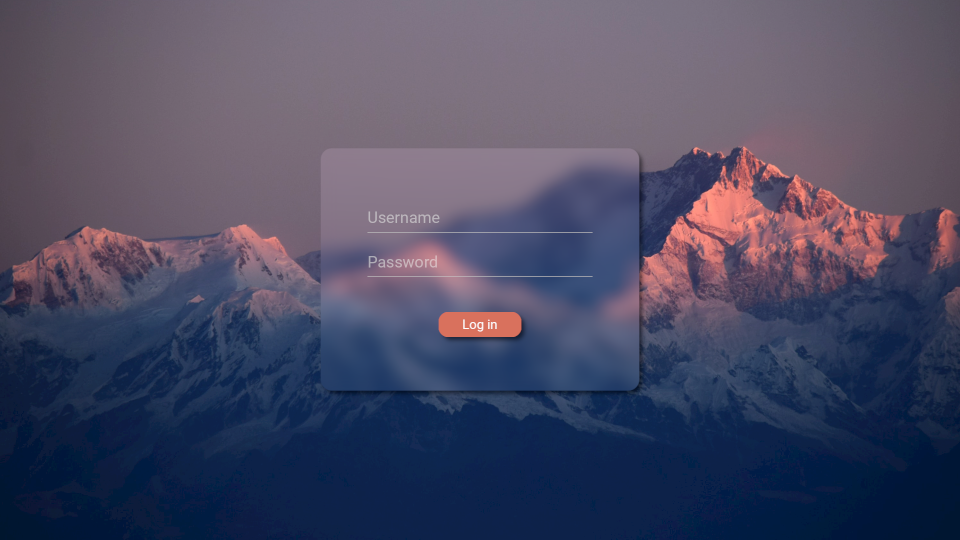
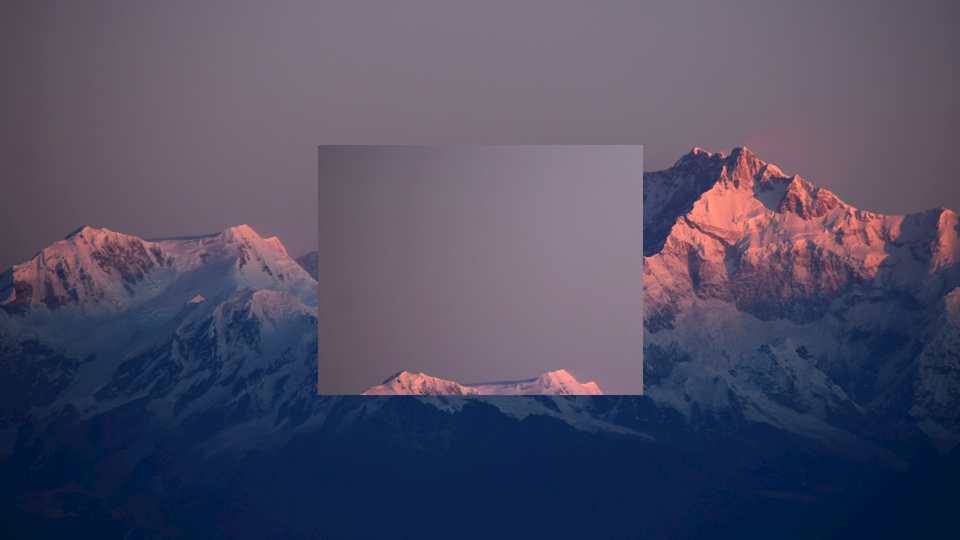
Creating a frosted glass effect
In this procedure, you use the Effect Stack 2D effect prefab with the Blur Effect 2D, Mask Effect 2D, and Shadow Effect 2D effects to create a frosted glass effect.
To create a frosted glass effect:
Create the background for the frosted glass effect:
Create the nodes that you want to use as the background of the frosted glass.
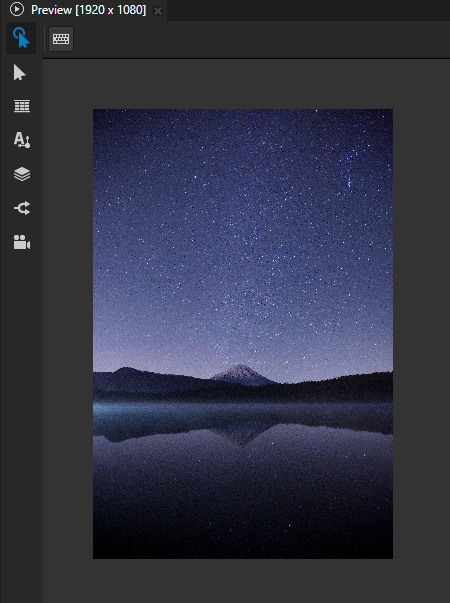
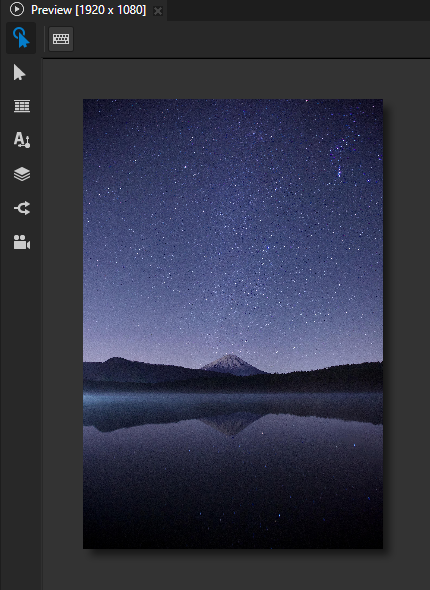
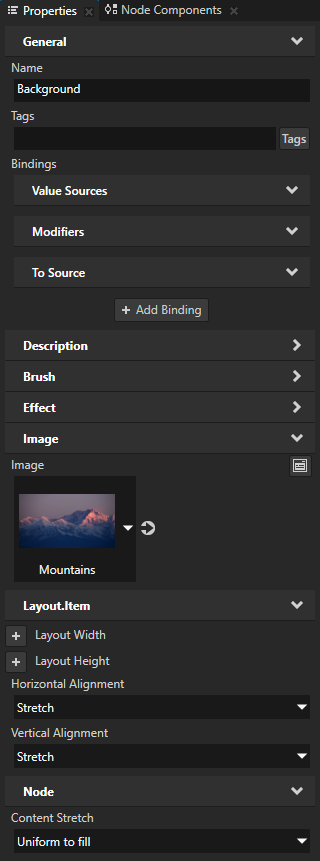
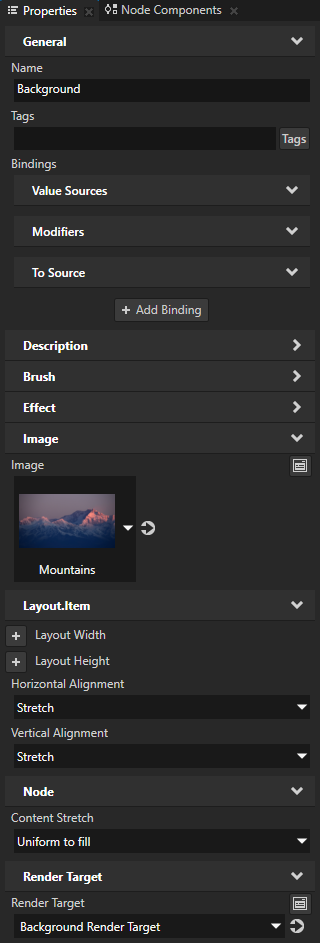
For example, in the Node Tree, create an Image node and name it Background. In the Properties, add and set:
Image to a texture that shows an image that you want to use as the backdrop of the frosted glass effect.
Horizontal Alignment and Vertical Alignment to Stretch
Content Stretch to Uniform to fill

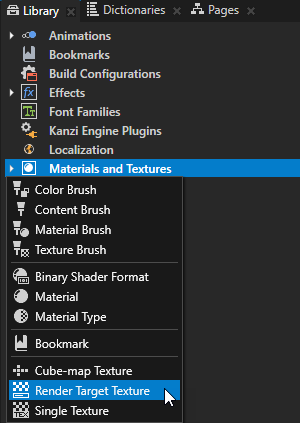
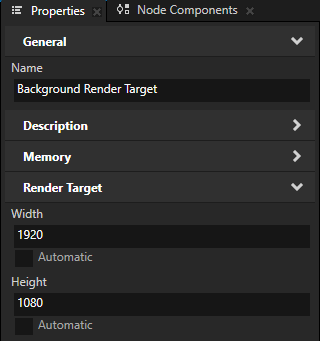
In the Library, press Alt and right-click Materials and Textures, select Render Target Texture, and name it Background Render Target. In the Properties, set the Width and Height properties to at least the width and height of the background that you created in the previous step.
If the size of the background is fixed, you can enable the Automatic setting. This way, you set the render target texture to the size of the node that uses this texture.
In the Node Tree, select the node that shows the background of the frosted glass. In the Properties, add the Render Target > Render Target property and set it to Background Render Target.
This way, you set Kanzi to render the background both to the screen and to the Background Render Target render target texture. You use the Background Render Target render target texture later in this procedure to render a part of the background in the node that shows the frosted glass.
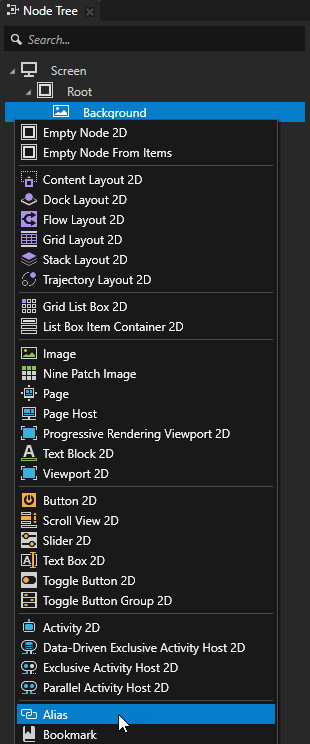
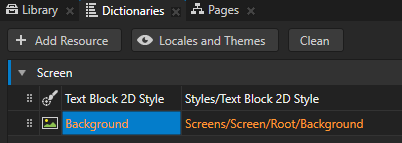
In the Node Tree, press Alt and right-click the node that shows the background of the frosted glass and select Alias.
Kanzi Studio creates in the resource dictionary of the Screen node an alias that points to the background node. You use this alias later in this procedure to access the background node in a binding.
Create a material that you can use to show a specific part of a texture:
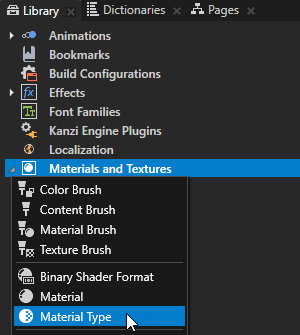
In the Library, press Alt and right-click Materials and Textures, select Material Type, and name it BackgroundCaptureBlit.
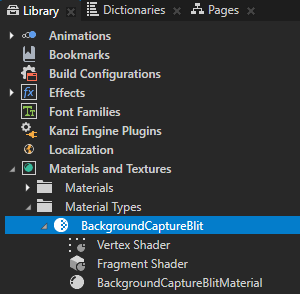
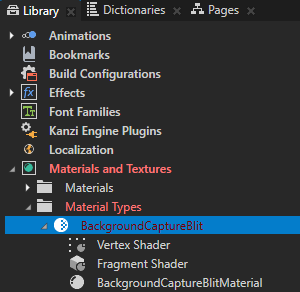
In the Library > Materials and Textures > Material Types > BackgroundCaptureBlit, double-click the Vertex Shader to open it in the Shader Source Editor. Replace the contents of the shader file with this shader code and click Save.
precision mediump float;

attribute vec3 kzPosition;
attribute vec2 kzTextureCoordinate0;
uniform mediump vec2 kzTextureSize0;
uniform highp mat4 kzWorldMatrix;
uniform highp mat4 kzProjectionCameraWorldMatrix;
uniform vec2 BlitOffset;
varying vec2 vTexCoord;

void main()
{
    vec2 scaledPosition = kzPosition.xy * vec2(kzWorldMatrix[0][0], kzWorldMatrix[1][1]);
    vTexCoord = (scaledPosition + BlitOffset) / kzTextureSize0;
    vTexCoord.y = 1.0 - vTexCoord.y;

    gl_Position = kzProjectionCameraWorldMatrix * vec4(kzPosition.xyz, 1.0);
}
In the Library > Materials and Textures > Material Types > BackgroundCaptureBlit, replace the contents of the Fragment Shader with this shader code:
precision mediump float;

uniform sampler2D RenderTexture;
uniform float BlendIntensity;
uniform vec4 ModulateColor;

varying vec2 vTexCoord;

void main()
{
    vec4 color = texture2D(RenderTexture, vTexCoord);
    gl_FragColor = ModulateColor * color * BlendIntensity;
}
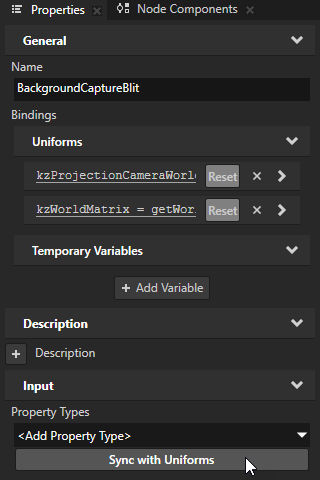
In the Library > Materials and Textures > Material Types, select the BackgroundCaptureBlit material type, in the Properties click Sync with Uniforms, and create the BlitOffset property type.
This way, you create and add to the material type these properties that you defined in the shaders:
Blend Intensity (
BlendIntensity)BlitOffset (
BlitOffset)Brush Modulate Color (
Brush.ModulateColor)Brush Texture (
TextureBrush.RenderTexture)
You can now set these properties in the BackgroundCaptureBlitMaterial material that uses the BackgroundCaptureBlit material type.
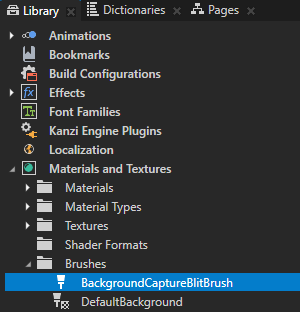
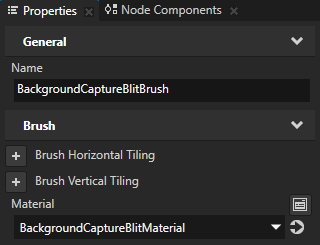
In the Library > Materials and Textures > Brushes, create a Material Brush and name it BackgroundCaptureBlitBrush. In the Properties, set the Material to the BackgroundCaptureBlitMaterial.
In a node that you set to use this material brush you can use these properties:
Brush Texture to set the texture that you want to render in the node
Brush Modulate Color to set the modulation color for the brush
BlitOffset to set the distance along the x and y axes by which to offset the Brush Texture
Create the UI area where you want to show the frosted glass effect.
For example:
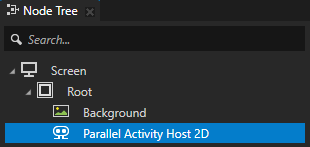
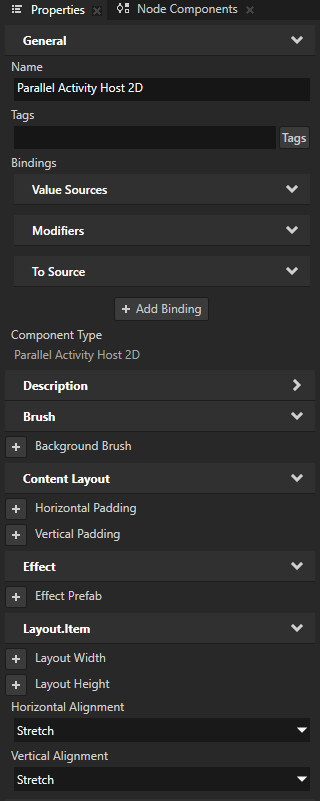
In the Node Tree, create a Parallel Activity Host 2D node as a sibling of the Background node. In the Properties, add and set the Horizontal Alignment and Vertical Alignment properties to Stretch.
In the Activity Browser, below the Parallel Activity Host 2D, click
 , select Create Activity, and name the Activity and its prefab template Login.
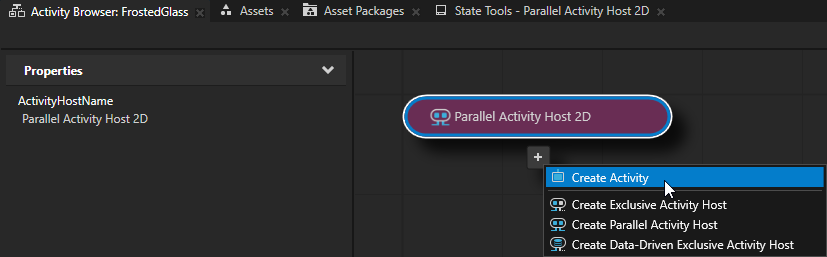
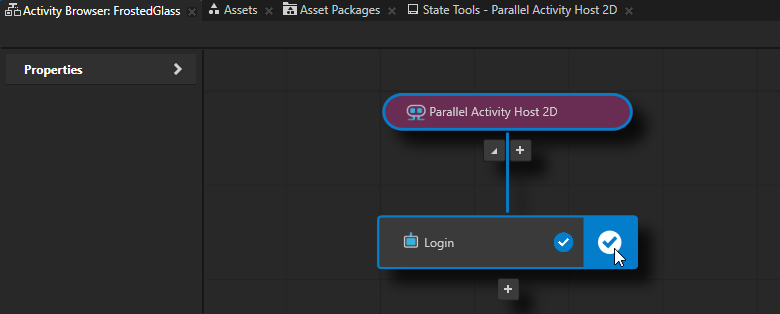
In the Activity Browser, in the Login Activity, click
 .
.This way, you simulate the activation of the Login Activity so that you can see its content in the Preview.
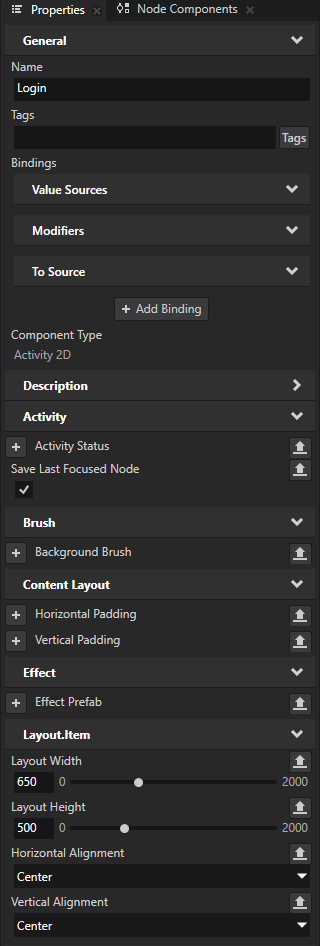
In the Prefabs, select the Login prefab. In the Properties, add and set:
Layout Width and Layout Height properties to set the size of the frosted glass.
Horizontal Alignment and Vertical Alignment properties to Center.

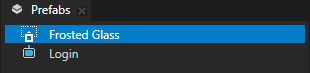
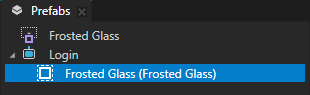
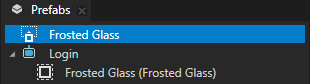
In the Prefabs, create a Content Layout 2D prefab and name it Frosted Glass.
To make the frosted glass reusable, you create it in a prefab.
The Content Layout 2D by default does not clip its child nodes. If you use some other type of node to host the effect, make sure that you disable the Node > Clip Children property in that node. This way, you ensure that Kanzi does not clip the effects that you apply later in this procedure.
In the Prefabs, drag the Frosted Glass prefab to the Login Activity prefab.
This way, you add the Frosted Glass prefab to the Login Activity and see its content in the Preview when the Login Activity is activated.
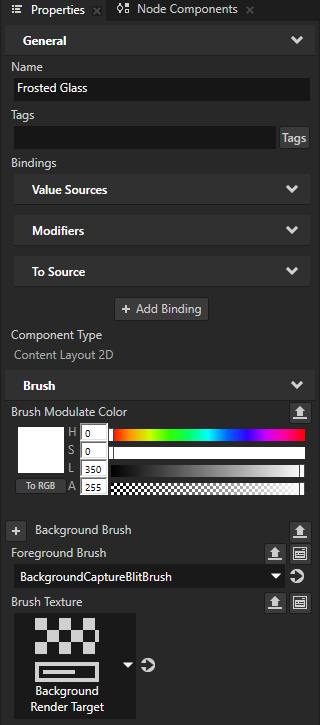
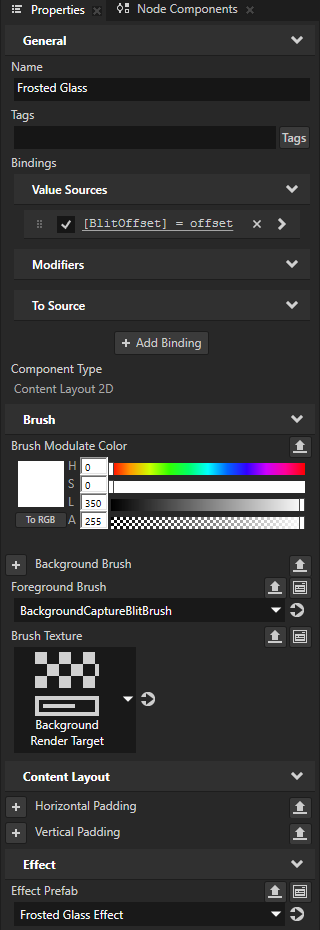
In the Prefabs, select the Frosted Glass prefab. In the Properties, add and set these Brush properties:
Brush Texture to Background Render Target
Foreground Brush to BackgroundCaptureBlitBrush
Brush Modulate Color to the modulation color that you want to use for the Foreground Brush
To make the frosted glass lighter than the background, set the Brush Modulate Color property Lightness (L) property field to a value larger than 255.
For example, set it to 350.
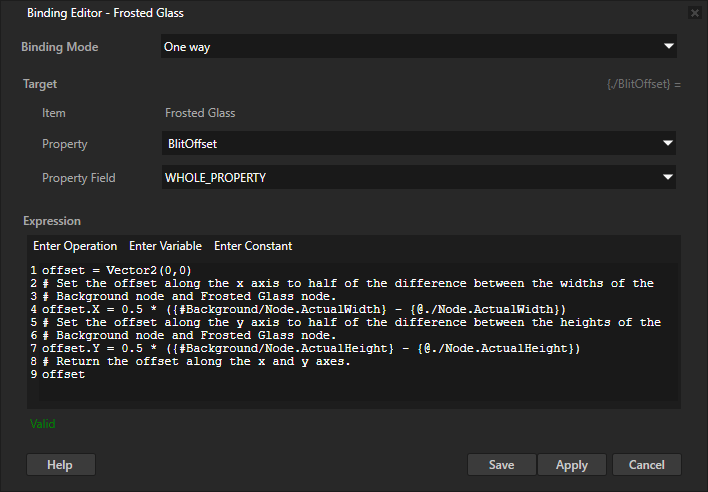
In the Properties, click + Add Binding and in the Binding Editor, set:
Property to Material Properties > BlitOffset
This property sets the distance along the x and y axes by which to offset the Brush Texture
Expression to return a 2D vector that determines the amount you want to offset the Background Render Target in the Frosted Glass node
For example, to render the frosted glass in the center of the screen, set Expression to
offset = Vector2(0,0)
# Set the offset along the x axis to half of the difference between the widths of the
# Background node and Frosted Glass node.
offset.X = 0.5 * ({#Background/Node.ActualWidth} - {@./Node.ActualWidth})
# Set the offset along the y axis to half of the difference between the heights of the
# Background node and Frosted Glass node.
offset.Y = 0.5 * ({#Background/Node.ActualHeight} - {@./Node.ActualHeight})
# Return the offset along the x and y axes.
offset
Click Save.

Create the frosted glass effect:
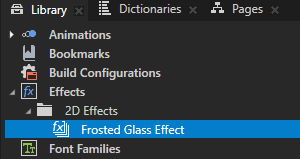
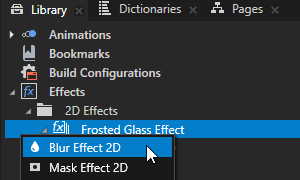
In the Library, press Alt and right-click Effects, select Effect Stack 2D, and name it Frosted Glass Effect.
In the Prefabs, select the Frosted Glass prefab. In the Properties, add and set the Effect Prefab property to Frosted Glass Effect.
This way, you assign the effect stack to the node so that you can follow the creation of the effects in the Preview.
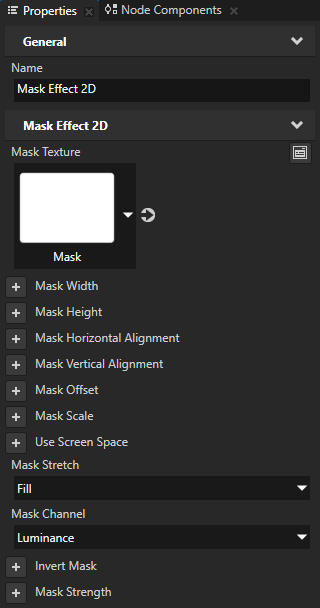
In the Library > Effects > 2D Effects, press Alt and right-click Frosted Glass Effect and select Mask Effect 2D. In the Properties, add and set:
Mask Texture to the texture that you want to use to define the shape of the area where you apply the frosted glass effect
For example, in the Mask Texture dropdown select + Import Image and import this image:

Mask Stretch to Fill
This way, you stretch the mask to fill the node to which you apply the Mask Effect 2D effect.
Mask Channel to the channel in the Mask Texture that you want to use as input for the mask.
By default, Kanzi uses the alpha channel of the Mask Texture as input for the mask.
For example, if you use the above image as the mask texture, set Mask Channel to Luminance. This way, you set Kanzi to use as input for the mask the luminance value calculated from the color channels of the mask texture.


In the Library, press Alt and right-click the Frosted Glass Effect and select Blur Effect 2D.
This way, you add a Gaussian blur to the Frosted Glass Effect.
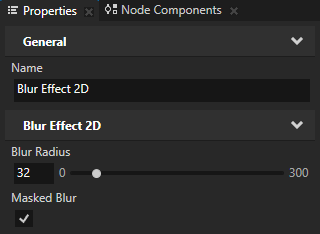
In the Properties, add and set:
Blur Radius to the radius of the circular area of pixels that you want the blur effect to blend into each other
For example, set it to 32.
Masked Blur to enabled
You set the blur effect to blur only those pixels in the node whose alpha channel value is not zero. This way, you prevent the blur from spreading to fully transparent pixels and the edges of the content stay sharp.

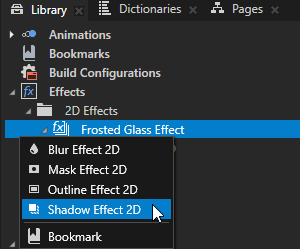
In the Library > Effects > 2D Effects, press Alt and right-click Frosted Glass Effect and select Shadow Effect 2D.
This way, you add a drop shadow to the frosted glass.
The Shadow Effect 2D by default applies to the visual shape of the content in a 2D node a partially transparent black drop shadow directed at a 45-degree angle relative to the positive x axis.

Create the nodes that show the content that you want to show on top of the frosted glass effect.
For example, in the Login Activity prefab, create the input fields for a login screen.
Assigning multiple effects to a 2D node using the Kanzi Engine API
To assign multiple effects to a 2D node using the Kanzi Engine API:
// Create an outline effect template.
NodeEffectTemplate2DSharedPtr outlineEffectTemplate =
    NodeEffectTemplate2D::create(OutlineEffect2D::getStaticMetaclass()->getName(), "OutlineEffect");

// Set the value of the WidthProperty in the outline effect template.
// The WidthProperty defines the maximum width of the outline outside the content area.
outlineEffectTemplate->addPropertyValue(OutlineEffect2D::WidthProperty, Variant(8));

// Create an effect stack template.
NodeEffectTemplate2DSharedPtr effectStackTemplate = NodeEffectTemplate2D::create(EffectStack2D::getStaticMetaclass()->getName(), "Group");

// Add the outline effect template to the effect stack template.
effectStackTemplate->addChild(outlineEffectTemplate);

// Create a shadow effect template and add it to the effect stack template.
effectStackTemplate->addChild(NodeEffectTemplate2D::create(ShadowEffect2D::getStaticMetaclass()->getName(), "DropShadow"));

// Create a prefab from the effect stack template.
NodeEffectPrefab2DSharedPtr effectStackPrefab =
    NodeEffectPrefab2D::create(getDomain(), "Effect Stack prefab", effectStackTemplate);

// Set a 2D node to use the effect stack prefab.
// This way, you apply to the node both the outline and the shadow effect.
node->setEffectPrefab(effectStackPrefab);
For details, see the EffectStack2D class.
See also
Using the Blur Effect 2D effect
Using the Mask Effect 2D effect
Using the Outline Effect 2D effect