Rendering decals
Use a Pipeline State Render Pass to render decals on the surfaces of 3D objects without z-fighting. You can set the polygon depth offset that you want to apply to the elements rendered by the Pipeline State Render Pass.
To render decals:
Create the 3D content on the surface of which you want to render decals.
For example, in the Node Tree create a Plane node.
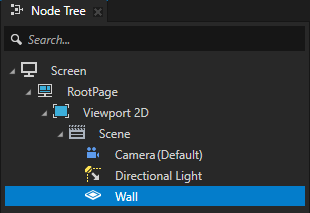
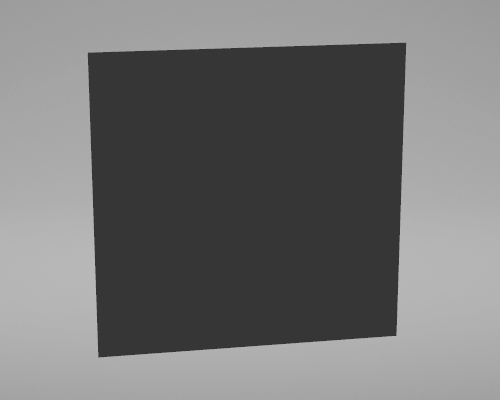
Create the content that you want to render as decals.
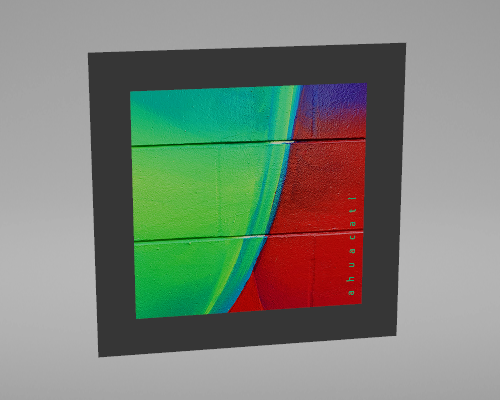
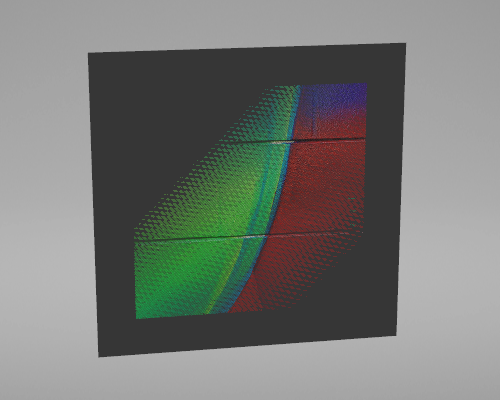
For example, in the Plane node that you created in the previous step create a Plane node, name it Decal, and set it to show a texture.
In the Preview you can see the z-fighting between the nodes.
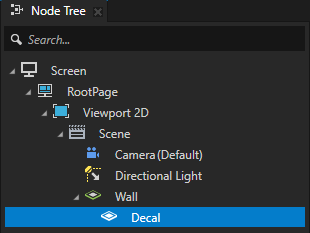
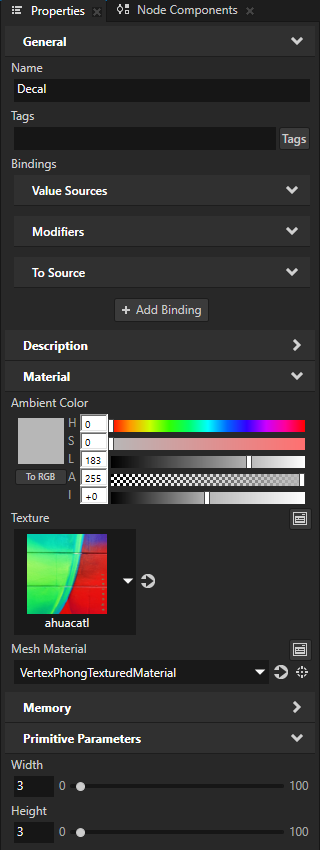
Tag the nodes that you want to render as decals. See Tagging a node.
For example, tag the Decal node with the tag Decal.
Create a Tag Filter that picks the nodes that you want to render as decals, and another Tag Filter that picks all nodes except the nodes that you want to render as decals. See Using the Tag Filter.
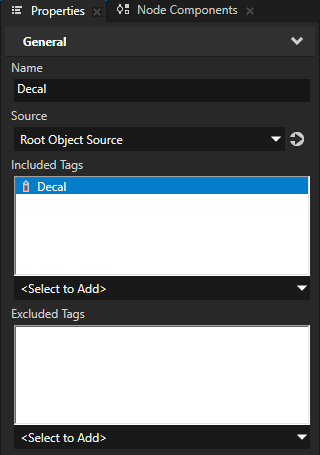
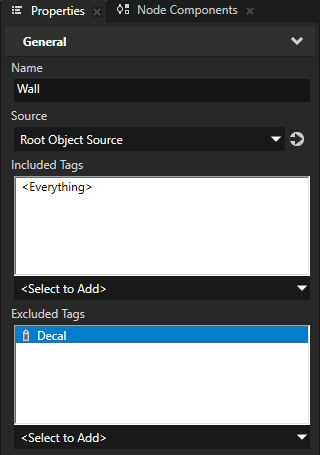
Use render passes to render your content and decals without z-fighting.
For example, to modify and use the Default Render Pass render pass preset to render the content and decals:
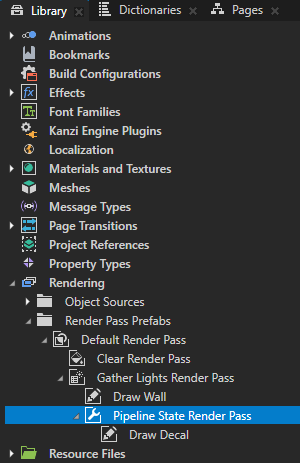
In the Library press Alt and right-click Rendering and select the Default Render Pass render pass preset. See Using Kanzi Studio render pass presets.
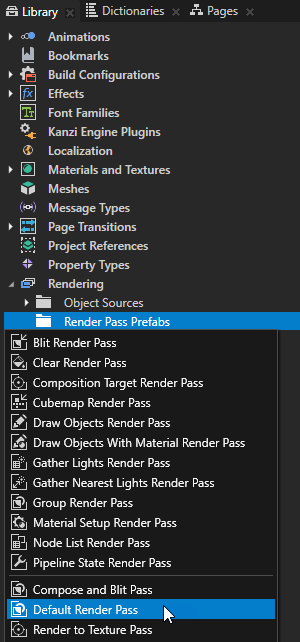
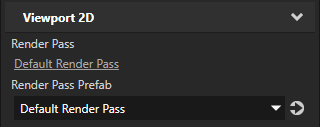
To take the Default Render Pass render pass prefab into use, select the Viewport 2D node which contains the 3D content and decals that you want to render, and in the Properties set the Render Pass Prefab property to Default Render Pass.
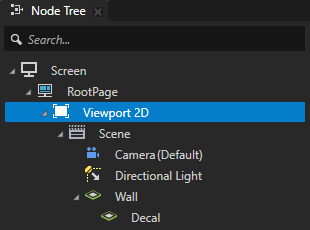
In the Library in the Default Render Pass render pass prefab select the Draw Objects Opaque render pass and in the Properties set the Objects Source property to the Tag Filter that picks all nodes except the nodes that you want to render as decals.
You set this Draw Objects Render Pass to render all nodes in the Viewport 2D node, except the decal nodes.
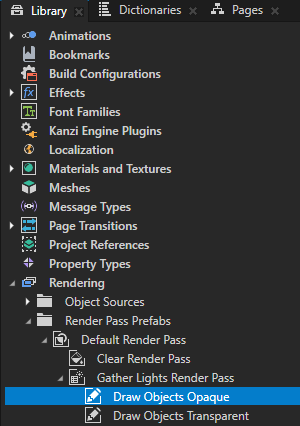
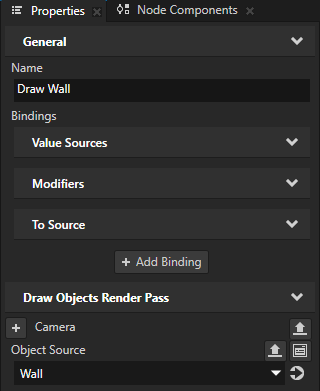
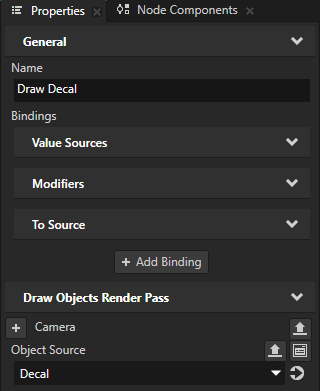
In the Default Render Pass render pass prefab select the Draw Objects Transparent render pass and in the Properties set the Objects Source property to the Tag Filter that picks the nodes that you want to render as decals.
You set this Draw Objects Render Pass to render only the decal nodes.
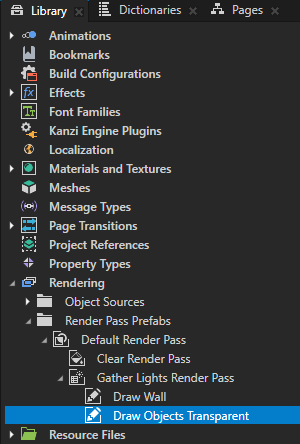
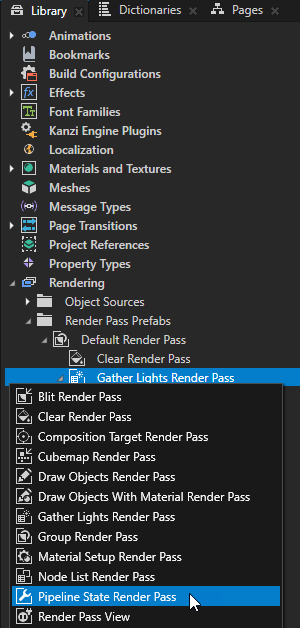
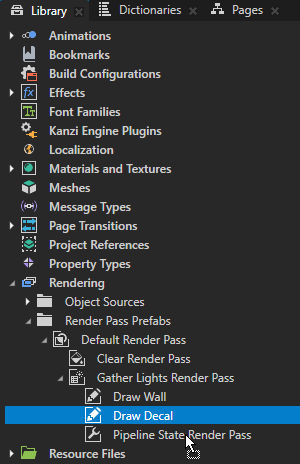
In the Default Render Pass > Gather Lights Render Pass create a Pipeline State Render Pass and drag the Draw Objects Render Pass, which renders the decal nodes, to the Pipeline State Render Pass.
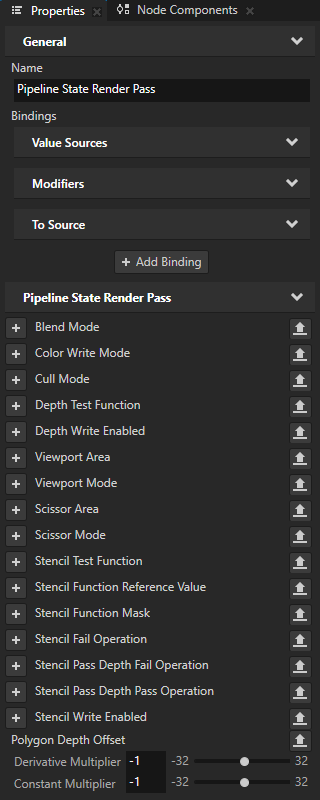
Select the Pipeline State Render Pass and in the Properties add and set the Polygon Depth Offset property fields to values that provide the desired rendering result:
Derivate Multiplier sets the multiplier for the depth change derivative of each pixel.
Constant Multiplier multiplies the smallest measurable unit of depth, dependent on the target platform.
Kanzi typically shows closer to the camera those polygons that have a negative depth offset.
