Using a tile atlas
A tile atlas is an image that contains several smaller images.
Use a tile atlas to improve application framerate by decreasing the number of texture switches that your application must make during runtime.
You can learn how to use a tile atlas by completing Tutorial: Create cluster indicators.
To use a tile atlas:
Create a tile atlas in a third-party application. When creating a tile atlas keep in mind:
The smaller the tile atlas is, the better.
Pack the images in a tile atlas as close together as possible.
A tile atlas can contain images of varying sizes.
In Kanzi Studio in the Assets click Import Assets and import the tile atlas.
For example, save and import this tile atlas.


Import and configure the material that enables you to set which part of the tile atlas you want to draw:
Download the TileAtlas material type.
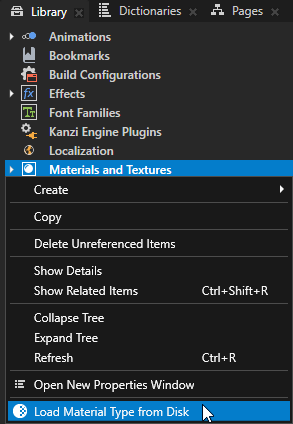
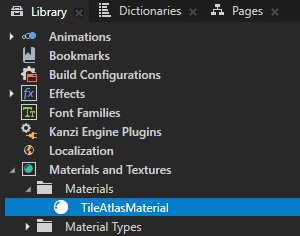
In Kanzi Studio in the Library right-click Materials and Textures, select Load Material Type From Disk, and import the TileAtlas material type.
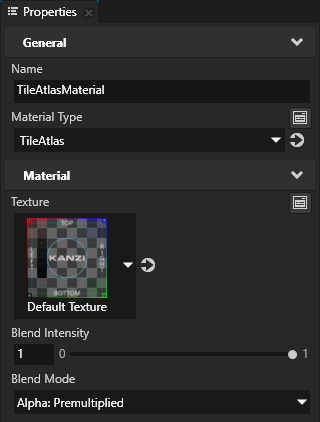
In the Library > Materials and Textures > Materials select the TileAtlasMaterial material and in the Properties set the Blend Mode property to Alpha: Premultiplied.
The fragment shader for this material type expects premultiplied alpha so that it can blend the source fragment with the destination framebuffer.
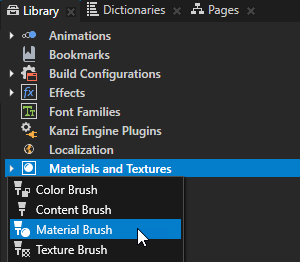
In the Library press Alt and right-click Materials and Textures, select Material Brush, and in the Properties set the Material property to the TileAtlasMaterial material.
You use this brush to draw images from a tile atlas.

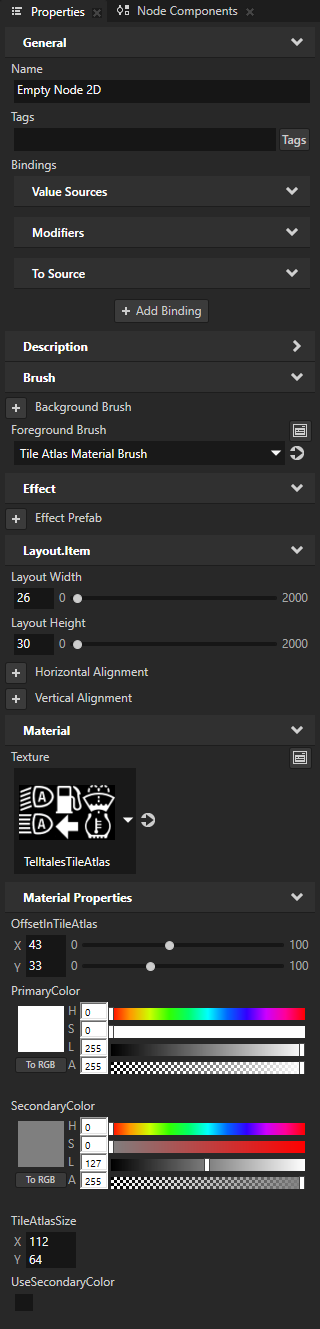
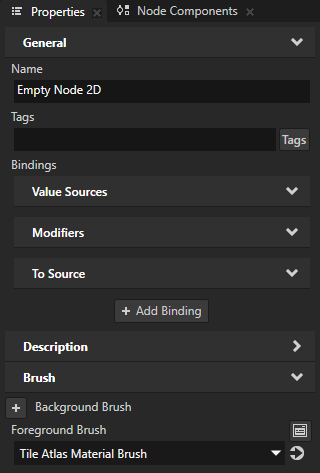
In the Node Tree create or select a node that you want to use to show an image from a tile atlas, in the Properties add the Foreground Brush property, and set it to the Material Brush that you created.
For example, create an Empty Node 2D node.

In the Library > Materials and Textures > Materials select the TileAtlasMaterial material and from the Properties drag these properties to the node that you created:
Texture
OffsetInTileAtlas
PrimaryColor
SecondaryColor
TileAtlasSize
UseSecondaryColor
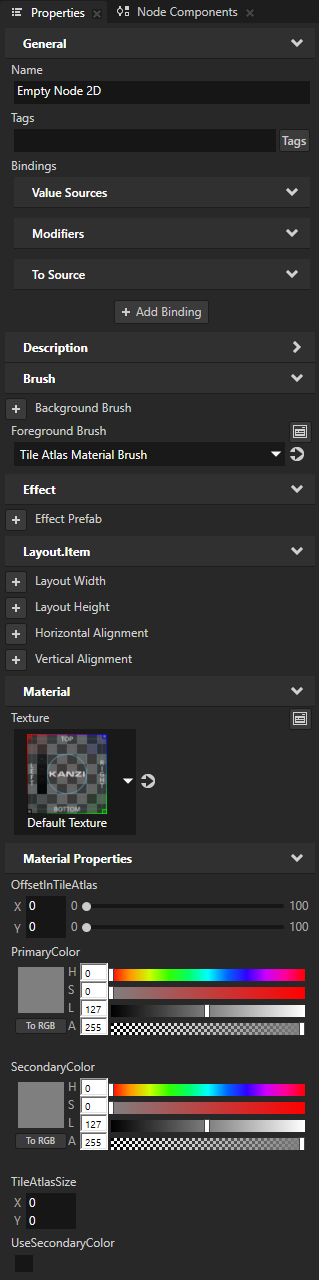
In the Node Tree select the node that you created and set these properties:
Layout Width to the width and Layout Height to the height of the image that you want to use from the tile atlas
Measure the size of each image in an image editing tool. The shader of the TileAtlasMaterial material takes the size of the image from these properties.
For example, to draw
 , set:
Layout Width to 26
Layout Height to 30
Image
Layout Width
Layout Height

41
31

32
33

38
33

41
31
26
30

30
30
Texture to the tile atlas that you want to use
For example, set the property to the TelltalesTileAtlas texture.
OffsetInTileAtlas property X and Y property fields to the distance in pixels from the top left corner of the image in the tile atlas that you want to show in this node
For example, to draw
, set:X to 43
Y to 33
Image
X
Y
0
0
42
0
74
0
0
31
43
33
77
33
TileAtlasSize property X property field to the width and Y property field to the height of the tile atlas that you want to use
For example, if you are using the TelltalesTileAtlas texture, set:
X to 112
Y to 64
PrimaryColor to the primary color that you want to use to draw the image
For example, set the color to white.
(Optional) SecondaryColor to the secondary color that you want to use to draw the image
To use the secondary color, set the UseSecondaryColor property to enabled. Use these properties when you want to use a different color for the second state of that image.
For example, to apply the color that you set in the SecondaryColor property, you can use a State Manager to set the value of the UseSecondaryColor property.
Tip
You can use a tile atlas to show a different image for different states of a telltale. Create a State Manager and in each state set the properties that change between the states, such as OffsetInTileAtlas and PrimaryColor. See Tutorial: Create cluster indicators.