Using brushes
Brushes are graphics objects that describe how 2D content is drawn.
Use Brushes to set the appearance of the foreground and background of 2D nodes. For example, with brushes you can define the color of text in a Text Block 2D node, fill a background of a 2D node with an image pattern, or apply a material effect on 2D content.
Most 2D nodes have a foreground and a background. With brushes you can change the appearance of both.
These brushes are available in Kanzi:
Color Brush to fill a 2D node with a solid color.
See Filling 2D nodes with a solid color.

Texture Brush to fill a 2D node with a texture.
See Filling 2D nodes with a texture.
Material Brush to fill a 2D node with a material.
See Filling 2D nodes with a material.

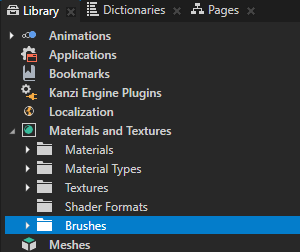
Kanzi Studio stores brushes in the Library > Materials and Textures > Brushes.
For example, with the brushes you can:
Set the color of 2D text. See Setting the color of text in 2D text nodes.

Define the appearance of brushes in different application states. See Controlling the appearance of brushes.
Create post-processing effects for 2D nodes. See Applying custom rendering to 2D nodes.

Filling 2D nodes with a solid color
Use a Color Brush to fill a 2D node with a solid color.
To fill a 2D node with a solid color:
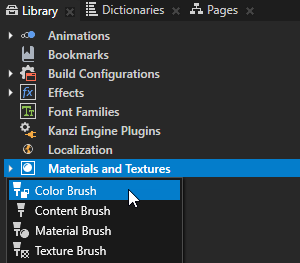
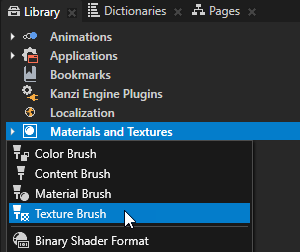
In the Library press Alt and right-click Materials and Textures, select Color Brush, and name the brush.

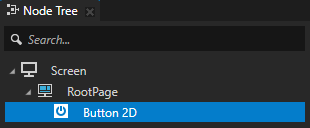
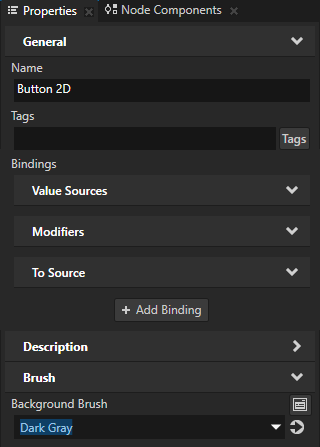
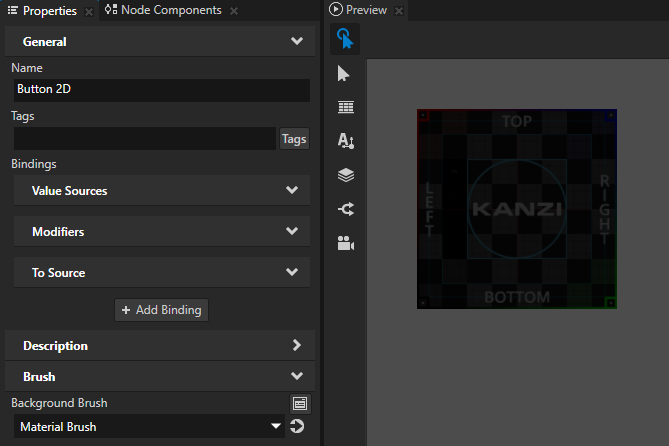
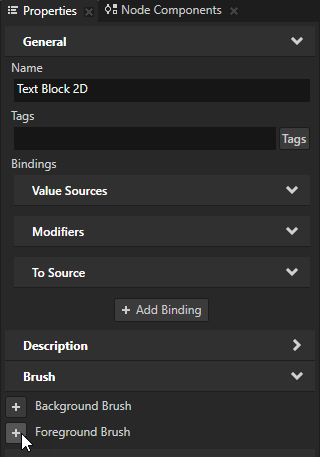
In the Node Tree select the 2D node that you want to fill with the brush you created, in the Properties add the Background Brush or the Foreground Brush property, and select the brush you created in the first step.
For example, create a Button 2D node, in the Properties add the Background Brush property, and set it to the brush you created in the first step.
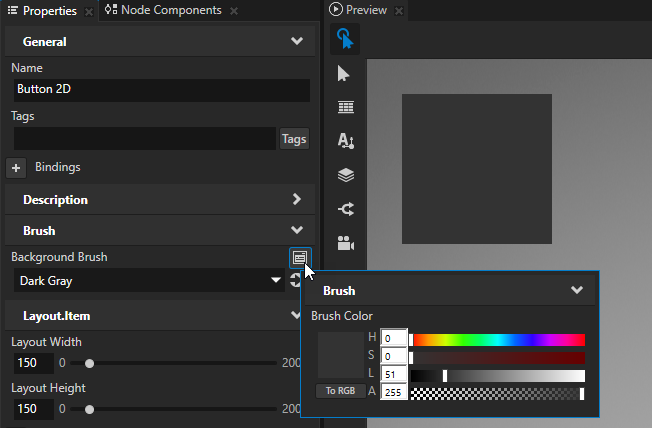
In the Properties click
 next to the property you added in the previous step and set the color of the color brush you created in the previous step.
In the Preview you can see that the Color Brush you created fills the node for which you set the property.
Tip
To quickly edit a brush, in the Properties next to the Background Brush or Foreground Brush property click
and edit the brush.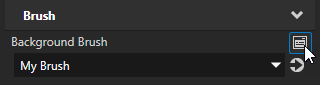
Tip
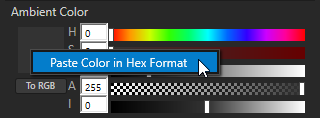
In Kanzi Studio you can apply color in hexadecimal format to all properties that set a color. In a tool that you use to set the color, copy the hexadecimal code of a color, in Kanzi Studio in the Properties right-click the color swatch of the property for which you want to use that color, and select Paste Color in Hex Format.
Filling 2D nodes with a texture
Use a Texture Brush to fill a 2D node with a texture.
To fill a 2D node with a texture:
In the Library press Alt and right-click Materials and Textures, select Texture Brush, and name the brush.
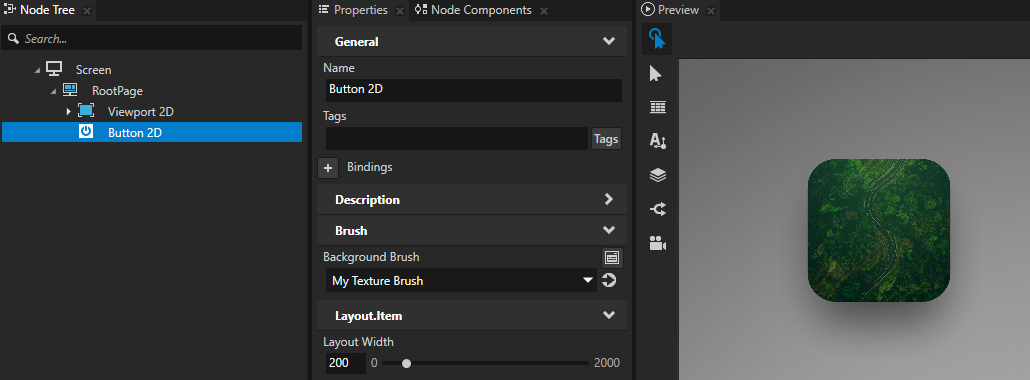
In the Node Tree select the 2D node that you want to fill with the brush you created, in the Properties add the Background Brush or the Foreground Brush property, and select the brush you created in the first step.
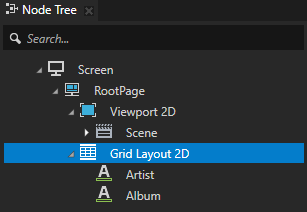
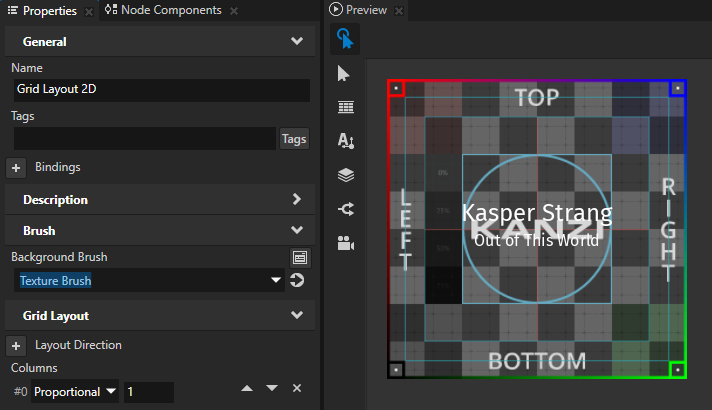
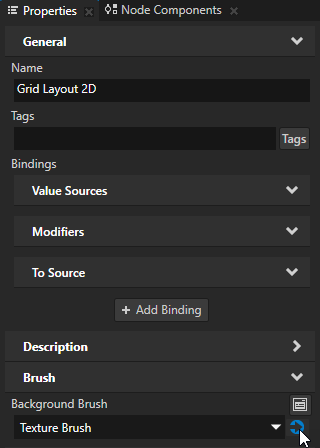
For example, create a Grid Layout 2D node, in the Properties add the Background Brush property, and set it to the brush you created in the first step.
In the Properties click
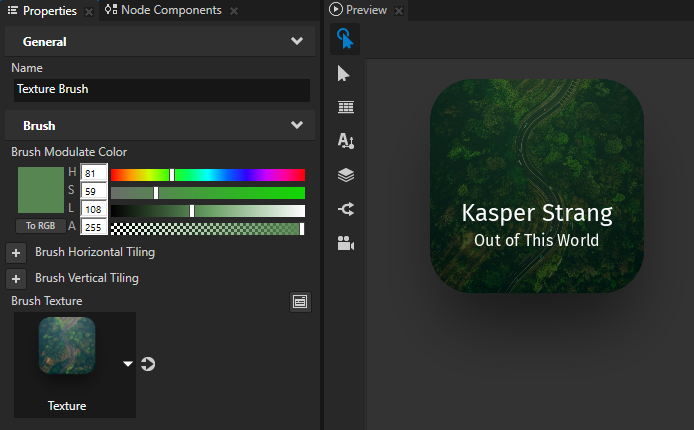
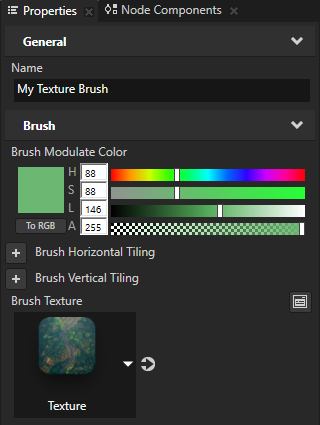
 next to the property that you added in the previous step to go to the brush used by that property, set the texture you want this texture brush to use, and adjust how the Texture Brush uses that texture:
Brush Modulate Color sets the modulation color for the brush.
Brush Horizontal Tiling affects the scale of the texture coordinates to set the horizontal tiling of the texture.
Brush Vertical Tiling affects the scale of the texture coordinates to set the vertical tiling of the texture.
Brush Texture sets the texture for the brush.
Filling 2D nodes with a material
Use a Material Brush to fill a 2D node with a material.
To fill a 2D node with a material:
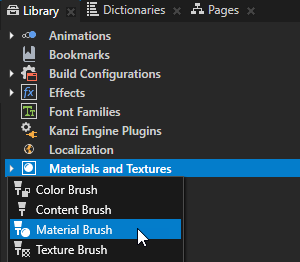
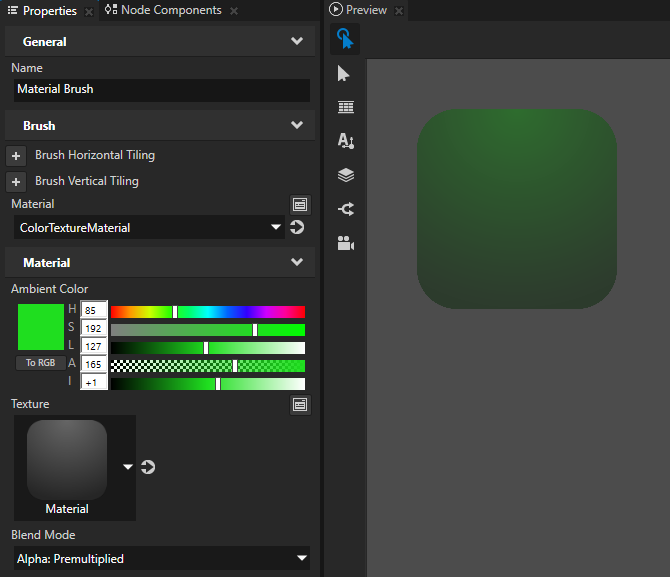
In the Library press Alt and right-click Materials and Textures, select Material Brush, and name the brush.
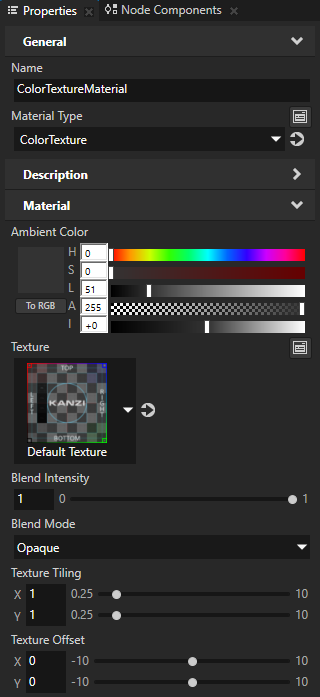
In the Properties set the Material property to the material you want to use to fill a 2D node.
If you do not have any materials in your project, create a material. See Creating a material.

In the Node Tree select the 2D node that you want to fill with the brush you created, in the Properties add the Background Brush or the Foreground Brush property, and select the brush you created in the first step.
For example, create a Button 2D node, in the Properties add the Background Brush property, and set it to the brush you created in the first step.
To adjust the appearance of the material, set the Material properties either in:
The Material Brush.
For example, to change the ambient color, texture, and blending of the material for the Material Brush, add and set the Ambient Color, Texture, and Blend Mode properties.
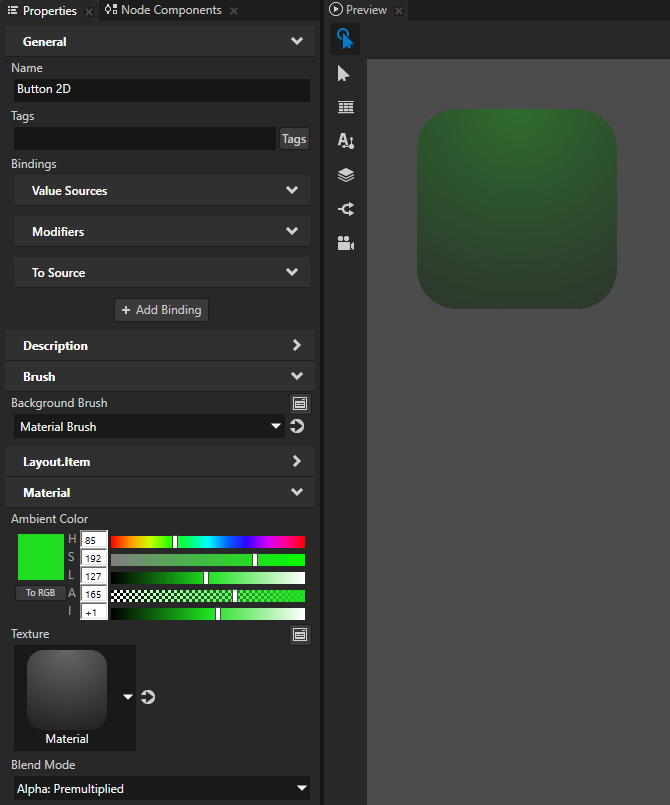
The node which uses the Material Brush.
For example, to change the ambient color, texture, and blending of the material for a node, add and set the Ambient Color, Texture, and Blend Mode properties in that node.
Setting the color of text in 2D text nodes
To set the color of text in a Text Block 2D or Text Box 2D node:
In the Node Tree create or select a Text Block 2D or Text Box 2D node.
In the Properties add the Foreground Brush property.
Set the Foreground Brush property to an existing Color Brush or select + Color Brush, name the brush, click
next to the property, and set the color of the Color Brush you created.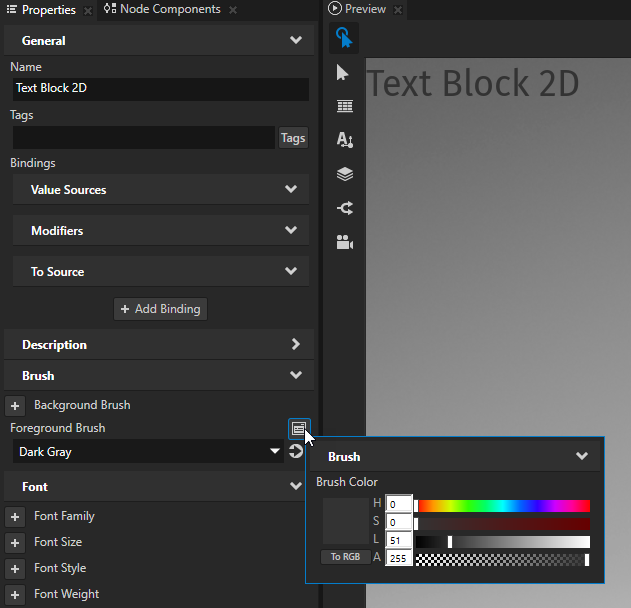
Tip
To quickly edit a brush, in the Properties next to the Background Brush or Foreground Brush property click
and edit the brush.
Controlling the appearance of brushes
You can define the appearance of brushes in different application states. For example, when you use a brush to fill a Button 2D node, you can change the appearance of the brush when the user presses the button.
To control the appearance of a brush, create a state manager which sets the properties of the brush in the node which uses the brush.
To control the appearance of a brush:
Create a brush and use it to fill a 2D node.
For example, create a texture brush and set the Background Brush property of a Button 2D node to the texture brush that you created. See Filling 2D nodes with a texture.
Create a state manager which you use to control the appearance of the brush that you created in the first step.
For example:
Create for the Button 2D node a state manager that has two states named Released and Pressed and set the state manager to use the Button > Is Down controller property. See Using a state manager to set button states.
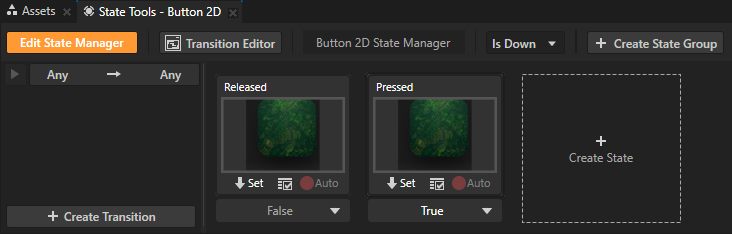
Set the appearance of the brush in the Released and Pressed states.
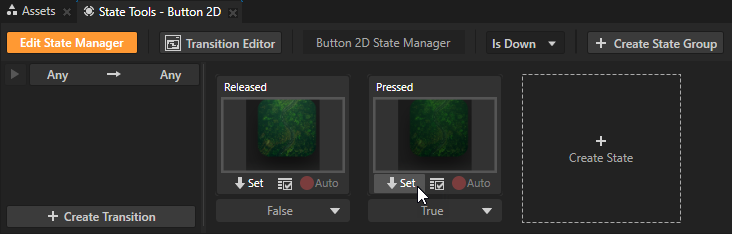
For example, in the Properties next to the Background Brush property click
, set the Brush Modulate Color property, and in the State Tools click  in the Pressed state to save the property value to the Pressed state.
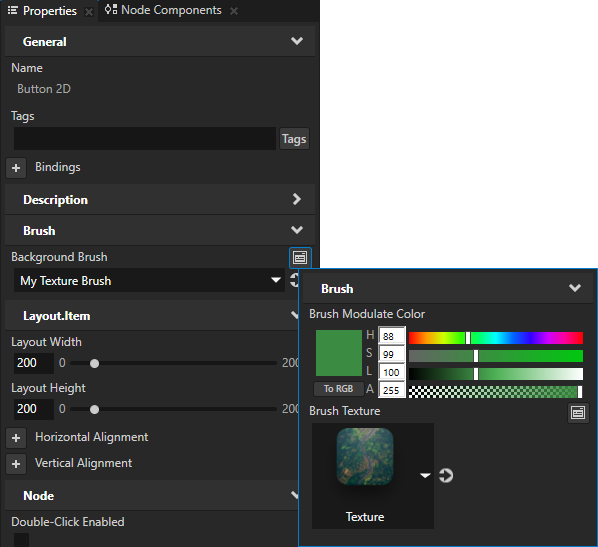
Now when you interact with the node in the Preview, Kanzi changes the appearance of the brush that you created.
Applying custom rendering to 2D nodes
Apply custom rendering to 2D nodes to create post-processing effects.
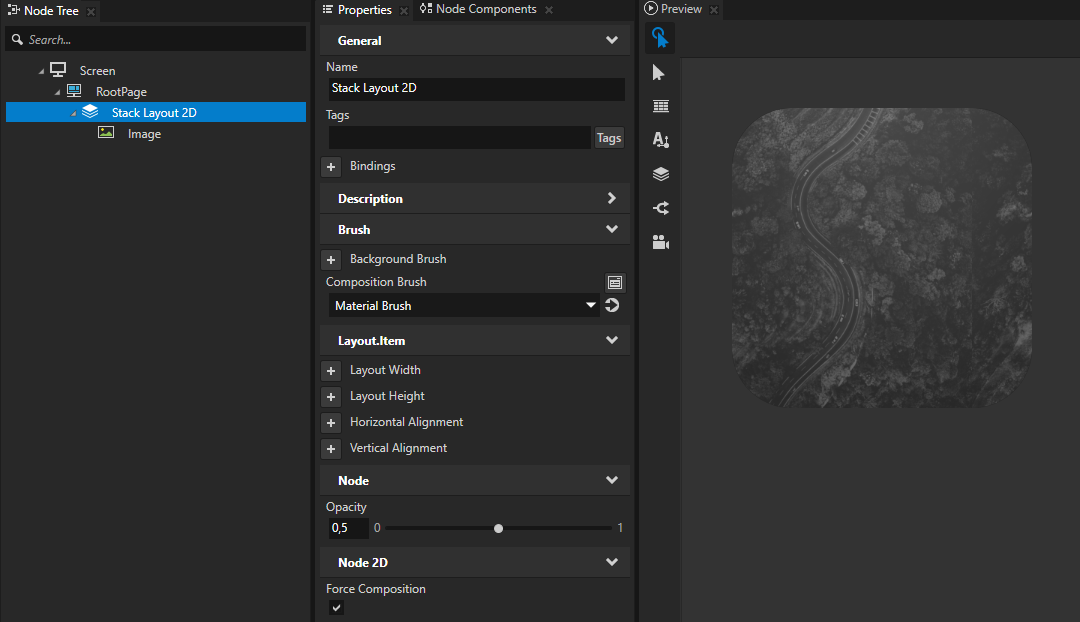
For example, you can convert color images in a 2D node to grayscale.
To apply custom rendering to a 2D node, use the Composition Brush property to compose the node on the screen with a Material Brush, and enable the Force Composition property.
To apply custom rendering to a 2D node:
Create a material with which you want to apply custom rendering.
For example, to create a material that converts color to grayscale:
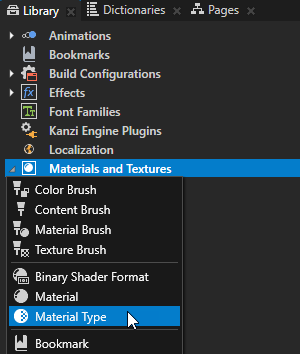
In the Library press Alt and right-click Materials and Textures and select Material Type. Kanzi Studio creates a material type and a material which uses the material type.
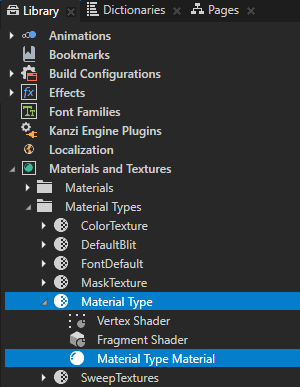
In the Library > Materials and Textures > Material Types expand the material type you created, double-click the Vertex Shader to open it in the Shader Source Editor, replace the existing shader code with this code, and save the shader.
attribute vec3 kzPosition;
attribute vec2 kzTextureCoordinate0;
uniform highp mat4 kzProjectionCameraWorldMatrix;

varying mediump vec2 vTexCoord;

void main()
{
    precision mediump float;
    vTexCoord = kzTextureCoordinate0;
    gl_Position = kzProjectionCameraWorldMatrix * vec4(kzPosition.xyz, 1.0);
}
Open the Fragment Shader, replace the existing shader code with the code in this step, and save the shader.
In the shader use these Kanzi default uniforms:
ContentTextureto define the texture that the rendered node provides when renderingRenderOpacityto define the opacity of the rendered node
See Shader uniforms.
uniform sampler2D ContentTexture;
varying mediump vec2 vTexCoord;
uniform lowp float RenderOpacity;

void main()
{
    precision mediump float;
    // Use this algorithm to convert the colors in the texture used by
    // the 2D node to grayscale.
    // To integrate to the Kanzi rendering pipeline, the shader must output
    // premultiplied alpha.
    vec4 color = texture2D(ContentTexture, vTexCoord);
    float grayscale = dot(color.rgb, vec3(0.21, 0.72, 0.07));
    float alpha = color.a * RenderOpacity;
    vec3 premultipliedColor = vec3(grayscale) * alpha;
    gl_FragColor = vec4(premultipliedColor, alpha);
}
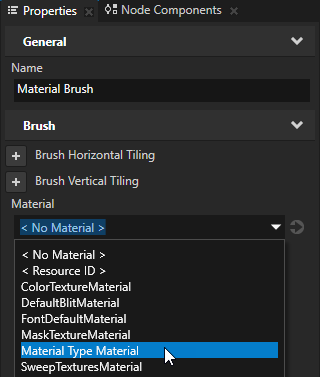
In the Library press Alt and right-click Materials and Textures, select Material Brush, and set it to use the material you created in the previous step.
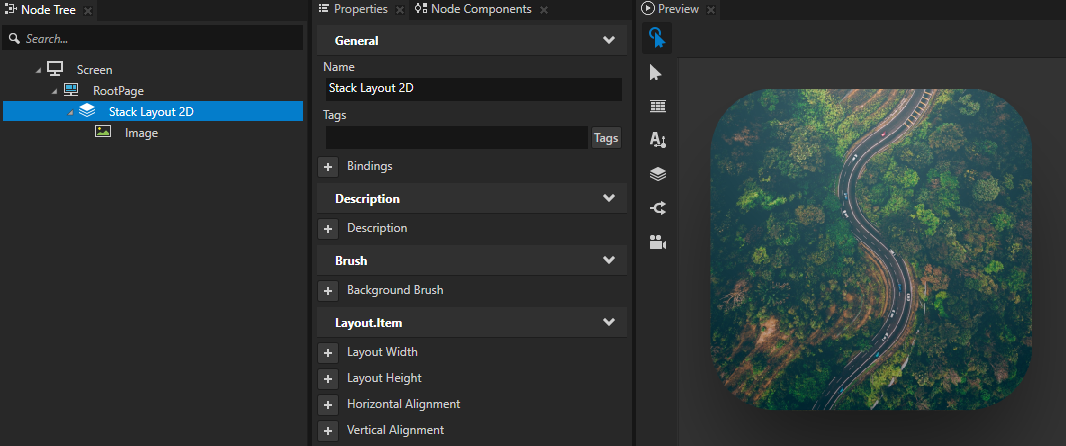
In the Node Tree create or select the 2D node to which you want to apply the material you created. For example, create a Stack Layout 2D node and inside the Stack Layout 2D node create an Image node.
In the Properties add and set:
Composition Brush to the material brush that uses the material you want to apply to that node
Force Composition to enabled
(Optional) Opacity to control the translucency of the node
Using brushes in the API
For details, see the Brush class in the Kanzi Engine API reference.