Step 1 - Prepare the content
In this step of the tutorial you first create the prefab that visualizes the item that the user drags, then you set the texture for each item.
Assets for the tutorial
The starting point of this tutorial is the <KanziWorkspace>/Tutorials/Drag and drop/Start/Tool_project/Drag and drop.kzproj Kanzi Studio project.
You can find the completed tutorial in the <KanziWorkspace>/Tutorials/Drag and drop/Completed directory.
The starting point project contains the content that you need to complete this tutorial:
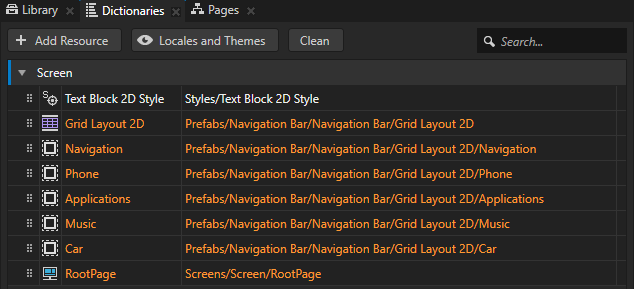
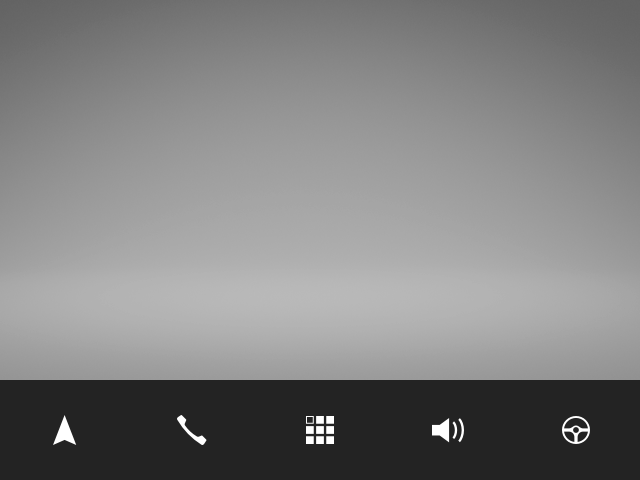
The Navigation Bar prefab.
The prefab is a Toggle Button Group 2D node with a Grid Layout 2D node that contains Toggle Button 2D nodes. The buttons use the Navigation Item prefab.
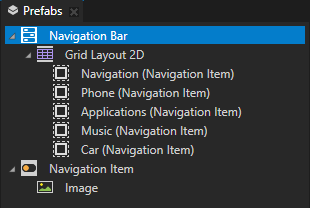
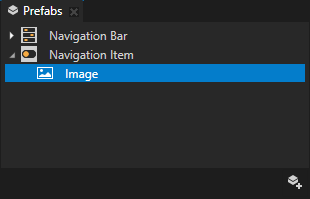
The Navigation Item prefab.
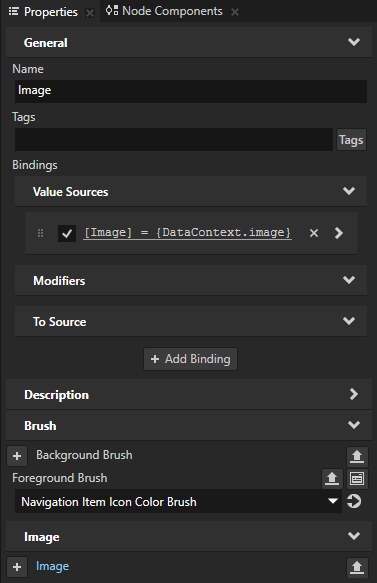
In the Navigation Item > Image node the Image property is bound to a data object that you create in this tutorial to set the icon of each button.
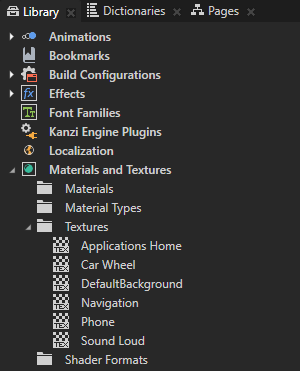
Textures that contain the icons for the Navigation Item nodes.
The resource dictionary of the Screen node contains aliases that point to the Grid Layout 2D, RootPage, and button nodes.
These aliases provide a convenient way to access the nodes using the Kanzi Engine API.
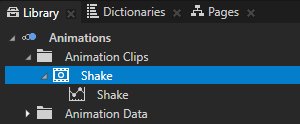
The Shake Animation Clip.
You use the animation to shake a node when the user is dragging that node.
Create visualization for the button that the user drags
In this section you create a prefab that you use to visualize the button that the user is dragging. Instead of dragging the button to a new position, you move an instance of this prefab that looks like the dragged button. When the user ends the drag-and-drop gesture, instead of setting the positions of the buttons in the Grid Layout 2D node, you set the order of the data objects that set the button icons.
To create visualization for the button that the user drags:
In Kanzi Studio open the
Drag and drop.kzprojproject stored in the<KanziWorkspace>/Tutorials/Drag and drop/Start/Tool_projectdirectory.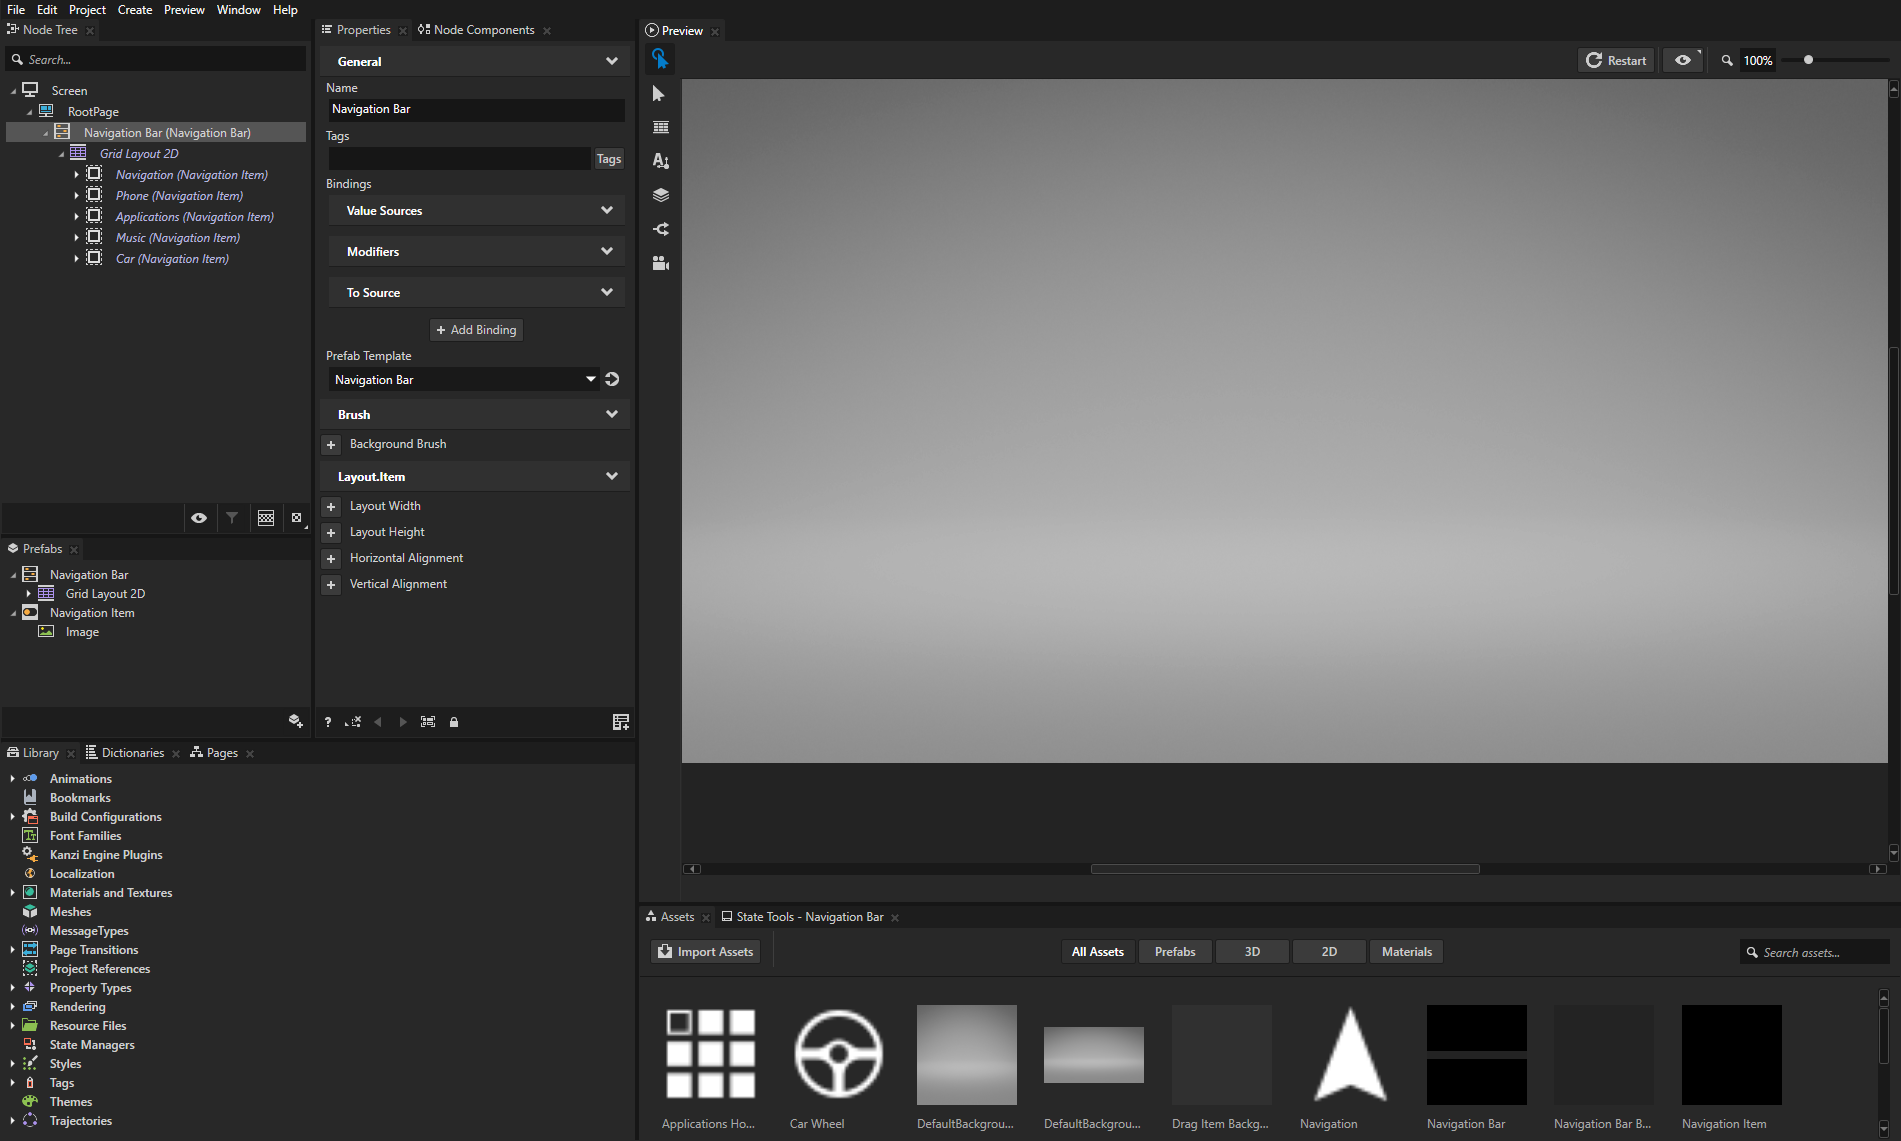
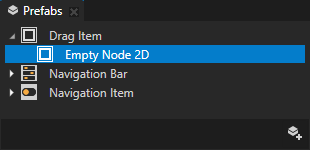
In the Prefabs click
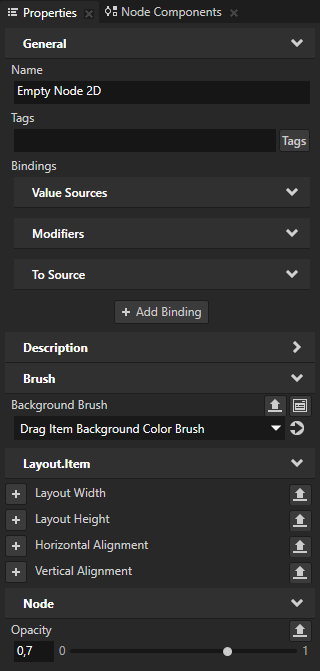
 , select Empty Node 2D, name it Drag Item, inside it create an Empty Node 2D node, and in the Properties add and set:
Background Brush to Drag Item Background Color Brush
This way you set the background color of the prefab to be lighter than the navigation bar.
Opacity to 0,7
This way you make the prefab partially transparent.
You implement the drag-and-drop so that when the user drags a button, they drag an instance of the Drag Item prefab.
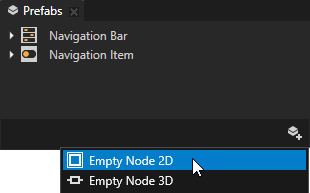
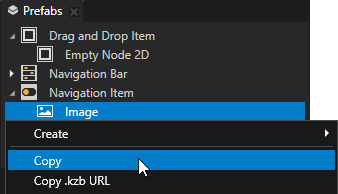
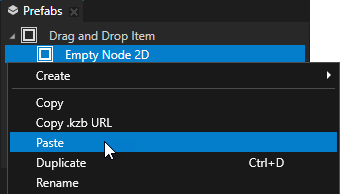
In the Prefabs > Navigation Item right-click the Image node and select Copy, then right-click the Empty Node 2D node and select Paste.
You copy the Image node to the Drag Item prefab because you want to make the visualization of the node that the user is dragging look the same as the Navigation Item node.
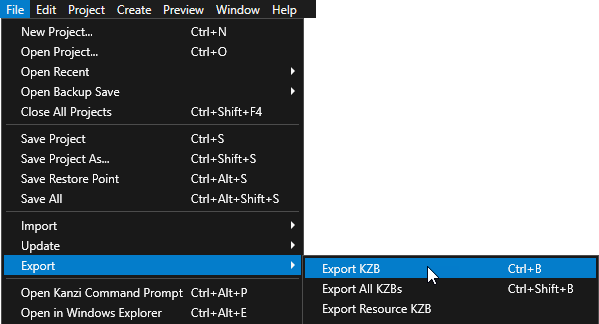
Select File > Export > Export KZB.
Kanzi Studio creates the kzb file and configuration files from your Kanzi Studio project. Kanzi Studio stores the exported files in the
<ProjectName>/Application/bindirectory or the location you set in Project > Properties in the Binary Export Directory property. The kzb file contains all nodes and resources from your Kanzi Studio project, except the resources you mark in a localization table as locale packs.When you run your Kanzi application from Visual Studio, your application loads the kzb file and configuration files.
Set the icons for the buttons
In this section you create the data objects that you use to set the icons for the buttons.
To set the icons for the buttons:
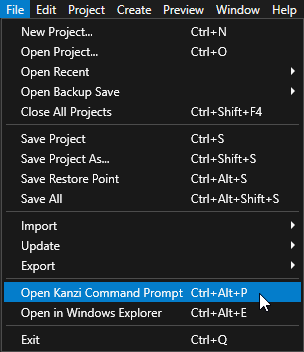
In Kanzi Studio, select File > Open Kanzi Command Prompt.
The Kanzi Command Prompt opens the Windows Command Prompt with the Kanzi environment variables set for the version of Kanzi for which you open a Kanzi Command Prompt.
Use the Kanzi Command Prompt to access Kanzi utilities and build tools, such as Gradle, SCons, and CMake, without using absolute paths or setting environment variables.
Tip
You can find the Kanzi Command Prompt in the Windows Start Menu in the Rightware directory.
When you have more than one version of Kanzi installed, make sure that you launch a Kanzi Command Prompt for the version of Kanzi with which you want to work in that command prompt.
In the Kanzi Command Prompt in the
<KanziWorkspace>/Tutorials/Drag and drop/Start/Applicationdirectory run the script that generates a Visual Studio solution for the tutorial application.For example, if you use Visual Studio 2019, run
generate_cmake_vs2019_solution.bat
This script generates a Visual Studio solution for the application in the directory
<KanziWorkspace>/Tutorials/Drag and drop/Start/Application/build_vs2019.In Visual Studio open the
<KanziWorkspace>/Tutorials/Drag and drop/Start/Application/build_vs<Version>/Drag_and_drop_start.slnVisual Studio solution.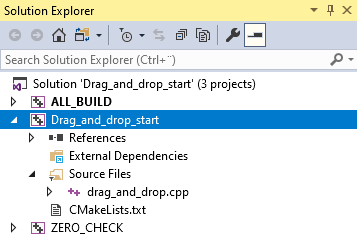
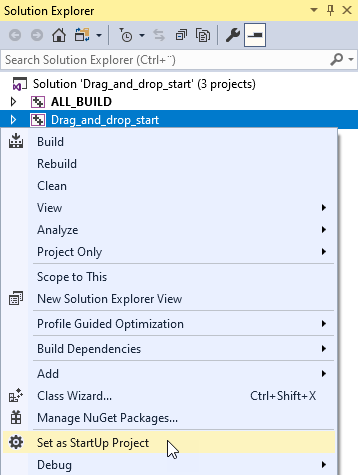
In Visual Studio in the Solution Explorer right-click the Drag_and_drop_start project and select Set as StartUp Project.
In the
drag_and_drop.cppfile in theonProjectLoadedfunction create the data objects and set the data context:void onProjectLoaded() override { Domain* domain = getDomain(); // Create a data object named Root. m_rootData = DataObject::create(domain, "Root"); // Create data objects and add them to the Root data object. // Add to each of the data objects a string data object which contains the kzb URL of a texture. // In the Kanzi Studio project you can find the textures in the Library > Materials and Textures > Textures. DataObjectSharedPtr item0 = DataObject::create(domain, "item0"); m_rootData->addChild(item0); item0->addChild(DataObjectString::create(domain, "image", "kzb://drag_and_drop/Textures/Navigation")); DataObjectSharedPtr item1 = DataObject::create(domain, "item1"); m_rootData->addChild(item1); item1->addChild(DataObjectString::create(domain, "image", "kzb://drag_and_drop/Textures/Phone")); DataObjectSharedPtr item2 = DataObject::create(domain, "item2"); m_rootData->addChild(item2); item2->addChild(DataObjectString::create(domain, "image", "kzb://drag_and_drop/Textures/Applications Home")); DataObjectSharedPtr item3 = DataObject::create(domain, "item3"); m_rootData->addChild(item3); item3->addChild(DataObjectString::create(domain, "image", "kzb://drag_and_drop/Textures/Sound Loud")); DataObjectSharedPtr item4 = DataObject::create(domain, "item4"); m_rootData->addChild(item4); item4->addChild(DataObjectString::create(domain, "image", "kzb://drag_and_drop/Textures/Car Wheel")); // Get the Screen node. ScreenSharedPtr screen = getScreen(); // Set the Data Context property of the Screen node to the Root data object. // By setting the Data Context property you tell your application from which data source it receives data. screen->setProperty(DataContext::DataContextProperty, m_rootData); } private: // Define a member variable for the Root data object. DataObjectSharedPtr m_rootData;
In the private section of the
DragAndDropclass create a function that assigns the icons to the buttons:private: // To assign correct icons to the buttons, set the Data Context property for each button. void updateItems() { // Create an iterator that iterates through the data objects in the Root data object. DataObject::ChildConstIterator dataIt = m_rootData->beginChildren(), endDataIt = m_rootData->endChildren(); // Create an iterator that iterates through the buttons which are // child nodes of the Navigation Bar > Grid Layout 2D node. Node2D::ChildConstIterator nodeIt = m_grid->beginChildren(); // Set the Data Context property of each button node to the correct data object. for (; dataIt != endDataIt; dataIt++, nodeIt++) { Node2DSharedPtr itemNode = *nodeIt; DataObjectSharedPtr itemData = *dataIt; itemNode->setProperty(DataContext::DataContextProperty, itemData); } } // Define a member variable for the Grid Layout 2D node. GridLayout2DSharedPtr m_grid; ...
In the end of the
onProjectLoadedfunction call theupdateItems()function:void onProjectLoaded() override { ... // Get the parent Grid Layout 2D node of the node that the user is dragging. m_grid = screen->lookupNode<GridLayout2D>("#Grid Layout 2D"); updateItems(); }
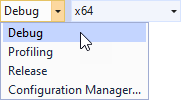
Select the solution configuration that you want to use and run your application.
During development, select the Debug configuration. When you are ready to create a version for production, select the Release configuration.
Kanzi assigns the icons to the buttons using the data objects that you created.
See also
To learn more about prefabs, see Using node prefabs.
To learn more about data sources, see Data sources.
To learn more about aliases in Kanzi, see Using aliases.