Using node prefabs
Use node prefabs (prefabricated templates) to structure your application and to create consistent interfaces. Prefabs allow you to create the building blocks of your application and make the application easier to maintain.
Create a prefab for every item in your application that appears more than once, when you want to logically separate a part of your application, or add content to the node tree when your application is already running. For example, use prefabs to:
Create content with consistent structure. For example, with prefabs you can create buttons that always have the same structure, but can vary in appearance.
Modularize your project and make it easier to maintain.
Control the loading and launch times of your Kanzi application.
Create different themes for your Kanzi application.
Localize your Kanzi application.
When using prefabs keep in mind that:
You can duplicate an instance of a prefab like any other node in the node tree.
Property values you add to an instance of a prefab override the property values set in the prefab.
Use relative paths when you want to reference items inside a prefab (for example, in a message trigger or a property binding). Do not use the prefab itself as a target path for any messages or animations.
You can nest prefabs within prefabs.
Node prefabs and node prefab instances
Node prefabs consume memory on the device only when you load them. When you load a node prefab, the prefab consumes the amount of memory based on the number of nodes and properties that prefab contains. When you instantiate a node prefab, Kanzi creates nodes and assigns properties to those nodes. You can calculate how much memory prefab instances consume by multiplying the number of instances with the memory requirements of a single prefab instance.
When you attach a node to the node tree, resources used by the nodes are looked up and requested from the resource manager. Resource manager loads or returns existing resources if they are already loaded.
When you detach a node prefab instance, Kanzi does not release resources used in the nodes you detached. This is a performance optimization, which allows you to change the parent node of the prefab, or move a prefab in the node tree, without having to load again the resources the prefab uses. When you want to release all resources which are no longer in use, call ResourceManager::purge.
Kanzi assumes that all the nodes that you place in the node tree are going to be used. Kanzi optimizes for the case that all the content put in the node tree is ready for immediate use. If a node is not supposed to be used, remove it from the node tree.
Prefab Placeholder and Prefab View nodes
You can use both Prefab Placeholder and Prefab View nodes to instantiate a node prefab in your project. The difference between these nodes is:
When you instantiate a node prefab with a Prefab Placeholder node, Kanzi reads the value of the Prefab Template property once and replaces the Prefab Placeholder node with the prefab to which that property points.
For example, if you use a Prefab Placeholder 2D node to instantiate a node prefab which contains a Button 2D node, when Kanzi instantiates the node prefab, it replaces the Prefab Placeholder 2D node with the root node of the Button 2D prefab.
When you instantiate a node prefab with a Prefab View node, Kanzi monitors the value of the Prefab Template property and adds the prefab to which that property points as a child node of the Prefab View node. This allows you to change the prefab that the Prefab View instantiates and to keep your application responsive when it is loading resources. See Loading node prefab resources asynchronously.
For example, if you use a Prefab View 2D node to instantiate a node prefab which contains a Button 2D node, when Kanzi instantiates the prefab, it adds the root node of the Button 2D node as a child node of the Prefab View 2D node.
When to use a Prefab Placeholder and when a Prefab View node
Use a Prefab Placeholder node to instantiate a node prefab which you do not intend to change during application runtime.
If you want to dynamically change a prefab, or want to asynchronously load the resources which the prefab uses, use a Prefab View to instantiate a prefab. For example, when you theme your application and want to use different prefabs for different themes, use a Prefab View node to instantiate those prefabs.
Kanzi reads the value of the Prefab Template property of a Prefab Placeholder once, but a Prefab View node monitors for changes the value of the Prefab Template property. When the value of the Prefab Template property in a Prefab View changes, Kanzi replaces its child node with the new child node.
Creating and using a node prefab
To create and use a node prefab:
In the Prefabs click
 and select the prefab you want to create.
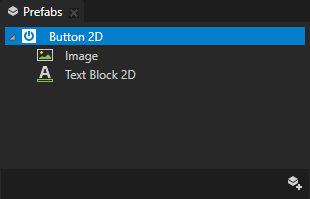
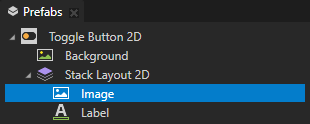
For example, create a Button 2D prefab, and add an Image and a Text Block 2D node to it.
To instantiate the prefab in your application:
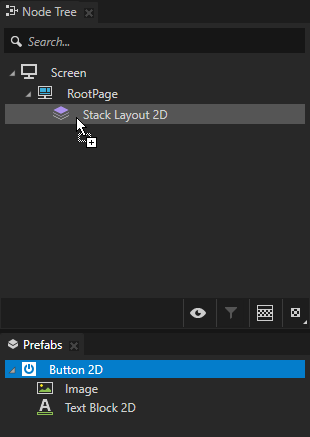
From the Prefabs drag the prefab you created to the Node Tree and drop it on the node where you want to use that prefab.
Kanzi Studio creates a Prefab Placeholder node which instantiates the prefab in your project.

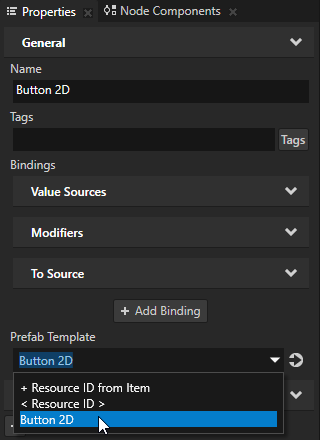
To instantiate a different prefab, in the Node Tree select the prefab you want to change, and in the Properties set the Prefab Template property to the prefab you want to instantiate.
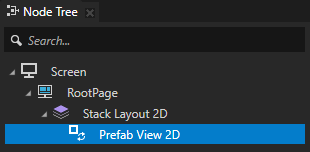
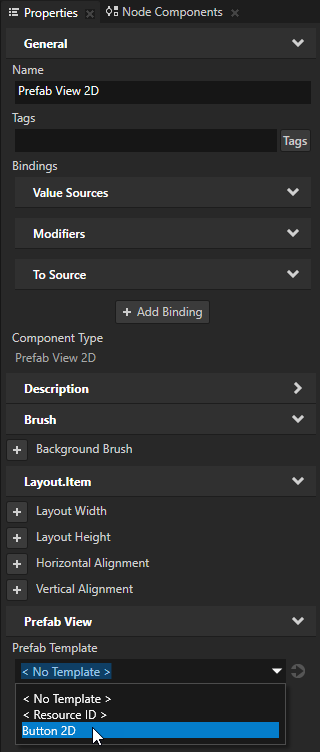
In the Node Tree press Alt and right-click the node where you want to instantiate the prefab, select Prefab View, and in the Properties set the Prefab Template property to the prefab you want to instantiate.
Customizing instances of a node prefab
A node prefab can contain a tree of nodes, each with their own properties. When you edit the nodes in a prefab or any of its instances in a project, you change those nodes in all instances of that prefab. You can customize each instance of a prefab to have its own property values by overriding the property values of the prefab. For example, when you create a prefab for an address book entry, you want to show a different name, number, and photo for each address book entry.
To customize instances of a node prefab:
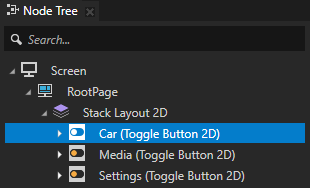
In the Prefabs select the node in a prefab that you want to customize in an instance of that prefab.
For example, to use a different texture for each instance of a prefab, select an Image node.
In the Properties, next to the property that you want to customize, click
 .
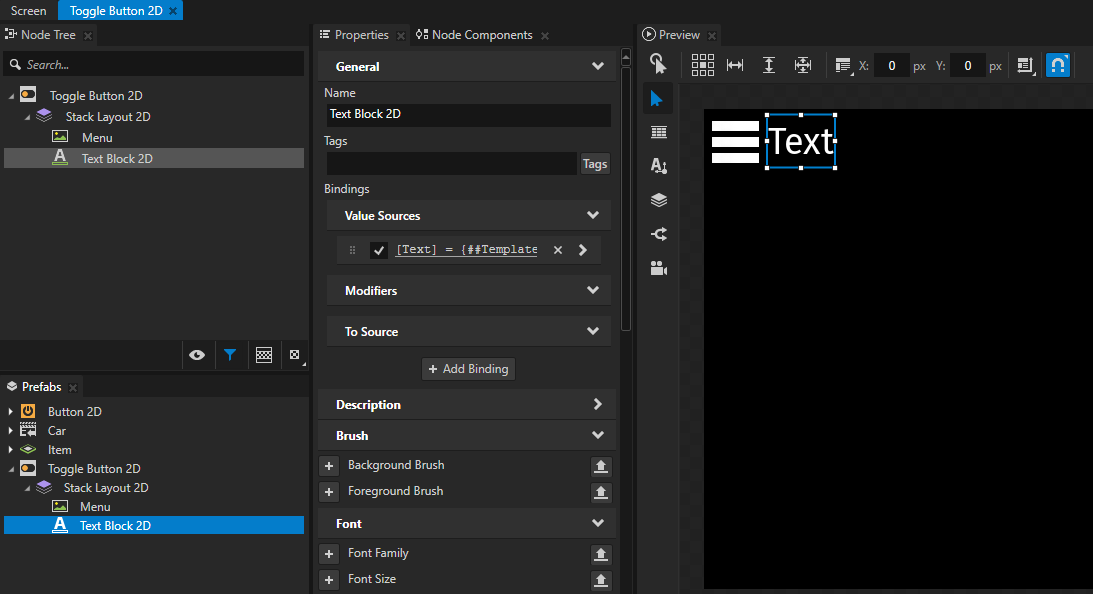
.Kanzi Studio creates from that property a custom property, adds it to the root node of that prefab, and creates a
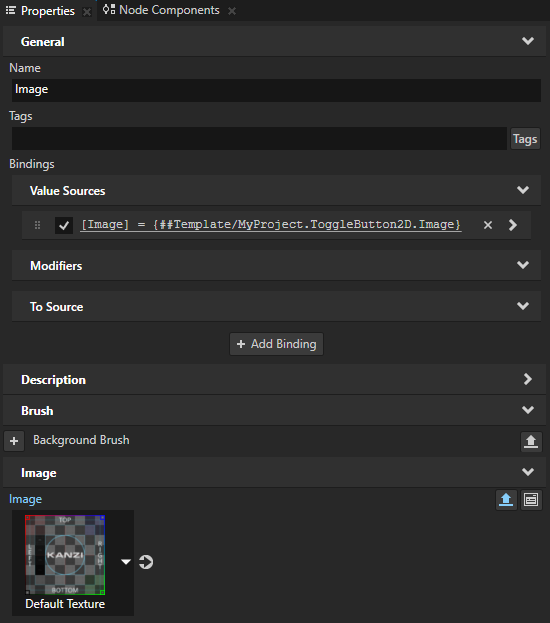
##Templatebinding to the property in the root node of that prefab.See Prefab root bindings.
For example, to customize the texture that you want to show in different instances of that prefab, click
next to the Image property. Kanzi Studio creates a custom Image property, adds it to the root node of that node prefab, and creates in the Image node a ##Templatebinding to the custom Image property in the root node of that node prefab.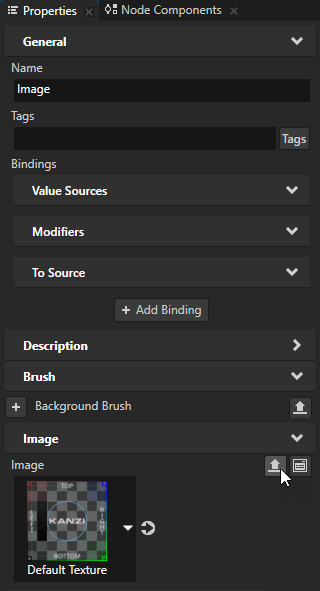
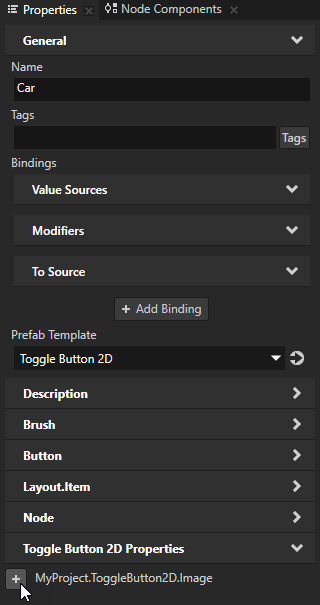
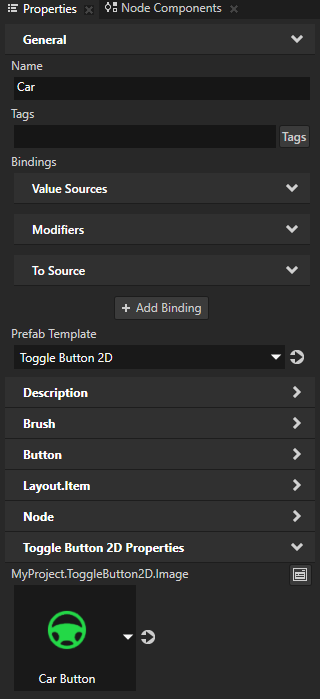
In the Node Tree select the root node of the prefab instance that you want to customize.
In the Properties click
 next to the property that you customized and set the value of the property.
Only this instance of the prefab uses the value that you set.
Editing a node prefab
To edit a node prefab double-click the prefab in the Prefabs. Kanzi Studio shows only the prefab in a Preview window tab. You can now edit the prefab with the Preview tools and see the result of your edits without instantiating the prefab.
Turning nodes into prefab
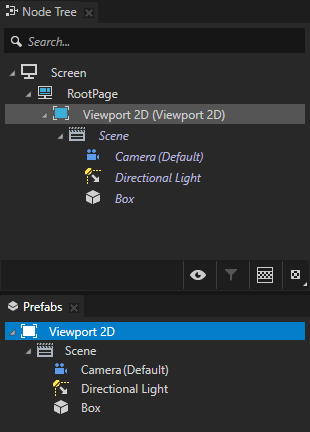
To turn any part of the node tree of your project into a prefab, from the Node Tree drag the root of the part you want to turn into a prefab to the Prefabs.
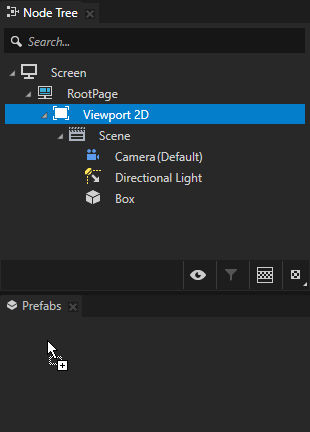
When you drop a node into the Prefabs window, Kanzi Studio creates a prefab template from the node and replaces the original node with an instance of the prefab.
Loading node prefab resources asynchronously
When you load prefab resources asynchronously, Kanzi uses separate threads to load resources. When Kanzi finishes loading the resources, it deploys them using the main thread. That way your application stays responsive while it loads resources. To load resources asynchronously from several prefabs, see Tutorial: Load and deploy resources asynchronously.
Use resource profiling to measure during runtime how long it takes to load and deploy resources and prefabs in your Kanzi application.
Resource profiling data helps you find out which resources to load asynchronously.
See Measuring the loading and deployment time of resources.
To load node prefab resources asynchronously:
Create the content that you want to show while Kanzi loads resources of a node prefab.
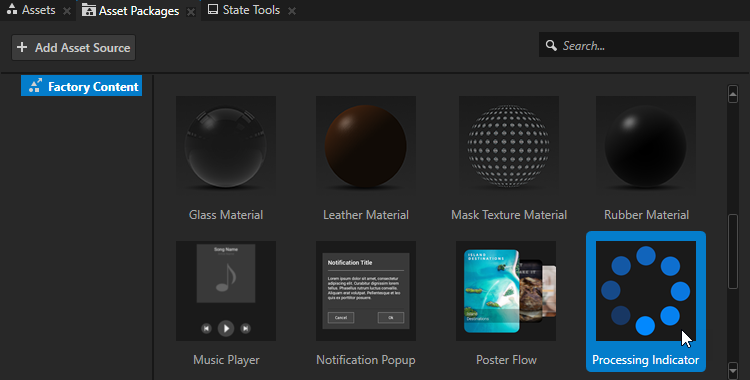
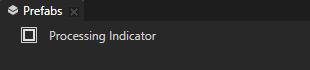
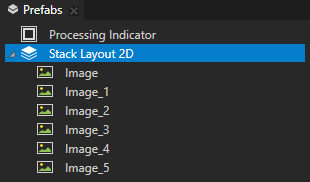
For example, to create a loading screen that you replace with the content of a prefab whose resources you load asynchronously, from the Asset Packages > Factory Content drag the Processing Indicator and drop it on the Prefabs window.
Create a node prefab whose resources you want to load asynchronously.
For example, in the Prefabs create a Stack Layout 2D and add to it several Image nodes each of which points to a different image.
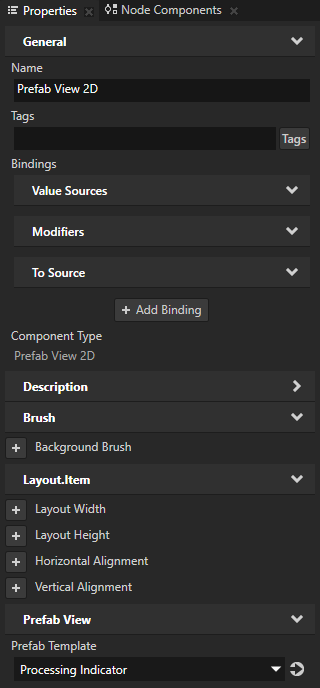
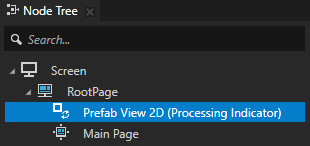
In the Node Tree create a Prefab View node where you want to asynchronously load prefab resources and in the Properties set the Prefab Template property to the content you want to show while Kanzi loads the resources of the prefab you created in the previous step.
For example, set the Prefab Template property to the Processing Indicator prefab.

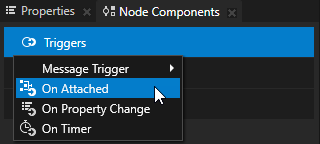
In the Node Tree select the Prefab View node, in the Node Components press Alt and right-click Triggers, and select the trigger that you want to use to start loading prefab resources.
For example, add the On Attached trigger to start loading resources when Kanzi attaches the Prefab View node to the screen graph.
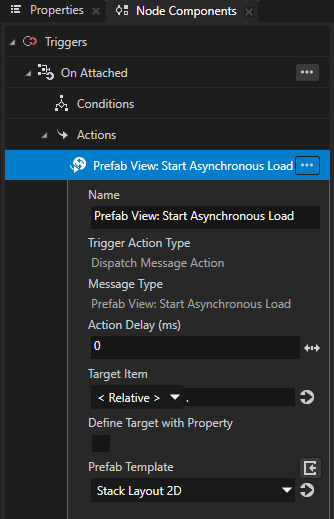
In the Node Components press Alt and right-click the trigger that you added in the previous step, and select Dispatch Message Action > Prefab View > Start Asynchronous Load.
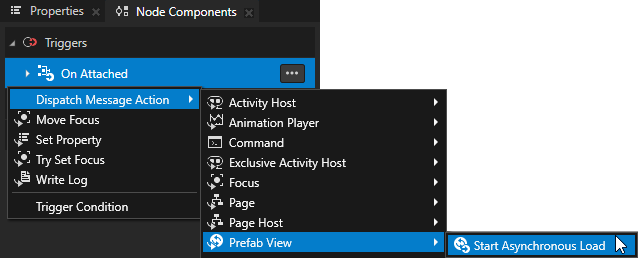
In the Start Asynchronous Load action set the Prefab Template property to a prefab or a resource ID which points to a prefab whose resources you want to load asynchronously.
To define what happens when Kanzi finishes loading the resources:
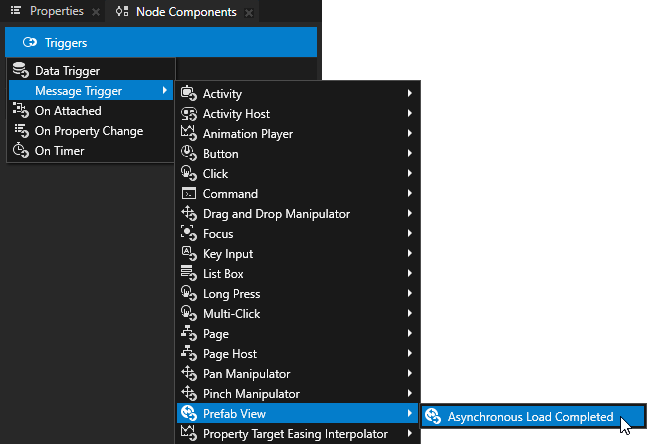
In the Node Tree select the Prefab View node, in the Node Components press Alt and right-click Triggers, and select Message Trigger > Prefab View > Asynchronous Load Completed.
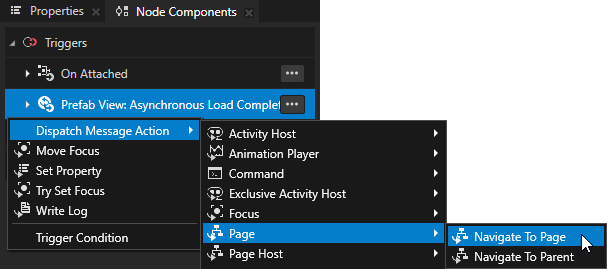
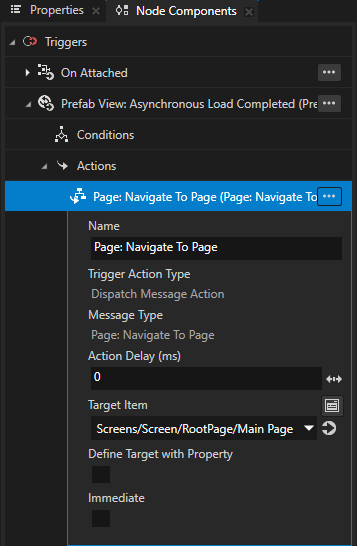
In the Node Components > Triggers press Alt and right-click the Asynchronous Load Completed trigger, and select an action.
For example, select the Dispatch Message Action > Page > Navigate to Page action and set the Target Item to the Page node to which you want the application to navigate when Kanzi finishes loading the resources.
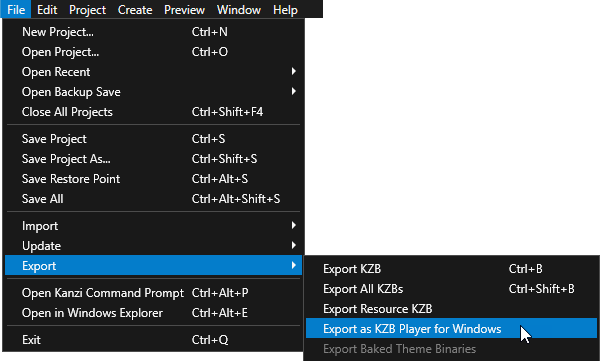
In Kanzi Studio select File > Export > Export as KZB Player for Windows and open the exe file of the application in the
<ProjectName>/Tool_project/Application Playerdirectory.Because the Kanzi Studio Preview loads all resources in the project when it starts, to see the effect of loading resources asynchronously, either export the project as a kzb file player, or export the project kzb file and run the application from the project Visual Studio solution.
Replacing the root node of a node prefab
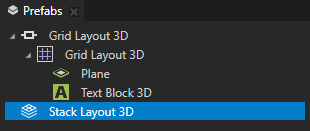
Replace the root node of a prefab when you want to add or change the node that is used as the parent node of a prefab. For example, if you first created a prefab that has a Grid Layout 3D as its root, but now you want to place that Grid Layout 3D into a Stack Layout 3D, you need to replace the root node of that prefab.
To replace the root of a node prefab:
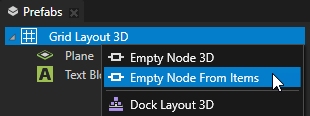
In the Prefabs press Alt and right-click the root of the prefab you want to replace and select Empty Node From Items.
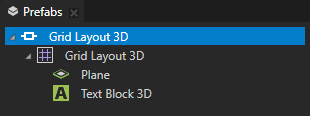
Kanzi Studio replaces the current root of the prefab with an Empty Node node and places the entire prefab inside that empty node. For 3D prefabs Kanzi Studio creates an Empty Node 3D node, for 2D prefabs it creates an Empty Node 2D node.
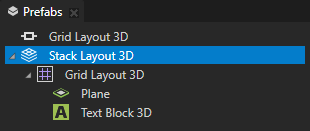
In the Prefabs create the node you want to use as the new root node of the prefab.
For example, create a Stack Layout 3D.
Drag and drop the old prefab from the Empty Node node root to the new root node you created in the previous step.
Using the Prefab View 3D node in the API
To use a Prefab view 3D node, create a prefab with 3D content and set it using setPrefab():
// Create a Prefab view 3D and add it to the scene.
PrefabView3DSharedPtr prefabView3D = PrefabView3D::create(domain, "Prefab view");
scene->addChild(prefabView3D);

// Acquire prefab from resource manager.
PrefabTemplateSharedPtr prefabTemplate = resourceManager->acquireResource<PrefabTemplate>("kzb://my_project/Prefabs/My3DPrefab");

// Use the prefab in the PrefabView3D node.
prefabView3D->setPrefab(prefabTemplate);
For details, see the PrefabView3D class in the Kanzi Engine API reference.
Using the Prefab View 2D node in the API
To use a Prefab View 2D node, create a prefab with 2D content and set it using setPrefab():
// Create a Prefab view 2D and add it to the viewport.
PrefabView2DSharedPtr prefabView2D = PrefabView2D::create(domain, "Prefab view");
viewportNode->addChild(prefabView2D);

// Acquire prefab from resource manager.
PrefabTemplateSharedPtr prefabTemplate = resourceManager->acquireResource<PrefabTemplate>("kzb://my_project/Prefabs/My2DPrefab");

// Use the prefab in the PrefabView2D node.
prefabView2D->setPrefab(prefabTemplate);
For details, see the PrefabView2D class in the Kanzi Engine API reference.
Prefab View property types
For lists of the available property types for the Prefab View nodes, see Prefab View 2D and Prefab View 3D.
Prefab Placeholder property types and messages
For lists of the available property types and messages for the Prefab Placeholder nodes, see Prefab Placeholder 2D and Prefab Placeholder 3D.