Step 3 - Define and use a static list data source
In this step of the tutorial you first define the data source for a static list in the data source plugin and then use it in the Kanzi Studio project to get the data for items in a Grid List Box node from a data source.
Add the functionality to generate list data objects
In this section you add the functionality which enables the data source plugin to generate list data objects.
To add the functionality to generate list data objects:
In Windows Explorer from the
<KanziWorkspace>/Tutorials/Data sources/Assets/Static listdirectory copy thedata_object_static_list.cppanddata_object_static_list.hppfiles to the<KanziWorkspace>/Tutorials/Data sources/Start/Application/src/plugin/srcdirectory.These files provide the functionality for creating data objects for a static list.
In the
<KanziWorkspace>/Tutorials/Data sources/Start/Application/src/plugin/CMakeLists.txtadd to thesetcommand thedata_object_static_list.cppanddata_object_static_list.hppfiles.set(sources_plugin src/data_object_static_list.cpp src/data_object_static_list.hpp src/tinyxml2.cpp src/tinyxml2.h src/xmldatasource.cpp src/xmldatasource.hpp src/xmldatasource.rc src/xmldatasource_module.cpp src/xmldatasource_module.hpp)
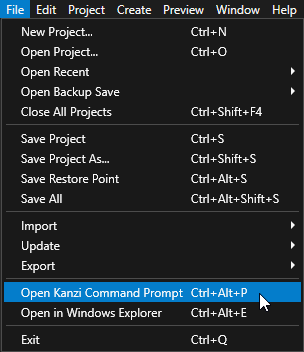
In Kanzi Studio, select File > Open Kanzi Command Prompt.
The Kanzi Command Prompt opens the Windows Command Prompt with the Kanzi environment variables set for the version of Kanzi for which you open a Kanzi Command Prompt.
Use the Kanzi Command Prompt to access Kanzi utilities and build tools, such as Gradle, SCons, and CMake, without using absolute paths or setting environment variables.
Tip
You can find the Kanzi Command Prompt in the Windows Start Menu in the Rightware directory.
When you have more than one version of Kanzi installed, make sure that you launch a Kanzi Command Prompt for the version of Kanzi with which you want to work in that command prompt.
In the Kanzi Command Prompt in the
<KanziWorkspace>/Tutorials/Data sources/Start/Applicationdirectory rungenerate_cmake_vs2019_solution.bat
You must regenerate the Visual Studio solution after adding or removing files from your application.
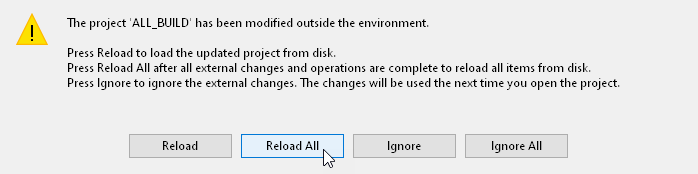
In Visual Studio reload all projects.
In Visual Studio make these changes to the
xmldatasource.cpp:Include the
data_object_static_list.hppheader file.// Provides the functionality for creating data objects for a static list. #include "data_object_static_list.hpp"
Before the
addDataObjectfunction create a function which converts the content of the XML structure in the memory to list items in the static list data object.// Use this function to add list items to a list data object. static void addListItems(Domain* domain, DataObjectStaticListSharedPtr list, const tinyxml2::XMLElement* itemsElement) { for (const tinyxml2::XMLElement* child = itemsElement->FirstChildElement(); child; child = child->NextSiblingElement()) { // Create the root data object for the list item hierarchy. DataObjectSharedPtr rootObject = DataObject::create(domain, "Item root"); // Create the list item tree recursively. addDataObjectsRecursively(domain, rootObject, child); // Add the first child from the root data object as a list item. Discard the root object. list->addItem(rootObject); } }
Add to the
addDataObjectfunction a condition to create a list type data object from the list type attribute.// Add a data object of the type specified by the type attribute in the XML element. Get the initial value // from the text parameter. DataObjectSharedPtr addDataObject(Domain *domain, const char* type, const char* name, const char* text) { ... // Create a list data object from the list type attributes. else if (type && strcmp(type, "list") == 0) { object = make_shared<DataObjectStaticList>(domain, name); } ... }
Change the
addDataObjectsRecursivelyfunction to add the functionality to create data objects inside a list data object, if the name of the XML element within the list type is called items.Replace
static void addDataObjectsRecursively(Domain* domain, DataObjectSharedPtr parent, const tinyxml2::XMLElement* xml)
{

...

    // Traverse the tree in the XML file to add data objects for each child element of the current XML element.
    for (const tinyxml2::XMLElement* child = xml->FirstChildElement(); child; child = child->NextSiblingElement())
    {
        // Recurse.
        addDataObjectsRecursively(domain, object, child);
    }
}
with
static void addDataObjectsRecursively(Domain* domain, DataObjectSharedPtr parent, const tinyxml2::XMLElement* xml)
{

...
    // Check whether the type of the current data object is list.
    DataObjectStaticListSharedPtr list = dynamic_pointer_cast<DataObjectStaticList>(object);
    // Traverse the tree in the XML file to add data objects for each child element of the current XML element.
    for (const tinyxml2::XMLElement* child = xml->FirstChildElement(); child; child = child->NextSiblingElement())
    {
        // If the name of the XML element within the list type is items, create data objects inside that list data object.
        if (list && strcmp(child->Name(), "items") == 0)
        {
            addListItems(domain, list, child);
        }
        else
        {
            // Recurse.
            addDataObjectsRecursively(domain, object, child);
        }
    }
}
In Kanzi Studio press F8 to exit the Preview.
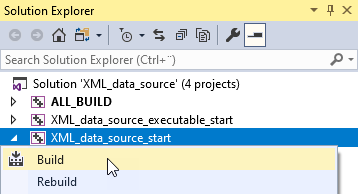
In Visual Studio in the Solution Explorer right-click the XML_data_source_start project and select Build to build the plugin.
After Visual Studio builds the plugin, in Kanzi Studio press F5 to start the Preview.
Get list data from a data source
In this section you set a Grid List Box 2D node in the project to get data for its items from a list data object, which the plugin generates from the data source.
To get list data from a data source:
In the Data Sources window next to the Cluster data source click
 and set the XML Data Source File property to the
 ClusterWithList.xmlfile. You can find the file in theApplication/bindirectory.In addition to the data contained in the
Cluster.xmlfile theClusterWithList.xmlfile contains the data for list items.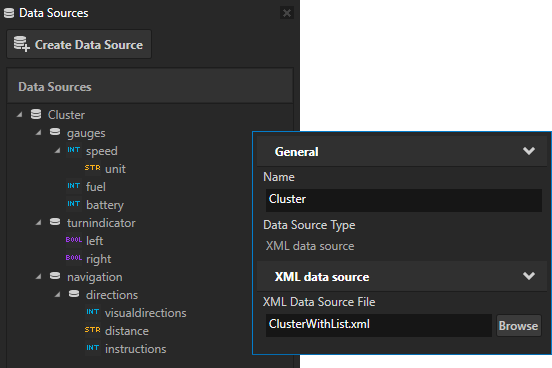
Click
 next to the Cluster data source to create the data objects from the contents of the
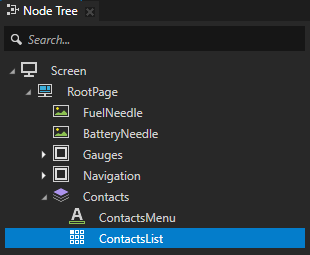
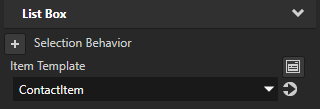
 ClusterWithList.xmlfile.In the Node Tree select the Grid List Box node Contacts > ContactsList and in the Properties add and set the Item Template property to the ContactItem prefab.
With the Item Template property you set which prefab template you want a Grid List Box node to use for the items in its list.
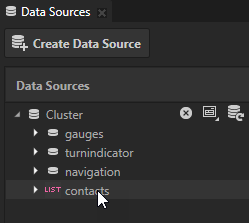
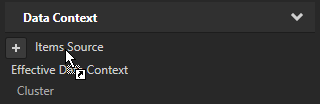
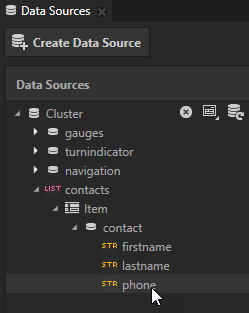
From the Data Sources window drag the Cluster > contacts list data object to the Items Source property of the ContactsList node.
With the Items Source property you set the data object which provides the data for the list items in a Grid List Box node.
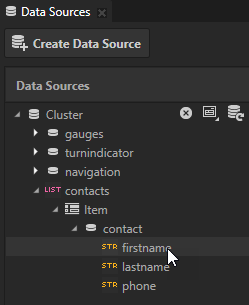
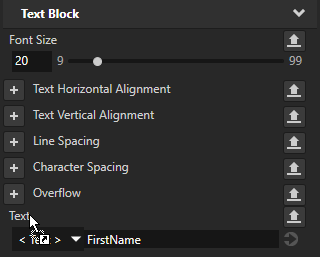
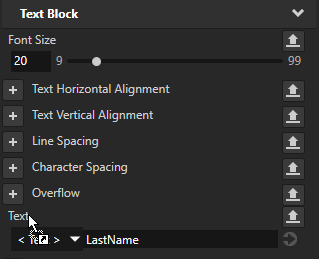
In the Prefabs in the ContactItem prefab select the ContactFirstName node, from the Data Sources window drag the Cluster > contacts > Item > contact > firstname data object, and drop it on the Text property in the Properties.
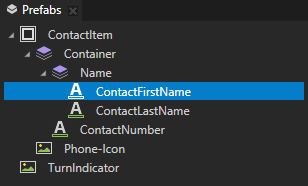
Repeat the previous step for the ContactLastName and ContactNumber:
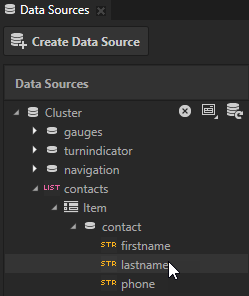
For the ContactLastName node from the Data Sources drag and drop the Cluster > contacts > Item > contact > lastname data object on the Text property.
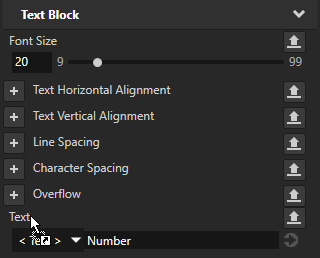
For the ContactNumber node from the Data Sources drag and drop the Cluster > contacts > Item > contact > phone data object on the Text property.

The list of contacts now receives the data from the
ClusterWithList.xmldata source. Use a text editor to change the values in theClusterWithList.xmlfile, save theClusterWithList.xmlfile, and Kanzi Studio Preview and the Data Sources window show the updated data objects and their values.
What's next?
In this tutorial you learned how to define an XML data source and how to use the data from that data source in a Kanzi Studio project to provide the data to a Kanzi application. Now you can:
Learn more about using the Kanzi Engine API. See Tutorial: Hello world! and Tutorial: Kanzi Engine API advanced use.
Learn more about Kanzi Engine plugins. See Kanzi Engine plugins.
Learn how to load resources asynchronously. See Tutorial: Load and deploy resources asynchronously.
See also
To learn more about the data sources in Kanzi, see Data sources.