Step 2 - React to a completed interpolation
In this step you set the compass background based on the relative bearing. Relative bearing is the difference between the destination and the direction of travel.
React to a completed interpolation
In this section you use the Property Target Interpolator: Interpolation Completed trigger to find out when the Property Target Interpolator completes the rotation of the compass dial. When the interpolation completes and the direction of travel and the destination align, you use the State Manager in the RootPage node to set the compass background.
To react to a completed interpolation:
Find the difference between the destination and the direction of travel:
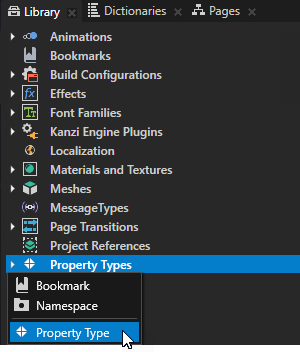
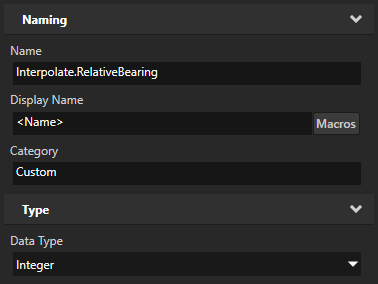
In the Library press Alt and right-click Property Types, select Property Type, and in the New Property Type window set:
Name to Interpolate.RelativeBearing
Data Type to Integer
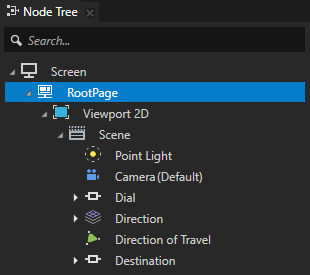
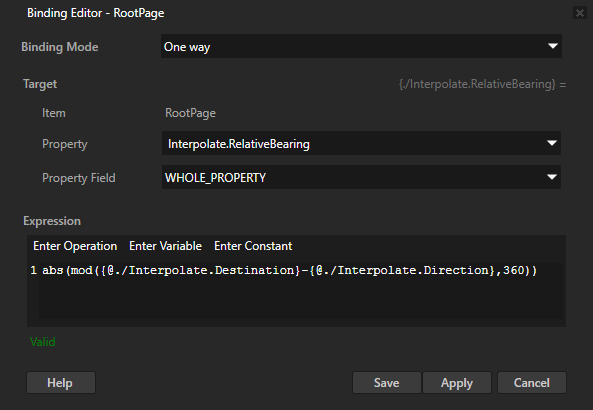
In the Node Tree select the RootPage node, in the Properties click + Add Binding, and in the Binding Editor set:
Property to Interpolate.RelativeBearing
Expression to
abs(mod({@./Interpolate.Destination} - {@./Interpolate.Direction}, 360))
Click Save.
You use this binding to store the difference in degrees between the destination and the direction of travel to the Interpolate.RelativeBearing property you created in the previous step. You use the modulo function to wrap the value of Interpolate.RelativeBearing to the range from 0 to 359 degrees.
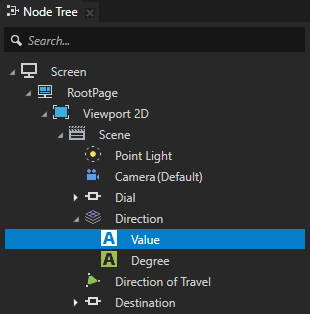
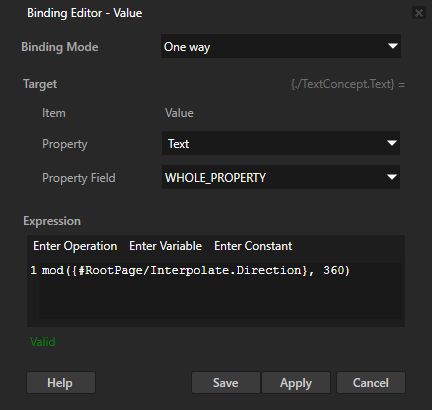
In the Node Tree select the Direction > Value node, in the Properties in the Bindings click the existing binding, and in the Binding Editor set the Expression to
mod({#RootPage/Interpolate.Direction}, 360)Click Save.
You use this binding to wrap to the range from 0 to 359 the value shown in the center of the compass.
Find out when the Property Target Interpolator completes the interpolation and react to it:
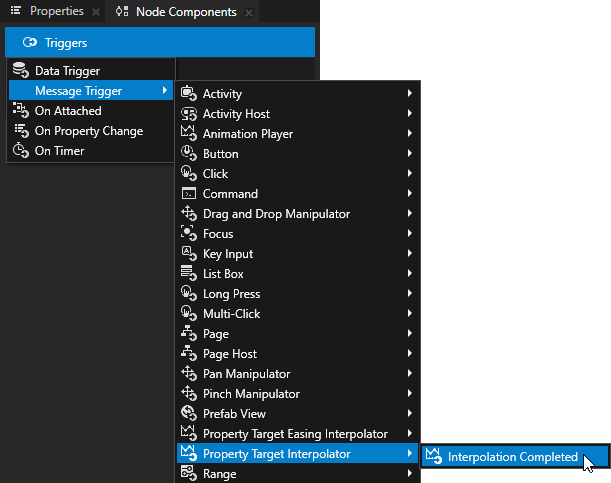
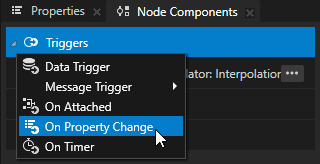
In the Node Tree select the RootPage node, in the Node Components press Alt and right-click Triggers, and select Message Trigger > Property Target Interpolator > Interpolation Completed.
The Property Target Interpolator: Interpolation Completed trigger intercepts the message that the Property Target Interpolator you select sends when it completes the interpolation of the property it interpolates.
Here you use the Property Target Interpolator: Interpolation Completed trigger to intercept the message the Property Target Interpolator you added in step 1 of this tutorial sends when it finishes interpolating the value of the Interpolate.Interpolator property.
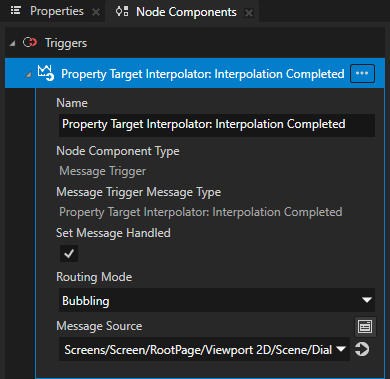
In the Node Components > Triggers in the Property Target Interpolator: Interpolation Completed trigger set the Message Source property to the Dial node.
You use the Message Source property to set the target item whose messages you want the Property Target Interpolator: Interpolation Completed trigger to intercept. You set the Message Source property to the Dial node because you want to find out when the Property Target Interpolator, which you added to the Dial node in step 1 of this tutorial, completes the interpolation.
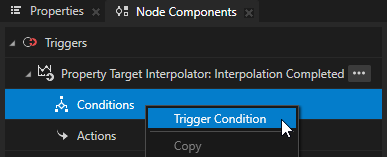
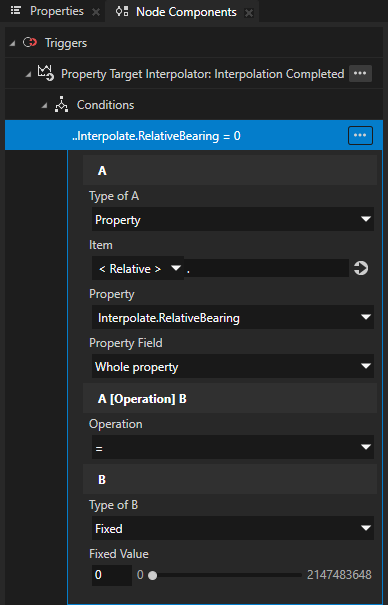
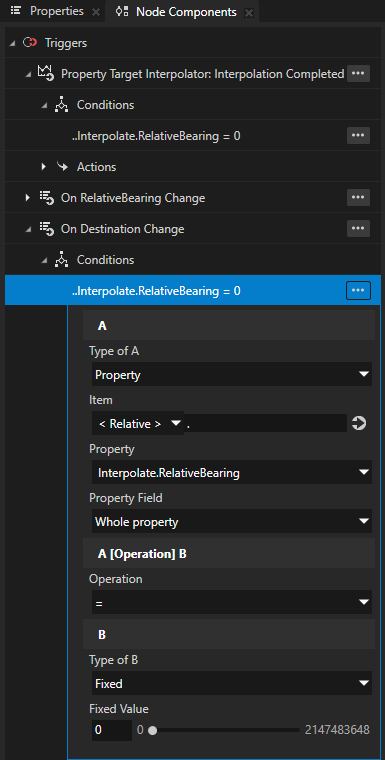
In the Node Components in the Property Target Interpolator: Interpolation Completed trigger right-click Conditions, select Trigger Condition, and in the trigger condition set:
A
Property to Interpolate.RelativeBearing
Operation to =
B
Type of B to Fixed
Fixed Value to 0
You use this trigger condition to set off this Property Target Interpolator: Interpolation Completed trigger only when the interpolation completes and when the value of the Interpolate.RelativeBearing property is 0. When the value of the Interpolate.RelativeBearing property is 0, the direction of travel aligns with the destination.
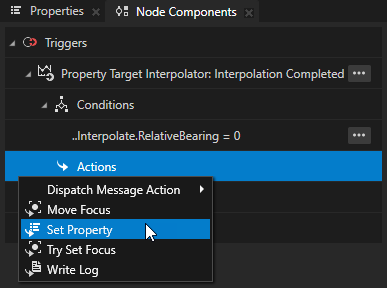
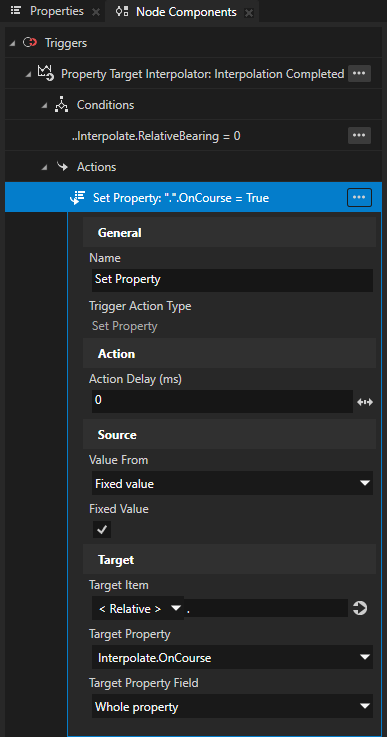
In the Node Components in the Property Target Interpolator: Interpolation Completed trigger press Alt and right-click Actions, select Set Property, and in the Set Property action set:
Target Property to Interpolate.OnCourse
Fixed Value to enabled
You use this action to set the value of the Interpolate.OnCourse property to true when the Property Target Interpolator: Interpolation Completed trigger is set off and when the value of the Interpolate.RelativeBearing property is 0. When the Interpolate.OnCourse property is set to true, the State Manager in the RootPage node sets the Background Brush property in the RootPage node to Green.
Now when you change the value in the direction XML element in the Compass.xml file and save the changes, after the interpolation completes the compass background turns green if the destination and the direction of travel align.
Adjust the compass behavior
In the previous section you added an Property Target Interpolator: Interpolation Completed trigger that uses the State Manager in the RootPage node to set the compass background color. However, that state manager sets the background color only when the interpolation of the compass dial rotation completes and the destination and the direction of travel align. In this section you add the On Property Change triggers to react when:
The destination or direction of travel changes, and the destination and the direction of travel do not align.
The destination changes, and the destination and the direction of travel align.
To adjust the compass behavior:
React when the relative bearing changes, and the direction of travel and destination do not align:
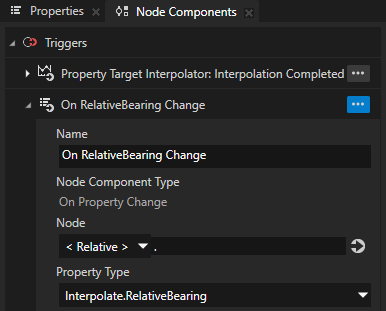
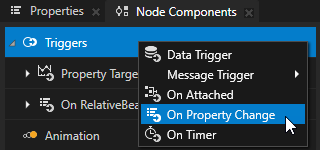
In the Node Tree select the RootPage node, in the Node Components > Triggers create an On Property Change trigger, name it On RelativeBearing Change, and set the Property Type to the Interpolate.RelativeBearing property.
Kanzi sets off this trigger when the value of the Interpolate.RelativeBearing property in the RootPage node changes.
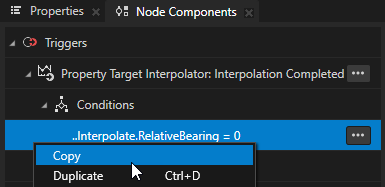
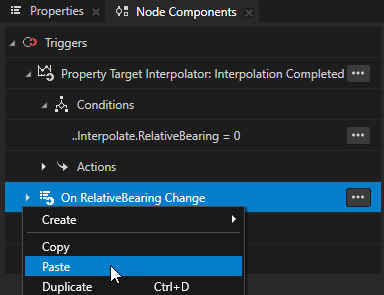
In the Node Components > Triggers in the Property Target Interpolator: Interpolation Completed trigger right-click the ..Interpolate.RelativeBearing = 0 trigger condition, select Copy, right-click the On RelativeBearing Change trigger, and select Paste.
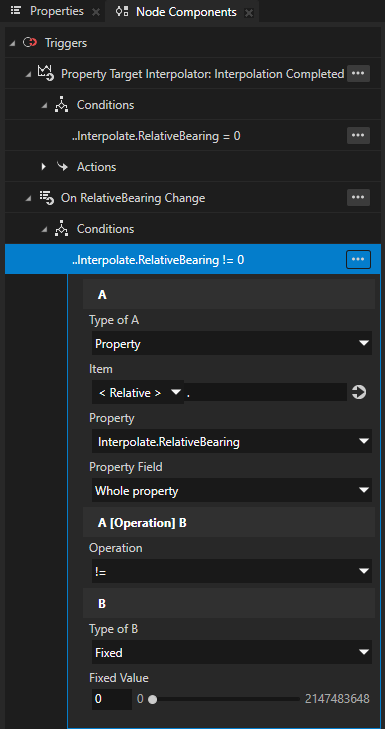
In the trigger condition that you pasted to the On RelativeBearing Change trigger, set Operation to !=.
With this condition Kanzi sets off this trigger only when the value of the Interpolate.RelativeBearing property changes and when the value of the Interpolate.RelativeBearing property is not 0. When the value of the Interpolate.RelativeBearing property is not 0, the direction of travel does not align with the destination.
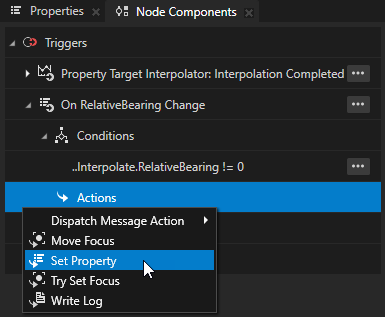
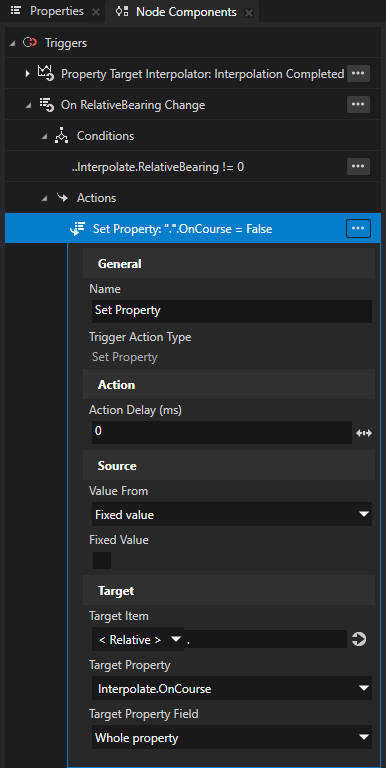
In the On RelativeBearing Change trigger create a Set Property action and set:
Target Property to Interpolate.OnCourse
Fixed Value to disabled
You use this action to set the Interpolate.OnCourse property to false when the value of the Interpolate.RelativeBearing property changes and when the value of the Interpolate.RelativeBearing property is not 0. When the Interpolate.OnCourse property is set to false, the State Manager in the RootPage node sets the Background Brush property in the RootPage node to Black.
React when the destination changes and it is aligned with the direction of travel:
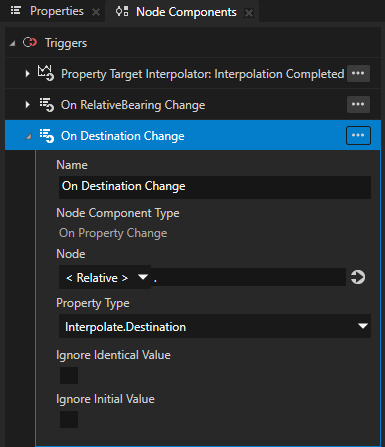
In the Node Tree select the RootPage node, in the Node Components > Triggers create an On Property Change trigger, name it On Destination Change, and set the Property Type to the Interpolate.Destination property.
Kanzi sets off this trigger when the value of the Interpolate.Destination property in the RootPage node changes.
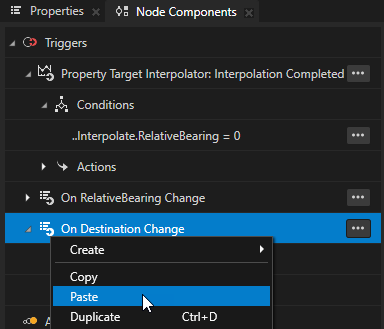
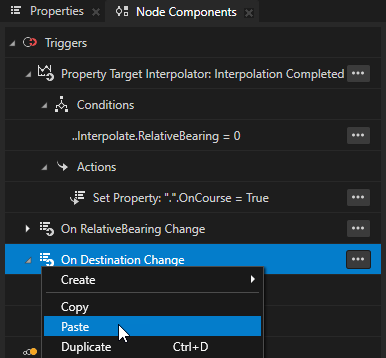
In the Interpolation Completed trigger copy the ..Interpolate.RelativeBearing = 0 trigger condition and paste it to the On Destination Change trigger.
You use this trigger condition to set off the On Destination Change trigger only when the value of the Interpolate.RelativeBearing property changes and when the value of the Interpolate.RelativeBearing property is 0. When the value of the Interpolate.RelativeBearing property is 0, the direction of travel aligns with the destination.
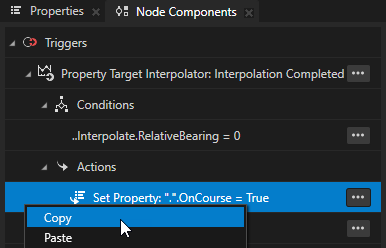
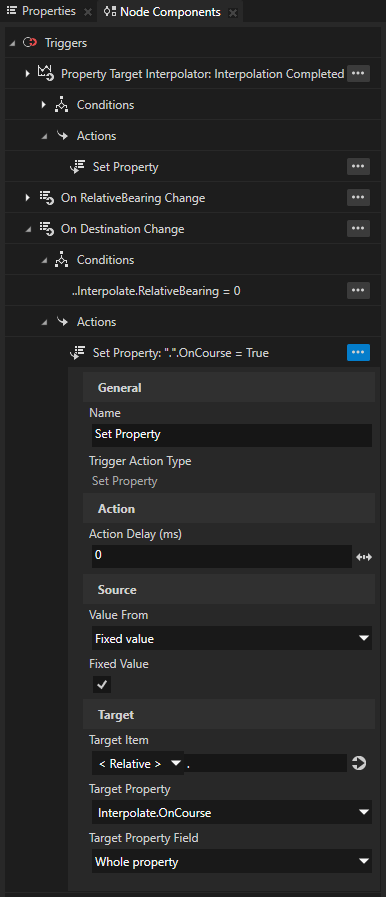
In the Property Target Interpolator: Interpolation Completed trigger copy the Set Property action and paste it to the On Destination Change trigger.
You use this action to set the Interpolate.OnCourse property to true when the value of the Interpolate.RelativeBearing property changes and when the value of the Interpolate.RelativeBearing property is 0. When the Interpolate.OnCourse property is set to true, the State Manager in the RootPage node sets the Background Brush property in the RootPage node to Green.
Now when you change the values in the direction or destination XML elements in the Compass.xml file and save the file, the compass background changes as follows:
When you change the value in the direction XML element:
If the destination and direction of travel align, the background turns green after the interpolation of the rotation of the compass dial completes.
If the destination and direction of travel do not align, the background turns black instantly.
When you change the value in the destination XML element:
If the destination and direction of travel align, the background turns green instantly.
If the destination and direction of travel do not align, the background turns black instantly.
What's next?
In this tutorial you learned how to use the Property Target Interpolator to dynamically set the target value for a property and interpolate the current value to the target value over time. You also learned how to use the Property Target Interpolator: Interpolation Completed trigger to react to the completed interpolation.
Now you can:
Learn how to define a data source in Kanzi and get the data for your Kanzi application from a data source. See Tutorial: Get application data from a data source.
To find out more about working with the state managers, see Using state managers.
Learn how to create keyframe animations. See Tutorial: Create keyframe animations.
Learn how to rotate with a swiping gesture a 3D model in your Kanzi application. See Tutorial: Rotate a 3D model.