Programming Activities with Java Code Behind
Note
Kanzi supports Java Code Behind only for Kanzi Android framework (droidfw) applications. See Developing with the Kanzi Android framework (droidfw).
Before you can program Activities with the Java Code Behind, make sure that you have your Kanzi development environment set up. See Requirements for Android application development with Kanzi.
To program Activities with Java Code Behind:
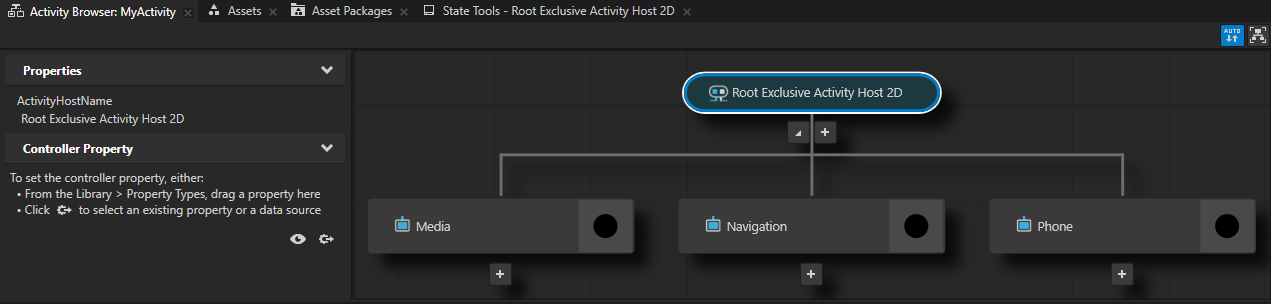
In the Activity Browser create an Activity or Activity Host that you want to program.
For example, create a root Exclusive Activity Host with several Activities.

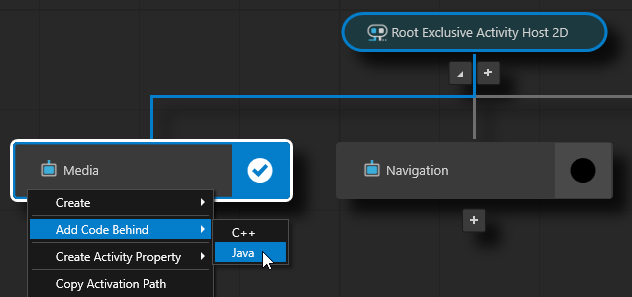
In the Activity Browser right-click an Activity or Activity Host and select Add Code Behind > Java.
When you add Java Code Behind to an Activity node, Kanzi Studio:
Copies the Java Code Behind from the
<KanziWorkspace>/Templates/Java_code_behind_template.In the
<ProjectName>/Application/configs/platforms/android_gradle/<ProjectName>codebehinddirectory creates a Java Code Behind module and project for the Activity to which you added Java Code Behind.Compiles the Java Code Behind module.
Imports to the Kanzi Studio project the jar file that contains the functionality defined in the Java Code Behind module as a Kanzi Engine plugin.
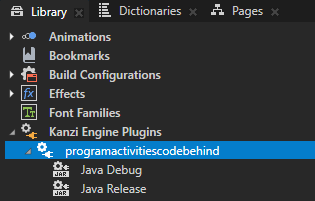
Restarts the Preview.
When the Preview starts, in the Activity Browser the Activities with Java Code Behind contain the
 icon and the side panel shows the commands that are defined in the Java Code Behind.
In the Activity Browser right-click the Activity to which you added Java Code Behind and select Open Code Behind > Java.
Kanzi Studio opens in Android Studio the Android Studio project that contains the Java Code Behind.
The Java Code Behind is stored in the directory
<ProjectName>/Application/configs/platforms/android_gradle/<ProjectName>codebehind.
In Android Studio in the
<ProjectName><ActivityNodeName>ActivityCode.javafile add the initialization functionality for that Activity node in theattachOverridefunction and save the file. In theattachOverridefunction you can install message handlers, property listeners, create nodes, setup the look and functionality of the activity, and so on.This way you provide unique functionality to that Activity node so that you can react to status changes through code.
Use the Java Code Behind in your project:
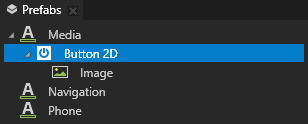
In the Prefabs in the prefab that you use for the activity to which you added Java Code Behind, create a Button, List Box, or create a List Box Item Container prefab.
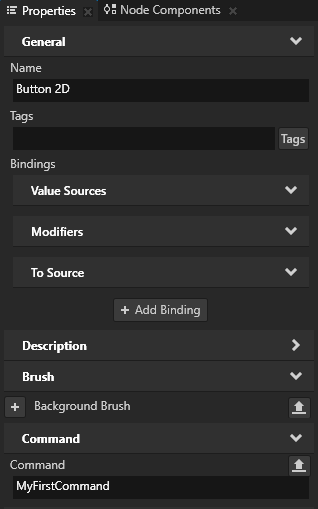
For example, create a Button 2D node.
In the Properties add the Command property and set it to the command that you created in the
<ProjectName><ActivityNodeName>ActivityCode.javafile.When you activate the Activity with the Button 2D node that you created earlier, and in the Preview click that button, the Log window shows the default message of the MyFirstCommand.

Using Java Code Behind in the API
For details, see the CodeBehind class in the Kanzi Java API reference.