Step 2 - Use the data source in Kanzi Studio
In this step of the tutorial you use the data source plugin you created in the previous step to get the data for your Kanzi application from an XML file.
Create data objects from the data source
In this section you prepare your Kanzi Studio project to receive data from the data source plugin you created in the previous step of this tutorial. You then use the plugin to create data objects from the data source. In the next sections you bind to these data objects the properties of different nodes in your application, and use the data from that data source.
To create data objects from the data source:
In Kanzi Studio open the
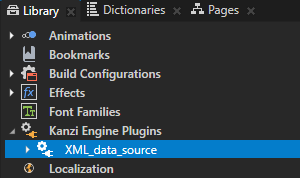
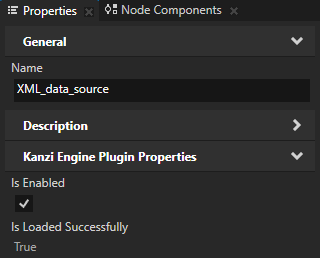
XML data source.kzprojproject stored in the<KanziWorkspace>/Tutorials/Data sources/Start/Tool_projectdirectory.In the Library > Kanzi Engine Plugins select the XML_data_source plugin and in the Properties make sure that the Is Enabled property is enabled.
Tip
Use the Is Enabled property to enable or disable any Kanzi Engine plugin in your project.
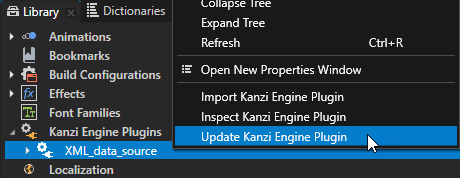
In the Library > Kanzi Engine Plugins right-click the XML_data_source plugin and select Update Kanzi Engine Plugin.
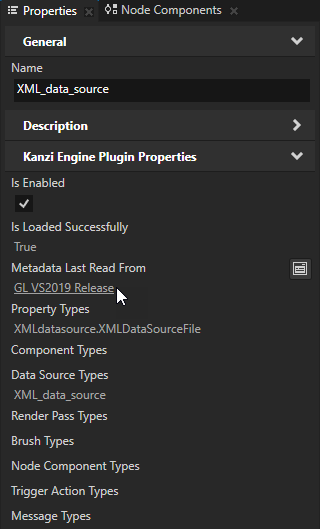
You have to update the plugin metadata every time you make a change to the plugin source code and build the plugin in Visual Studio. After you update the plugin metadata and select the plugin in the Library, in the Properties the Metadata Last Read From property shows which plugin .dll file Kanzi Studio loaded and read metadata from.
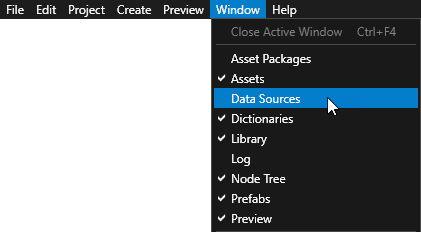
In the Window main menu select Data Sources.
Use the Data Sources window to create, set, and delete the data sources in your project, and to connect data objects from a data source to nodes and resources in your project.
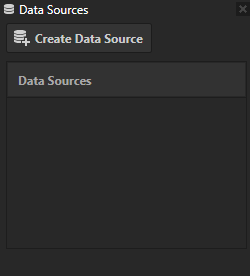
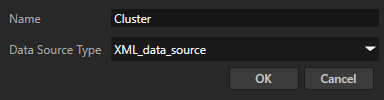
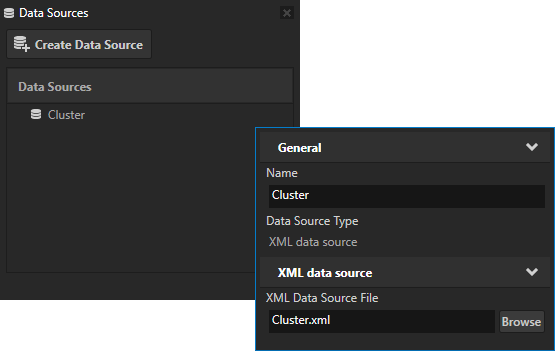
In the Data Sources window click Create Data Source, enter a name for this data source, and click OK to create a data source.
Use the Data Source Type property to set the type of the data source you want to use. Since you defined only one data source in the previous step of this tutorial (XML_data_source), you can select only that data source.
For example, name your data source Cluster.

In the Data Sources window next to the Cluster data source you just created click
 and set the XML Data Source File property to the
 Cluster.xmlfile. You can find the file in theApplication/bindirectory.You created the XML Data Source File property in the data source plugin.
You use this property to tell the data source plugin from which XML file to get the data.
Cluster.xmlis the source of data for the application you create in this tutorial. The data source plugin you created in the previous step creates data objects from the data in this file.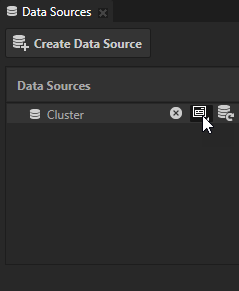
Click
 next to the Cluster data source to use the XML_data_source data source plugin to load the
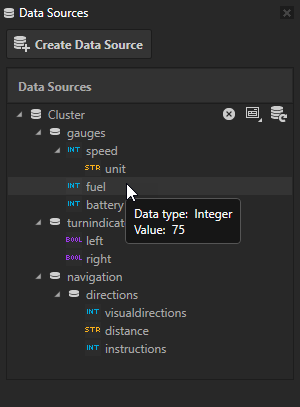
 Cluster.xmlfile and create data objects from the contents of that file.When the plugin creates the data objects, you can see them in the Data Sources window. Every time data in a data source changes, to see the changes in the Kanzi Studio Preview, click
to tell the data source plugin to reload the data source and update data objects.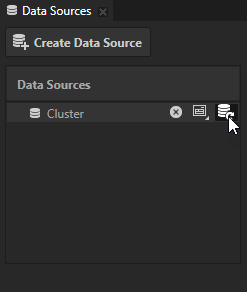
Use the data source data in your application
In this section you bind the properties, which set the position of nodes and show values in Text Block 2D nodes, to data objects from the Cluster data source that you created in the previous section.
To use the data source data in your application:
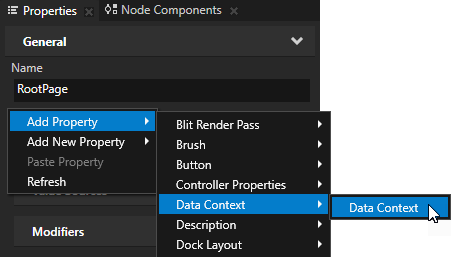
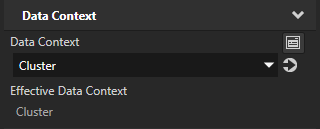
In the Node Tree select the RootPage node, in the Properties add the Data Context property, and set it to the data source you created in the previous section.
By setting the Data Context property you tell your application from which data source it receives data. When you set the Data Context property for a node, all its child nodes inherit the value of the Data Context property. If you want to use a different data context for one of the child nodes, add the Data Context property to that node and set it to the data context you want to use.
Tip
You can set the data context by dragging a data object from the Data Sources window and dropping it on a node in the Node Tree to which you want to assign that data context.
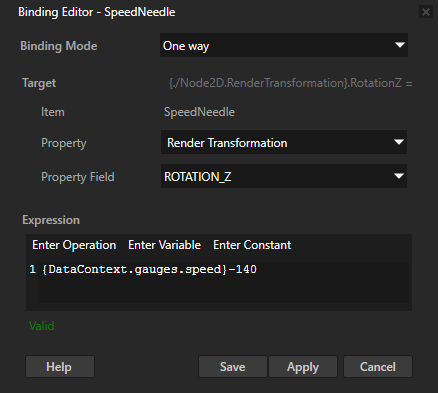
In the Node Tree select the Gauges > SpeedNeedle node, in the Properties click + Add Binding, and in the Binding Editor set:
Property to Render Transformation
Property Field to Rotation Z
Expression to
{DataContext.gauges.speed}-140
Click Save.
With this binding you rotate the SpeedNeedle node based on the value set by the value in the speed element in the
Cluster.xml. You have to subtract 140 from the value provided from the data source to correctly position the needle at value 0 in the gauge, when the value of the speed data object is 0.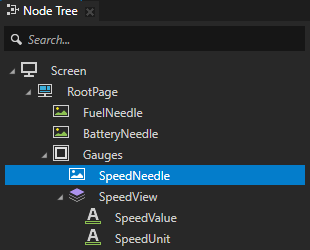
Repeat the previous step for the FuelNeedle and BatteryNeedle nodes:
For the FuelNeedle in the Binding Editor set the Expression to
{DataContext.gauges.fuel}-39
For the BatteryNeedle in the Binding Editor set the Expression to
-{DataContext.gauges.battery}+39
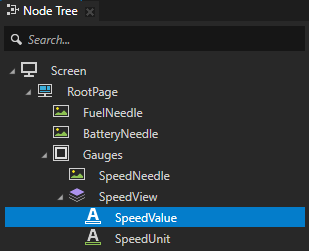
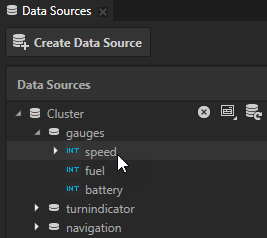
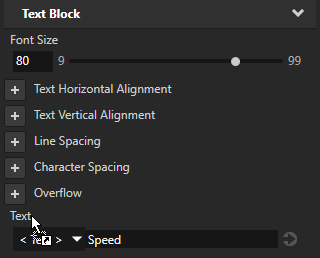
In the Node Tree select the Gauges > SpeedView > SpeedValue node, from the Data Sources window drag the Cluster > gauges > speed data object, and drop it on the Text property in the Properties.
When you drag and drop a data object on a property that has a single field, Kanzi Studio creates a binding that binds the value of that property to the data object you dropped on the property. The Text property of the SpeedValue node now comes from the Cluster data source.
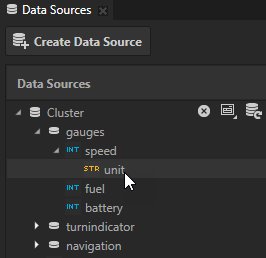
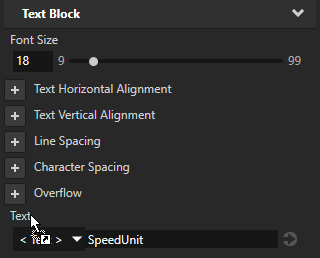
Repeat the previous step for the SpeedUnit and Distance:
For the Gauges > SpeedView > SpeedUnit node from the Data Sources drag and drop the Cluster > gauges > speed > unit data object on the Text property.
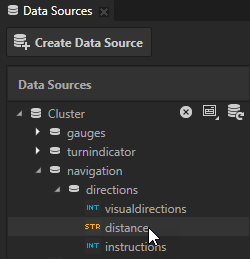
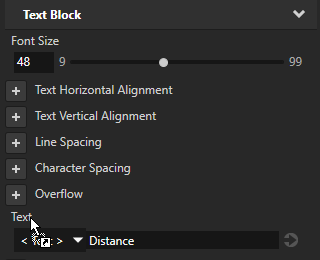
For the Navigation > Stack Layout 2D > Distance node from the Data Sources drag and drop the Cluster > navigation > directions > distance data object on the Text property.
Open the
Application/bin/Cluster.xmlfile in a text editor and change the values in the speed, fuel, battery, or distance XML elements. When you save the file the Kanzi Engine plugin where you defined the data source and which you created in the previous step of this tutorial, updates the data objects and shows the updated values in the Kanzi Studio Preview.If you want to manually reload the data for a data source, in the Data Sources window click
next to the data source you want to reload.Kanzi Studio reloads the data for that data source and updates the data objects and their values.
Tip
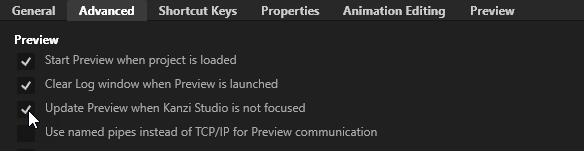
By default the Preview updates content only when the Kanzi Studio window is focused. To see the changes in your Kanzi Studio project when the Kanzi Studio window is not focused, in Kanzi Studio select Edit > User Preferences and in the Advanced tab enable the Update Preview when Kanzi Studio is not focused setting.

Control states using data from a data source
State managers control the turn indicators and the navigation information in this tutorial application. In this step you bind the values of the controller properties of the state managers in these nodes so that you can change the state of the application using data from a data source.
To control application states using data from a data source:
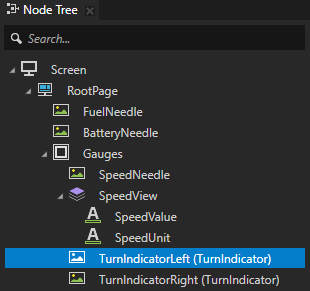
In the Node Tree select the Gauges > TurnIndicatorLeft node, from the Data Sources window drag the Cluster > turnindicator > left data object, and drop it on the XMLdatasource.TurnIndicator property in the Properties.
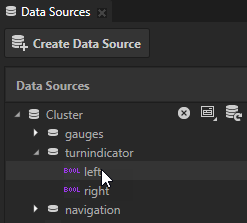
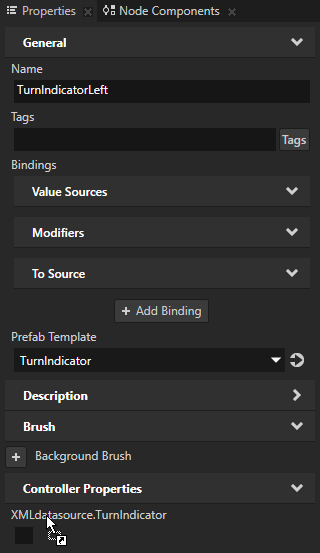
The XMLdatasource.TurnIndicator controller property is a Boolean data type. You can switch the turn indicator on and off by setting the value of the turnindicator > left XML element in the
Cluster.xmlfile to true and false.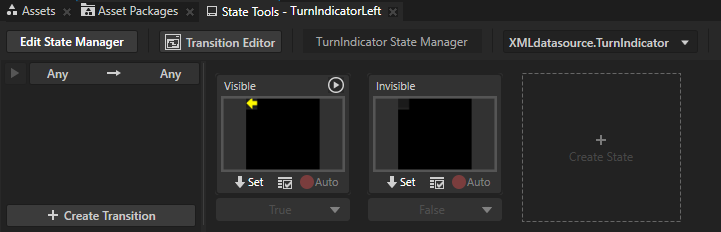
Repeat the previous step for the Gauges > TurnIndicatorRight node. Use the Cluster > turnindicator > right data object.
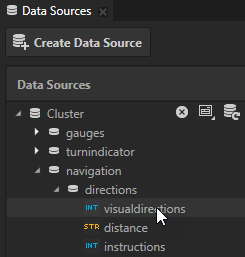
In the Node Tree select the Navigation > Stack Layout 2D > VisualDirections node, from the Data Sources window drag the Cluster > navigation > directions > visualdirections data object, and drop it on the XMLdatasource.VisualDirections property in the Properties.
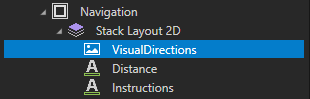
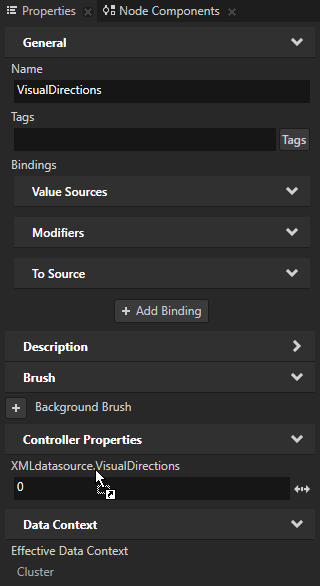
The data type of the XMLdatasource.VisualDirections controller property is integer and the state manager controlling this node has two states. To instruct the driver to turn left set the value of the XMLdatasource.VisualDirections property to 0 to use the LeftTurn state, for the right turn set the value 1 to use the RightTurn state.
Repeat the previous step for the Navigation > Stack Layout 2D > Instructions node, which provides the written instructions for the driving directions. Drop the Cluster > navigation > directions > instructions data object to the XMLdatasource.NavigationInstructions property.
The data type of the XMLdatasource.NavigationInstructions controller property is integer and the state manager controlling this node has four states. Each state contains different written instructions.
You can now control the cluster from the
Cluster.xmldata source. Use a text editor to change the values in theCluster.xmlfile, save theCluster.xmlfile, and Kanzi Studio Preview and the Data Sources window show the updated data objects and their values.