Using the Pinch Manipulator
Use the Pinch Manipulator to enable users to zoom and rotate nodes in your Kanzi application.
For example, you can use the Pinch Manipulator to enable users to zoom into and out of a map. See Enabling the pinch gesture for a node.
Use the Pinch Manipulator triggers to react to the pinch gesture. For example, you can set the appearance of a node when the user zooms and rotates the node using the pinch gesture.
See Using the Pinch Manipulator triggers.
The Pinch Manipulator is one of the input manipulators you can use to add gesture recognition to nodes in your Kanzi application. See Using input manipulators.
Learn how to use the Pinch Manipulator by completing a tutorial. See Tutorial: Pan, zoom, tap.
Enabling the pinch gesture for a node
To enable the pinch gesture for a node:
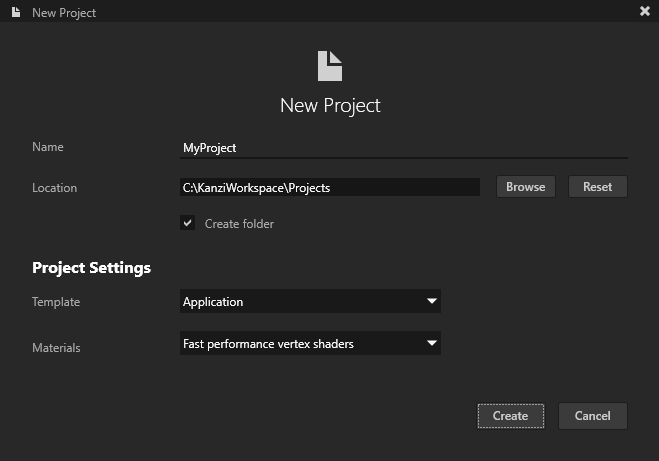
In Kanzi Studio create a project using the Application template.
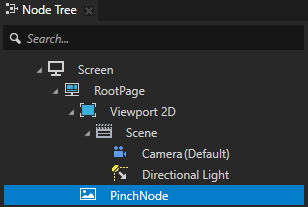
In the Node Tree create a node for which you want to enable the pinch gesture. For example, create an Image node and name it PinchNode.
In the Node Tree select the node that you created in the previous step, in the Properties add the Input > Hit Testable property, and set it to enabled.
When you enable this property you enable the user to pick a node.
Tip
By default hit testing is enabled for the Button, Toggle Button, List Box Item Container, Scroll View, Slider, and Text Box nodes.
See Defining which node receives input.

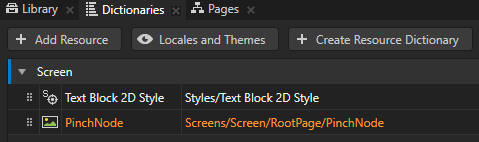
In the Node Tree press Alt and right-click the node that you created and select Alias.
Kanzi Studio creates an alias pointing to the node from which you created the alias and adds it to the resource dictionary of its nearest ancestor node that contains a resource dictionary.
Access alias target nodes using the
#sign followed by the name of the alias.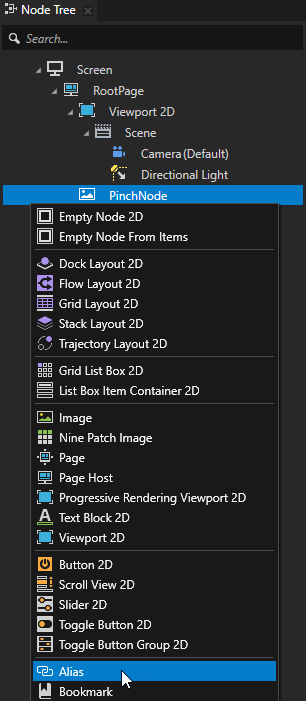
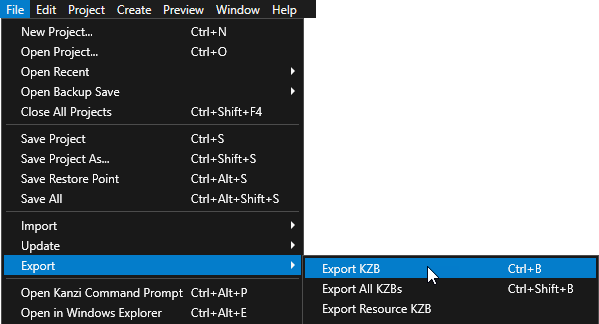
Select File > Export > Export KZB.
Kanzi Studio creates the kzb file and configuration files from your Kanzi Studio project. Kanzi Studio stores the exported files in the
<ProjectName>/Application/bindirectory or the location you set in Project > Properties in the Binary Export Directory property. The kzb file contains all nodes and resources from your Kanzi Studio project, except the resources you mark in a localization table as locale packs.When you run your Kanzi application from Visual Studio, your application loads the kzb file and configuration files.
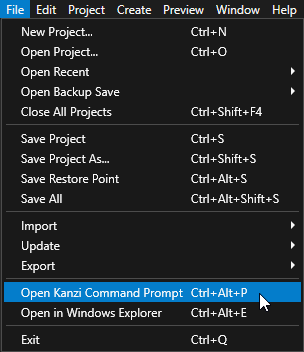
In Kanzi Studio, select File > Open Kanzi Command Prompt.
The Kanzi Command Prompt opens the Windows Command Prompt with the Kanzi environment variables set for the version of Kanzi for which you open a Kanzi Command Prompt.
Use the Kanzi Command Prompt to access Kanzi utilities and build tools, such as Gradle, SCons, and CMake, without using absolute paths or setting environment variables.
Tip
You can find the Kanzi Command Prompt in the Windows Start Menu in the Rightware directory.
When you have more than one version of Kanzi installed, make sure that you launch a Kanzi Command Prompt for the version of Kanzi with which you want to work in that command prompt.
In the Kanzi Command Prompt in the
<ProjectName>/Applicationdirectory run the script that generates a Visual Studio solution for the application.For example, if you use Visual Studio 2019, run
generate_cmake_vs2019_solution.bat
This script generates a Visual Studio solution for the application in the directory
<ProjectName>/Application/build_vs2019.In Visual Studio open the
<ProjectName>/Application/build_vs<Version>/<ProjectName>.slnVisual Studio solution and in the file that implements the logic of your application create and configure thePinchManipulator:Define the handlers for the pinch messages.
For example, after the public section of the class which implements the logic of your application add:
private:
    // Define the handler for the PinchManipulator::StartedMessage message from the 2D nodes
    // that have an input manipulator which generates pinch messages.
    // This handler prepares a 2D node for a pinch gesture.
    void onPinchStarted(PinchManipulator::StartedMessageArguments& messageArguments)
    {
        // Get from the message arguments the node that the user pinches.
        Node2DSharedPtr node2d = dynamic_pointer_cast<Node2D>(messageArguments.getSource());

        if (!node2d)
        {
            return;
        }

        // When starting a pinch gesture on the node, bring the node to front.
        node2d->moveToFront();

        // Store the initial value of the Render Transformation scale.
        SRTValue2D nodeTransform = node2d->getRenderTransformation();
        m_pinchInitialScaleFactor = nodeTransform.getScale().getX() - 1.0f;
    }

    // Define the handler for the PinchManipulator::MovedMessage message from the 2D nodes
    // that have an input manipulator which generates pinch messages.
    // This scales and rotates a 2D node for the amount of the pinch gesture.
    void onPinchMoved(PinchManipulator::MovedMessageArguments& messageArguments)
    {
        // Get from the message arguments the node that the user pinches.
        Node2DSharedPtr node2d = dynamic_pointer_cast<Node2D>(messageArguments.getSource());

        if (!node2d)
        {
            return;
        }

        float scale;

        // Get the scale and rotation from the message arguments.
        float scaleDelta = messageArguments.getScale();
        float rotateDelta = messageArguments.getRotation();

        // Get the Render Transformation property of the node.
        SRTValue2D nodeTransform = node2d->getRenderTransformation();

        // Calculate the scale by adding the initial scale to the pinch value.
        scale = scaleDelta + m_pinchInitialScaleFactor;

        // Apply the rotation.
        nodeTransform.rotate(rotateDelta);

        // Apply the scale.
        nodeTransform.setScale(Vector2(scale, scale));

        // To make the node rotate around its center instead of its upper left corner,
        // set the Render Transformation Origin property to (0.5, 0.5).
        node2d->setRenderTransformationOrigin(Vector2(0.5f, 0.5f));

        // Apply the new transform to the node.
        node2d->setRenderTransformation(nodeTransform);
    }

    // Initial scale factor for the pinch gesture.
    float m_pinchInitialScaleFactor;
In the public section of the class which implements the logic of your application, add the constructor and set the initial scale factor for the pinch gesture:
MyProject() :
    m_pinchInitialScaleFactor(0.0f)
{
}
In the
onProjectLoaded()function create aPinchManipulatormanipulator and subscribe to its messages.For example, add:
void onProjectLoaded() override
{
    ScreenSharedPtr screen = getScreen();
    Domain* domain = getDomain();

    // Get the PinchNode node using its alias.
    NodeSharedPtr pinchNode = screen->lookupNode<Node>("#PinchNode");

    // Create an input manipulator that generates pinch messages.
    PinchManipulatorSharedPtr pinchManipulator = PinchManipulator::create(domain);

    // Add the input manipulator to the PinchNode.
    pinchNode->addInputManipulator(pinchManipulator);

    // Subscribe to the PinchManipulator::StartedMessage message at the PinchNode.
    // The PinchManipulator generates this message when the user presses two fingers on the attached node.
    pinchNode->addMessageHandler(PinchManipulator::StartedMessage, bind(&MyProject::onPinchStarted, this, placeholders::_1));

    // Subscribe to the PinchManipulator::MovedMessage message at the PinchNode.
    // The PinchManipulator generates this message first when the scale or rotation threshold is exceeded
    // and after that when the tracked touches have moved between updates.
    pinchNode->addMessageHandler(PinchManipulator::MovedMessage, bind(&MyProject::onPinchMoved, this, placeholders::_1));
}
Build and run your application. See Deploying Kanzi applications.
In the application zoom and rotate the node for which you enabled the pinch gesture.
Using the Pinch Manipulator triggers
Use the Pinch Manipulator triggers to react to the pinch gesture. For example, you can set the appearance of a node when the user zooms and rotates the node using the pinch gesture.
The Pinch Manipulator has these triggers:
Pinch Started trigger is set off when the user touches the node with two fingers.
Pinch Moved trigger is set off when the user zooms or rotates the node with the pinch gesture.
Pinch Finished trigger is set off when the user ends the pinch gesture by lifting their fingers.
Pinch Canceled trigger is set off when focus moves away from the node during the pinch gesture.
To use the Pinch Manipulator triggers:
Enable the pinch gesture for a node. See Enabling the pinch gesture for a node.
Define the behavior that you want to set with the Pinch Manipulator triggers.
For example, create a state manager where you define the states which set the appearance of a node when the Pinch Moved and Pinch Finished triggers are set off. See Creating a state manager.
Add and configure a Pinch Manipulator trigger:
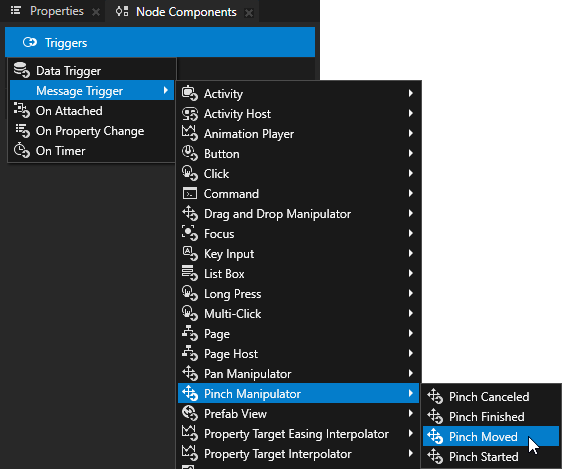
In the Node Tree select the node to which you want to add the trigger, and in the Node Components > Triggers add one of the Pinch Manipulator triggers.
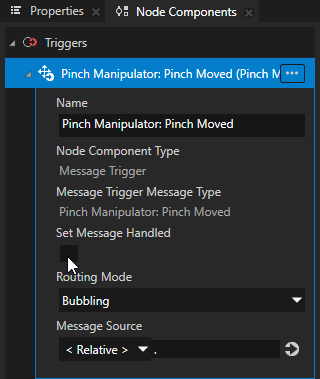
For example, in the Node Tree select the node for which you enabled the pinch gesture, in the Node Components press Alt and right-click Triggers, and select Message Trigger > Pinch Manipulator > Pinch Moved.
In the trigger that you created in the previous step disable the Set Message Handled property.
When you disable the Set Message Handled property, this trigger intercepts the message, but does not stop it. This way you let the input manipulator handle the message.
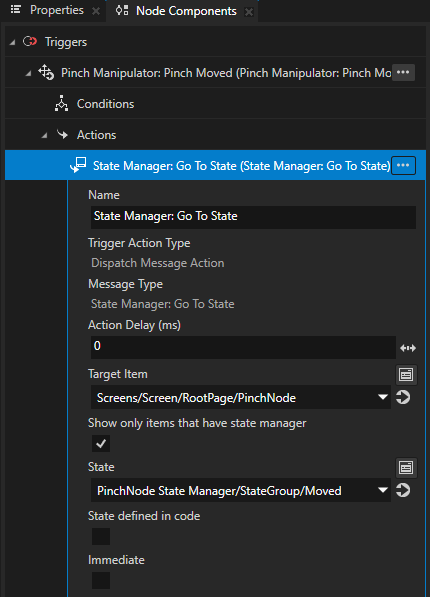
In the Node Components press Alt and right-click the trigger that you created, select an action, and configure it.
For example, select Dispatch Message Action > State Manager > Go to State, and in the action set:
Target Item to the node for which you enabled the pinch gesture
State to the state which sets the appearance of the node when the Pinch Moved trigger is set off

Repeat the previous step to add and configure additional Pinch Manipulator triggers.
For example, add the Pinch Finished trigger, and in the Go to State action of the trigger set State to the state which sets the appearance of the node when that trigger is set off.
Select File > Export > Export KZB.
Build and run your application. See Deploying Kanzi applications.
In the application zoom and rotate the node for which you enabled the pinch gesture.
