Step 4 - Create interactions
In this step you learn how to use the Node Components window to create interactions in your application using triggers and actions.
Create interactions using triggers and actions
Use triggers and actions to create interactions. Use triggers to set off actions, such as setting a property to a certain value or setting the state of an application.
In Kanzi Studio you add and set triggers and actions in the Node Components window.
You can find the Node Components window in the same group as the Properties window.
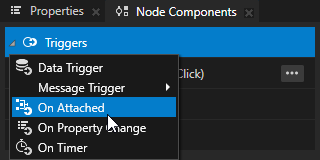
In this section you create a button and use triggers and actions to write a message to the Log window.
To create interactions using triggers and actions:
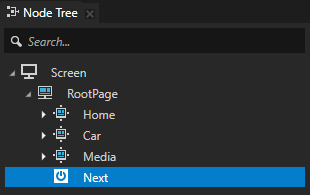
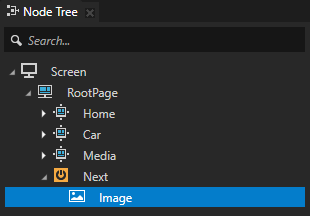
In the Node Tree window press Alt and right-click the RootPage node, select Button 2D, and name it Next.
Most of the Kanzi nodes set only the node layout and functionality. This gives you the flexibility to make nodes look the way you want them to look.
The content that you place in the RootPage node is visible in the whole application. For example, if you want to make the top-level navigation visible in your whole application, create it in the RootPage node.
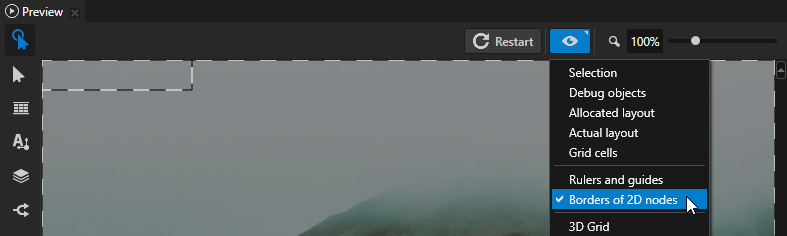
In the Preview click
 to enter the Analyze mode, right-click
  , and select Borders of 2D nodes.
Use the Analyze mode in the Preview window to inspect the structure and performance of your application.
Borders of 2D nodes outlines the borders of 2D nodes with striped lines.
For example, this allows you to see 2D nodes that do not have a visual representation. The Button 2D node you created in the previous step is in the top-left corner of the Preview window.
In the Node Tree window select the Next node, in the Node Components window in the Button: Click message trigger press Alt and right-click Actions, and select Write Log.
Use the Write Log action to print a message to the Log window.

In the Write Log action next to the Log Text property click Enter Operation and select <Name>.
Use the <Name> macro to print to the Log window the type of the node which contains this action.

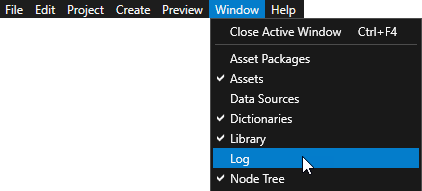
In the main menu select Window > Log to open the Log window.
Kanzi prints to the Log window messages, warnings, and errors.
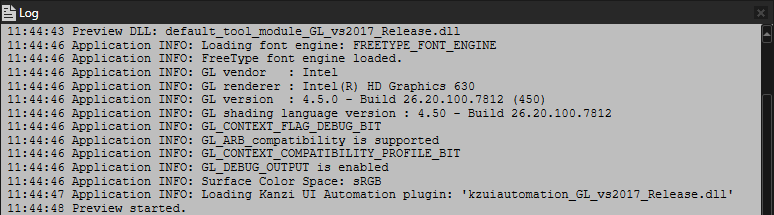
In the Preview window when you click the area of the Next Button 2D node, you set off the Button: Click trigger that executes the Write Log action, which in turn writes the name of the node to the Log window.
Create navigation buttons using the Preview window tools
In this section you define the look of the button you created in the previous section and add an action so that you can use it as a navigation button in the application.
To create navigation buttons using the Preview window tools:
In the Node Tree press Alt and right-click the Next node and select Image.
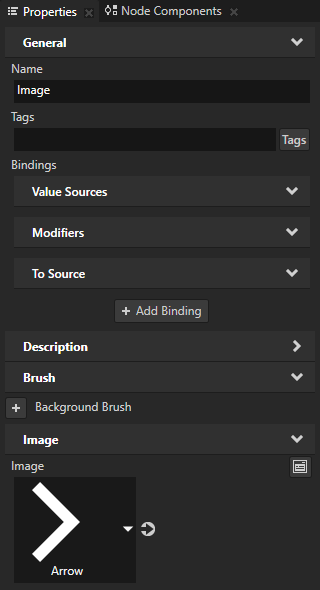
You use this Image node to define the look and size of the button.
In the Properties window set the Image property to the Arrow image.
When you add nodes to a Button 2D node, by default the Button 2D node inherits the size of its child nodes.
In the Preview window position the Next button:
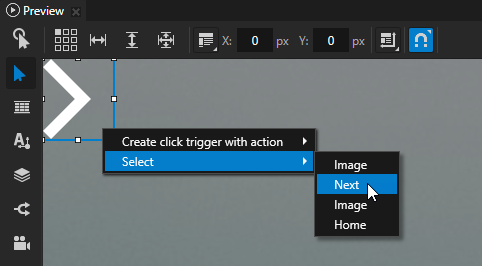
In the Preview window use the Node tool
 , right-click the arrow Image node and in the context menu select Select > Next to select the Next node.
The Preview window can be either in Edit or Interact mode:
In the Edit mode you can use the Preview window to edit the content in your project. Select any of the Preview window tools


 to enter the Edit mode.
In the Interact mode you can interact with your application in the Preview window as you would on a device. When you are using a Preview tool, to switch to the Interact mode, in the Preview window click
 .
.
In the Node tool
align tool  click the middle-right square to align the node to the right and center of the RootPage node, its parent node.
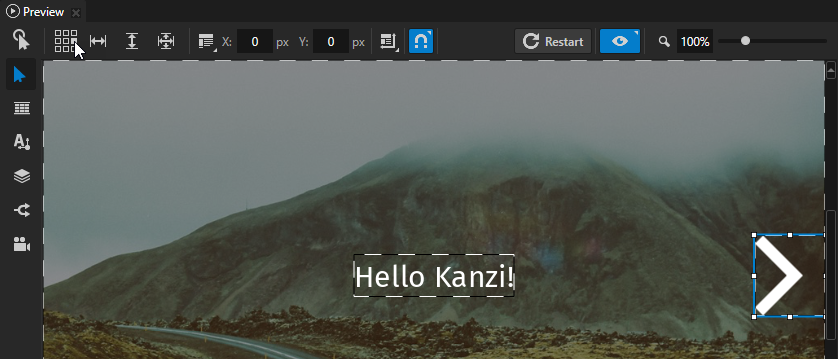
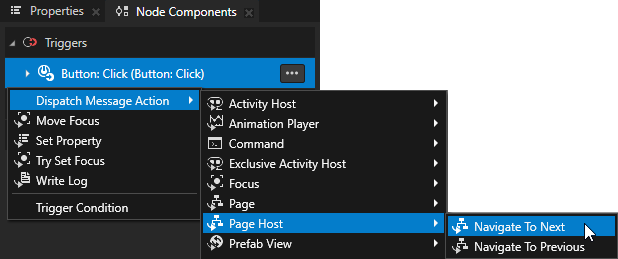
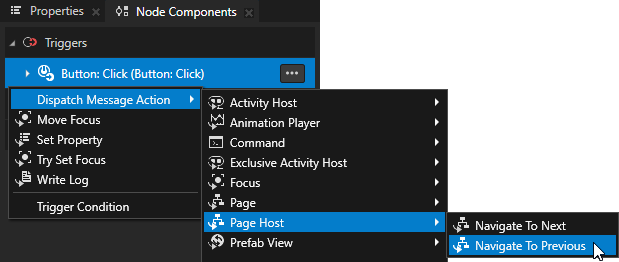
In the Node Components press Alt and right-click the Button: Click trigger, and select Dispatch Message Action > Page Host > Navigate to Next.
Use the Navigate to Next action to go to the next Page or Page Host node of the node that you set in this action.
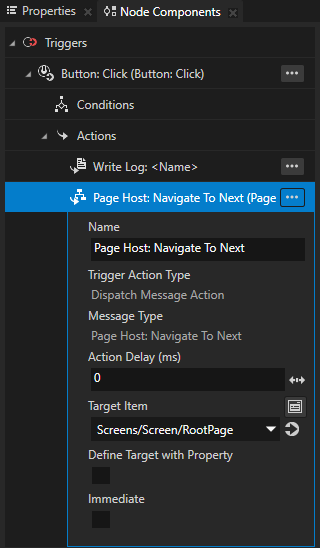
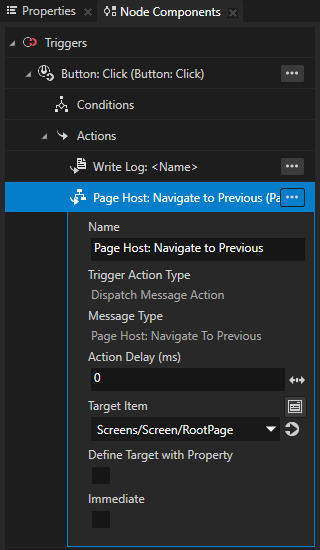
In the Navigate to Next action set the Target Item to the RootPage node.
When the Button: Click trigger executes this action, the action navigates to the next Page node of the RootPage node.
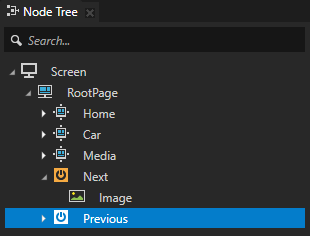
In the Node Tree window select the Next node and press the Ctrl D keys to duplicate the node.
You duplicate and modify the Next node to create a button to navigate to the previous Page node of the RootPage node.
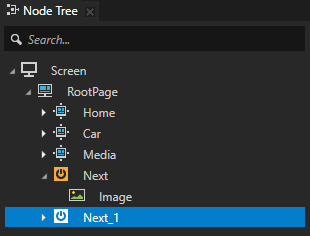
In the Node Tree window press the F2 key and rename the node to Previous.
In the Preview window use the Node tool
to position the Previous button:In the Node tool
align tool click the middle-left square to align the node to the left and center of the RootPage node, its parent node.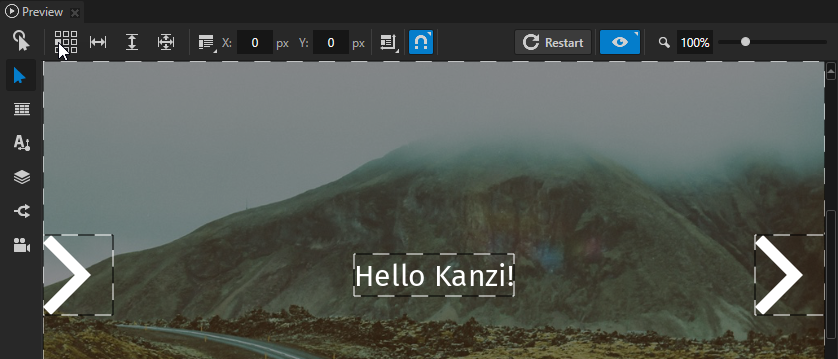
In the Preview window move the mouse pointer to the outer side of the node handles and rotate the node by 180 degrees to make it point towards the left.
Tip
When you use the Node tool
, move the mouse pointer over the center of the node handles to resize the node  , and to the outer side of the handles to rotate the node
  . When rotating hold down the Shift key to rotate a node in 45 degree increments.
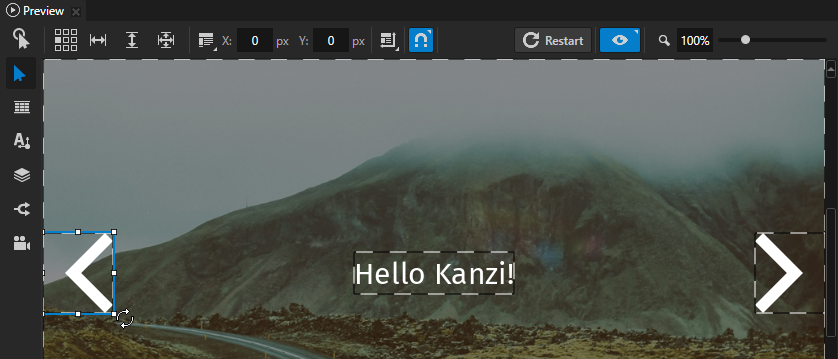
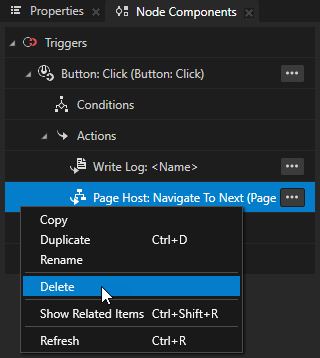
In the Node Components window right-click the Navigate to Next action and select Delete.
In the Node Components press Alt and right-click the Button: Click trigger, select Dispatch Message Action > Page Host > Navigate to Previous, and in the Navigate to Previous action set the Target Item to the RootPage node.
In the Preview window click
and to exit the Edit and Analyze modes.
In the Preview window when you click the Next and Previous buttons, you set off the Button: Click triggers in these buttons and use the Navigate to Next and Navigate to Previous actions to go to the next and previous Page child nodes of the RootPage node.
See also
To learn more about creating buttons, complete Tutorial: Creating a button.
To learn more about the Write Log action, see Using Write Log action.
To learn more about triggers and actions, see Triggers.
To learn more about the Preview window tools, see Editing your application in the Preview.