Step 2 - Distribute rendering across frames
In this step, you create render passes and a Progressive Rendering Viewport 2D node to distribute the rendering of the content of the Car Scene node across several frames.
Distribute rendering among render passes
In this section, you create the render passes among which you distribute the rendering of the content of the Car Scene node.
To distribute rendering among render passes:
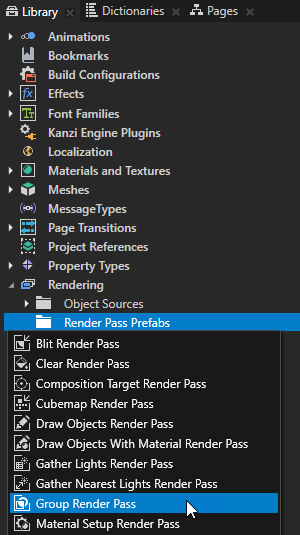
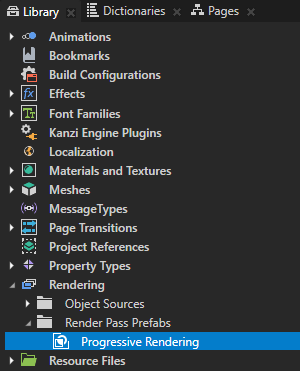
In the Library > Rendering, press Alt and right-click Render Pass Prefabs, select Group Render Pass, and name it Progressive Rendering.
Group Render Pass allows you to collect render passes so that you can refer to a single render pass prefab in your Viewport 2D node.
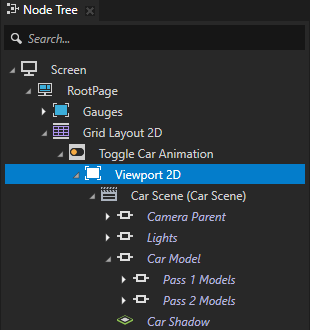
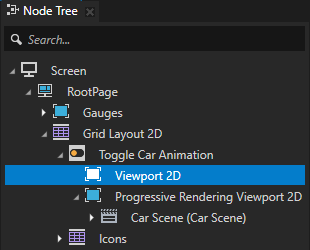
In the Node Tree, select the RootPage > Grid Layout 2D > Toggle Car Animation > Viewport 2D node. In the Properties, set the Render Pass Prefab property to Progressive Rendering.
Kanzi now renders the Viewport 2D node using the Progressive Rendering render pass. The render pass does not yet draw anything, which is why the Preview does not show the car.

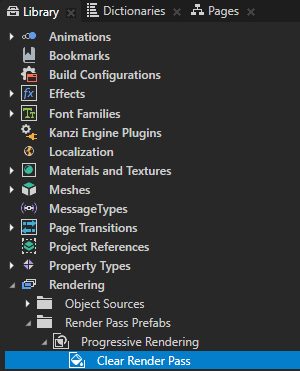
In the Library in the Progressive Rendering render pass prefab, create a Clear Render Pass render pass.
This render pass clears the depth buffer.
Render the nodes that show the interior, tire, and window models:
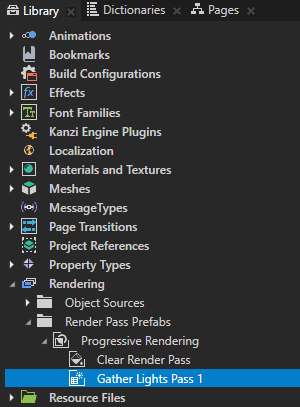
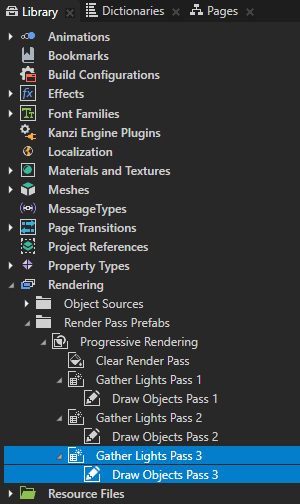
In the Library in the Progressive Rendering render pass prefab, create a Gather Lights Render Pass render pass and name it Gather Lights Pass 1.
This render pass collects the Light nodes in the Viewport 2D node, which uses the Progressive Rendering render pass prefab.
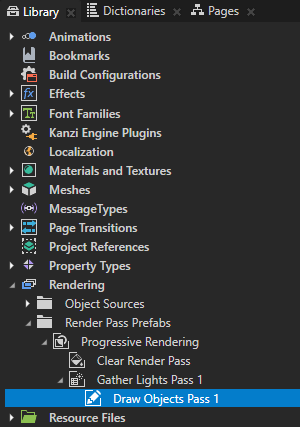
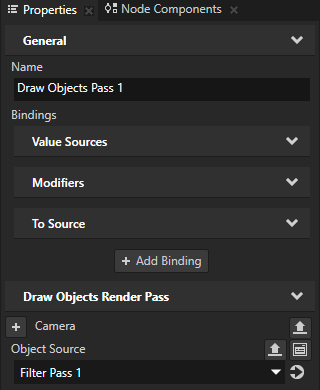
In the Library in the Gather Lights Pass 1, create a Draw Objects Render Pass and name it Draw Objects Pass 1. In the Properties, add the Object Source property and set it to Filter Pass 1.
You use the Object Source property to set the Draw Objects Pass 1 render pass to render the Pass 1 Models node collected by the Filter Pass 1 tag filter.
The Draw Objects Pass 1 render pass uses the Light nodes collected by its parent Gather Lights Render Pass render pass to render the Pass 1 Models node.
Render the nodes that show the exterior parts of the car model:
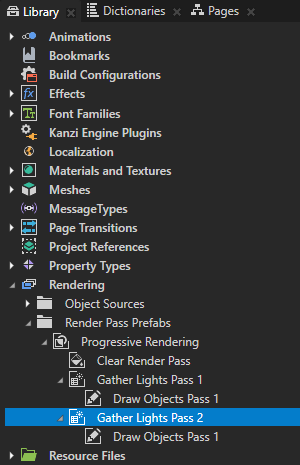
In the Library, select the Gather Lights Pass 1 render pass, press Ctrl D to duplicate the render pass, and rename it to Gather Lights Pass 2.
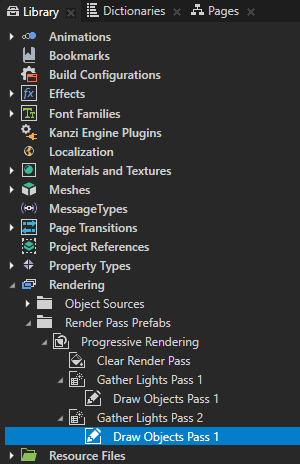
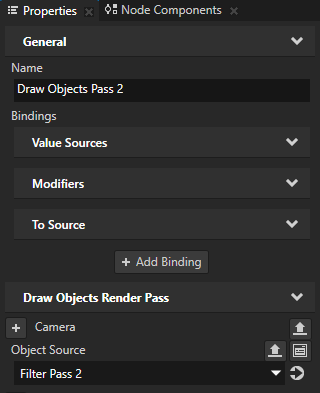
In the Gather Lights Pass 2 render pass, select the Draw Objects Pass 1 render pass, and in the Properties set:
Name to Draw Objects Pass 2
Object Source to Filter Pass 2
You set the Draw Objects Pass 2 render pass to render the Pass 2 Models node collected by the Filter Pass 2 tag filter.
To render the node that shows the car shadow, repeat the previous step, but rename the render passes to Gather Lights Pass 3 and Draw Objects Pass 3, and set the Object Source property to Filter Pass 3.


Distribute rendering across frames
In this section, you create a Progressive Rendering Viewport 2D node to distribute the rendering of the content in the Car Scene node across several frames.
To distribute rendering across frames:
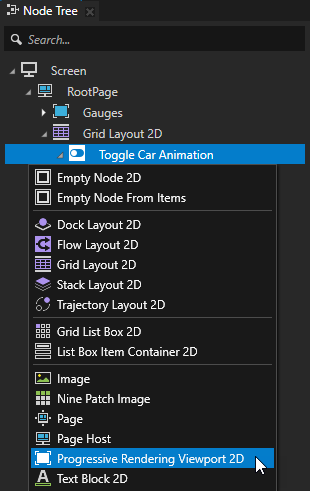
In the Node Tree, press Alt and right-click the Toggle Car Animation node, and select Progressive Rendering Viewport 2D.
The Progressive Rendering Viewport 2D node distributes the rendering workload across several frames. This reduces the amount of work and time required to render the content in a single frame. Kanzi updates in every frame all content that is not rendered by a Progressive Rendering Viewport 2D node.
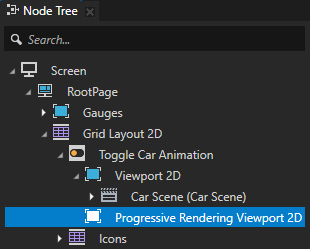
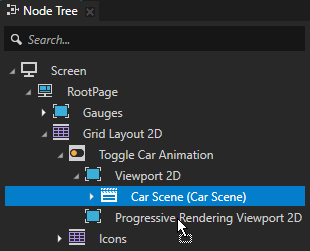
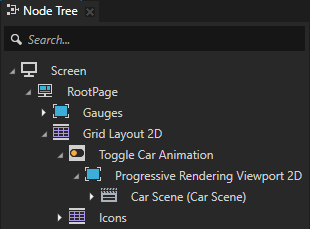
In the Node Tree, drag the Car Scene node from the Viewport 2D node to the Progressive Rendering Viewport 2D node. Select the Viewport 2D node and press Delete.
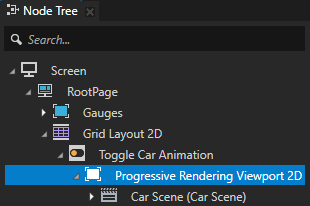
In the Node Tree, select the Progressive Rendering Viewport 2D node, and in the Properties, set the Render Pass Prefab property to Progressive Rendering.
You set Kanzi to render the Progressive Rendering Viewport 2D node using the Progressive Rendering render pass prefab.
Kanzi updates all content rendered by a Progressive Rendering Viewport 2D node every n frames, where n is the number of child render passes of the render pass prefab that the Progressive Rendering Viewport 2D node uses.
Because the Progressive Rendering render pass prefab contains one Clear Render Pass and three Gather Lights Render Pass render passes, Kanzi updates the content in the Progressive Rendering Viewport 2D node every four frames.

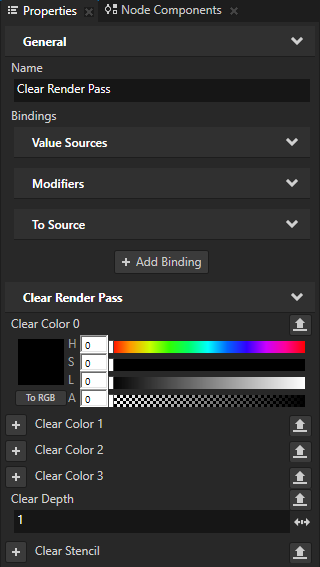
In the Library > Rendering > Render Pass Prefabs > Progressive Rendering, select the Clear Render Pass. In the Properties, add the Clear Color 0 property, and set:
Lightness (L) to 0
Alpha (A) to 0
This way you clear the color buffer with transparent black color.
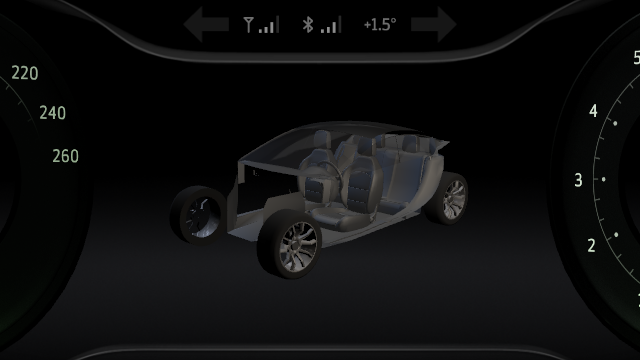
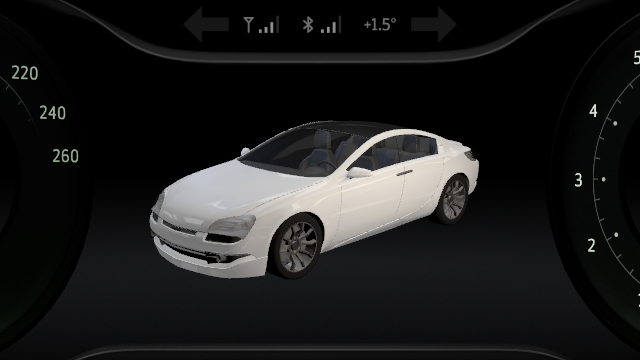
To take the changes into use in the Preview, in the Preview click Restart.

Kanzi now uses the Progressive Rendering Viewport 2D node to update the content in the Car Model node in four frames:
Clear the color buffer.
Collect lights and render the Pass 1 Models node.
Collect lights and render the Pass 1 Models node.
Collect lights and render the Car Shadow node.
Kanzi updates the content in the Viewport 2D node Gauges every frame.
See also
To learn more about progressive rendering, see Distributing rendering across several frames.
To learn more about the render passes in Kanzi, see Rendering.
To learn more about how you can use filters in your Kanzi application, see Filters.
To learn more about object sources, see Using object sources.