Using tessellation shaders
Tessellation subdivides patches of vertex data into smaller primitives:
Tessellation Control Shader determines the amount of tessellation.
Tessellation Evaluation Shader computes the value for each generated vertex.
Tessellation is an optional shader stage after the Vertex Shader and before the optional Geometry Shader.
To use geometry and tessellation shaders, the hardware where you want to run your Kanzi application must support OpenGL ES 3.2. Note that geometry and tessellation shaders can decrease the performance on tiled rendering architectures. For this reason, it is recommended to avoid using geometry and tessellation shaders on mobile and embedded hardware.
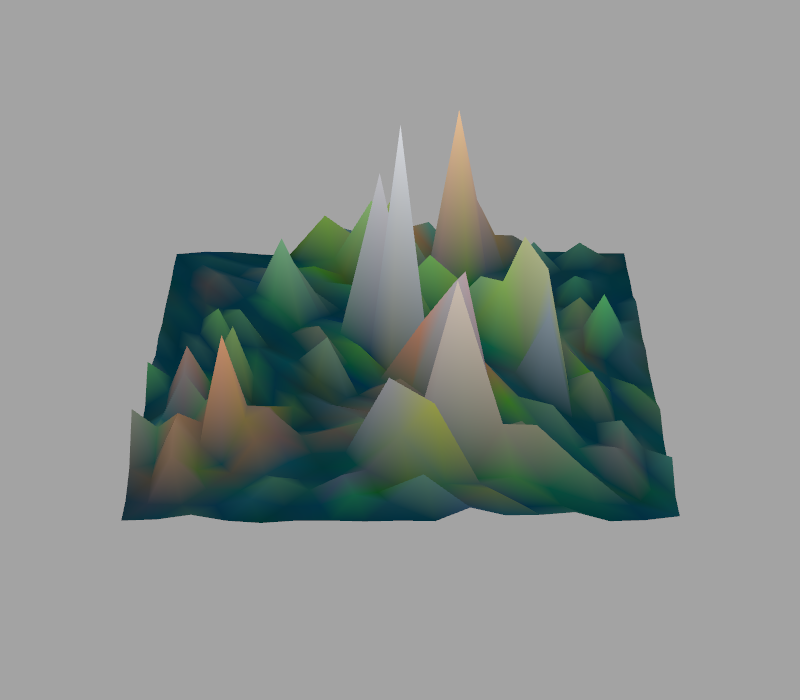
In this procedure, you use tessellation shaders to turn a texture into a displacement map. The shaders elevate points on a plane depending on the color values in the texture.
To use tessellation shaders:
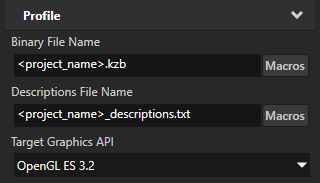
In the Kanzi Studio main menu, select Project > Properties and set the Target Graphics API to OpenGL ES 3.2.
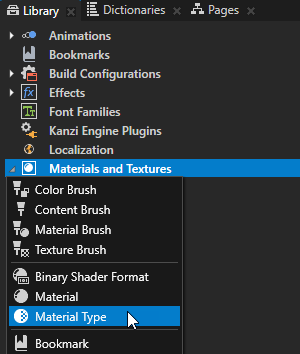
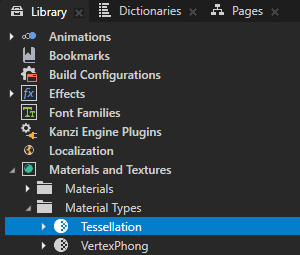
In the Library, press Alt and right-click Materials and Textures, select Material Type, and name it Tessellation.
In the Library > Materials and Textures > Material Types > Tessellation material type, double-click the Vertex Shader to open it in the Shader Source Editor and replace its content with:
#version 320 es

in vec3 kzPosition;
in vec2 kzTexCoordinate;

out mediump vec2 vUVCoords;

uniform highp mat4 kzWorldMatrix;
void main()
{
    precision mediump float;
    vUVCoords = kzTexCoordinate;
    gl_Position = kzWorldMatrix * vec4(kzPosition.xyz, 1.0);
}
Click Save.
Create the tessellation control shader that determines the amount of tessellation:
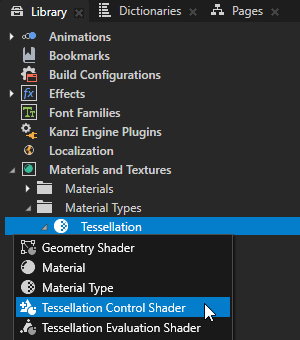
In the Library > Materials and Textures > Material Types, press Alt and right-click the Tessellation material type and select Tessellation Control Shader.
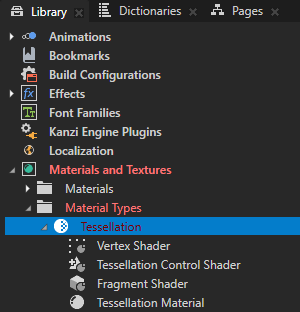
Kanzi Studio creates in the Tessellation material type a Tessellation Control Shader between the Vertex Shader and the Fragment Shader.
The source file of the Tessellation Control Shader has the extension
.tesc.glsl.Kanzi Studio marks the Tessellation material type as invalid, because a Tessellation Control Shader does not work without a Tessellation Evaluation Shader.

In the Library, double-click the Tessellation Control Shader to open it in the Shader Source Editor and replace its content with:
#version 320 es

layout(vertices = 3) out;
precision highp float;
uniform float tessellationLevel;
in mediump vec2 vUVCoords[];
out Patch
{
    mediump vec2 UV;
} oPatch[];

void main() {
    if (gl_InvocationID == 0)
    {
        gl_TessLevelOuter[0] = tessellationLevel;
        gl_TessLevelOuter[1] = tessellationLevel;
        gl_TessLevelOuter[2] = tessellationLevel;
        gl_TessLevelInner[0] = tessellationLevel;
    }
    oPatch[gl_InvocationID].UV = vUVCoords[gl_InvocationID];
    gl_out[gl_InvocationID].gl_Position = gl_in[gl_InvocationID].gl_Position;
}
Click Save.
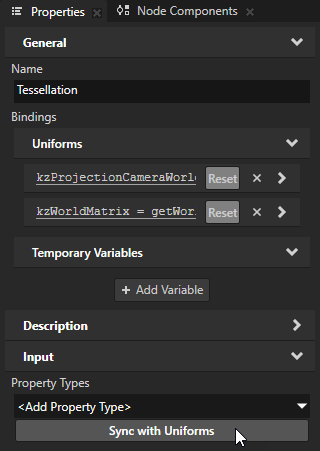
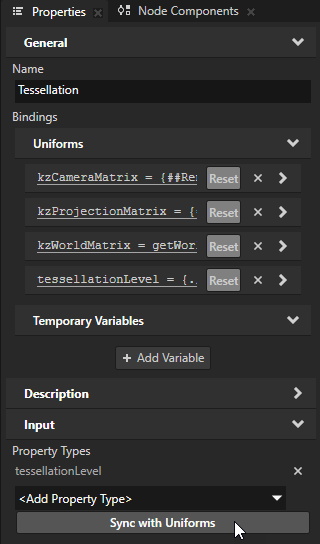
In the Library > Materials and Textures > Material Types, select the Tessellation material type. In the Properties, click Sync with Uniforms.
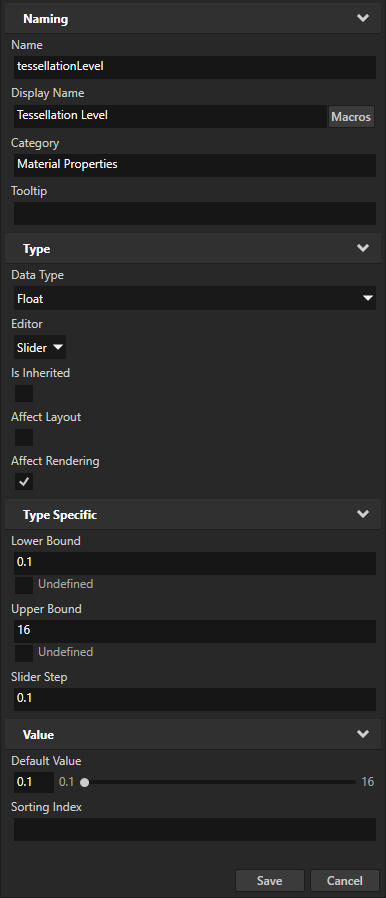
In the Create Property Type dialog, click Yes to create a property type for the tessellationLevel uniform. In the Property Type Editor, set:
Display Name to Tessellation Level
Lower Bound to 0.1
Upper Bound to 16
Default Value to 0.1
This way, you expose the Tessellation Level property to the materials that use the Tessellation material type. You use this property to control the amount of tessellation.
In the Delete Binding dialog, click Yes to delete the unused uniform binding from the Tessellation material type.
Create the tessellation evaluation shader that computes the value for each generated vertex:
In the Library > Materials and Textures > Material Types, press Alt and right-click the Tessellation material type and select Tessellation Evaluation Shader.
Kanzi Studio creates in the Tessellation material type a Tessellation Evaluation Shader between the Tessellation Control Shader and the Fragment Shader.
The source file of the Tessellation Evaluation Shader has the extension
.tesc.glsl.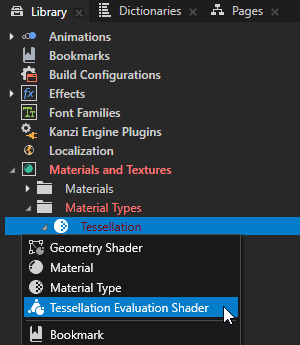
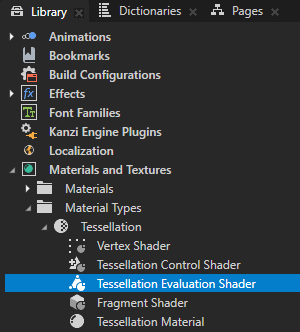
In the Library, double-click the Tessellation Evaluation Shader to open it in the Shader Source Editor and replace its content with:
#version 320 es

layout(triangles, fractional_even_spacing, ccw) in;
precision highp float;

uniform sampler2D displacementMap;

uniform highp mat4 kzCameraMatrix;
uniform highp mat4 kzProjectionMatrix;

in Patch
{
    mediump vec2 UV;
} oPatch[];

out lowp vec4 fColor;

highp vec2 interpolate2(in vec2 v0, in vec2 v1, in vec2 v2)
{
    return v0 * gl_TessCoord.x + v1 * gl_TessCoord.y + v2 * gl_TessCoord.z;
}
highp vec4 interpolate4(in vec4 v0, in vec4 v1, in vec4 v2)
{
    return v0 * gl_TessCoord.x + v1 * gl_TessCoord.y + v2 * gl_TessCoord.z;
}

void main()
{
    vec2 uv = interpolate2(oPatch[0].UV, oPatch[1].UV, oPatch[2].UV);
    vec4 tex = texture(displacementMap, uv);
    vec4 displacement = vec4(0, 1, 0, 0) * dot(tex, vec4(1, 1, 1, 0));
    fColor = tex;
    gl_Position = kzProjectionMatrix * kzCameraMatrix * (interpolate4(
        gl_in[0].gl_Position,
        gl_in[1].gl_Position,
        gl_in[2].gl_Position) + displacement);
}
Click Save.
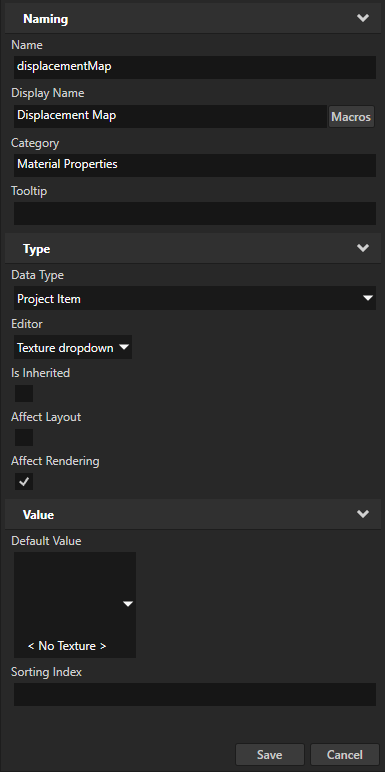
In the Library > Materials and Textures > Material Types, select the Tessellation material type. In the Properties, click Sync with Uniforms and create a property type for the displacementMap uniform. Set the Display Name to Displacement Map.
In the Library in the Tessellation material type, double-click the Fragment Shader to open it in the Shader Source Editor and replace its content with:
#version 320 es

precision mediump float;
in lowp vec4 fColor;
out vec4 outColor;

void main()
{
    outColor = fColor;
}
Click Save.
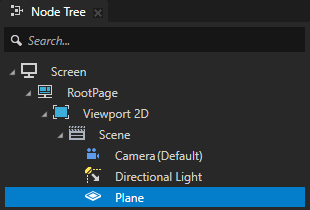
Create or select the node that you want to render with the material that you created.
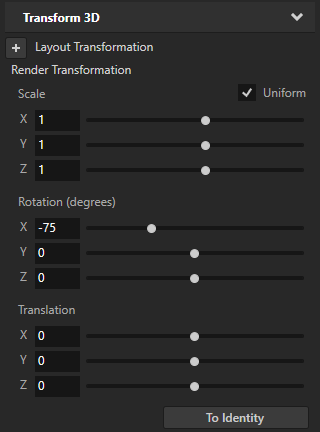
For example, in the Node Tree, create a Plane node. In the Properties, add the Render Transformation property and set the Rotation X property field to -75.
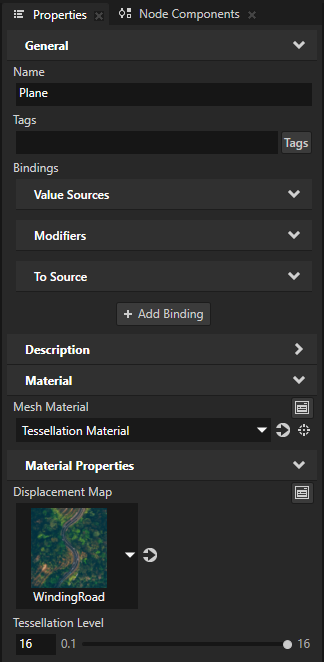
In the Properties, add and set:
Mesh Material to Tessellation Material
Material Properties > Displacement Map to the texture that you want to use as the displacement map
Material Properties > Tessellation Level to adjust the amount of tessellation