Step 4 - Create states for the Car page
In this step you use the Kanzi state machine to show the car in your application from different angles and to animate the transition between those states.
Create the car shadow
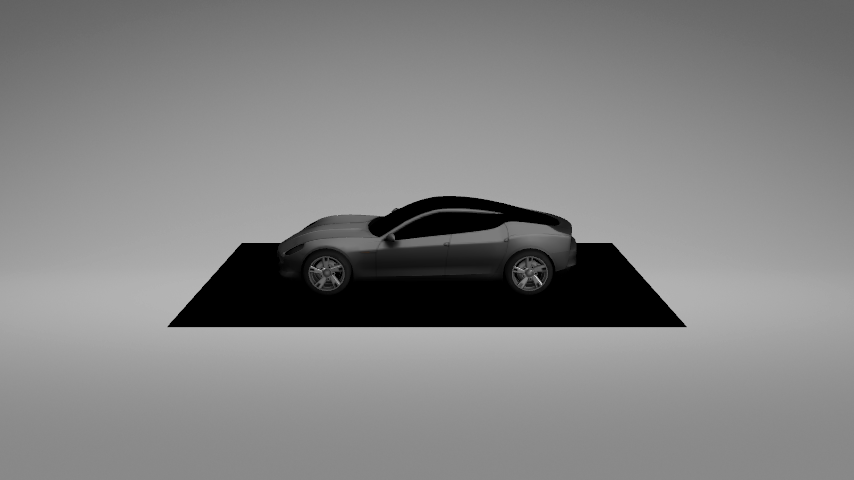
In this section in the Page node Car you adjust the material used for the car shadow.
To create the car shadow:
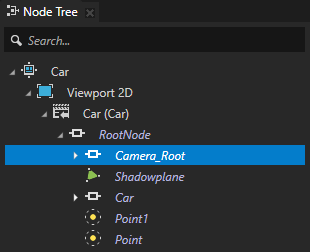
In the Node Tree double-click the Page node Car to open it in a new Preview tab.
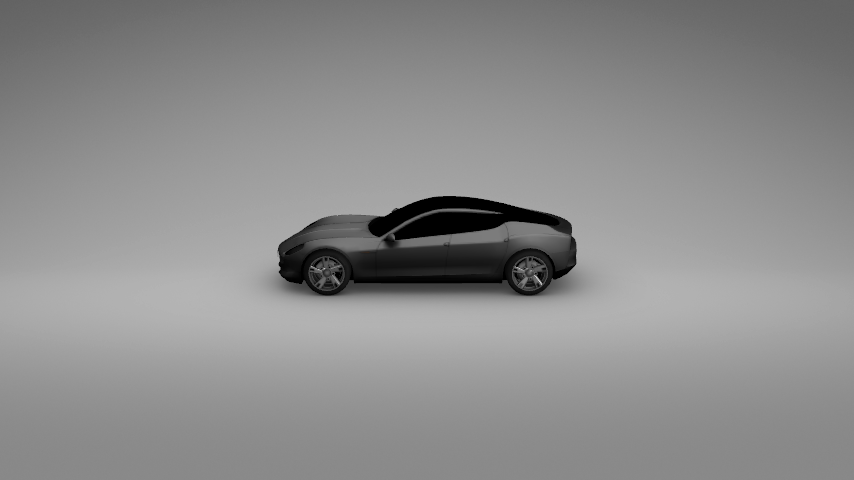
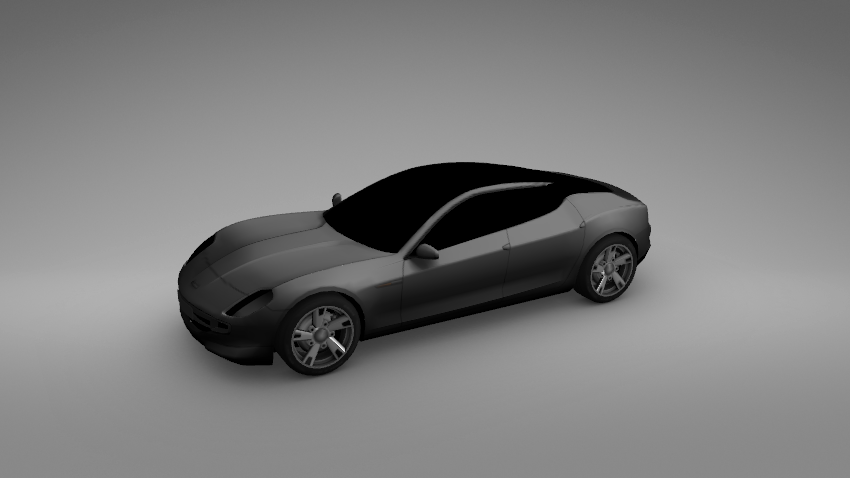
Under the car model there is a plane. This is because the alpha blending mode is incorrect for the material used to render the shadow texture.
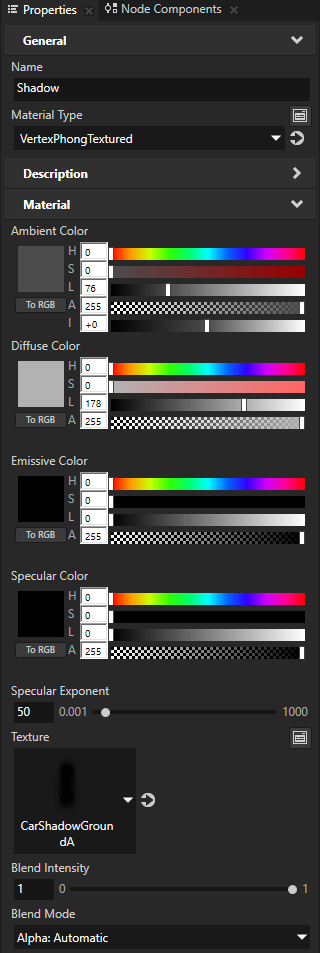
In the Node Tree select the Car > Viewport 2D > Car > RootNode > Shadowplane node and in the Properties click
 next to the Cluster Material property to open the properties of the Shadow material.
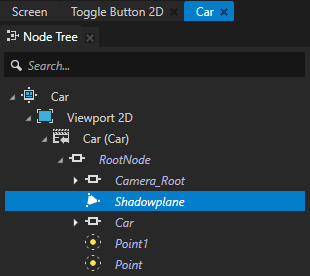
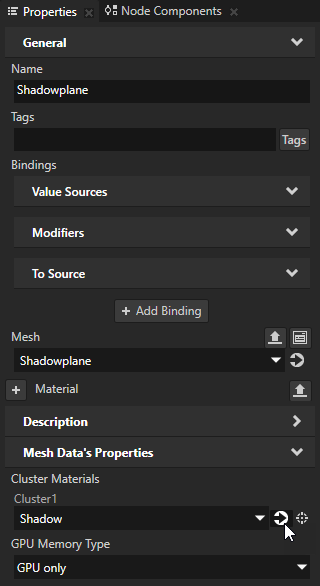
In the Shadow material Properties set the Blend Mode to Alpha: Automatic.
Create states
In this section you create different states for the car, each focusing on a different part of the car. In the next section of this step you create the UI controls you can click to go to those states.
In Kanzi the state manager is one of the most important features for creating rich user interfaces.
To create states:
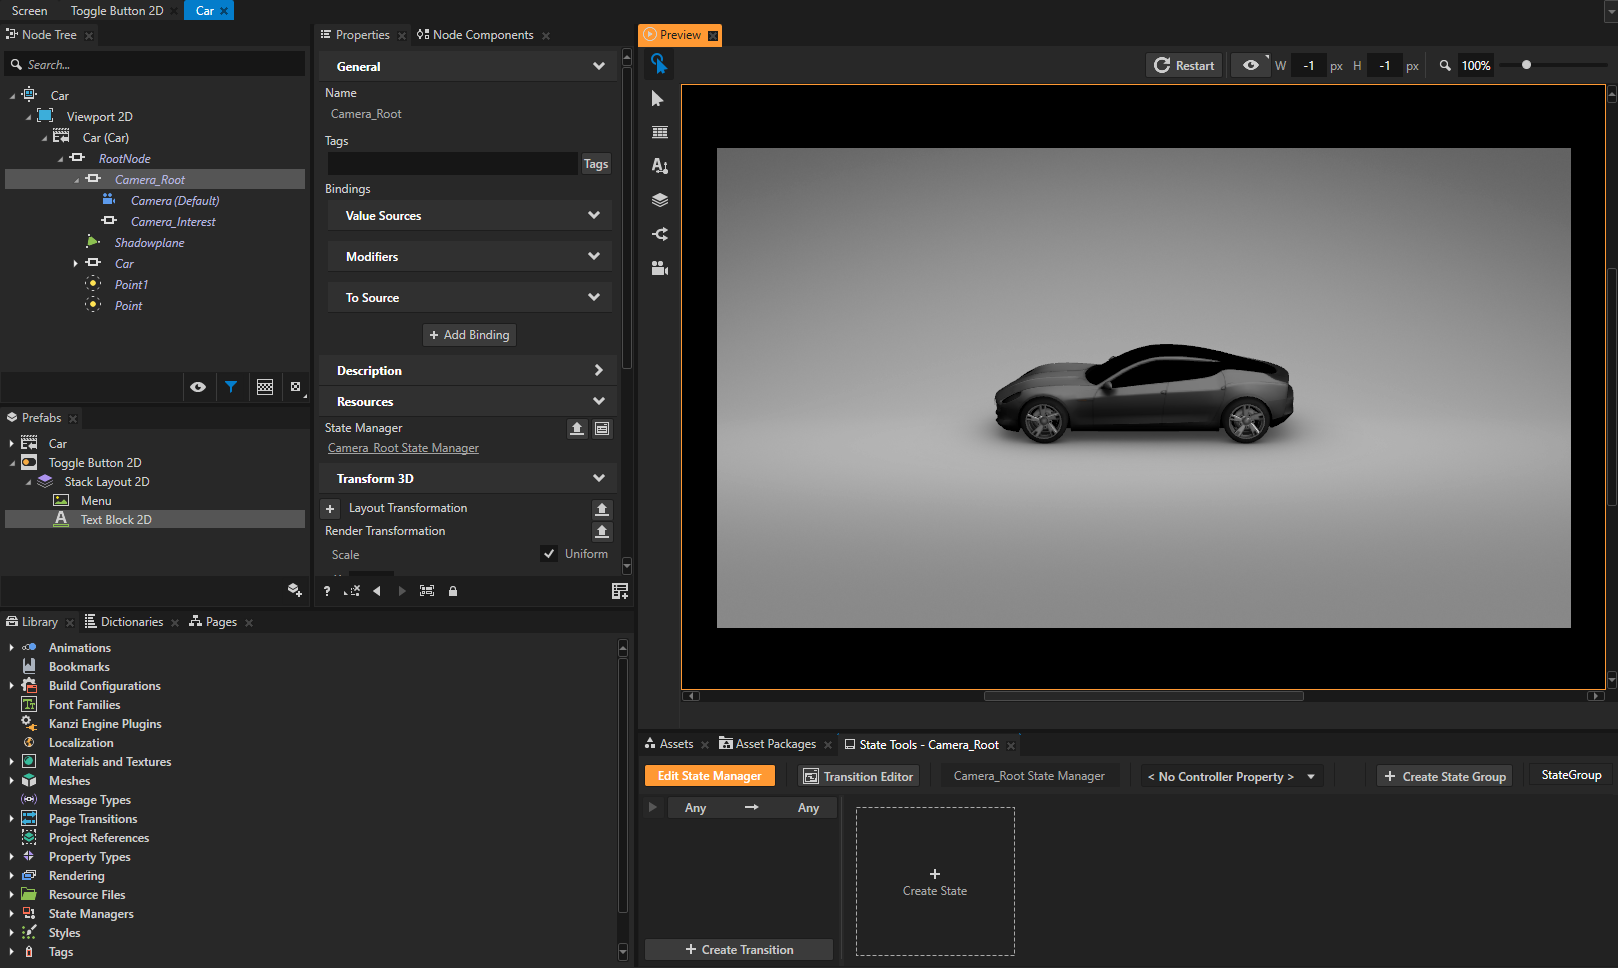
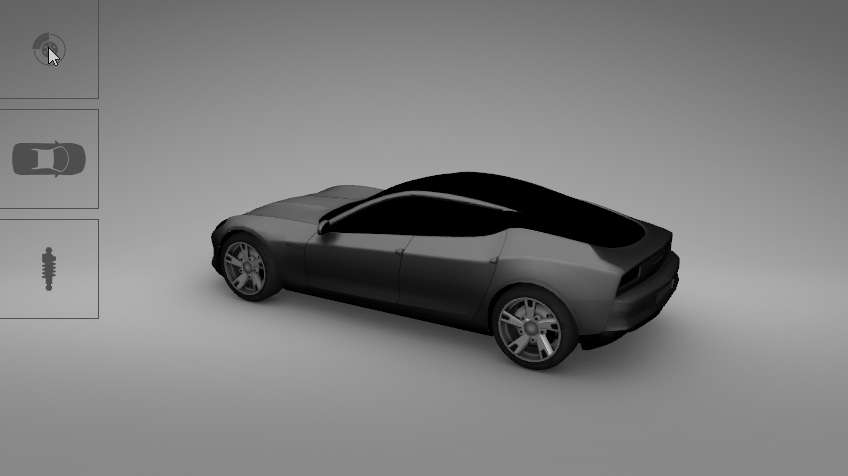
In the Node Tree select the Car > Viewport 2D > Car > RootNode > Camera_Root node.
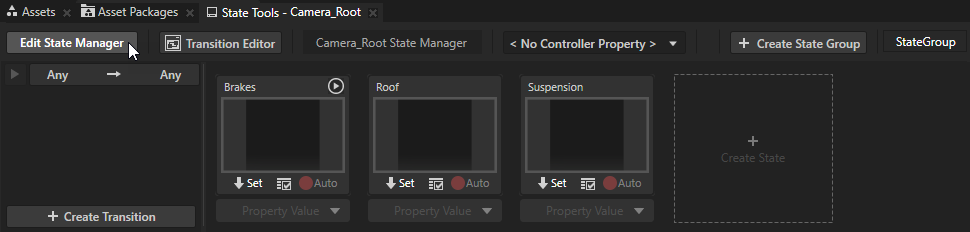
In the State Tools window click Create State Manager to create a state manager in the Camera_Root node.
You can find the State Tools window below the Preview window.
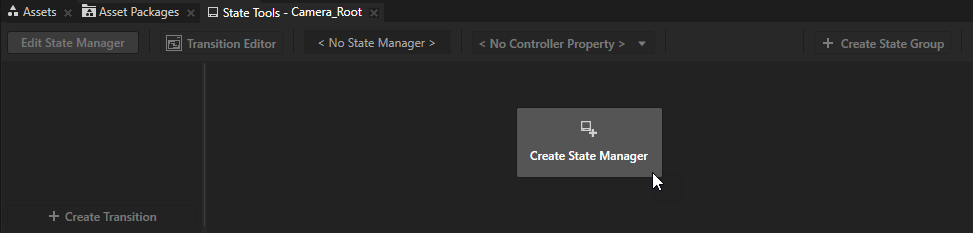
Kanzi Studio creates a new state manager and assigns it to the Camera_Root node.
When the State Tools are active the Preview tab is orange and you can create states using the State Tools. When the State Tools are active, Kanzi Studio tracks all property value changes, and you can use the State Tools to store these values to states.
In the State Tools click Create State to create a state.
Create three states.
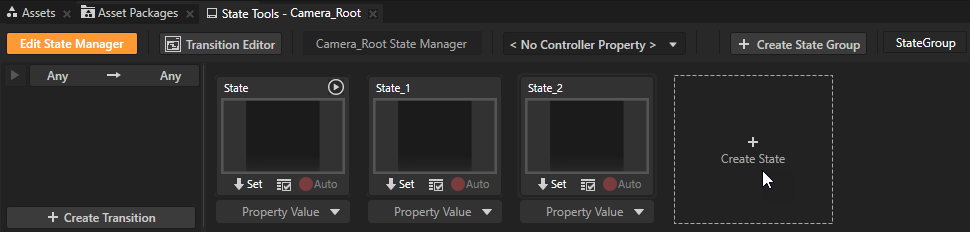
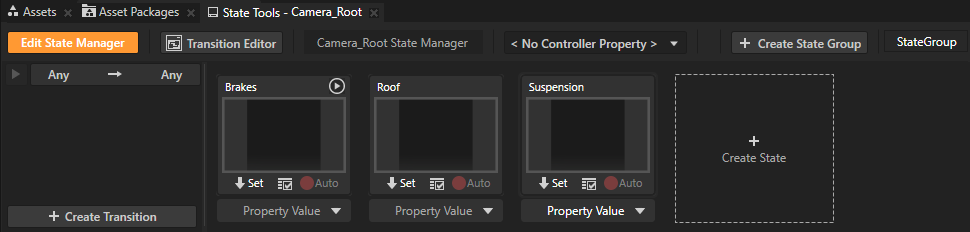
Double-click the name of each state and name the states Brakes, Roof, Suspension.
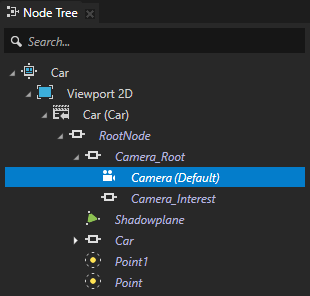
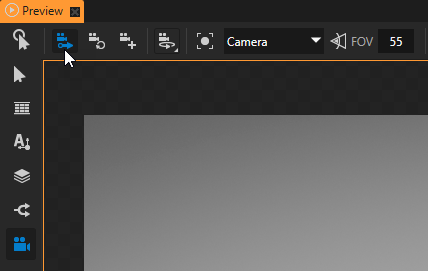
In the Node Tree select the Car > Viewport 2D > Car > RootNode > Camera_Root > Camera node.
In the Preview select the Camera tool
 and click
  . When you enable this option, Kanzi Studio stores the current position of the free camera to the Camera node you select in the Camera tool dropdown menu.
In this case this is the Camera node you selected in the Node Tree.
In the Node Tree select the Car > Viewport 2D > Car > RootNode > Car node and in the Preview Camera tool click
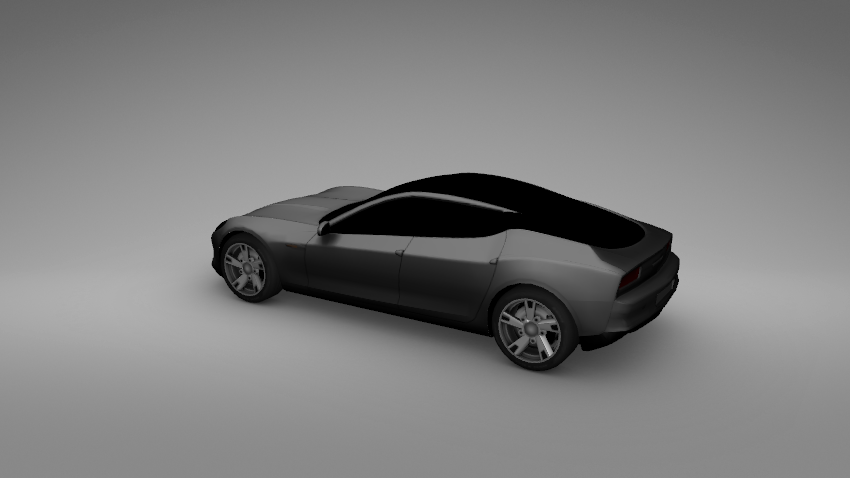
 to bring the camera closer to the car.
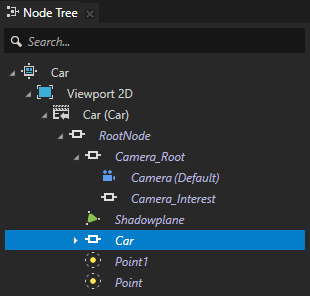

In the Preview Camera tool use the orbit camera
 to set the position of the car and in the State Tools click
  to save the current values to that state.
For example, when you are satisfied with the position, in the State Tools in the Brakes state click
to store the current position of the Camera node to that state.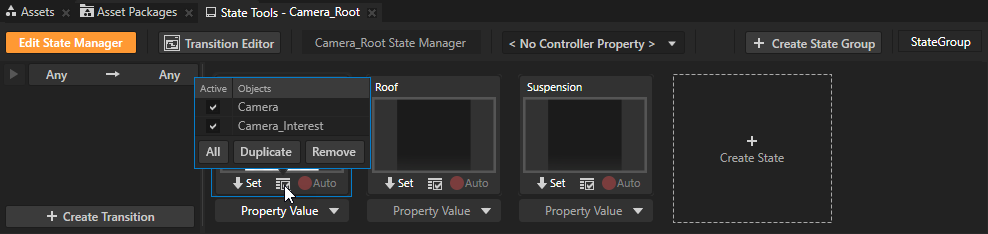
Orbit camera allows you to move around the nodes selected in the Node Tree or the node set in the Look At property of the camera.
To move with the orbit camera, use these controls:
Control
Description
Click and drag the left mouse button.
Rotate
Click and drag the middle mouse button.
Press the Space key, and click and drag the left mouse button.
Pan
Scroll the mouse wheel.
Press the Shift and Alt keys, and click and drag the left mouse button.
Zoom
Repeat the previous step until you create positions for all states.

In the Preview click
 to enter the Interact mode and in the State Tools click each state to see what your application looks like in that state. In this case you can see the scene with the car shown in positions you defined for each state.
In the State Tools click Edit State Manager to deactivate the State Tools.
Create the controls to transition between states
In this section you create the controls to transition between the states you created in the previous section.
To create the controls to transition between states:
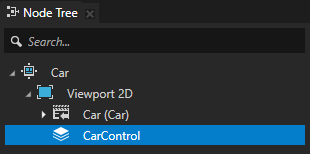
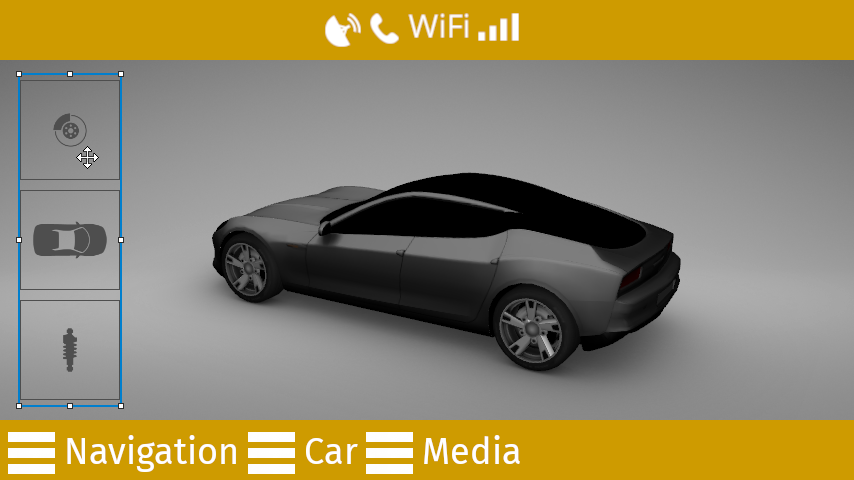
In the Node Tree press Alt and right-click the Car > Viewport 2D node, select Stack Layout 2D, and name it CarControl.
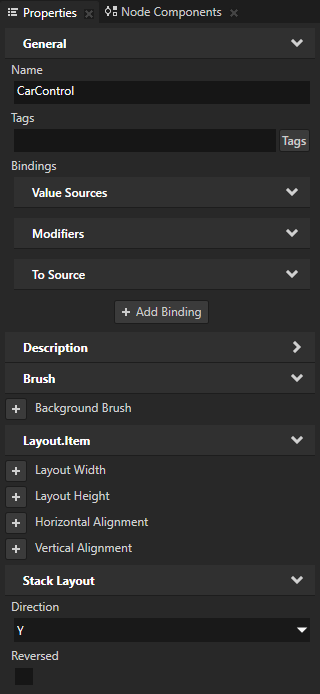
In the Node Tree select the CarControl node and in the Properties set the Direction property to Y.
Use the Direction property to set the axis along which you want the Stack Layout node to stack its child nodes.
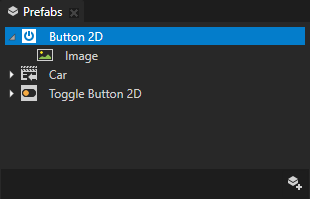
In the Prefabs click
 , create a Button 2D prefab, and in the Button 2D create an Image node.
You use this prefab to control the state manager you created earlier in this step.
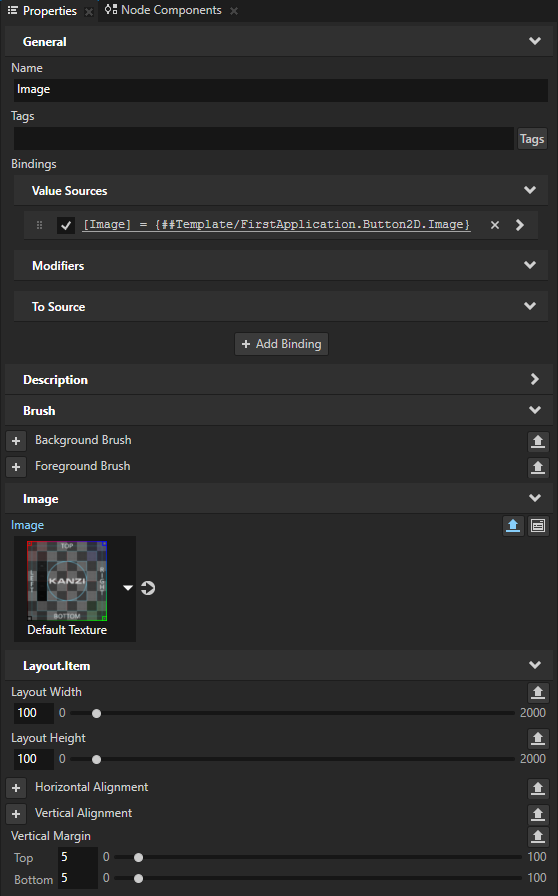
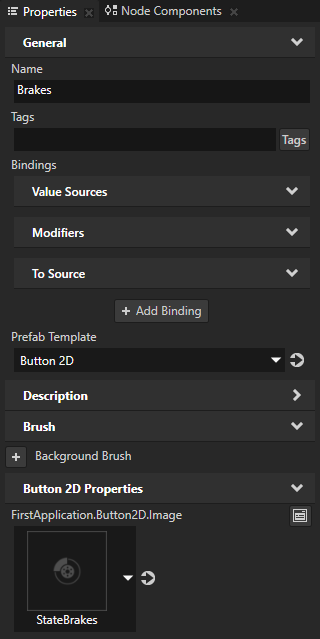
In the Prefabs select the Button 2D > Image node and in the Properties add and set:
Layout Width and Layout Height properties to 100 pixels.
Vertical Margin property Top and Bottom property fields to 5.
Next to the Image property click
 .
.This enables you to show a different image for each instance of that prefab in your project.
From the Prefabs window drag three Button 2D prefabs to the Node Tree window and drop them on the Car > Viewport 2D > CarControl node.
Kanzi Studio instantiates the Button 2D prefabs in the CarControl node.
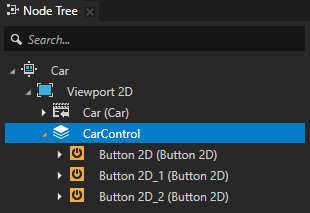
Select each Button 2D prefab instance, press F2, and rename them to Brakes, Roof, and Suspension.
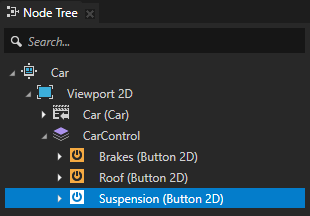
In the Node Tree in the CarControl node select the first of the instantiated Button 2D prefabs:
In the Properties add the FirstApplication.Button2D.Image property and set it to the StateBrakes image.
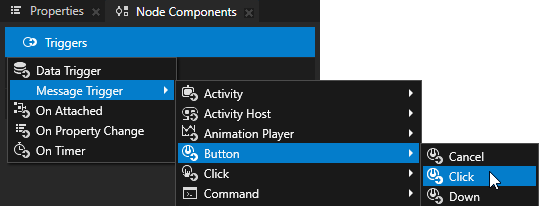
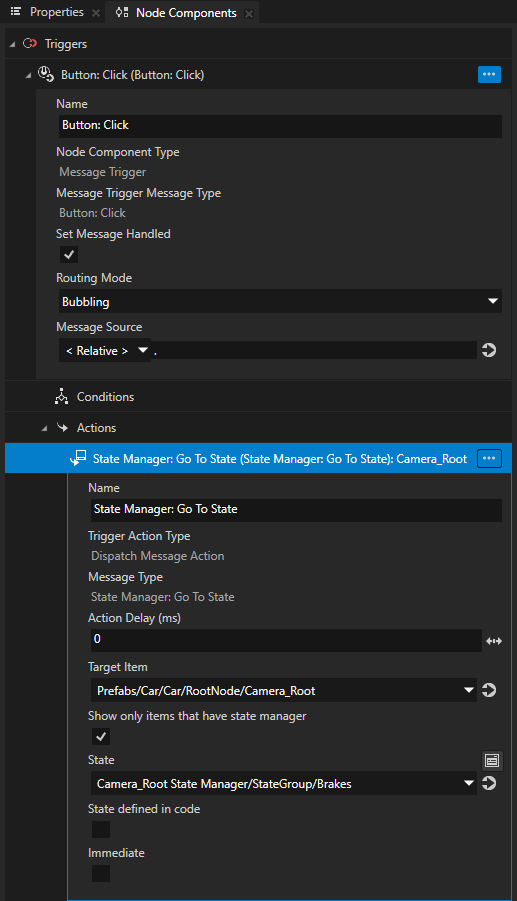
In the Node Components press Alt and right-click Triggers, and select Message Trigger > Button > Click.
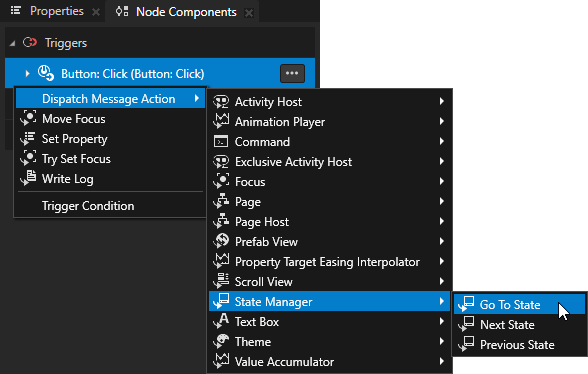
In the Node Components press Alt and right-click the Button: Click trigger, select Dispatch Message Action > State Manager > Go to State, and in the State Manager: Go to State action set:
Target Item to Prefabs/Car/Car/RootNode/Camera_Root
State to Camera_Root State Manager/StateGroup/Brakes
Repeat the previous step to set the remaining two Button 2D prefabs. Use the StateRoof and StateSuspension images, and set the Go to State action to point to the states Roof and Suspension.
When you click the buttons in the CarControl node, Kanzi Studio transitions to that state using the default linear transition. You can adjust the transitions using the State Transition Editor. See Using state transitions.
Adjust the position of the buttons
In this section you adjust the position of the buttons that control the states of the car.
To adjust the position of the buttons:
Click the Screen tab under the main menu to show the entire application in the Preview.
In the Pages window select the Car node, and in the Preview use the Node tool
 to position the CarControl node.
Tip
To select a node with the Node tool, double-click the node you want to select in the Preview.
See also
To find out more about working with the state managers, see Using state managers.
To find out more about working with triggers and actions, see Triggers.
To find out more about working with the Preview Camera tool, see Using the Camera node.