Step 2 - Create the headlights indicator
In this step of the tutorial you create the headlights indicator and use a state manager to set the appearance of the headlights indicator in different states.
Create the headlights indicator
In this section you create the headlights indicator.
To create the headlights indicator:
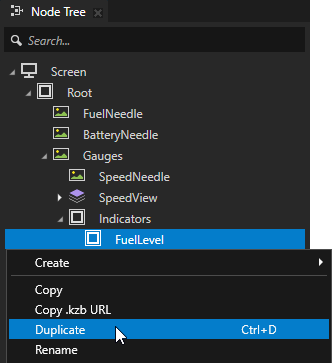
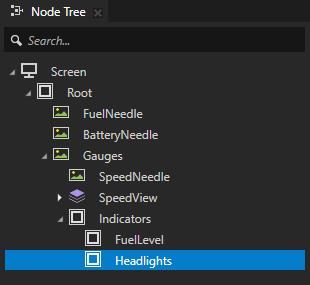
In the Node Tree right-click the FuelLevel node, select Duplicate, press the F2 key, and rename the node to Headlights.
In the Node Tree select the Headlights node and in the Properties click
 next to both bindings to remove them.
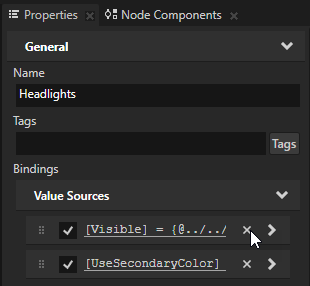
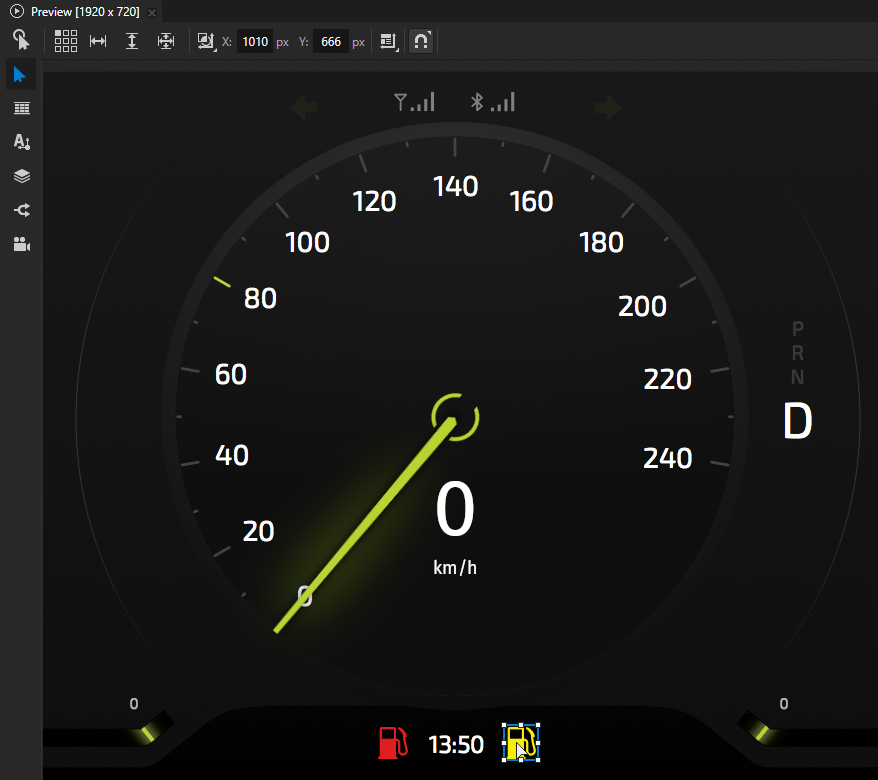
In the Node Tree select the Headlights node, in the Preview select the Node tool
 and drag the Headlights node to the right side of the clock.
Tip
Hold down the Shift key when you drag a node with the Node tool to move the node in a true horizontal or vertical line.
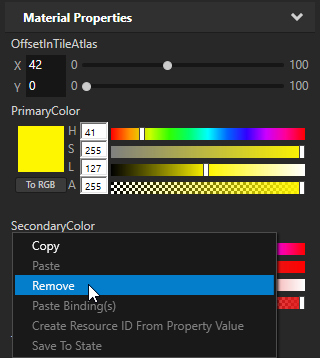
In the Node Tree select the Headlights node, in the Properties right-click the SecondaryColor property and select Remove.
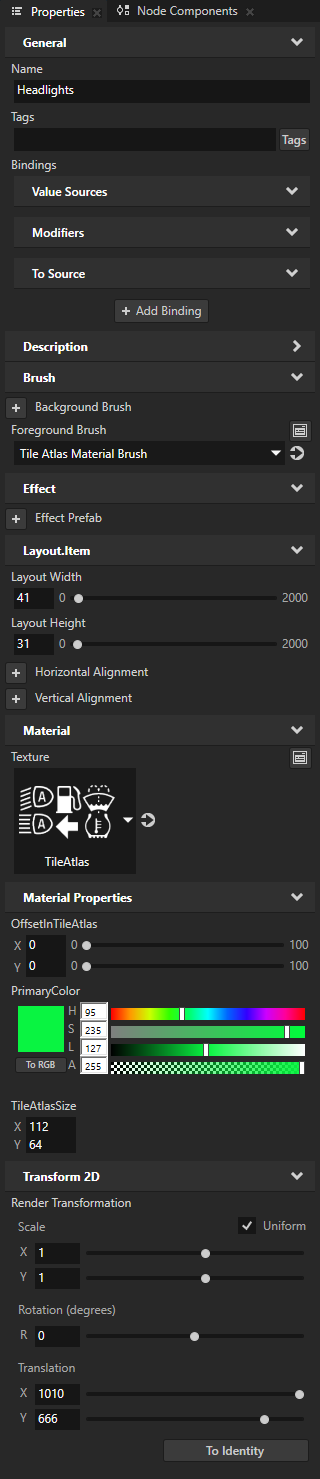
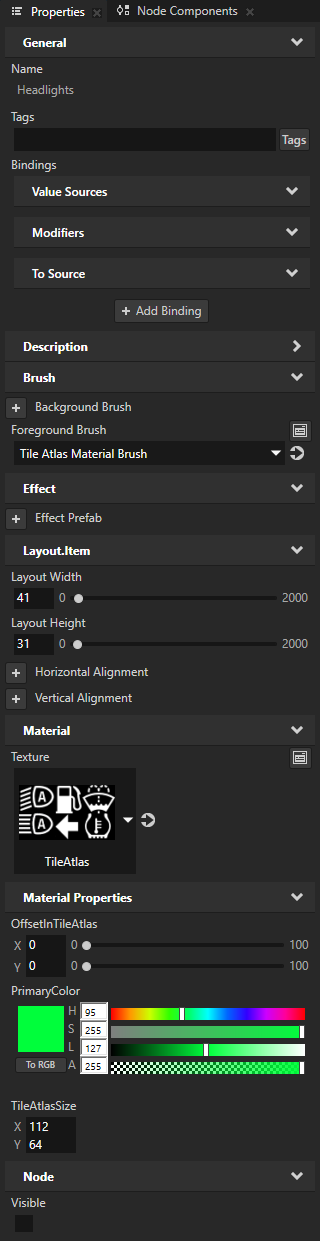
In the Node Tree select the Headlights node and in the Properties set:
Layout Width to 41 and Layout Height to 31
This way you set the size of the headlights indicator image that you want to draw from the TileAtlas texture.
OffsetInTileAtlas property fields:
X to 0
Y to 0
This way you set the distance in pixels from the top left corner of the TileAtlas texture to the low beam headlights indicator image that you want to show.
PrimaryColor property field Hue (H) to 95
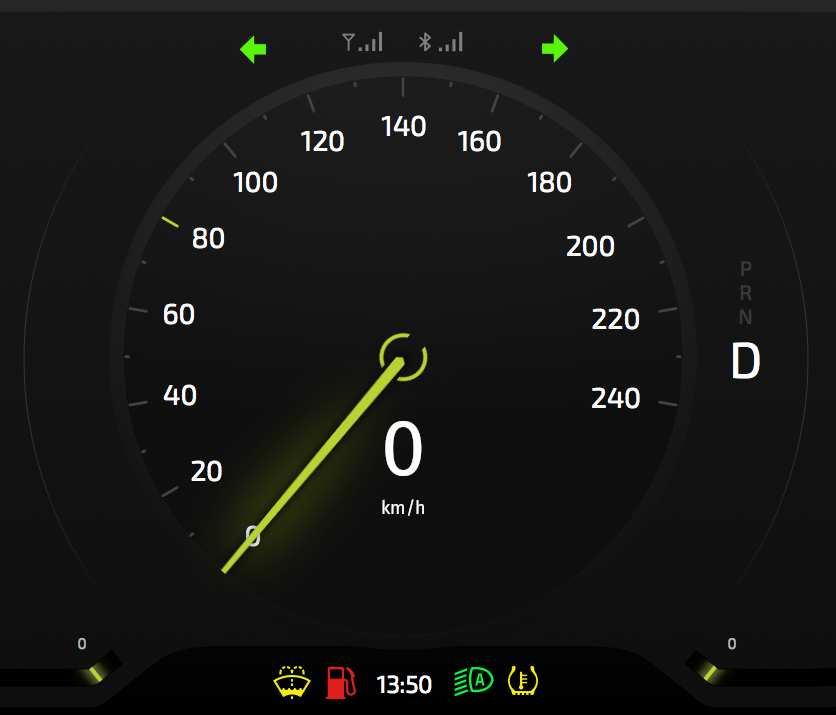
This way you draw the headlights indicator using green color.
Control the headlights indicator
In this section you use a state manager to set the appearance of the headlights indicator in different states.
To control the headlights indicator:
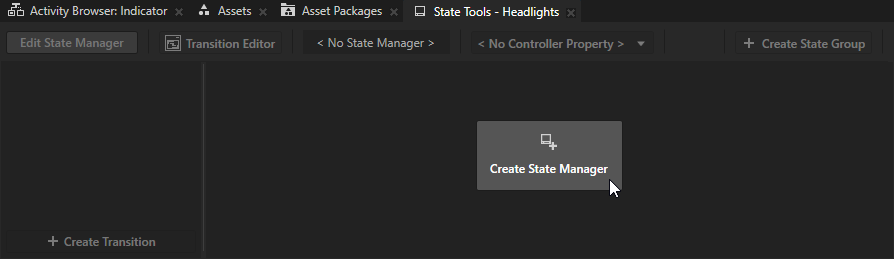
In the Node Tree select the Headlights node, and in the State Tools click Create State Manager.
You can find the State Tools window below the Preview window.
Kanzi Studio creates a state manager and assigns it to the Headlights node.
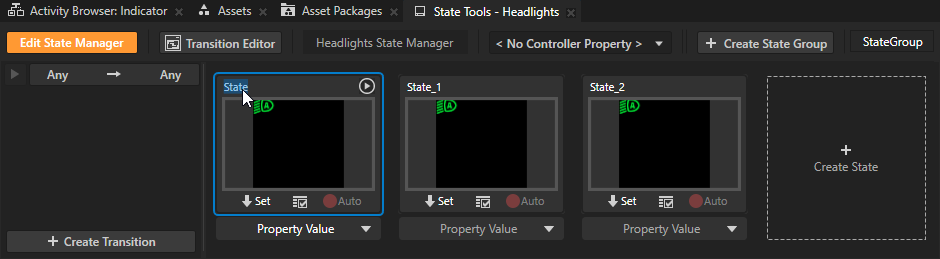
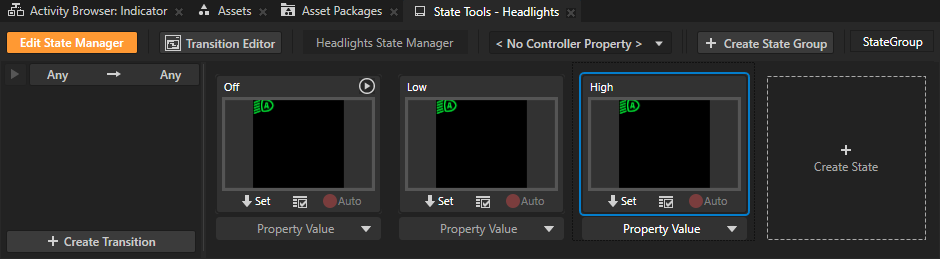
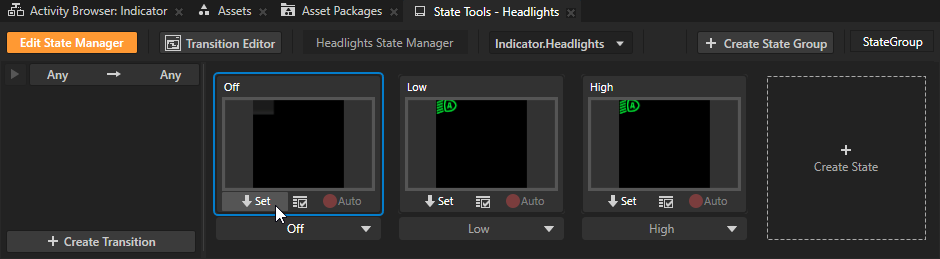
In the State Tools click Create State three times to create three states, double-click the name of each state, and rename the states to Off, Low, and High.
You use these states to set the appearance of the Headlights indicator:
Off state when the headlights are off
Low state when the low beam headlights are on
High state when the high beam headlights are on
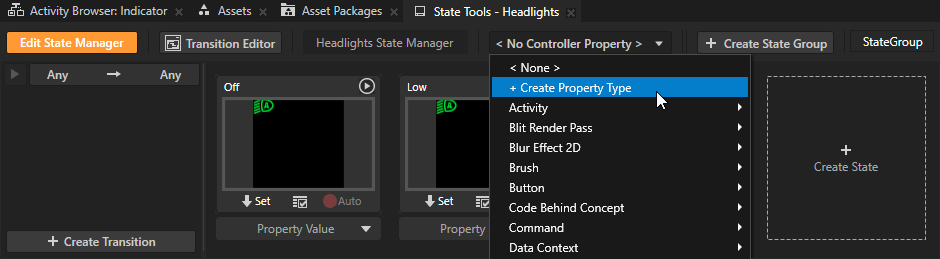
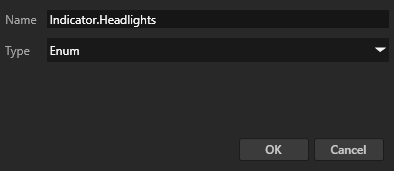
In the State Tools click <No Controller Property>, select + Create Property Type and in the Create Property Type window set:
Name to Indicator.Headlights
Type to Enum
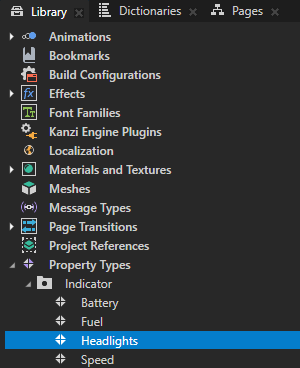
In the Library > Property Types > Indicator Kanzi Studio creates the Indicator.Headlights enumeration property type whose enumeration keys have the names of the states that you created. You use this custom property type to switch the Headlights indicator between the Off, Low, and High states.
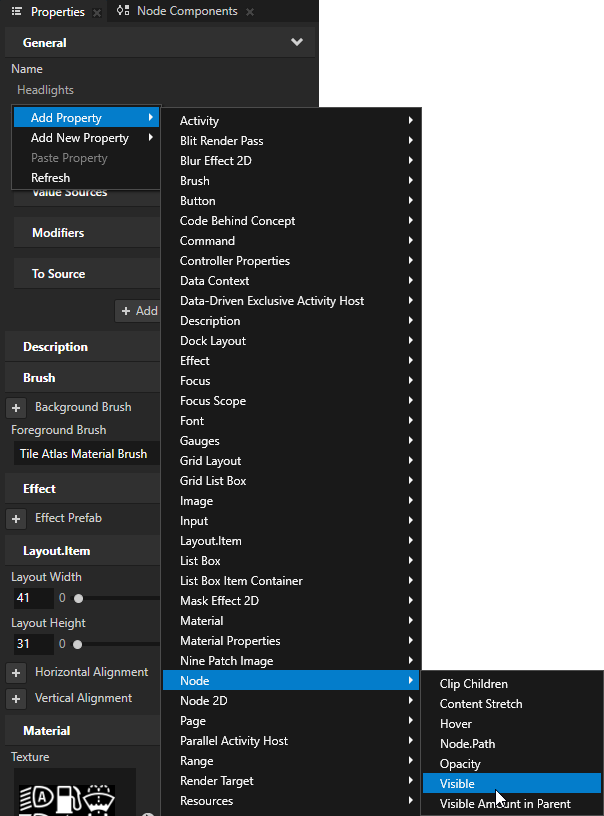
In the Node Tree select the Headlights node, in the Properties right-click, and select Add Property > Node > Visible.
With the Visible property you can control the visibility of a node.
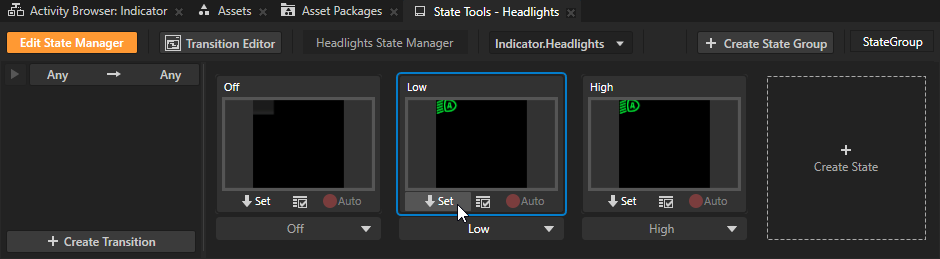
In the State Tools in the Off state click
 to save the current value of the Visible property to that state.
Since the Visible property is disabled in the Off state, the Headlights node is not visible in that state.
In the Properties enable the Visible property, in the State Tools in the Low state click
to save the current value of the Visible property to that state.By enabling the Visible property for the Low state, you make the Headlights node visible in that state.
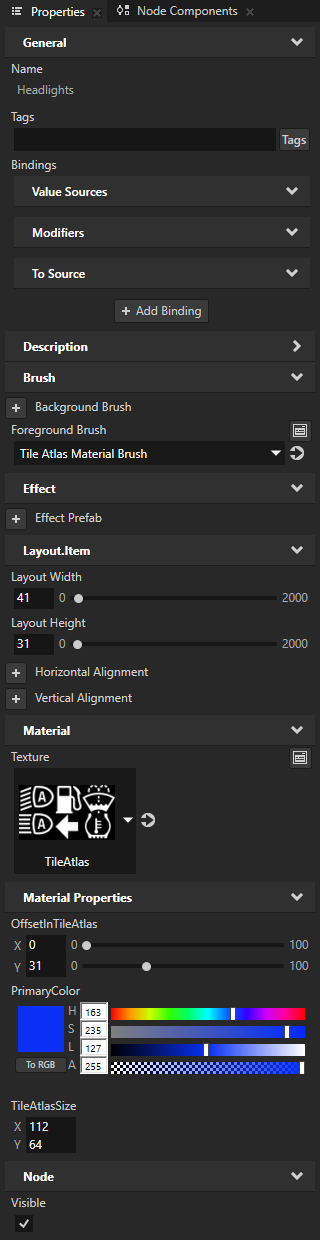
In the Properties set:
OffsetInTileAtlas property field Y to 31
PrimaryColor property field Hue (H) to 163
In the State Tools in the High state click
to save the current values of the properties to the High state.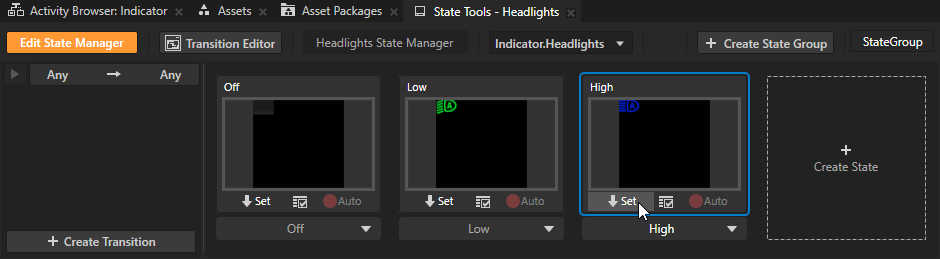
In the State Tools click
 to deactivate the State Tools.
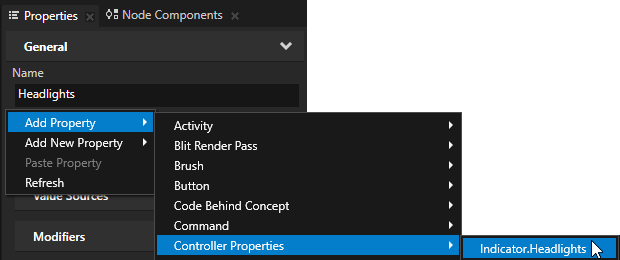
In the Node Tree select the Headlights node, in the Properties right-click, and select Add Property > Controller Properties > Indicator.Headlights.
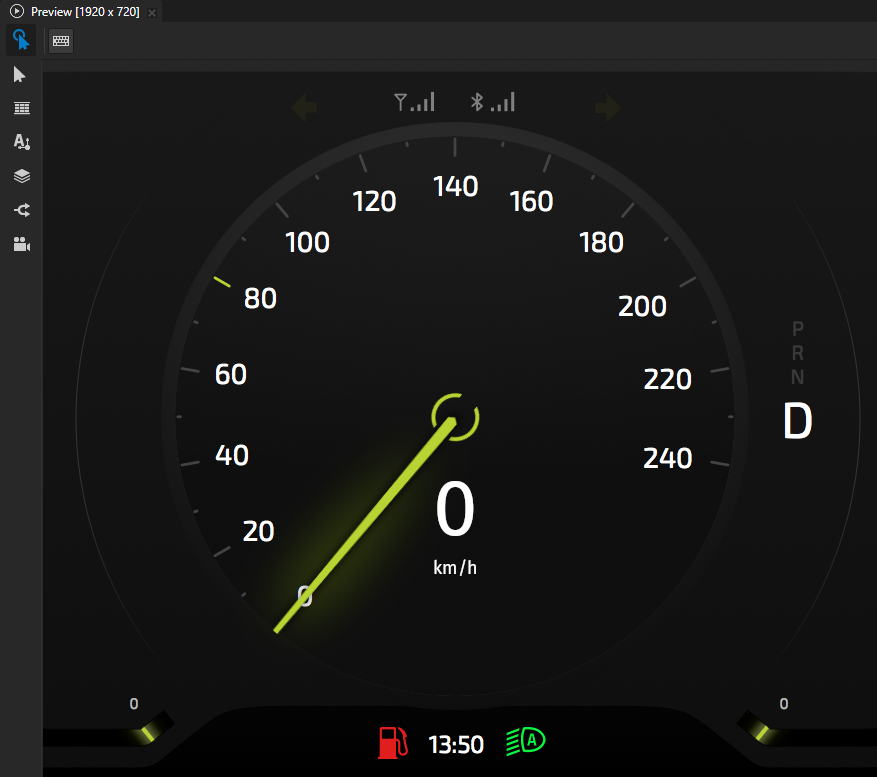
In the Node Tree, select the Headlights node and in Properties set the Indicator.Headlights property to:
Off to turn the headlights indicator off
Low to show the low beam headlights indicator
High to show the high beam headlights indicator
What's next?
In this tutorial you learned how to create cluster indicators. You learned how to use a tile atlas and how to control the indicators using bindings and state managers. You can use the same approach that you learned in this tutorial to add other indicators from the TileAtlas texture to the cluster. Here are the property values that set the size and position for each indicator in the TileAtlas texture.
Property |

|

|

|
|---|---|---|---|
OffsetInTileAtlas X |
74 |
40 |
77 |
OffsetInTileAtlas Y |
0 |
33 |
33 |
Layout Width |
38 |
30 |
30 |
Layout Height |
33 |
30 |
30 |
To control the visibility of each indicator you can either:
Add and use the Visible property in the node of each indicator
Create your own property type and use a binding to set the value of the Visible property of the node of each indicator.
You can also:
Learn how to control the position of gauge needles with custom properties. See Tutorial: Create gauges.
Learn how to use Kanzi Data Sources to separate the user interface from the application data. See Tutorial: Get application data from a data source.
Learn how to set the values of properties using the Kanzi Engine API, see Tutorial: Hello world! and Tutorial: Kanzi Engine API advanced use.
See also
To learn how to use state managers and modify the transitions between states, see Using state managers.
To learn more about different custom property types you can create, see Creating property types.
To learn about the underlying principles of Kanzi properties, see Property system.