Using spiral trajectories
Use a Spiral Trajectory to create a path in the shape of a spiral in 3D space.
Use trajectories as paths along which Trajectory Layout 3D and Trajectory Layout 2D nodes arrange their child nodes, and along which Trajectory List Box 3D nodes move their items.
See Using the Trajectory Layout nodes and Using the Trajectory List Box 3D node.
Creating a spiral trajectory
To create a spiral trajectory:
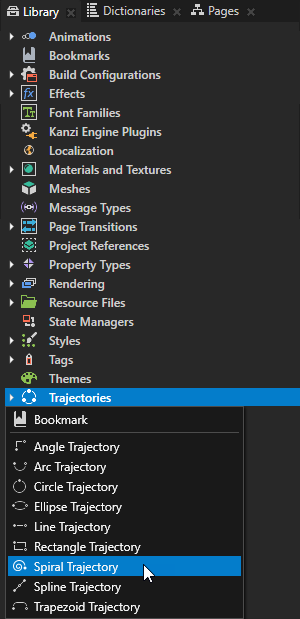
In the Library press Alt and right-click Trajectories and select Spiral Trajectory.
In the Properties set these properties:
Normal to set the position of the trajectory in 3D space.
For example:
To set the trajectory parallel to the x axis, set X to 1, and Y and Z property fields to 0.
To set the trajectory parallel to the y axis, set Y to 1, and X and Z property fields to 0.
To set the trajectory diagonally into I and II, and VII and VIII octants, set X to 1, Y to -1, and the Z property field to 0.
To set the trajectory diagonally into II and III, and V and VIII octants, set Y and Z to 1, and the X property field to 0.
Start Radius to set the radius of the starting point of the spiral.
End Radius to set the radius of the endpoint of the spiral.
Height to set the height of the spiral.
Revolutions to set the amount of revolutions in the spiral.
To take the trajectory into use, in the Node Tree select a Trajectory Layout or a Trajectory List Box 3D node and in the Properties set the Trajectory property to the trajectory you want to use. See Using the Trajectory List Box 3D node and Using the Trajectory Layout nodes.
Spiral Trajectory property types
For a list of the available property types for spiral trajectories, see Spiral Trajectory.