Step 1 - Create the fuel level indicator
In this step of the tutorial you create a fuel level indicator that shows the low fuel level and empty fuel tank warnings.
Assets for the tutorial
The starting point of this tutorial is the <KanziWorkspace>/Tutorials/Indicator/Start/Indicator.kzproj Kanzi Studio project.
You can find the completed tutorial in the <KanziWorkspace>/Tutorials/Indicator/Completed directory.
The starting point project contains the content that you need to complete this tutorial:
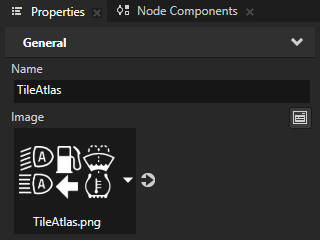
The TileAtlas texture shows a tile atlas that contains images of cluster indicators.

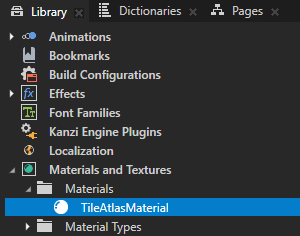
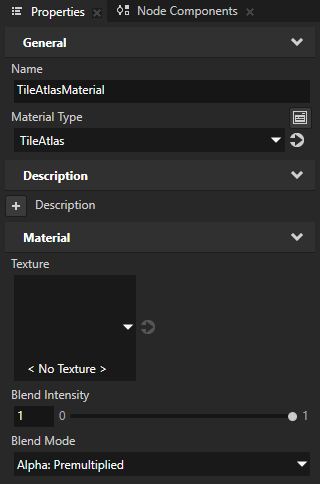
The TileAtlasMaterial enables you to show a part of a tile atlas using a specific color.
Create the low fuel indicator
In this section, you create a low fuel level indicator that appears when the amount of fuel is less than 25.
To create the low fuel indicator:
In Kanzi Studio open the
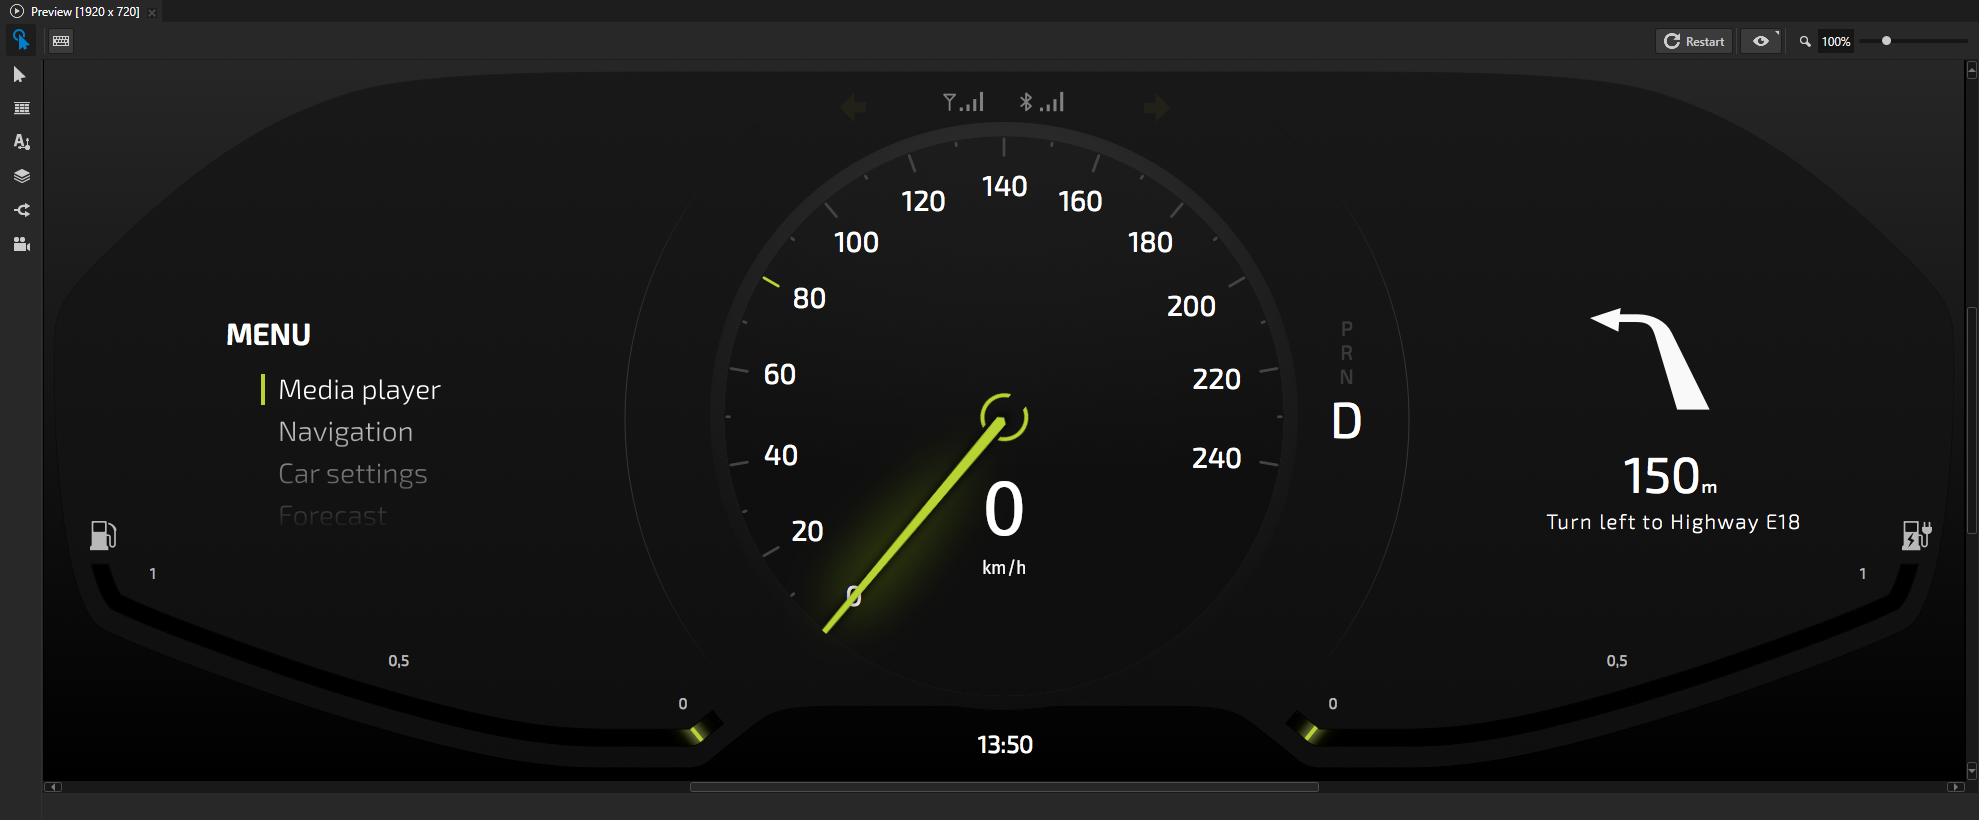
<KanziWorkspace>/Tutorials/Indicator/Start/Indicator.kzprojKanzi Studio project.The project contains a 2D cluster with working speed, fuel, and battery gauge needles.
Tip
If you cannot see all three gauges in the Preview, you can adjust the Preview zoom level in the upper right corner of the Preview.

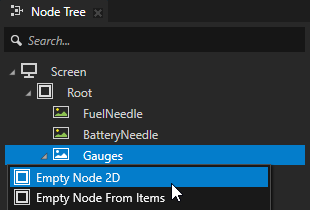
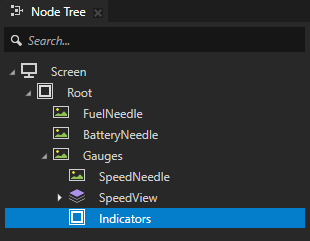
In the Node Tree press Alt and right-click Gauges, select Empty Node 2D, and name the node Indicators.
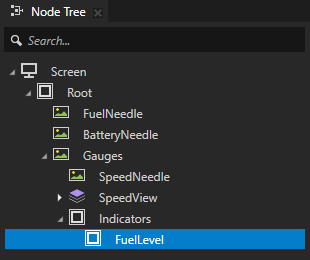
In the Node Tree press Alt and right-click Indicators, select Empty Node 2D, and name the node FuelLevel.

Create the brush that you use to draw the indicator images from a tile atlas:
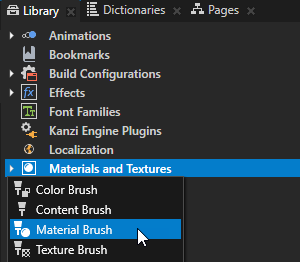
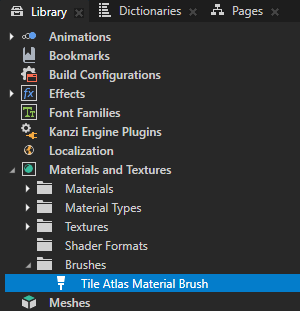
In the Library press Alt and right-click Materials and Textures, select Material Brush, and name it Tile Atlas Material Brush.
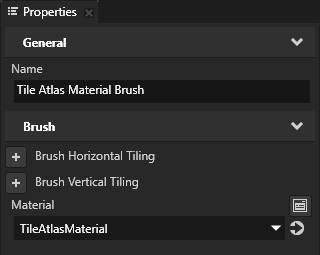
In the Library select the Tile Atlas Material Brush and in the Properties set the Material property to the TileAtlasMaterial material.
The TileAtlasMaterial enables you to draw only a part of a texture. When you use this material in a Material Brush, you can draw only a selected image from a tile atlas texture.
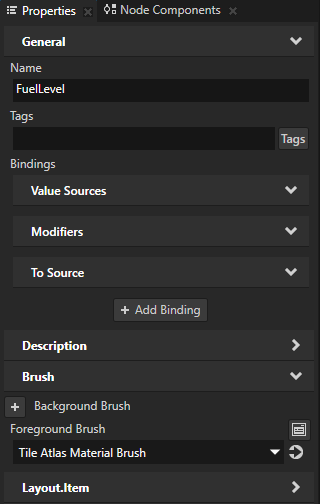
In the Node Tree select the FuelLevel node, in the Properties add the Foreground Brush property, and set it to the Tile Atlas Material Brush.
You use the Tile Atlas Material Brush to draw the low fuel level warning from a tile atlas.
In the Library > Materials and Textures > Materials select the TileAtlasMaterial material and in the Properties set the Blend Mode property to Alpha: Premultiplied.
The fragment shader for this material type expects premultiplied alpha so that it can blend the source fragment with the destination framebuffer.
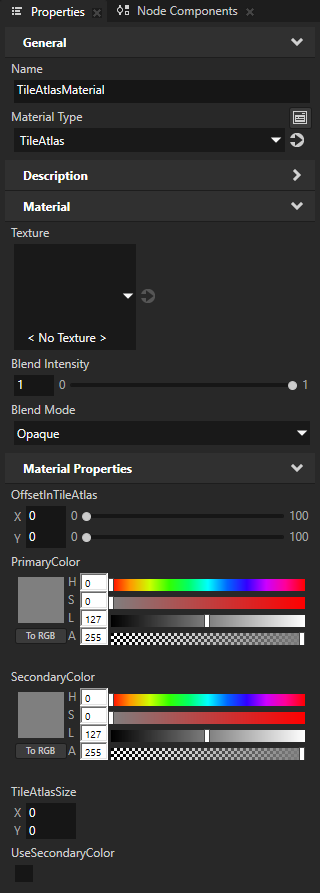
From the Properties drag these TileAtlasMaterial material properties to the FuelLevel node:
Texture
OffsetInTileAtlas
PrimaryColor
TileAtlasSize
This way you add properties of a material to a node and control those properties from that node.
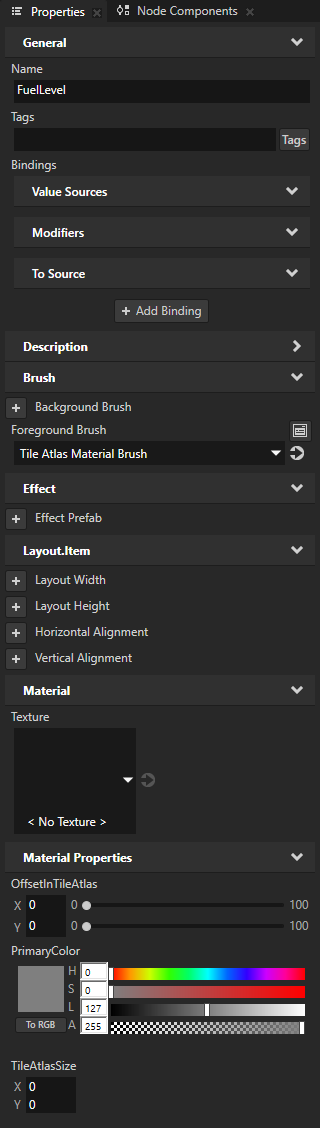
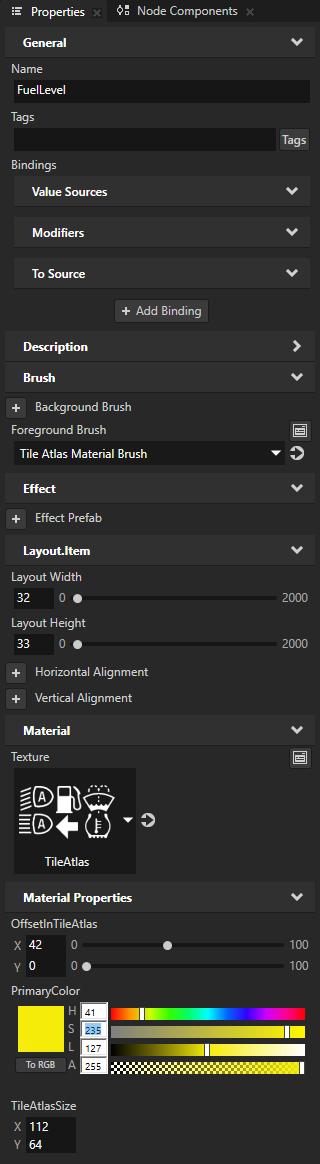
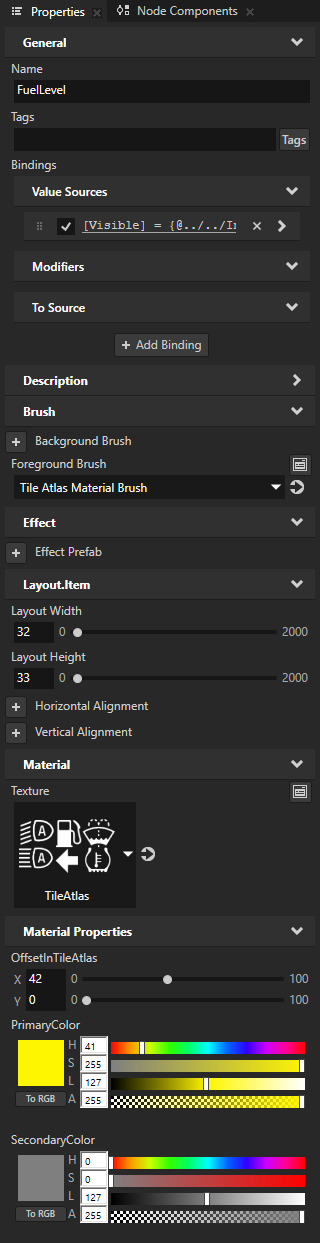
In the Node Tree select the FuelLevel node and in the Properties add and set:
Texture to TileAtlas
This way you set the texture that contains the tile atlas that you want to use.
TileAtlasSize property fields:
X to 112
Y to 64
Layout Width to 32 and Layout Height to 33
This way you set the size of the fuel level indicator image that you want to draw from the TileAtlas texture.
OffsetInTileAtlas property fields:
X to 42
Y to 0
This way you set the distance in pixels from the top left corner of the TileAtlas texture to the fuel level indicator image that you want to show.
PrimaryColor property fields:
Hue (H) to 41
Saturation (S) to 235
This way you draw the image using yellow color to indicate the low fuel level.
In the Preview you can see the fuel level indicator in the upper left corner.
In the Preview select the Node tool
 and click:
 to disable snapping to nodes and guides
 and select Render Transformation for the target transformation
You can apply transformations in these ways:
Layout transformation transforms the item before it applies the layout pass.
Render transformation transforms the item after it applies the layout pass, but before it renders the item.
Always use the Render Transformation, unless you know that you have to recalculate the layout.
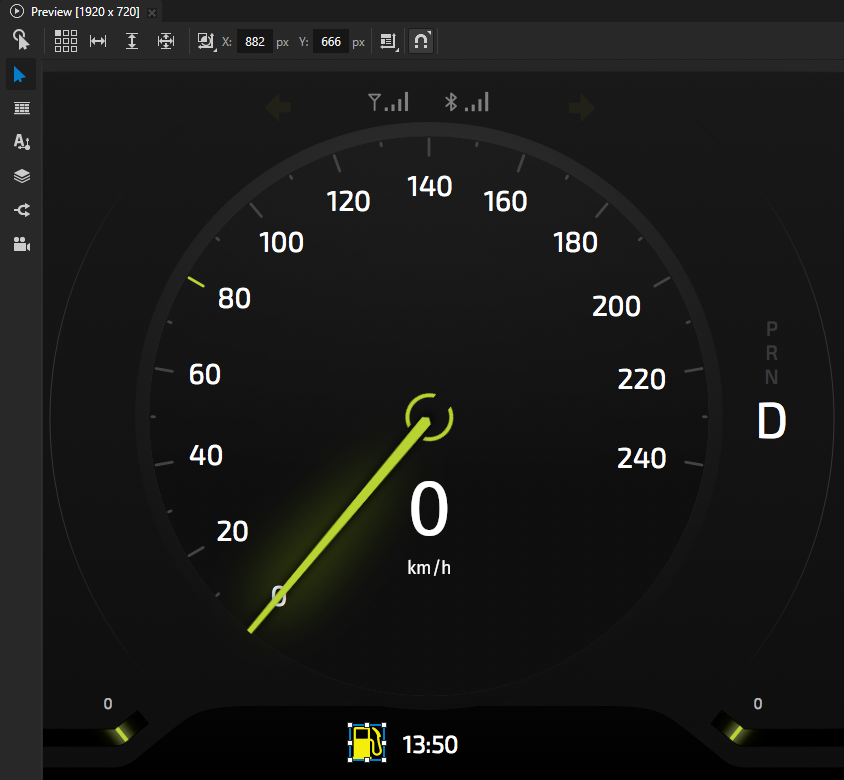
In the Node Tree select the FuelLevel node and in the Preview drag the FuelLevel node to the left side of the clock.
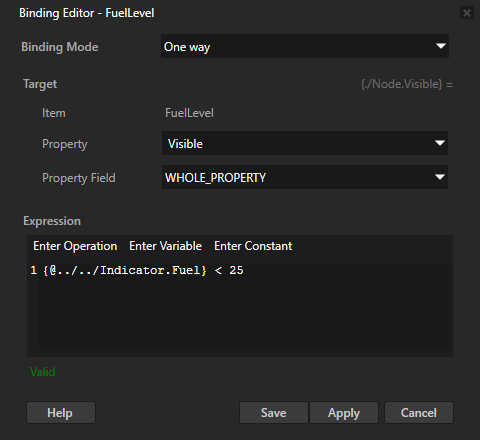
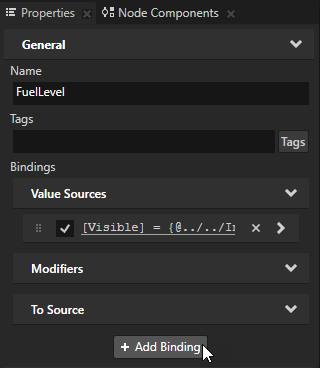
In the Node Tree select the FuelLevel node, in the Properties click + Add Binding and in the Binding Editor set:
Property to Visible
Expression to
{@../../Indicator.Fuel} < 25
Click Save.
With this binding you set the FuelLevel node and the low fuel level warning to be visible only when the value of the Fuel property in the Gauges node is less than 25.

In the Node Tree select the Gauges node and in the Properties change the value of the Fuel property. In the Preview you can see the low fuel level warning when the value of the Fuel property is less than 25.
Create the empty fuel tank indicator
In this section you modify the fuel level indicator to show an empty fuel tank warning when the value of the Fuel property in the Gauges node is less than 10.
To create the empty fuel tank indicator:
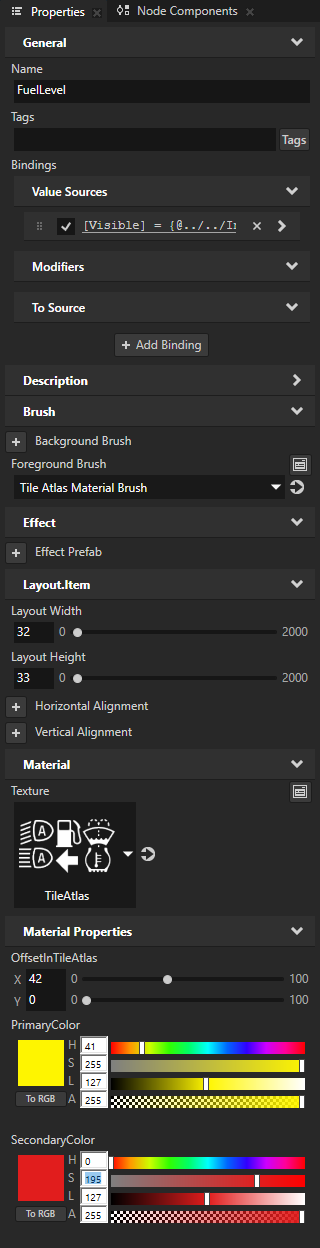
In the Library > Materials and Textures > Materials select the TileAtlasMaterial material and from the Properties drag the SecondaryColor property to the FuelLevel node.
In the Node Tree select the FuelLevel node and in the Properties set the SecondaryColor property field Saturation (S) to 195.
This way you set the FuelLevel node to show the fuel level indicator using red color when the UseSecondaryColor property is enabled.
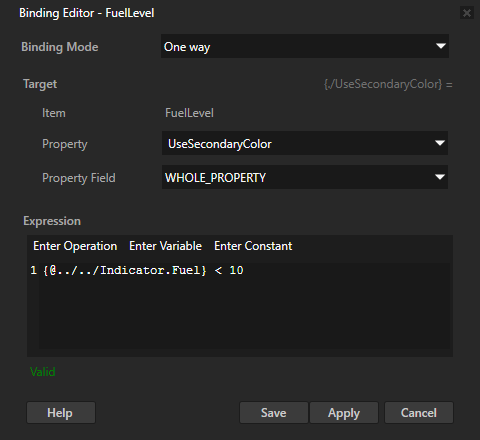
In the Node Tree select the FuelLevel node, in the Properties click + Add Binding and in the Binding Editor set:
Property to UseSecondaryColor
Expression to
{@../../Indicator.Fuel} < 10
Click Save.
With this binding you set the UseSecondaryColor property to enabled when the value of the Fuel property in the Gauges node is less than 10. This way you show the empty fuel tank warning in red color when the amount of fuel left in the tank is less than 10.
In the Node Tree select the Gauges node and in the Properties change the value of the Fuel property. In the Preview you can see:
The low fuel level warning when the value of the Fuel property is between 10 and 25.
The empty fuel tank warning when the value of the Fuel property is less than 10.
See also
To learn more about the textures, see Textures.
To learn how to use materials, see Using materials.
To learn more about brushes, see Using brushes.
To learn more about using bindings, see Using bindings and Bindings expressions reference.
To learn more about the Preview and the tools available in the Preview, see Preview and Editing your application in the Preview.