Using the Click Manipulator
Use the Click Manipulator to enable users to click nodes in your Kanzi application.
See Enabling the click gesture for a node and Enabling the click gesture for a node using the Kanzi Studio Preview tools.
You can react to the click gesture using:
Click Manipulator triggers in Kanzi Studio. See Using the Click Manipulator triggers.
Kanzi Engine API. See Reacting to the click gesture using the Kanzi Engine API.

The Click Manipulator is one of the input manipulators you can use to add gesture recognition to nodes in your Kanzi application. See Using input manipulators.
To enable the double-click gesture for nodes, use the Multi-Click Manipulator. See Using the Multi-Click Manipulator.
Enabling the click gesture for a node
To enable the click gesture for a node:
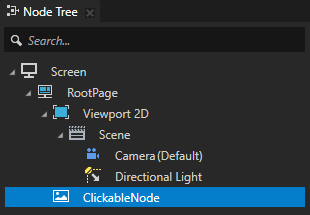
In the Node Tree create a node for which you want to enable the click gesture.
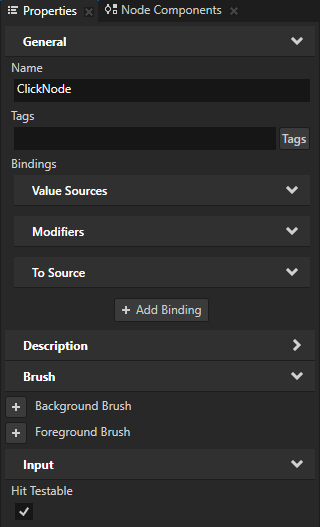
For example, create an Empty Node 2D node, name it ClickNode, and add content to the node.

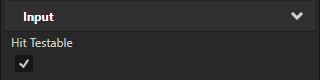
In the Node Tree select the node that you created in the previous step, in the Properties add the Input > Hit Testable property, and set it to enabled.
When you enable this property you enable the user to pick a node.
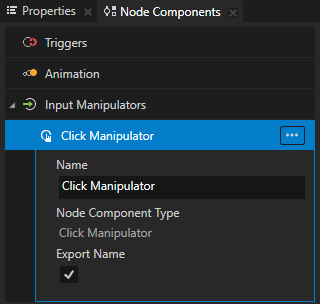
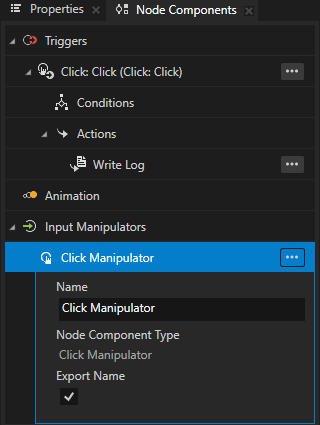
In the Node Components press Alt and right-click Input Manipulators, and select Click Manipulator.
This way you enable the ClickNode node to react to the click gesture. By adding a Click Manipulator component to a node you install a
ClickManipulatorto that node.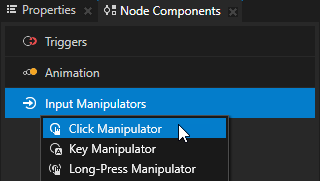
Use the Click Manipulator triggers to react to the click gesture. For example, you can change the appearance of a node when the user clicks that node.
Enabling the click gesture for a node using the Kanzi Studio Preview tools
To enable the click gesture for a node using the Kanzi Studio Preview tools:
Select or create a node which you want to react to clicks.
For example, create an Image node.
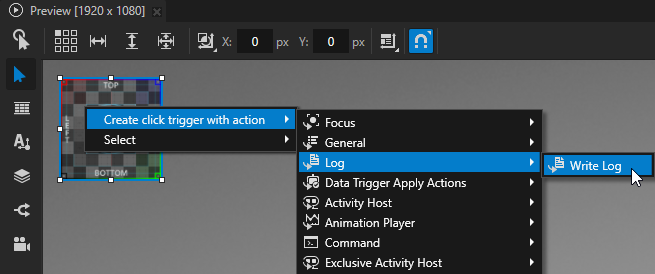
In the Preview select the Node tool
 , right-click the node which you want to react to clicks, and in the Create click trigger with action menu select an action.
For example, select the Log > Write Log action.
When you create a click trigger with an action, Kanzi Studio adds to that node:
Input > Hit Testable property and sets it to enabled
When you enable this property you enable the user to pick a node.
Click Manipulator node component
By adding a Click Manipulator component to a node you install a
ClickManipulatorto that node. This way you enable the click gesture for a node.Click trigger with the action that you selected
Click trigger is set off when the user presses and releases a node while the pointer is still within the node area and Kanzi does not recognize another gesture.
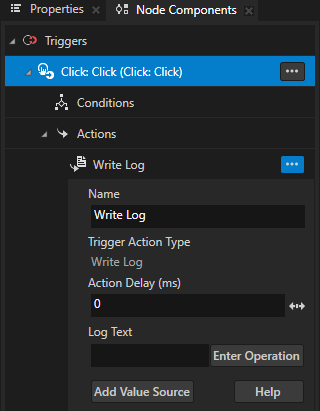
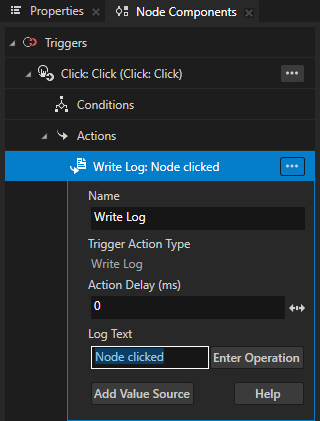
In the Node Components > Triggers configure the action that the Click trigger executes when the user sets off the trigger.
For example, in the Write Log action set Log Text to the message that you want to write to the Log window when the user clicks that node.
To learn more about the Write Log action, see Using Write Log action.
In the Preview click
 to switch to the Interact mode.
In the Preview when you click the node which you set to react to clicks, the trigger executes the action that you selected in the Create click trigger with action in the Preview.
Using the Click Manipulator triggers
Use the Click Manipulator triggers to react to the click gesture. For example, you can change the appearance of a node when the user clicks that node.
The Click Manipulator has these triggers:
Click trigger is set off when the user presses and releases a node while the pointer is still within the node area and Kanzi does not recognize another gesture.
Begin trigger is set off when the user presses a node.
Cancel trigger is set off:
When the user first presses a node, then moves the pointer outside of the node area, and lifts the pointer.
When the focus moves away from the node during the click gesture.
When Kanzi sets off a Long Press trigger.
Enter trigger is set off:
When the user presses a node.
When the user presses a node, moves the pointer outside of the node area, and then moves the pointer back to the node area while still holding down the pointer.
Leave trigger is set off:
When the user presses a node and releases the press.
When the user sets off a Long Press trigger.
When the user presses a node and then moves the pointer outside of the node area.
To use the Click Manipulator triggers:
Enable the click gesture for a node. See Enabling the click gesture for a node.
Define the behavior that you want to set with the Click Manipulator triggers.
For example, create a state manager where you define the states which set the appearance of a node when different Click Manipulator triggers are set off. See Creating a state manager.
Add and configure a Click Manipulator trigger:
In the Node Tree select the node to which you want to add the trigger, and in the Node Components > Triggers add one of the Click Manipulator triggers.
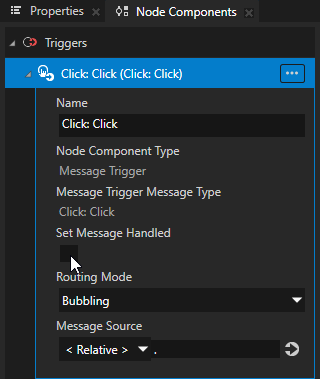
For example, in the Node Tree select the node for which you enabled the click gesture, in the Node Components press Alt and right-click Triggers, and select Message Trigger > Click > Click.

In the trigger that you created in the previous step disable the Set Message Handled property.
When you disable the Set Message Handled property, this trigger intercepts the message, but does not stop it. This way you let the input manipulator handle the message.
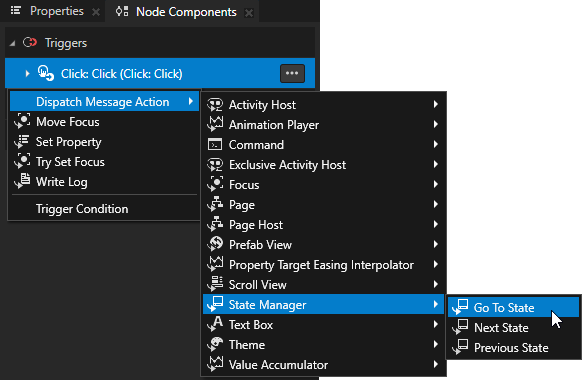
In the Node Components press Alt and right-click the trigger that you created, select an action, and configure it.
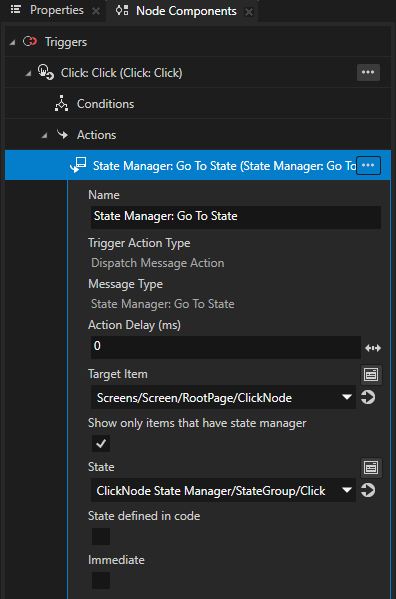
For example, select Dispatch Message Action > State Manager > Go to State, and in the action set:
Target Item to the node for which you enabled the click gesture
State to the state which sets the appearance of the node when the Click trigger is set off
Reacting to the click gesture using the Kanzi Engine API
To react to the click gesture using the Kanzi Engine API:
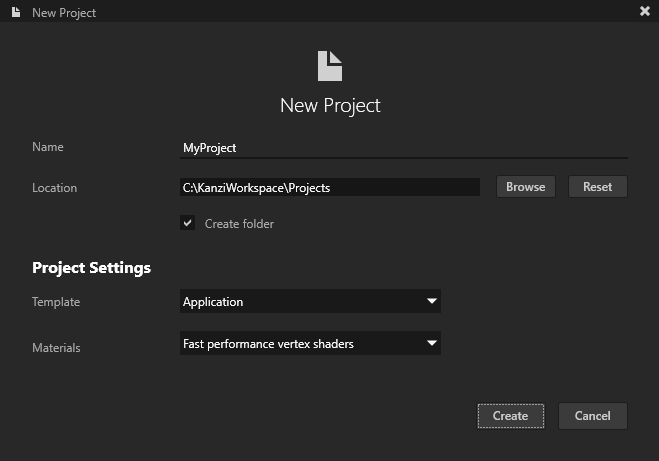
In Kanzi Studio create a project using the Application template.
Enable the click gesture for a node. See Enabling the click gesture for a node.
When you enable the click gesture for a node in Kanzi Studio, you create in that node a
ClickManipulatorComponent, which installs to the node aClickManipulator.In the Node Tree press Alt and right-click the node that you created and select Alias.
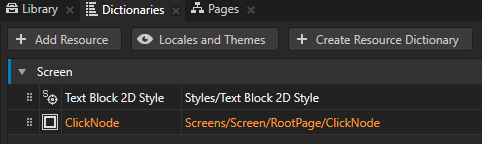
Kanzi Studio creates an alias pointing to the node from which you created the alias and adds it to the resource dictionary of its nearest ancestor node that contains a resource dictionary.
Access alias target nodes using the
#sign followed by the name of the alias.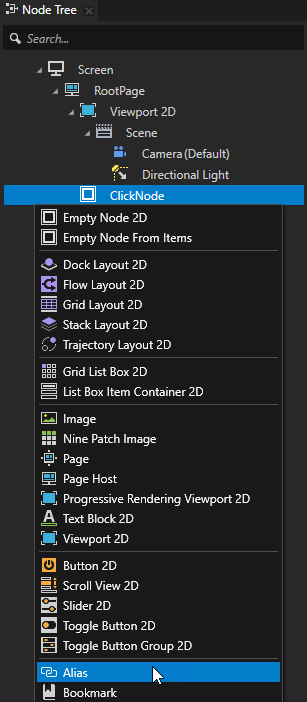
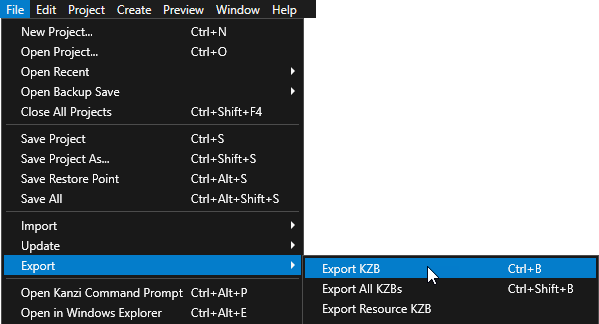
Select File > Export > Export KZB.
Kanzi Studio creates the kzb file and configuration files from your Kanzi Studio project. Kanzi Studio stores the exported files in the
<ProjectName>/Application/bindirectory or the location you set in Project > Properties in the Binary Export Directory property. The kzb file contains all nodes and resources from your Kanzi Studio project, except the resources you mark in a localization table as locale packs.When you run your Kanzi application from Visual Studio, your application loads the kzb file and configuration files.
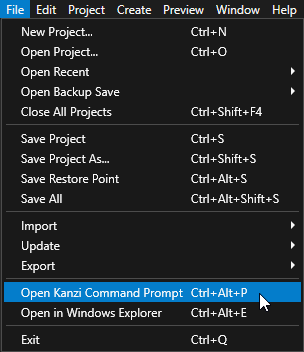
In Kanzi Studio, select File > Open Kanzi Command Prompt.
The Kanzi Command Prompt opens the Windows Command Prompt with the Kanzi environment variables set for the version of Kanzi for which you open a Kanzi Command Prompt.
Use the Kanzi Command Prompt to access Kanzi utilities and build tools, such as Gradle, SCons, and CMake, without using absolute paths or setting environment variables.
Tip
You can find the Kanzi Command Prompt in the Windows Start Menu in the Rightware directory.
When you have more than one version of Kanzi installed, make sure that you launch a Kanzi Command Prompt for the version of Kanzi with which you want to work in that command prompt.
In the Kanzi Command Prompt in the
<ProjectName>/Applicationdirectory run the script that generates a Visual Studio solution for the application.For example, if you use Visual Studio 2019, run
generate_cmake_vs2019_solution.bat
This script generates a Visual Studio solution for the application in the directory
<ProjectName>/Application/build_vs2019.In Visual Studio open the
<ProjectName>/Application/build_vs<Version>/<ProjectName>.slnVisual Studio solution and in the file that implements the logic of your application configure theClickManipulator:Define the handlers for different click messages. In each handler add the code that defines the behavior for a specific click event.
You can define the behavior also in Kanzi Studio using the Click Manipulator triggers. See Using the Click Manipulator triggers.
For example, to define handlers for the
ClickMessageandClickCancelMessagemessages, after the public section of the class which implements the logic of your application add:private: // Define the handler for the ClickManipulator::ClickMessage message from the nodes // that have an input manipulator which generates the ClickMessage message. void onNodeClicked(ClickManipulator::ClickMessageArguments&) { // Add the code that handles the click event. } // Define the handler for the ClickManipulator::ClickCancelMessage message from the nodes // that have an input manipulator which generates the ClickCancelMessage message. void onNodeClickCanceled(ClickManipulator::ClickCancelMessageArguments&) { // Add the code that handles the click cancel event. }
In the
onProjectLoaded()function subscribe to theClickManipulatormessages.For example, add:
void onProjectLoaded() override
{
    ScreenSharedPtr screen = getScreen();

    // Get the ClickNode node using its alias.
    NodeSharedPtr clickNode = screen->lookupNode<Node>("#ClickNode");

    // Subscribe to the ClickManipulator::ClickMessage message at the ClickNode node.
    // The ClickManipulator manipulator generates this message when the user clicks the node.
    clickNode->addMessageHandler(ClickManipulator::ClickMessage, bind(&MyProject::onNodeClicked, this, placeholders::_1));

    // Subscribe to the ClickManipulator::ClickCancelMessage message at the ClickNode node.
    // The ClickManipulator manipulator generates this message when the user first presses down
    // the node, then moves the pointer outside of the node area, and lifts the pointer.
    clickNode->addMessageHandler(ClickManipulator::ClickCancelMessage, bind(&MyProject::onNodeClickCanceled, this, placeholders::_1));
}
Build and run your application. See Deploying Kanzi applications.
In the application:
Click the node for which you enabled the click gesture. The application executes the behavior you defined in the handler for the
ClickMessagemessage.Press down the node for which you enabled the click gesture, then move the pointer outside of the node area, and lift the pointer. The application executes the behavior you defined in the handler for the
ClickCancelMessagemessage.