Step 1 - Create a new project and import assets
When you create a new project, Kanzi Studio creates a project directory in your Kanzi Studio workspace and adds to that directory the required file structure for the project. When importing assets to your project, Kanzi Studio copies the imported assets to the project directory.
You defined the location of the Kanzi Studio workspace during Kanzi installation.
In this step you first create a new project, then you import the assets you use in this tutorial.
Assets for the tutorial
The assets that you use in this tutorial are stored in the <KanziWorkspace>/Tutorials/First/Assets directory.
You can find the completed tutorial in the <KanziWorkspace>/Tutorials/First/Completed directory.
Create a new Kanzi Studio project
In this section you create a new Kanzi Studio project and set the size of the application screen.
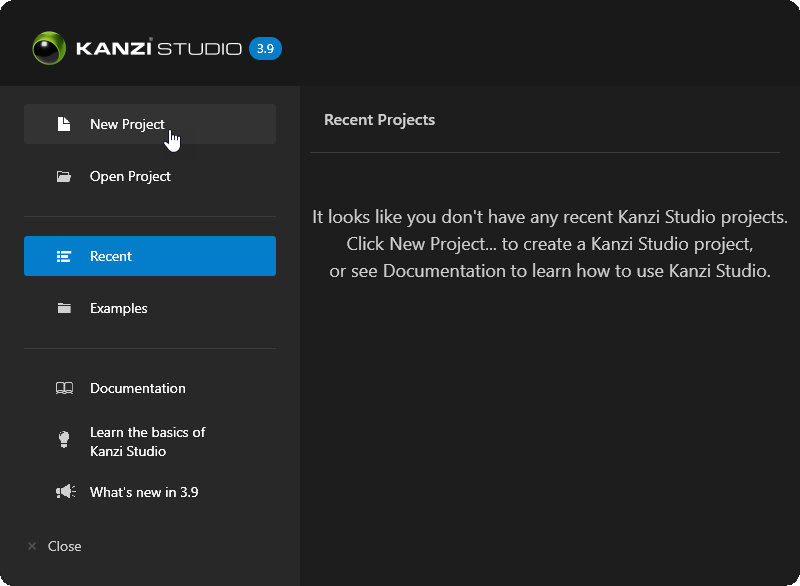
Open Kanzi Studio.
In the Quick Start screen click New Project.
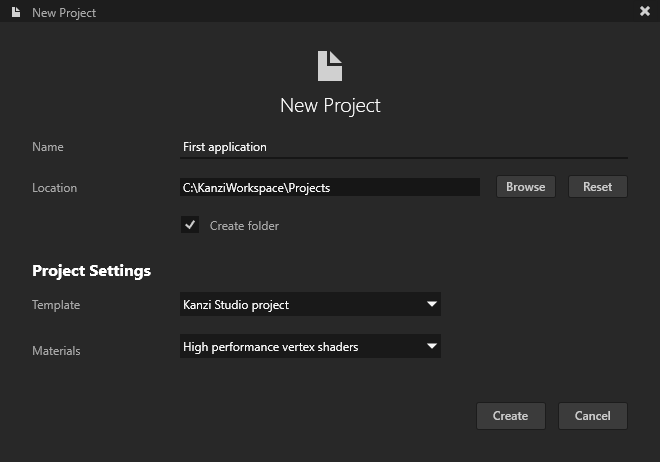
In the New Project window:
Name your project. For example, name it First Application.
For the Materials select High performance vertex shaders.
The vertex-based shading offered in the High performance vertex shaders material type is a good choice for mobile GPUs, because of the lower cost of vertex-based shading.
Click Create to create the project.
This is how Kanzi Studio looks when you create a new project.
Note
The Kanzi Studio Preview by default uses the TCP/IP for internal communication with Kanzi Studio. If you have a firewall installed on your computer, allow the
Kanzi Previewprocess to go through the firewall.Configure the Screen node:
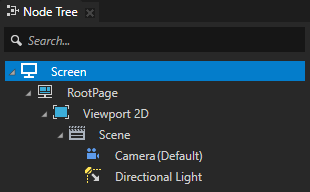
In the Node Tree window select the Screen node.
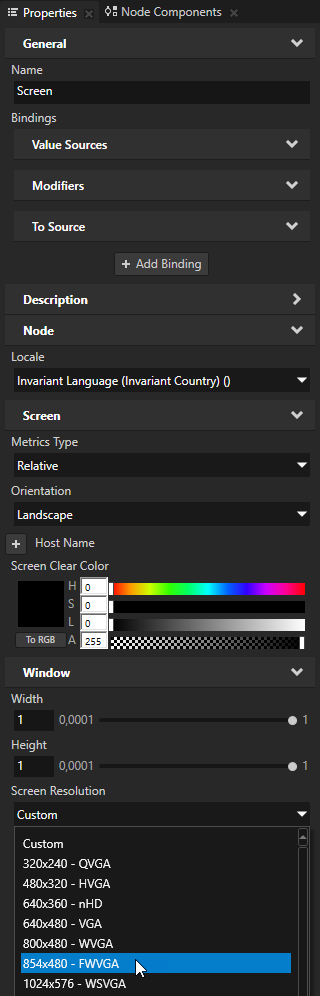
In the Properties window set the Screen Resolution property to 854x480 - FWVGA. This way you set the size of the application screen.
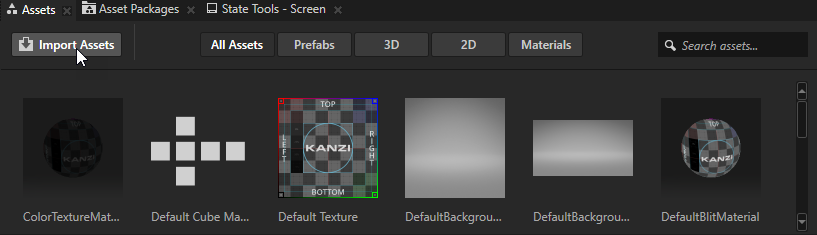
Import assets
In this section you use the Assets window to import the images and 3D assets you need to complete this tutorial.
To import assets:
In the Assets window located in the bottom part of the Kanzi Studio interface click Import Assets.
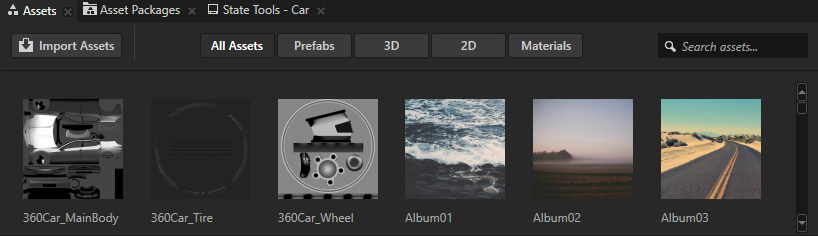
Go to the
<KanziWorkspace>/Tutorials/First/Assetsdirectory, select all files, and click Open.Kanzi Studio imports the selected assets to your project and shows them in the Assets window.
Use the Assets window to view, select, and use the assets in your project.
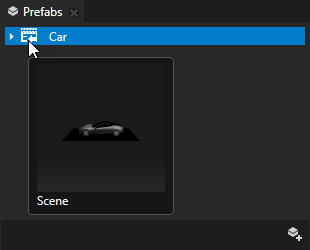
When you import 3D assets, Kanzi Studio creates for each 3D asset:
In the Prefabs a Scene prefab for each scene in the imported file.
Kanzi Studio names each Scene prefab after the imported file. When you import a glTF file that contains multiple scenes, Kanzi Studio appends to the name of each Scene prefab the name of the scene.
In each Scene prefab Kanzi Studio creates the scene hierarchy from the imported file and places the assets from the imported file into that prefab.
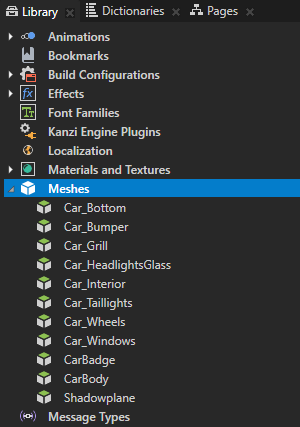
In the Library Kanzi Studio places all resources from the imported file, such as Meshes, Splines, Animations, and Materials.
The assets in this tutorial contain only one 3D asset which Kanzi Studio places in the Car prefab. To see the content of the prefab, in the Prefabs window hover over its thumbnail.
See also
To find out more about importing assets to your projects, see Importing.
To find out more about working with Kanzi Studio projects, see Projects.
To find out more about the Kanzi prefabs, see Using node prefabs.