Importing fonts
The default font family in Kanzi is Fira Sans Regular. The font file is stored in <KanziInstallation>/Studio/Asset Library/Fonts. When you want to use your own font, import it to your Kanzi Studio project.
You can use these font types in your Kanzi applications:
TrueType and OpenType fonts (ttf and otf files)
iType linked fonts (ltt files). See iType linked fonts.
Bitmap fonts (fnt files). See Using bitmap fonts.
Make sure that the font you use includes all the glyphs for the text that you want to include in your Kanzi application.
Importing fonts to a Kanzi Studio project
To import fonts to your project:
Select File > Import > Import Fonts.
The Import Fonts window opens.

In the Fonts column select the font that you want to import and in the Typefaces column double-click the typefaces that you want to select for importing.
When you open the Import Fonts window, Kanzi Studio shows system fonts. To import fonts from a different location, click Browse and select the directory from which you want to import fonts.
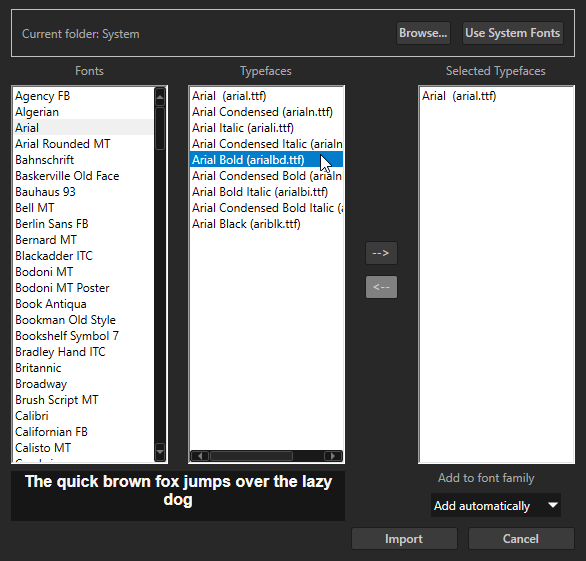
When you are done selecting the typefaces that you want to import, click Import.
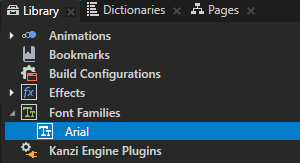
You can see all imported fonts in the Library > Font Families.
iType linked fonts
Use the iType linked fonts to link several TrueType or OpenType fonts and use glyphs from all the linked fonts by referring to a single font file. For example, you can link a font with Latin glyphs and a font with Chinese glyphs to render in your Kanzi application the glyphs used in both languages.
Requirements
To create iType linked font files, you need the Monotype iType FontLinking Kit 6.1.0.1. The linked font files that you create with this version of the FontLinking Kit are compatible with iType 5.3.3.
To use the iType linked font files, you need the Kanzi Engine plugin that adds the iType font engine to Kanzi. Submit the request for the Kanzi iType font engine through support.rightware.com.
Installing the iType font engine for Kanzi Studio
To install the iType font engine for Kanzi Studio:
Extract the zip file that contains the iType font engine Kanzi Engine plugin.
Copy the dll file for each build configuration to the
<KanziInstallation>/Studio/Bin/EnginePluginsdirectory.For example, copy the
GL_vs<Version>_Release/kzitypeplugin.dllto the<KanziInstallation>/Studio/Bin/EnginePlugins/GL_vs<Version>_Releasedirectory.
Installing the iType font engine for Android
To install the iType font engine for Android:
Download the
Kanzi-<Version>-android-freetype-itype.zipfile provided by Rightware support. The file contains the iType font engine Kanzi Engine plugin.Extract the zip file to the
<KanziWorkspace>/Enginedirectory. When extracting the archive, you can skip files that already exist.
Using the iType linked fonts
To use the iType linked fonts:
In Windows Explorer copy to the
<ProjectName>/Application/bindirectory the ttf or otf font files that you want to link.To create an ltt linked font file:
In the iType FontLinking Kit open the FontLinker tool.
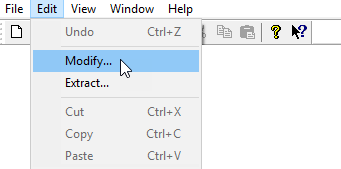
In the Edit menu select Modify.
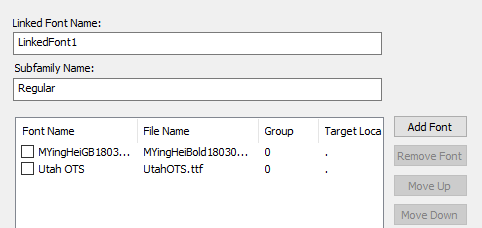
In the Font Link window click Add Font and select the font files that you copied to the
Application/bindirectory.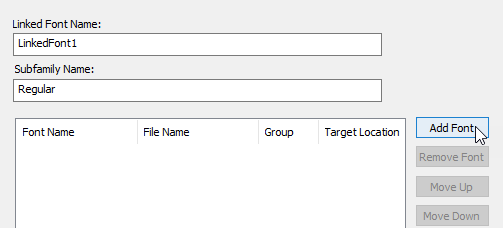
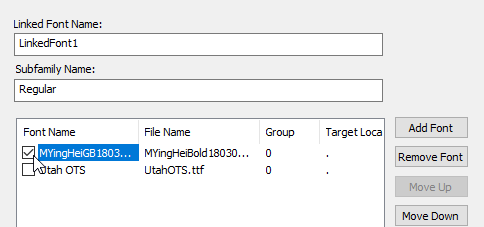
In the Font Link window for each font file that you imported in the previous step, select the checkbox and click Apply. After you add all the fonts that you want to link, click OK.
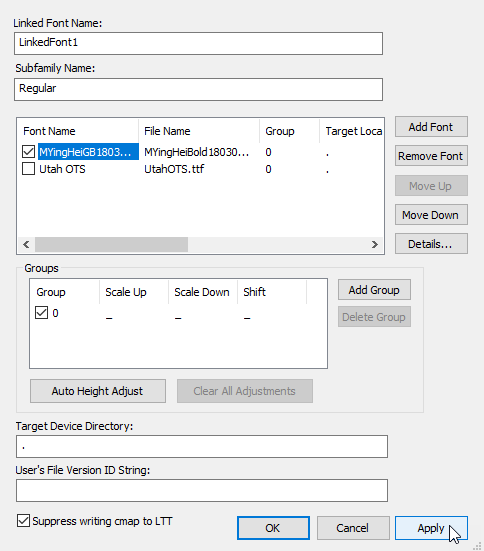
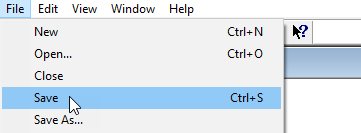
In the File menu select Save and save the linked font as an ltt file.
To use the linked font in Kanzi Studio:
In Kanzi Studio import the ltt font you saved in the previous step. See Importing fonts to a Kanzi Studio project.
In Kanzi Studio, you can see the linked font file in the Library > Font Families.
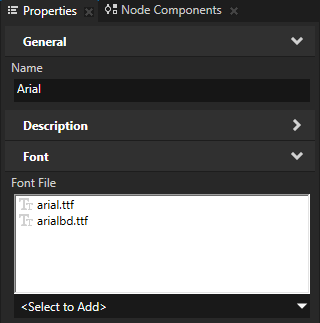
The linked font file in the
Fontsdirectory refers to the font files located in the<ProjectName>/Application/bindirectory.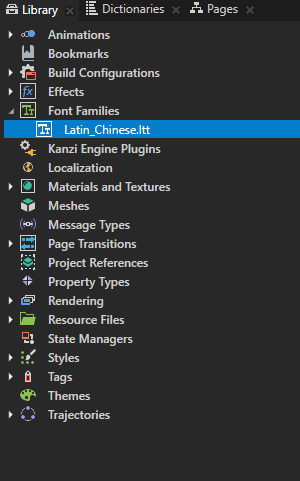
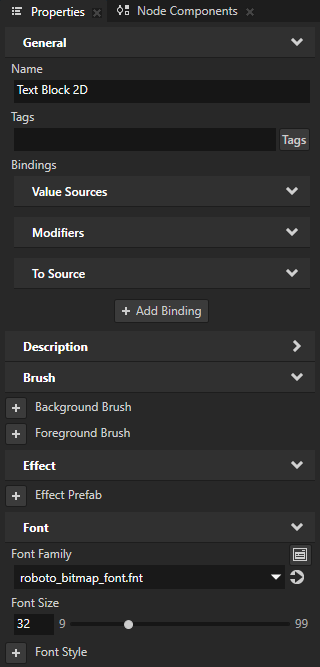
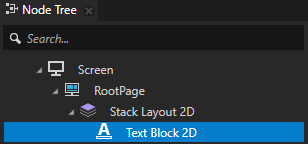
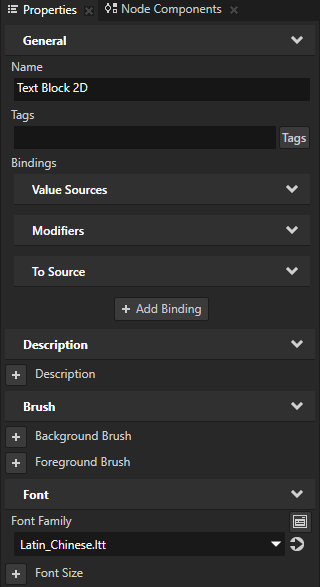
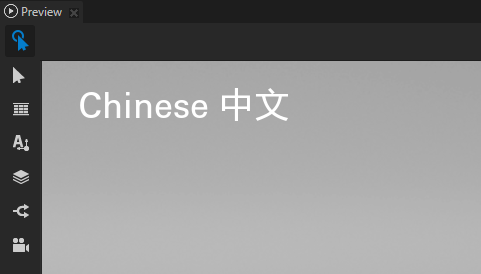
In the Node Tree select a Text Block or Text Box node where you want to use a linked font and in the Properties set the Font Family property to that font.
In that Text Block or Text Box node you can now use the glyphs from all font files that you linked in an ltt linked font file.
Using the iType linked fonts on Android
To use the iType linked fonts on Android:
Install the iType font engine for Android. See Installing the iType font engine for Android.
Make sure that the font data you want to use is embedded in the ltt linked font file. See Using the iType linked fonts.
To set your application to load the iType font engine at startup, in
application.cfgadd:FontEngine = IType
See FontEngine.
To configure the Gradle build to link against the iType font engine Kanzi Engine plugin dll, in the
<ProjectName>/Application/configs/platforms/android_gradle/app/build.gradlefile replaceexternalNativeBuild { cmake { arguments "-DKANZI_LINK_FREETYPE=ON" arguments "-DKANZI_LINK_ITYPE=OFF" } }
with
externalNativeBuild {
    cmake {
        arguments "-DKANZI_LINK_FREETYPE=OFF"
        arguments "-DKANZI_LINK_ITYPE=ON"
    }
}
Using bitmap fonts
Use bitmap fonts when you want to use fixed-pixel size text and want to use less resources to render the text. The advantage of bitmap fonts is that rendering bitmap fonts requires less resources than TrueType or linked iType fonts require. The disadvantage of bitmap fonts is that when you scale a bitmap font, the rendered result can be of lower quality.
Kanzi supports the fnt bitmap font format that you can create from a TrueType font using the AngelCode’s Bitmap Font Generator. One bitmap font consists of an fnt file and one or more image files.
To use bitmap fonts:
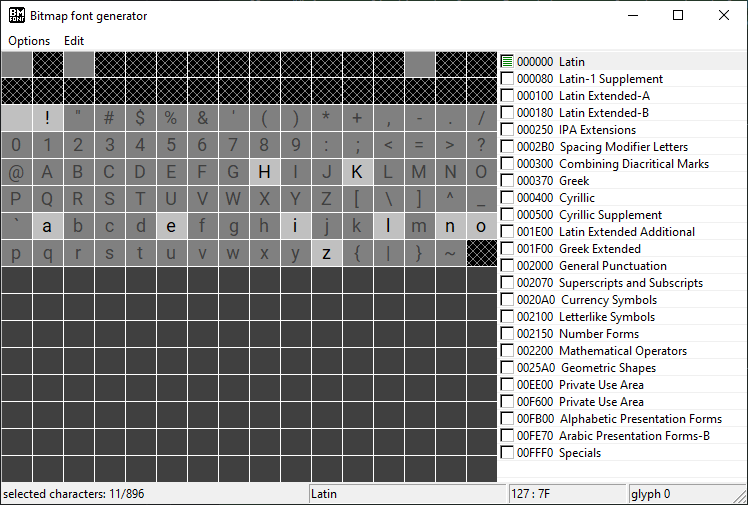
In the AngelCode's Bitmap Font Generator create a bitmap font file from a TrueType font:
In the Options menu select Font settings, and in the Font Settings window select a TrueType font and glyph rasterization settings that you want to use to create a bitmap font.

In the main application window select individual characters or character groups for which you want to create a bitmap font.
To keep the size of the bitmap font as small as possible, select only the characters that you want to use in your Kanzi application.
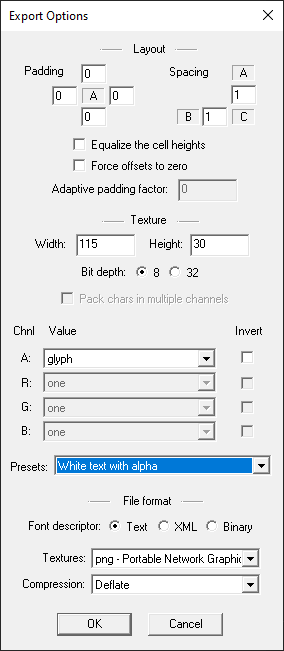
In the Options menu set the Export options.
For example, set:
Width and Height to the dimensions of the font texture so that it is large enough to fit all the glyphs that you selected, but not larger. If you are exporting a large number of glyphs that do not fit on a single texture, the tool creates additional textures. Make sure that you do not create too many textures, because that can decrease the performance of your Kanzi application.
Bit depth to 8
Preset to White text with alpha
File format > Font descriptor to Text
In the Options menu select Save bitmap font as..., and select a directory and a file name for the bitmap font.
When you save the bitmap font, the application creates a fnt file and exports the selected glyphs to one or more images. This depends on the export settings and the number of glyphs that you selected for that bitmap font.
Use a bitmap font in a Kanzi Studio project:
In the Kanzi Studio main menu select File > Import > Import Fonts, in the Import Fonts dialog click Browse, select the directory that contains a bitmap font, and import the font. See Importing fonts to a Kanzi Studio project.
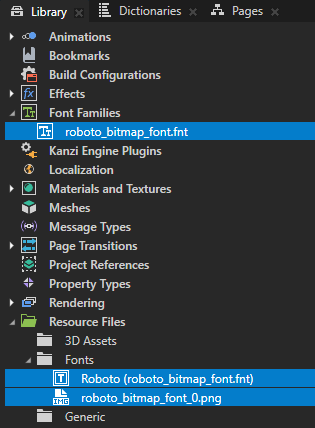
In the Library > Font Families you can see the bitmap font and in the Library > Resource Files > Fonts you can see the font file with one or more images that contain the rasterized glyphs for this bitmap font.
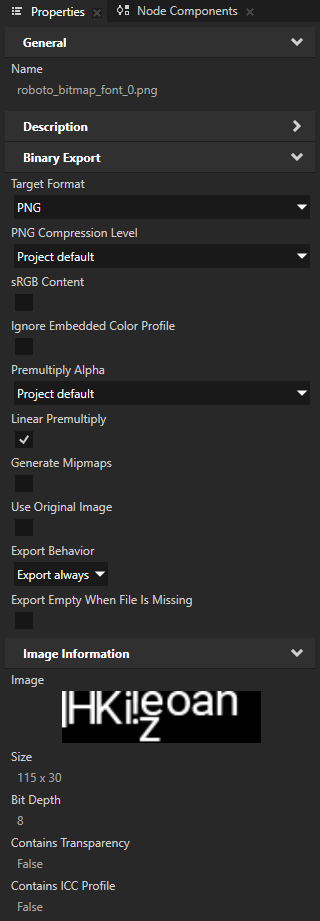
For the font images Kanzi Studio automatically sets the sRGB Content property to disabled. Kanzi uses this setting to correctly display the bitmap fonts when the Color Workflow of a Kanzi Studio project is set to Linear. See Color workflow.
In the Node Tree select a Text Block or Text Box node where you want to use the bitmap font, and in the Properties add and set:
Font Family to the bitmap font that you imported
Font Size to the size that you set in the Bitmap Font Generator in the Font Settings