Step 1 - Prepare the nodes in your project
In this step of the tutorial, you create tags and filters to prepare the nodes in your project for progressive rendering across several frames.
Assets for the tutorial
The starting point of this tutorial is the <KanziWorkspace>/Tutorials/Progressive rendering/Start/Progressive rendering.kzproj Kanzi Studio project.
You can find the completed tutorial in the <KanziWorkspace>/Tutorials/Progressive rendering/Completed directory.
The starting point project contains the content that you need to complete this tutorial:
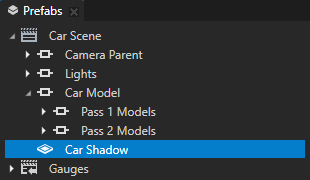
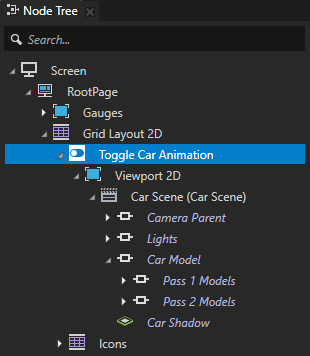
The Car Scene prefab contains a camera, lights, a car model, and the shadow of the car.
In this tutorial, you render these nodes in the Car Scene prefab across three frames:
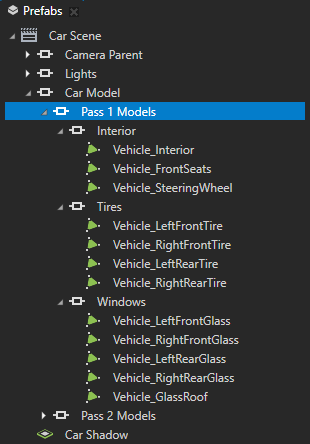
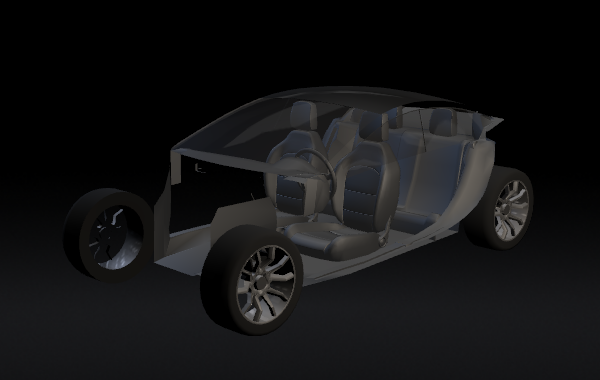
Pass 1 Models contains the models for the car interior, tires, and windows.
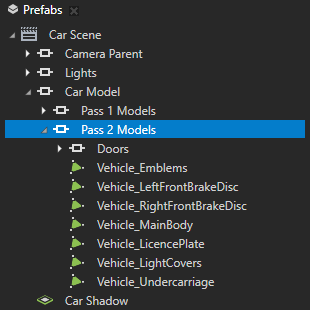
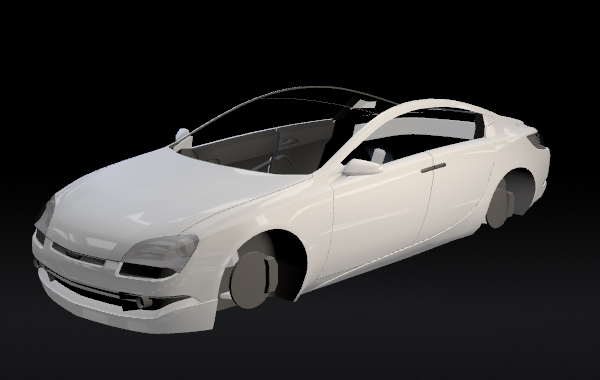
Pass 2 Models contains the models for the exterior parts of the car.
Car Shadow contains the shadow of the car.

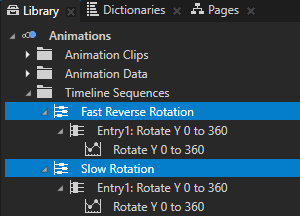
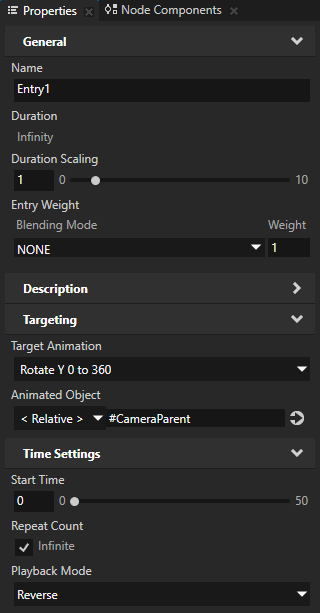
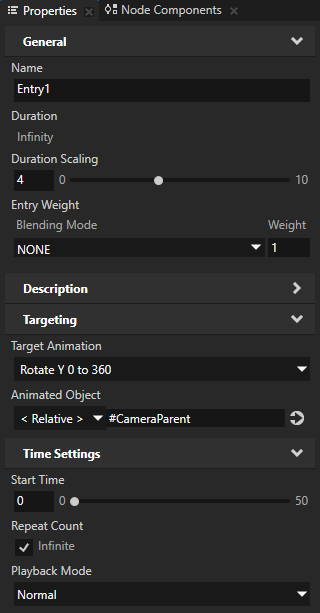
The Fast Reverse Rotation and Slow Rotation timeline sequences define the animations that you use in the last step of this tutorial to rotate the car at two different speeds and directions. The two timeline sequences play the same animation, but the Timeline Entry in each Timeline Sequence sets a different duration and playback mode for the animation.
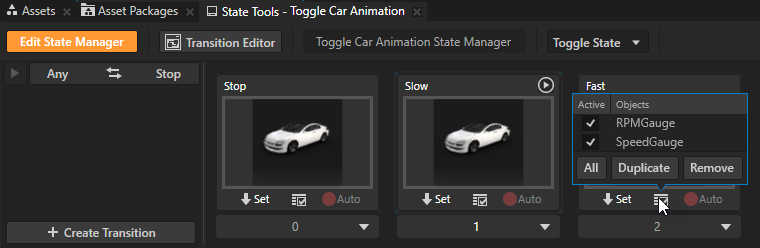
The Toggle Car Animation node uses the Toggle Car Animation State Manager state manager to control the animations which change the position of the speed and RPM gauges, and move the speed and RPM needles.
In the Preview when you click the area between the gauges, you toggle between the Stop, Slow, and Fast states.
In the starting point project, the Slow and Fast states are identical. In the last step of this tutorial, you use those states to play the Slow Rotation and Fast Reverse Rotation timeline sequences to rotate the car.
Prepare the nodes for progressive rendering
In this section, you create Tag Filter resources to collect the nodes that you want to render in different render passes. In the next step of the tutorial, you use these filters in render passes to distribute the rendering of the nodes across several frames.
In the starting project of this tutorial, the content of the Car Model node is already split into parts: Pass 1 Models, Pass 2 Models, and Car Shadow. When you prepare your own content for progressive rendering, distribute the rendering into even parts among the render passes used by a Progressive Rendering Viewport 2D node. Distributing the rendering evenly ensures stable framerate.
To distribute the rendering into even parts, make sure that each render pass renders:
Approximately the same amount of polygons
Shaders that are of similar complexity
Textures that are similar in size
Similar number of textures
To prepare the nodes for progressive rendering:
In Kanzi Studio, open the project stored in the
<KanziWorkspace>/Tutorials/Progressive rendering/Startdirectory.
Tag the nodes that you want to render in different frames:
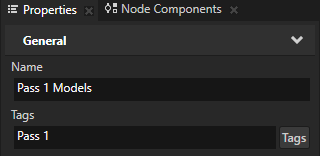
In the Prefabs > Car Scene > Car Model, select the Pass 1 Models node, and in the Properties, set the Tags property to Pass 1.
The Pass 1 Models node groups the nodes that contain the models for the car interior, tires, and windows. When you tag a node, the descendant nodes of that node inherit the tag.
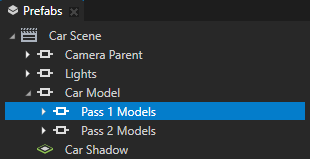
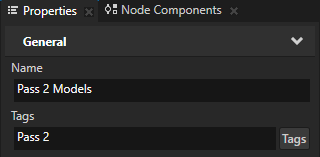
In the Prefabs > Car Scene > Car Model, select the Pass 2 Models node, and in the Properties, set the Tags property to Pass 2.
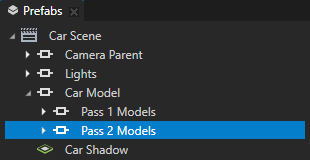
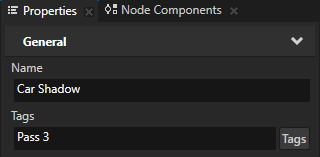
In the Prefabs > Car Scene, select the Car Shadow node, and in the Properties, set the Tags property to Pass 3.
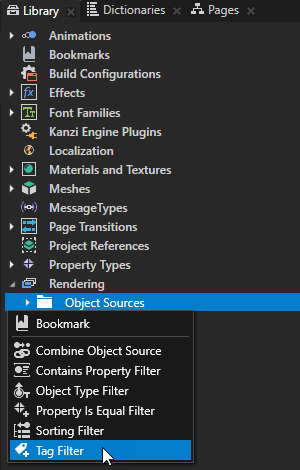
Create a Tag Filter that collects the nodes for the first pass of rendering:
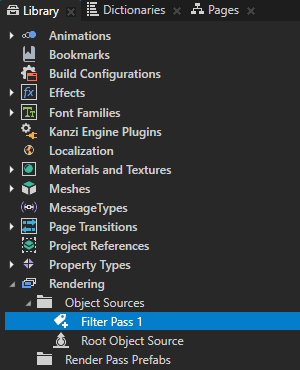
In the Library > Rendering, press Alt and right-click Object Sources, select Tag Filter, and name it Filter Pass 1.
Tag Filter collects 3D nodes that have a specific tag assigned.
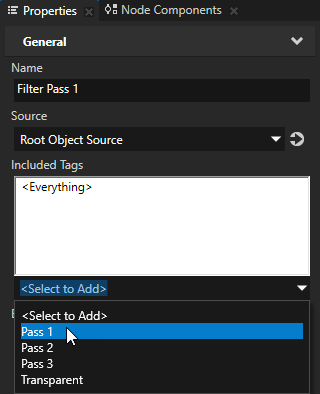
In the Properties, set the Included Tags property to the Pass 1 tag.
You set the Filter Pass 1 tag filter to collect the Pass 1 Models node that has the Pass 1 tag. Because nodes inherit tags from their parent nodes, this filter collects all descendant nodes of the Pass 1 Models node.
You use this filter in the next step of this tutorial to collect for rendering the nodes that show the interior, tire, and window models.

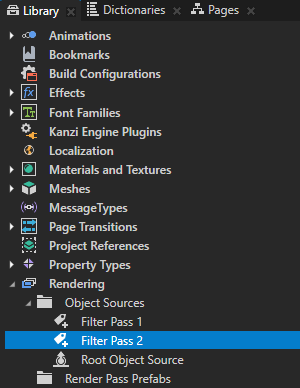
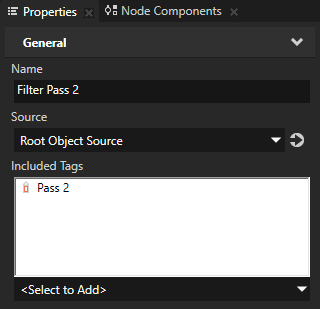
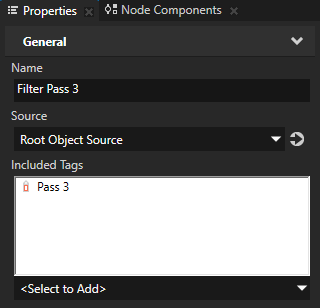
Repeat the previous step to:
Create a Tag Filter named Filter Pass 2, and set it to collect nodes that have the Pass 2 tag.
You use this filter in the next step of this tutorial to collect for rendering the nodes that show the exterior parts of the car model.
Create a Tag Filter named Filter Pass 3, and set it to collect nodes that have the Pass 3 tag.
You use this filter in the next step of this tutorial to collect for rendering the node that shows the car shadow.
See also
To learn more about how you can use filters in your Kanzi application, see Filters.
To learn more about how to use tags in Kanzi Studio, see Using tags.