Step 2 - Create the fuel and battery needles
In this step you use the same approach you used in the previous step to create the fuel and battery needles.
Create the fuel needle
In this section you create the fuel needle.
To create the fuel needle:
From the Assets drag the FuelBatteryNeedle image and drop it on the Gauges in the Preview.
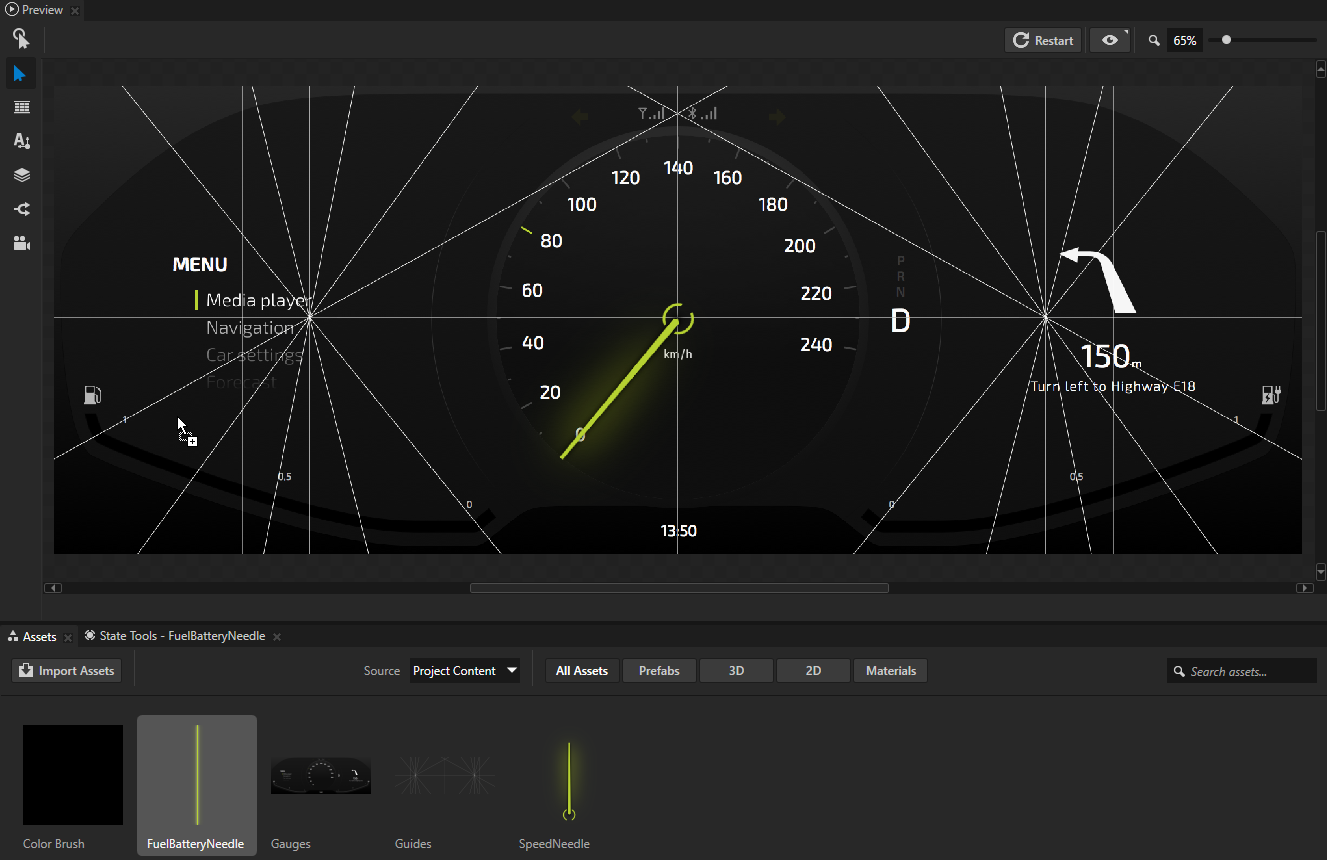
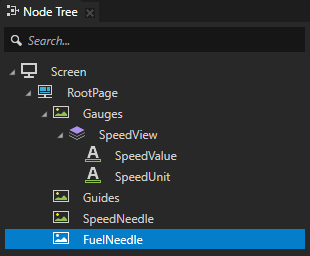
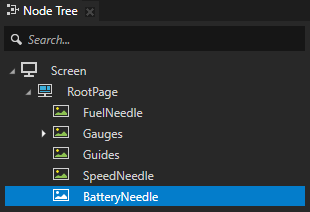
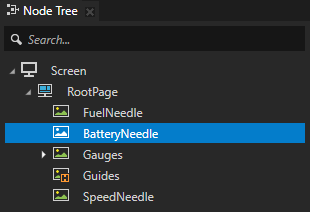
In the Node Tree select the FuelBatteryNeedle node, press F2, and rename it to FuelNeedle.
Adjust the position of the FuelNeedle node using the Preview tools and the properties of the node just like you did in the previous step for the SpeedNeedle. When adjusting the position follow these guidelines:
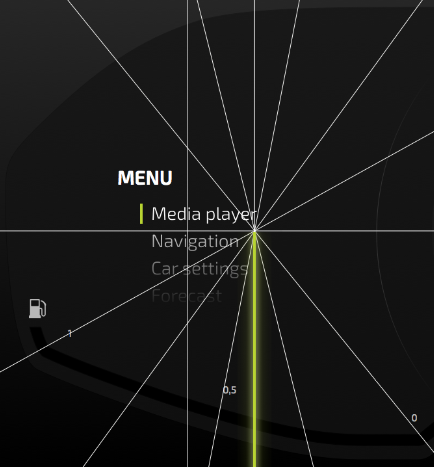
Use the guides in the Guides node and the Render Transformation property to place the FuelNeedle to the gauge to the left of the speed gauge.
Tip
Use the Preview zoom slider in the upper right corner to adjust the magnification level of the content in the Preview.

Tip
To pan in the Preview:
Click and drag the middle mouse button.
Press the Space key, and click and drag the left mouse button.
Use the Render Transformation Origin property to set the origin of the node to the top center of the node. You only need to set the X attribute to 0,5.
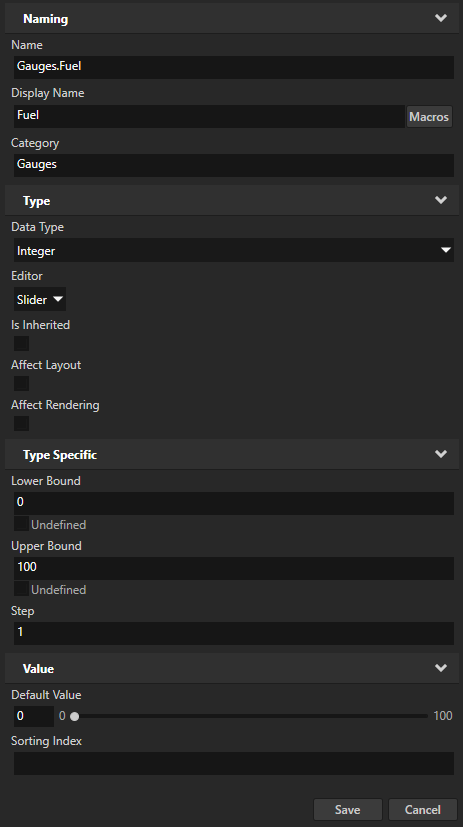
In the Library press Alt and right-click Property Types, select Property Type, and in the Property Type Editor set:
Name to Gauges.Fuel
Display Name to Fuel
Category to Gauges
Data Type to Integer
Lower Bound to 0
Upper Bound to 100
Click Save to create a property type with the properties you defined.
You use this custom property type to control the position of the FuelNeedle in the Gauges.
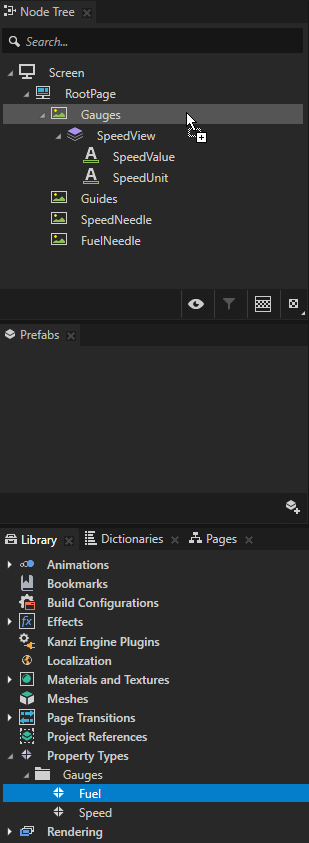
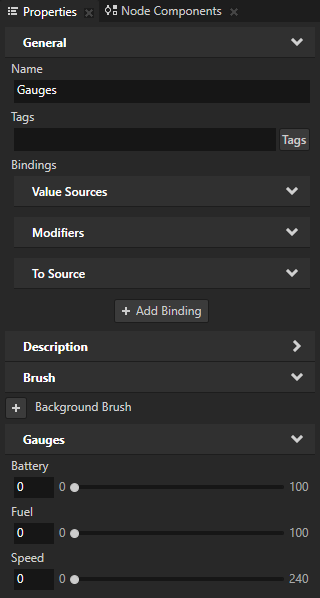
In the Node Tree select the Gauges node and in the Properties add the Fuel property.
Tip
You can add a custom property type to a node by dragging the property type from the Library > Property Types and dropping it on the node in the Node Tree to which you want to add the property type.
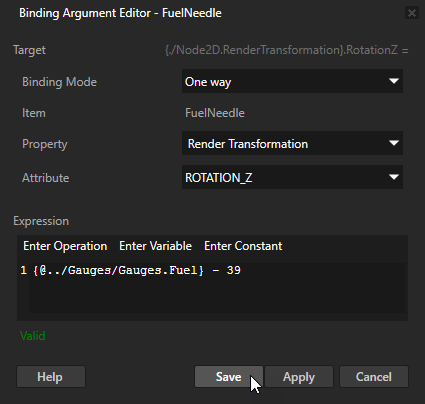
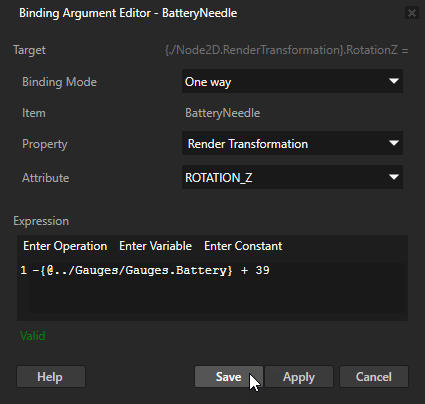
In the Node Tree select the FuelNeedle node, in the Properties click + Add Binding, and in the Binding Editor set:
Property to Render Transformation
Property Field to Rotation Z
Expression to
{@../Gauges/Gauges.Fuel} - 39You have to subtract 39 from the value of the property to correctly position the needle at value 0 on the gauge, when the value of the Fuel property is 0.
Click Save. With this binding you control the rotation around the z axis of the FuelNeedle node with the Fuel property which you added to the Gauges node in the previous step.
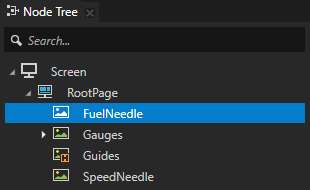
In the Node Tree drag the FuelNeedle node and drop it above the Gauges node.
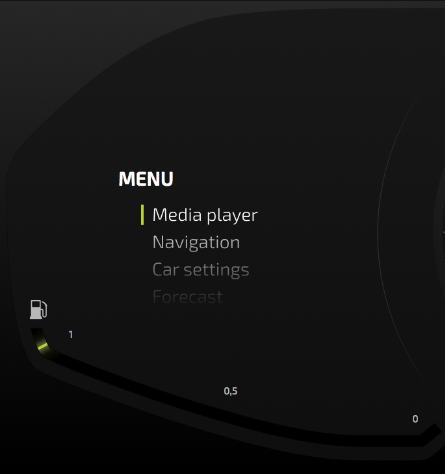
The Gauges node has transparent openings for the Fuel and Battery gauges where you can see the position of the needle. The position of the nodes in the Node Tree window defines the rendering order of the nodes: the node at the top of the node tree is rendered first, and the last node at the bottom of the node tree is rendered last. By placing the FuelNeedle node above the Gauges node, you set Kanzi to first render the FuelNeedle node and then on top of it the Gauges node, which shows only a sliver of the FuelNeedle to create an elegant fuel indicator.
Create the battery needle
In this section you create the battery needle.
To create the battery needle:
From the Assets drag the FuelBatteryNeedle image, drop it on the Gauges in the Preview, and rename it to BatteryNeedle.
Adjust the position and Render Transformation Origin of the BatteryNeedle node using the Preview tools and the properties of the node, just like you did for the FuelNeedle, but place the BatteryNeedle to the right of the speed gauge.
Create a property type and in the Property Type Editor set:
Name to Gauges.Battery
Display Name to Battery
Category to Gauges
Data Type to Integer
Lower Bound to 0
Upper Bound to 100
Click Save to create a property type with the properties you defined.
You use this custom property type to control the position of the BatteryNeedle in the Gauges.
Tip
Because the only difference between the Battery and Fuel property types is the name, in the Library right-click the Fuel property, select Duplicate, rename the duplicate to Gauges.Battery, and in the Properties set the Display Name property to Battery.
In the Node Tree select the Gauges node and add the Battery property.
In the Node Tree select the BatteryNeedle node, add a binding, and in the Binding Editor set:
Property to Render Transformation
Property Field to Rotation Z
Expression to
-{@../Gauges/Gauges.Battery} + 39You have to use the negative value so that the needle rotates in the counter-clockwise direction when the value of the property increases. You have to add 39 to the value of the property to correctly position the needle at value 0 on the gauge, when the value of the Battery property is 0.
Click Save.
With this binding you control the rotation around the z axis of the BatteryNeedle node with the Battery property which you added to the Gauges node in the previous step.
In the Node Tree drag the BatteryNeedle node and drop it above the Gauges node.
Just like with the FuelNeedle node, by placing the BatteryNeedle node above the Gauges, you set Kanzi to first render the BatteryNeedle node and then on top of it the Gauges node, which shows only a sliver of the BatteryNeedle to create an elegant battery indicator.
You can now control the speed, fuel, and battery gauge needles with the Speed, Fuel, and Battery properties in the Gauges node.
What's next?
In this tutorial you learned how to create gauges with needles you can control with properties using bindings. Now you can:
Extend the project you created in this tutorial to create a cluster indicator and control it with a property. See Tutorial: Create cluster indicators.
Learn how to use Kanzi Data Sources to separate the user interface from the application data. See Tutorial: Get application data from a data source.
Learn how to set the values of properties using the Kanzi Engine API. See Tutorial: Hello world! and Tutorial: Kanzi Engine API advanced use.
See also
To learn more about what you can achieve with bindings, see Using bindings.
To learn more about the Preview and the tools available in the Preview, see Preview.
To learn about the underlying principles of Kanzi properties, see Property system.
To learn about the underlying Kanzi principles, see Kanzi fundamentals.
To learn more about creating Kanzi applications, see Tutorials.
To find out more about Kanzi Studio features, see Working with ....