Step 2 - Render the reflection
In the previous step you tagged the nodes in your project. In this step you first create two tag filters: one to pick the nodes for which you are creating the reflection, the other to pick the Instantiator node that you use for the reflections. You then use render passes to render the nodes and to set culling in the reflections.
To render the reflection:
Create the filters that pick the origin and reflection nodes:
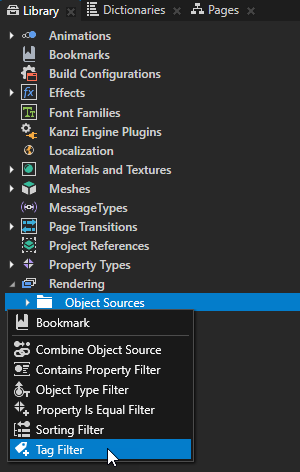
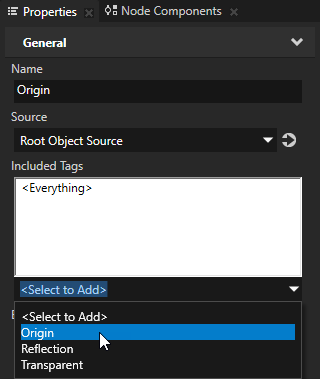
In the Library > Rendering press Alt and right-click Object Sources, select Tag Filter, name it Origin and in the Properties set the Included Tags property to Origin.
This filter picks the Content node that contains the nodes for which you are creating a reflection.

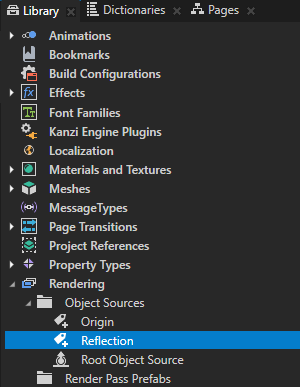
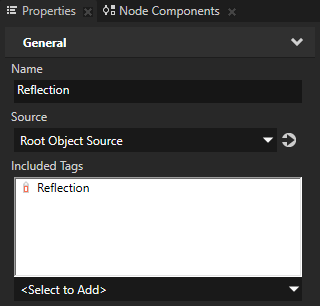
In the Library > Rendering > Object Sources create another Tag Filter, name it Reflection, and in the Properties set the Included Tags property to Reflection.
This filter picks the Reflection node that you use to create the reflections.
Create the render passes that you use to render the origin nodes and their reflections:
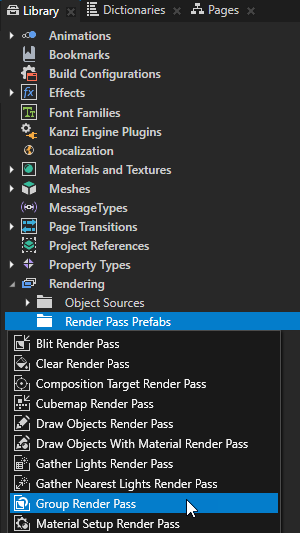
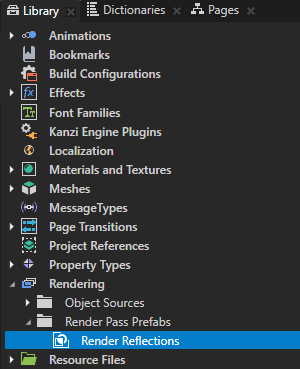
In the Library > Rendering press Alt and right-click Render Pass Prefabs, select Group Render Pass, and name it Render Reflections.
Group Render Pass allows you to collect render passes so that you can refer to a single render pass prefab in your Viewport 2D node.
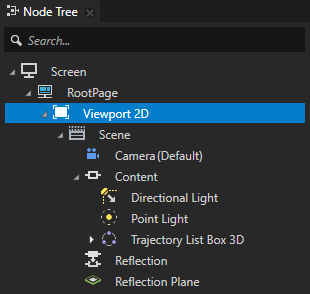
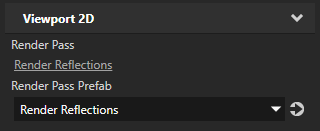
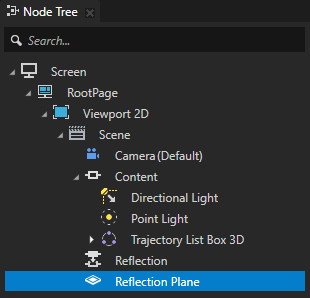
In the Node Tree select the Viewport 2D node and in the Properties set the Render Pass Prefab property to Render Reflections.
Kanzi now renders the Viewport 2D node using the Render Reflections render pass. The Render Reflections render pass does not yet draw anything, which is why the Preview does not show any content.
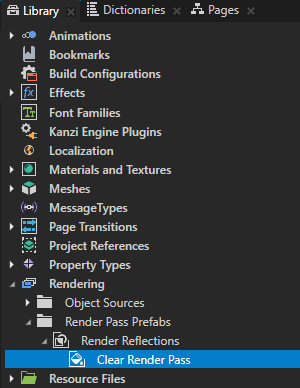
In the Library in the Render Reflections create a Clear Render Pass render pass.
This render pass clears the depth buffer.
Render the origin nodes:
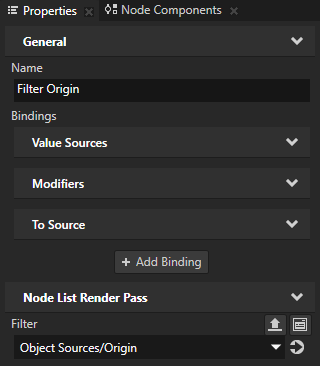
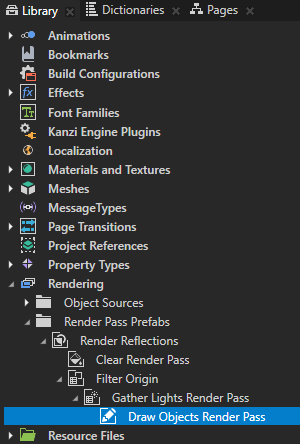
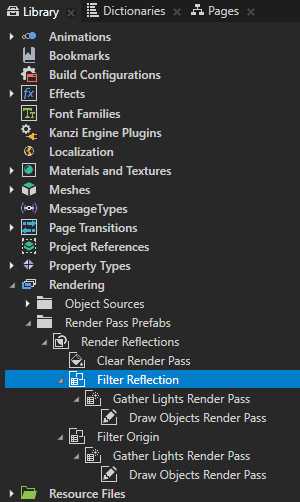
In the Library in the Render Reflections create a Node List Render Pass and name it Filter Origin.
Node List Render Pass allows you to filter and hold a list of nodes that you want to render using other render passes.
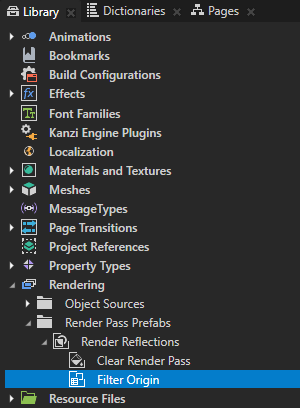
In the Properties add the Filter property and set it to Object Sources/Origin.
You use the Filter Origin render pass to collect the Content node picked by the Origin tag filter.
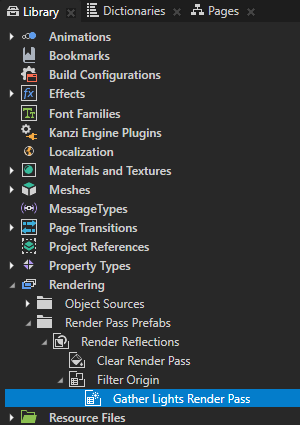
In the Library in the Filter Origin render pass create a Gather Lights Render Pass render pass.
You use this render pass to collect the Light nodes from the origin nodes that the Filter Origin render pass collects.
In the Library in the Filter Origin > Gather Lights Render Pass create a Draw Objects Render Pass render pass.
This render pass uses the default Camera node to render in the Viewport 2D node, which uses the Render Reflections render pass prefab, all the origin nodes.
Render the reflections:
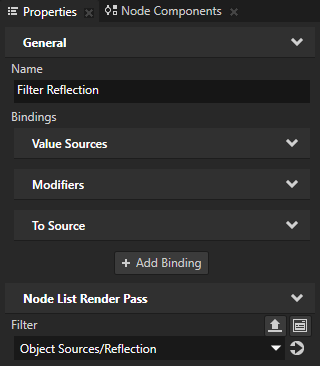
In the Library duplicate the Filter Origin render pass, rename it to Filter Reflection, and in the Properties set the Filter property to Object Sources/Reflection.
You use this render pass to render the Instantiator node Reflection picked by the Reflection tag filter.
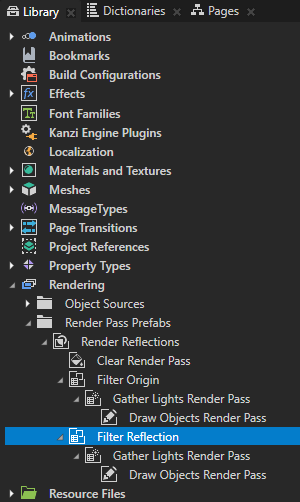
In the Library drag the Filter Reflection render pass above the Filter Origin render pass.
This way you set the Render Reflections render pass to render the reflections before rendering the origin nodes. You do this to first render the reflections and then blend them with the reflection plane, which is one of the origin nodes.
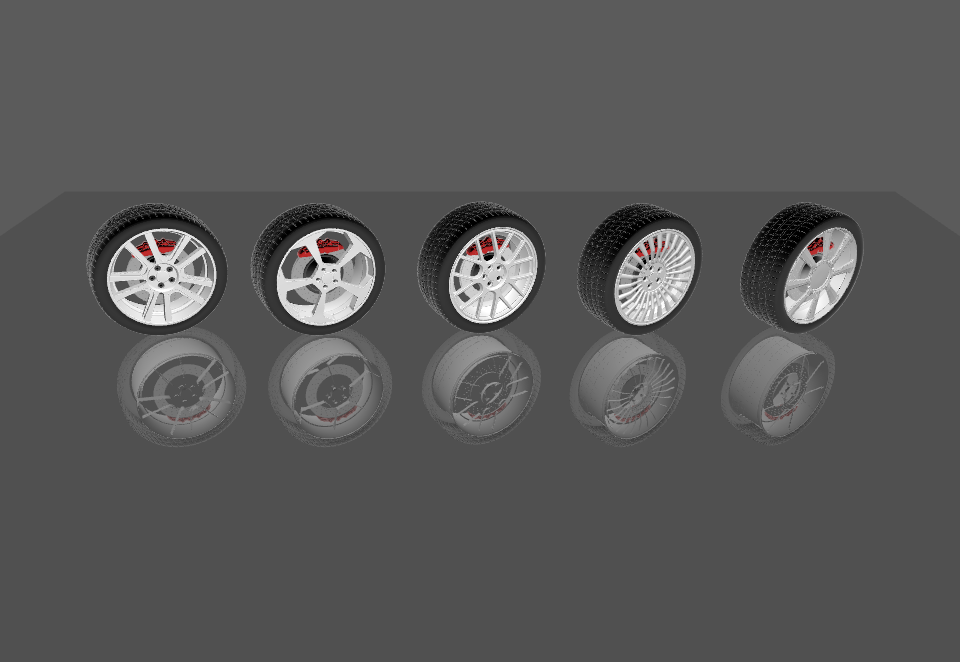
In the Library in the Filter Reflection > Gather Lights Render Pass create a Pipeline State Render Pass, name it Cull Reflection, and drag the Draw Objects Render Pass render pass to the Cull Reflection render pass.
You use the Cull Reflection render pass to set culling for the reflections.

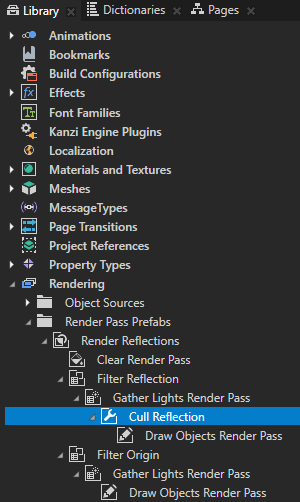
In the Library select the Cull Reflection render pass, in the Properties add the Cull Mode property, and set it to Front.
You set the Cull Reflection render pass to render only the polygons whose normal points away from the Camera node.
By default Kanzi renders only the polygons whose normal points towards a Camera node.

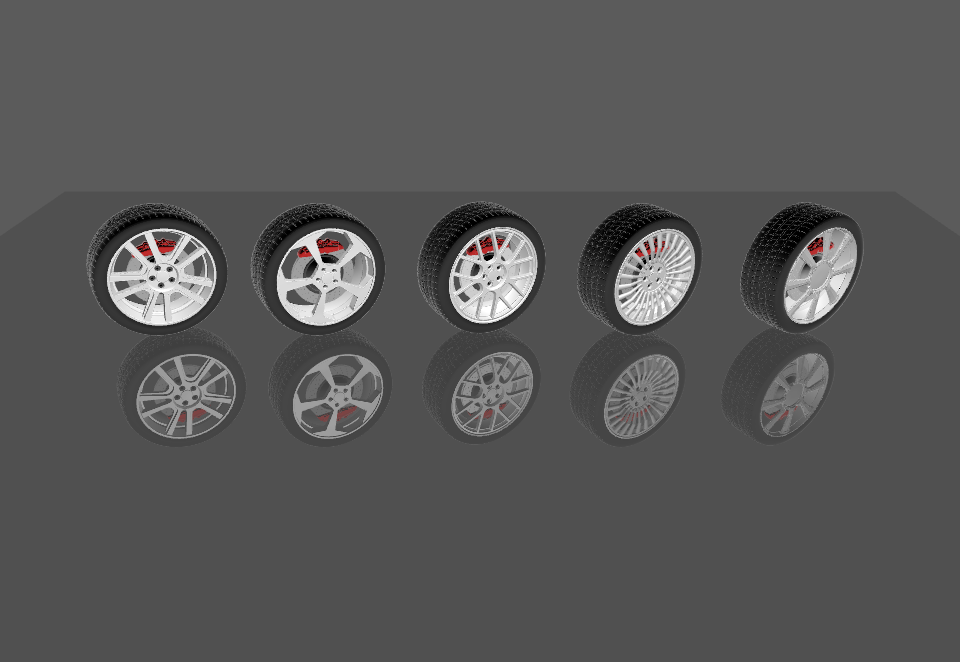
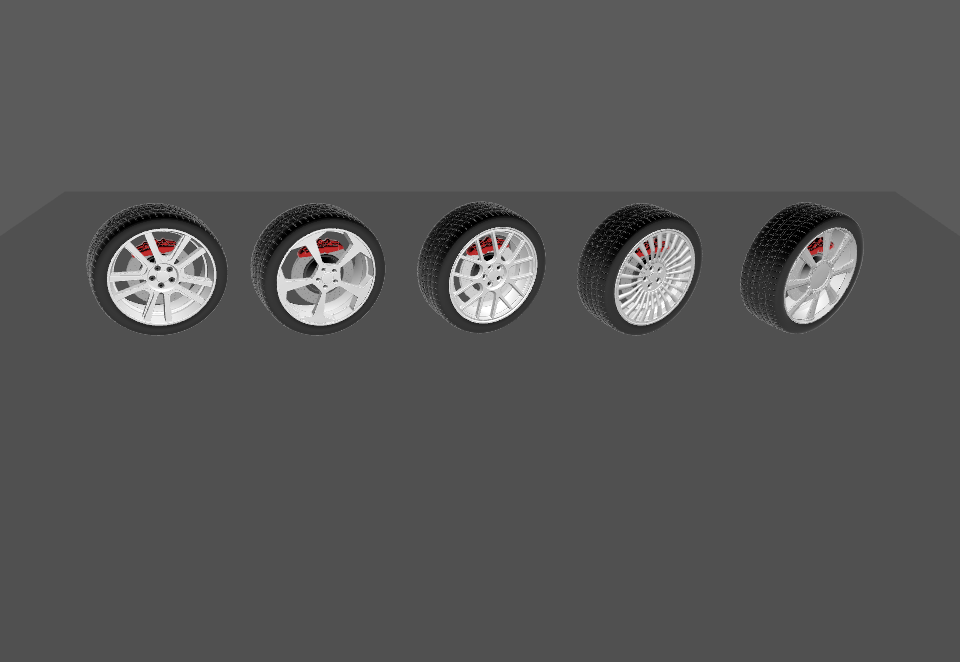
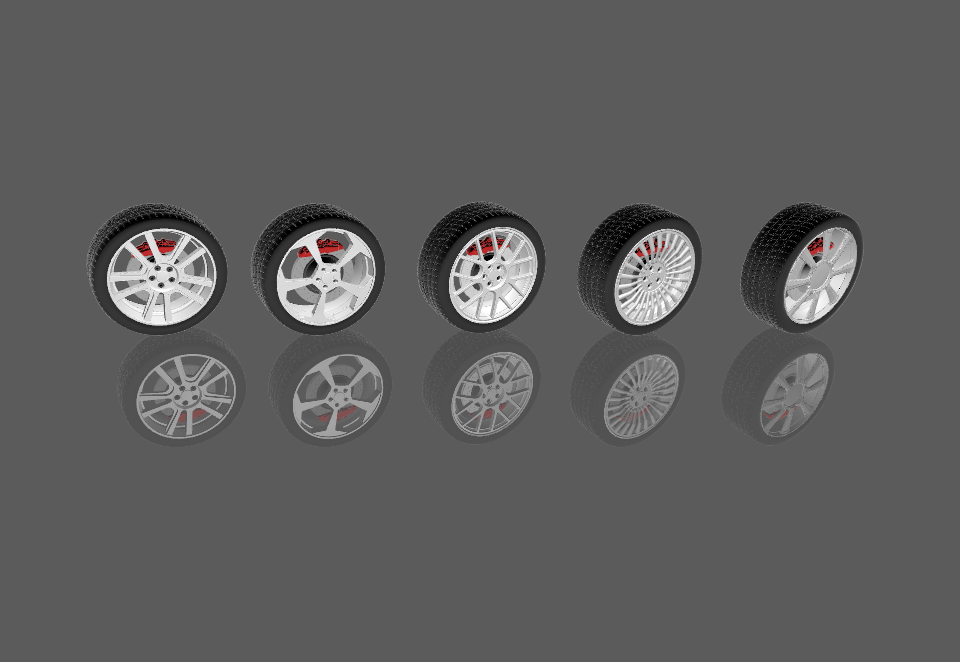
(Optional) In the Node Tree select the Reflection Plane node, and in the Properties adjust the Ambient Color and Blend Intensity properties until you get the reflection plane you want.
For example, to make the reflection plane blend with the background, adjust the Ambient Color property.

What's next?
In this tutorial you learned how to create reflections in Kanzi Studio. Now you can:
Learn how to adjust the materials and textures in Kanzi Studio. See Tutorial: Materials and textures.
Learn how to apply a stencil to 3D content so that Kanzi renders only a selected area of the content. See Tutorial: Apply a stencil to 3D content.
Learn how to create Kanzi applications that use the Kanzi Engine API. See Tutorial: Hello world!.
See also
To learn more about how you can use filters in your Kanzi application, see Filters.
To learn more about the render passes in Kanzi, see Rendering.
To learn more about materials and material types, see Material types and materials.