Creating cubemap reflections
Use the Cubemap Render Pass to create dynamic reflections of the environment on the surface of 3D nodes.

Cubemap Render Pass uses a specific Camera node that functions as a reflection probe. You position this Camera node in the center of the nodes that show meshes on whose surface you want to reflect the environment.
Cubemap Render Pass renders itself and its child render passes to a cubemap composition target.
To reflect the environment on the surface of nodes, set the cubemap composition target as the cubemap texture of the materials that those nodes use.
Each Scene node can have one reflection probe.
To create cubemap reflections:
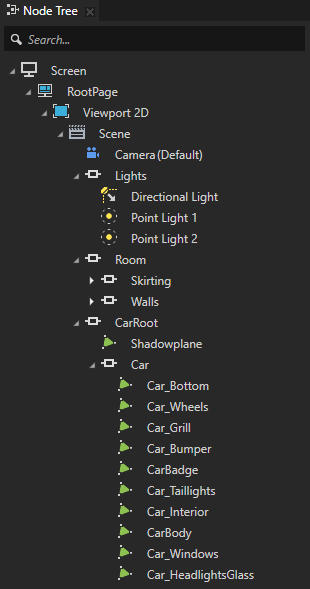
In your Kanzi Studio project in a Scene node create:
Nodes that show the meshes on whose surface you want to reflect the environment.
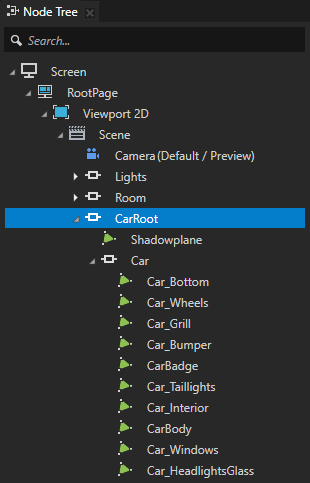
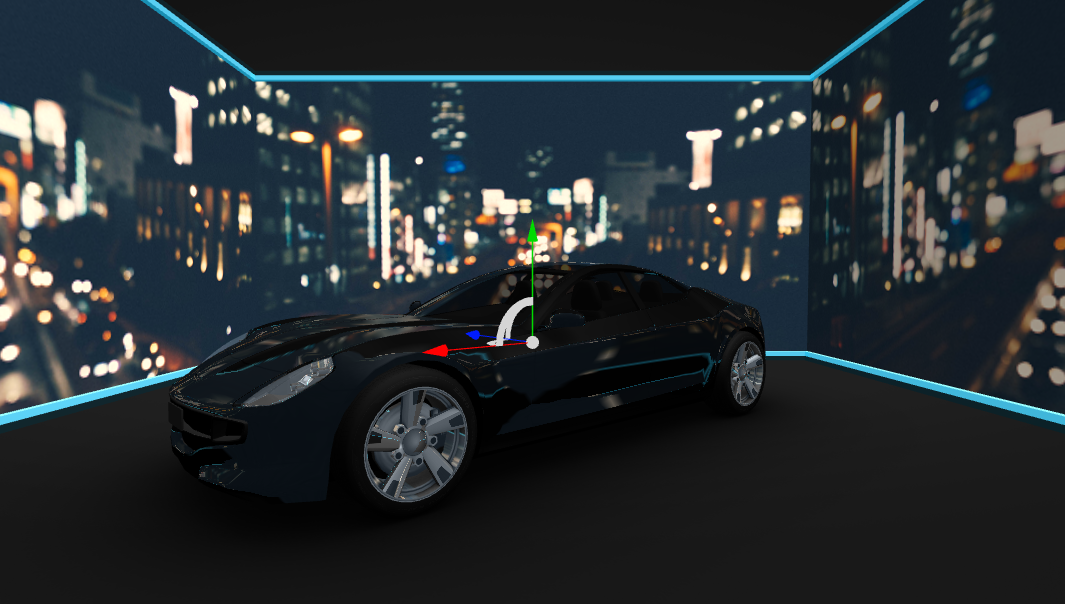
For example, create a car whose body, windows, headlights, and rims you want to reflect the environment.
The environment surrounding the nodes that you want to reflect.
For example, create several Plane nodes that show textures or an environment texture. See Using environment cubemap textures.
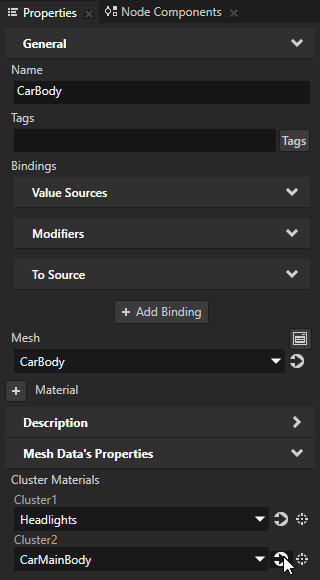
For each node whose surface you want to reflect the environment, in the Node Tree select that node, in the Properties next to the material click
 to go to that material, and set the Material Type property to a material type that supports cubemap reflections.
For example, use the VertexPhongTexturedCube material type. If your project does not contain the VertexPhongTexturedCube material type, in the Library > Materials and Textures press Alt and right-click Material Types, and select VertexPhongTexturedCube.
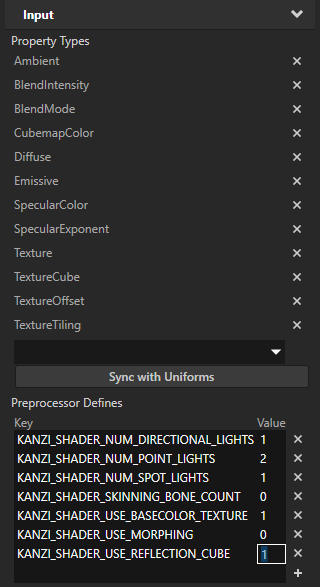
To set any Kanzi default material type to support cubemap reflections, in the Library select that material type, and in the Properties in the Preprocessor Defines property set KANZI_SHADER_USE_REFLECTION_CUBE to 1.

Render all nodes in a Scene node:
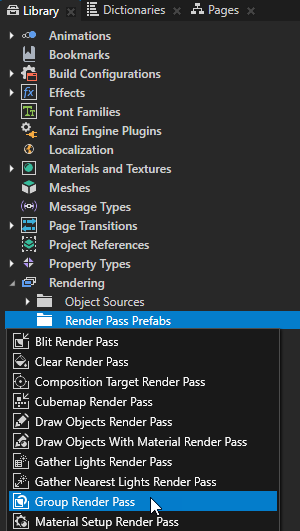
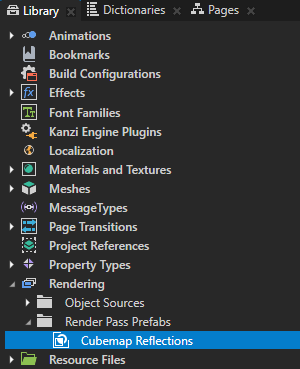
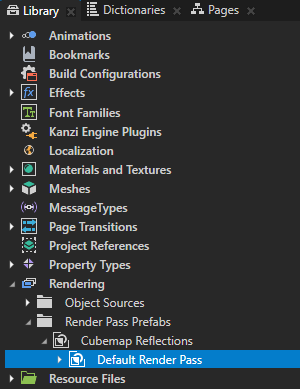
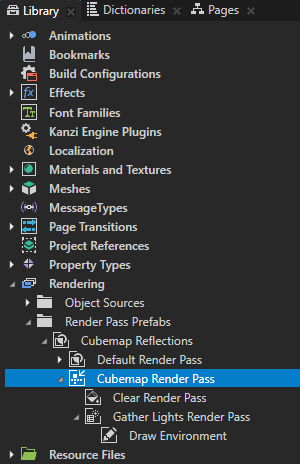
In the Library > Rendering press Alt and right-click Render Pass Prefabs, select Group Render Pass, and name it Cubemap Reflections.
Group Render Pass allows you to collect render passes so that you can refer to a single render pass prefab in your Viewport 2D node.
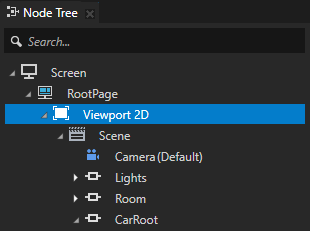
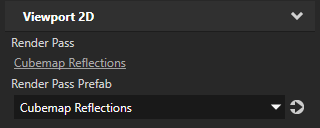
In the Node Tree select the Viewport 2D node that contains your scene and in the Properties set the Render Pass Prefab property to the Cubemap Reflections render pass prefab.
You set Kanzi to render the Viewport 2D node using the Cubemap Reflections render pass prefab. The Cubemap Reflections render pass prefab does not have any child render passes, which is why the Preview does not show any content.
In the Cubemap Reflections render pass prefab create the render passes that render to the screen the content of the Viewport 2D node.
For example, create a Default Render Pass.
Default Render Pass contains a basic set of render passes that first render opaque nodes and then transparent nodes.
Use a Cubemap Render Pass to render the environment to a cubemap composition target:
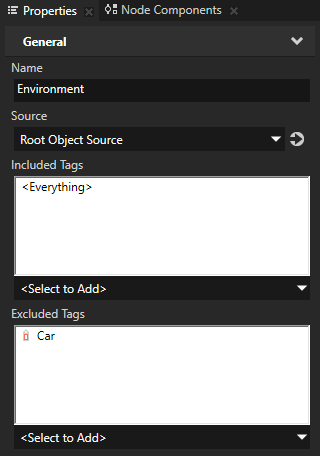
Create a filter that picks the nodes that belong to the environment.
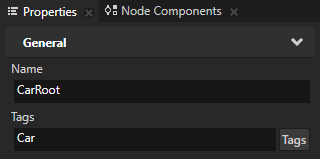
For example, tag with the tag Car the node that contains all the nodes that belong to the car, and in the Library > Rendering > Object Sources create a Tag Filter named Environment, which excludes the Car tag.
See Filters.
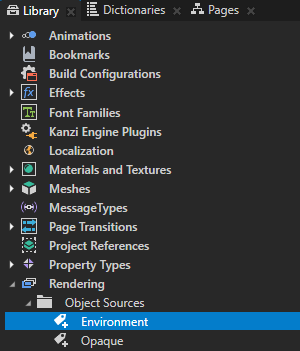
In the Cubemap Reflections render pass prefab create a Cubemap Render Pass, and in the Cubemap Render Pass create the render passes that draw the environment.
For example, create:
Clear Render Pass.
This render pass clears the depth buffer.
Gather Lights Render Pass.
Gather Lights Render Pass allows you to collect from a list of nodes the light nodes for lighting 3D nodes in a scene.
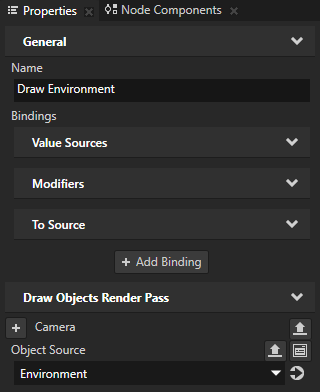
In the Gather Lights Render Pass create a Draw Objects Render Pass, name it Draw Environment, and in the Properties set the Object Source property to the filter that picks only the nodes that belong to the environment.
You use the Object Source property to tell a Draw Objects Render Pass which nodes you want it to render.
The Cubemap Render Pass draws the environment to a cubemap composition target, which is why you cannot see the result in the Preview.
Render the cubemap reflections:
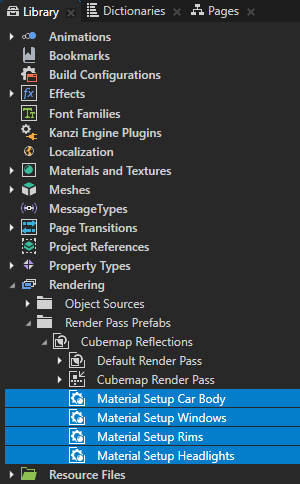
In the Cubemap Reflections render pass prefab create a Material Setup Render Pass for each material that you want to reflect the environment.
Material Setup Render Pass allows you to set properties for a material so that all successive rendering with that material uses the property values that you set in this render pass.
For example, create a Material Setup Render Pass for the car body, windows, rims, and headlights materials.
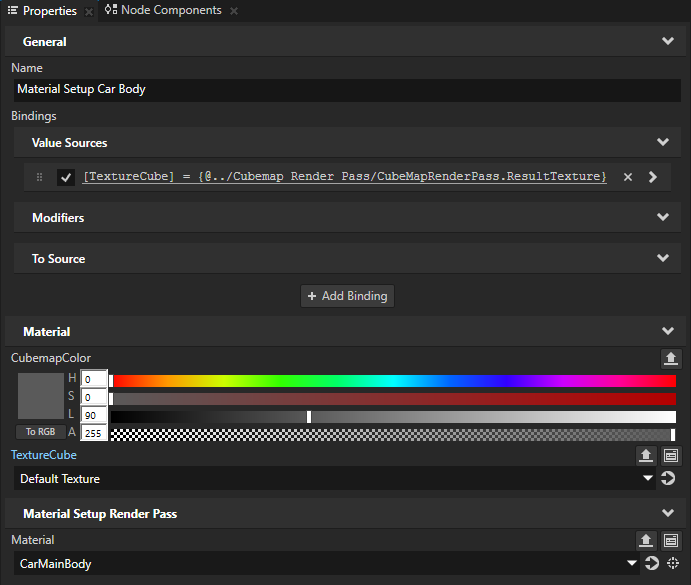
For each Material Setup Render Pass that you created, in the Properties:
Add the TextureCube property, and from the Library drag the Cubemap Render Pass to the Properties window and drop it on the TextureCube property of the Material Setup Render Pass.
Kanzi Studio binds the TextureCube property of the Material Setup Render Pass to the Result Texture property of the Cubemap Render Pass.
Set the Material property to the material for which you created this Material Setup Render Pass.
(Optional) Add and set any other properties that you want to use to adjust the appearance of the material.
For example, add the CubemapColor property and adjust the Lightness (L) property to set the brightness of the reflections.
This way you set Kanzi to render the result of the Cubemap Render Pass in the nodes that use the material to which you set the Material property.
Position the cubemap reflections:
In the Scene node that contains nodes on which you want to reflect the environment, create a Camera node and position it in the center of those nodes.
You use this camera as a reflection probe, which captures a spherical view of its surroundings in all directions.
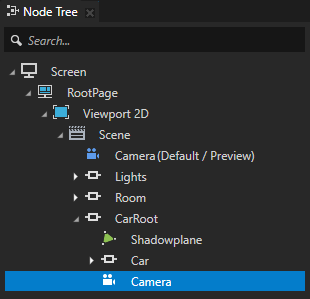
In the Library select the Cubemap Render Pass, in the Properties add the Override Camera property, and set it to the Camera node that you created.
This way you tell the Cubemap Render Pass the position from which you want it to capture the cubemap of the environment.

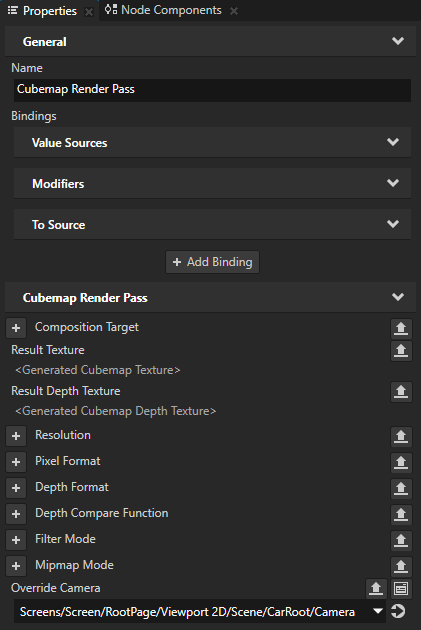
(Optional) Configure the Cubemap Render Pass to suit your needs.
For example, to blur the cubemap reflections, add and set the Resolution property to a lower value.
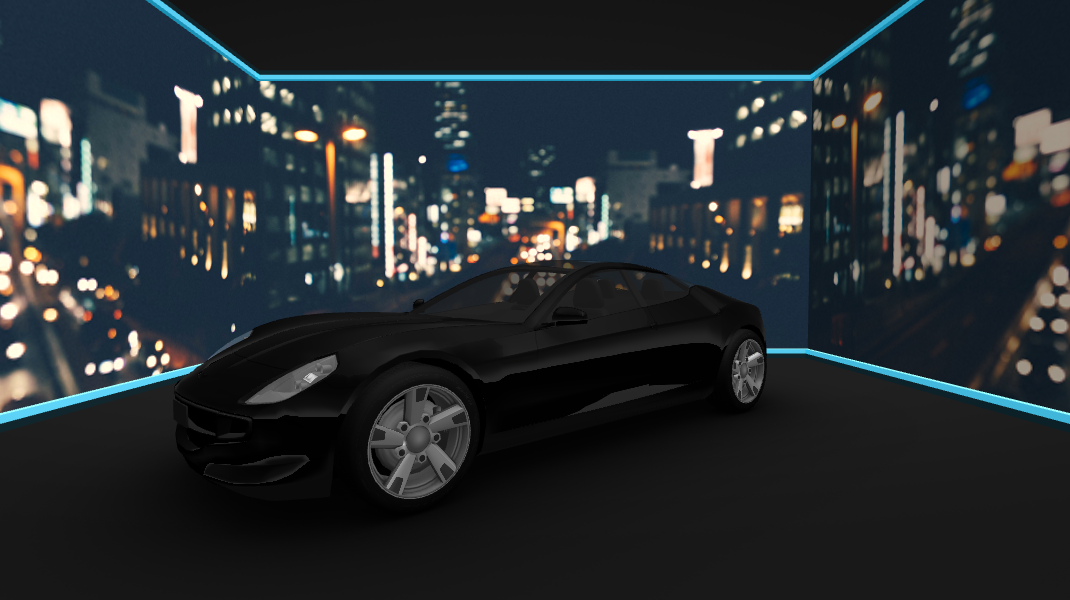
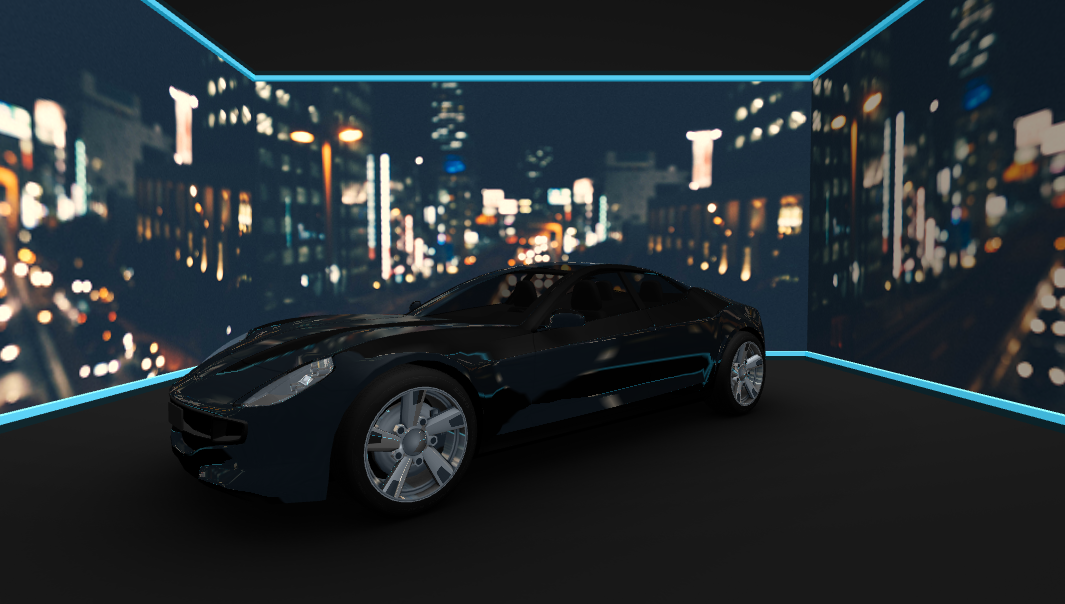
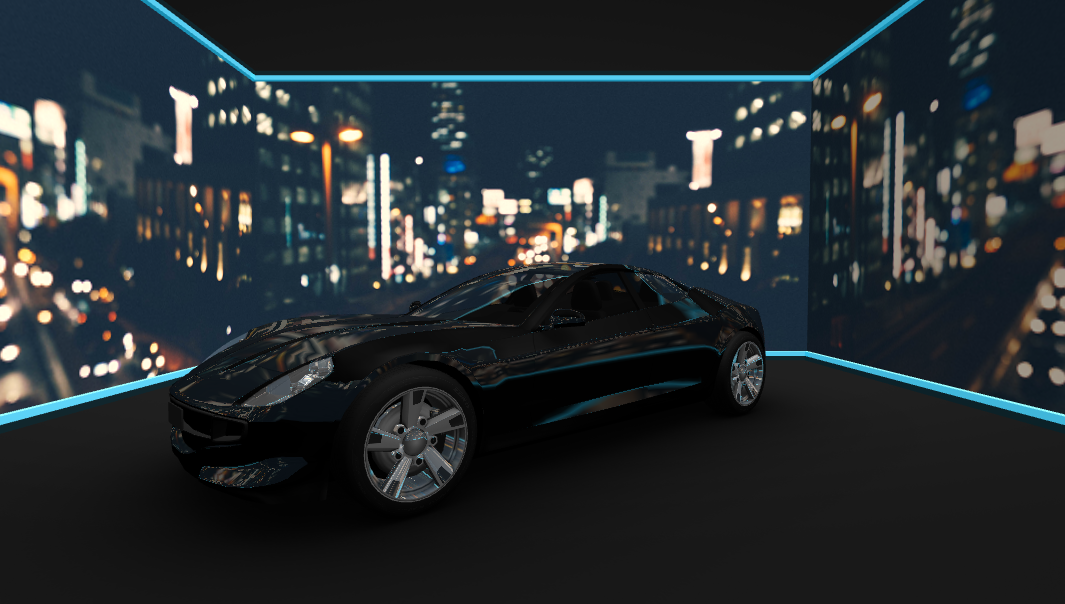
In the Preview when you move the car, the body, windows, headlights, and rims of the car reflect their changing surroundings.