Step 1 - Create application structure
In this step of the tutorial you learn:
About different types of Activity nodes
How to use the Activity Browser to create the structure of an application with Activity nodes
How to control the activation state of Activity nodes using a State Manager
Assets for the tutorial
The starting point of this tutorial is the <KanziWorkspace>/Tutorials/Activity/Start/Tool_project/Activity.kzproj Kanzi Studio project.
You can find the completed tutorial in the <KanziWorkspace>/Tutorials/Activity/Completed directory.
The starting point project contains the content that you need to complete this tutorial:
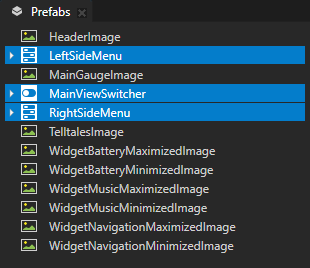
The Prefabs contains:
The images of UI elements that you use in this tutorial
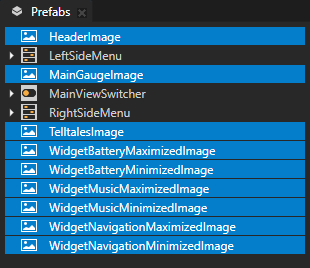
UI controls that you use to control the activation of Activities
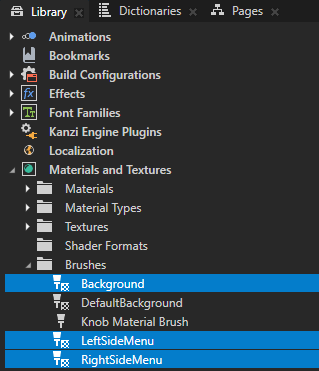
The Library contains the Brushes that you use in the application.
Create the application structure
In this section you learn how to use the Activity Browser and different types of Activity nodes to create the structure of an application.
Use the Activity Browser to create the structure of an application with Activity and Activity Host nodes and to simulate the activation of Activities in your application.
To create the application structure:
In Kanzi Studio, open the
<KanziWorkspace>/Tutorials/Activity/Start/Tool_project/Activity.kzprojKanzi Studio project.In the Node Tree, right-click the RootPage node and select Delete.
You delete the RootPage node because you create the application structure using Activity Hosts and Activities.

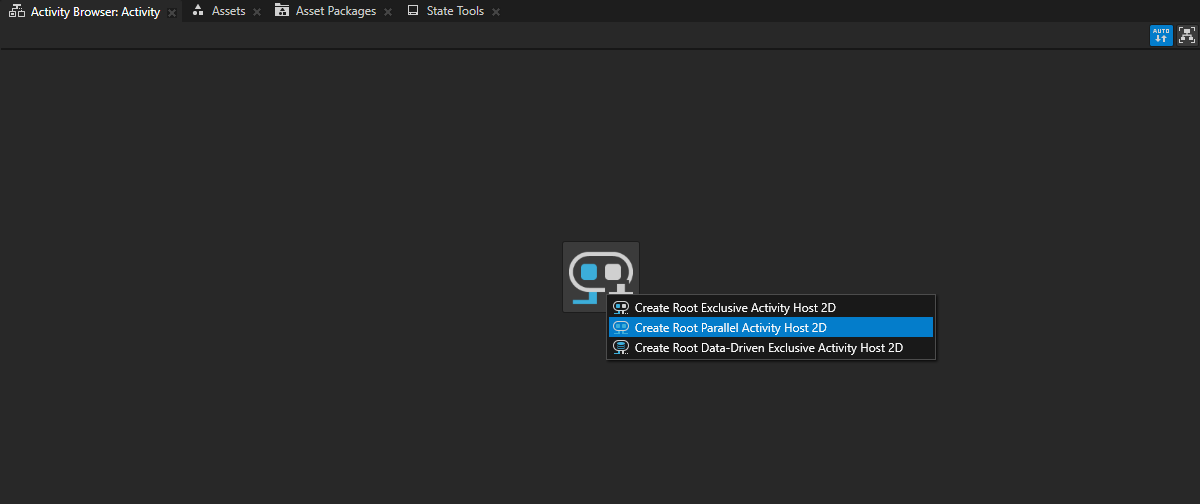
Create and set the root Activity Host node:
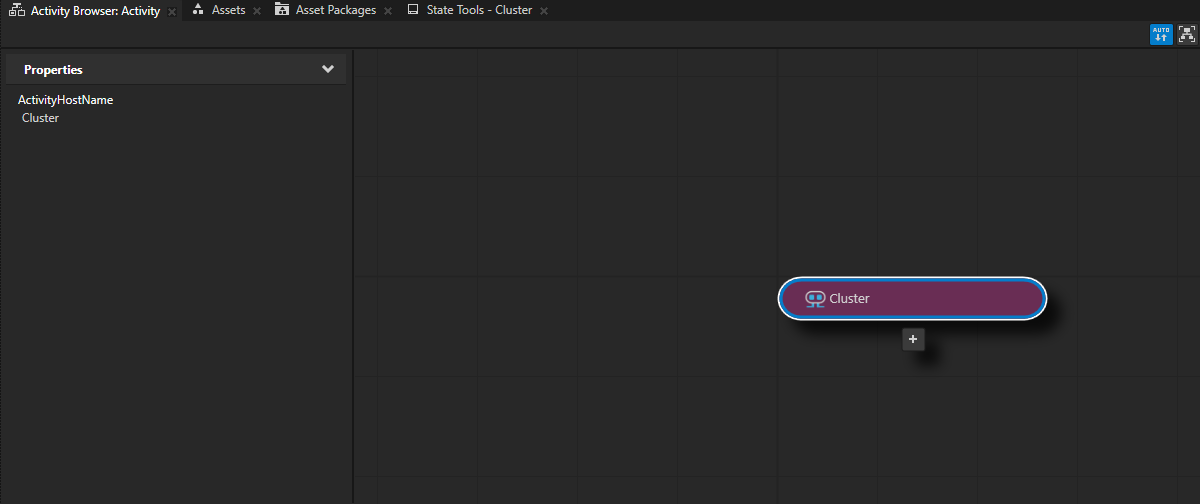
In the Activity Browser, click
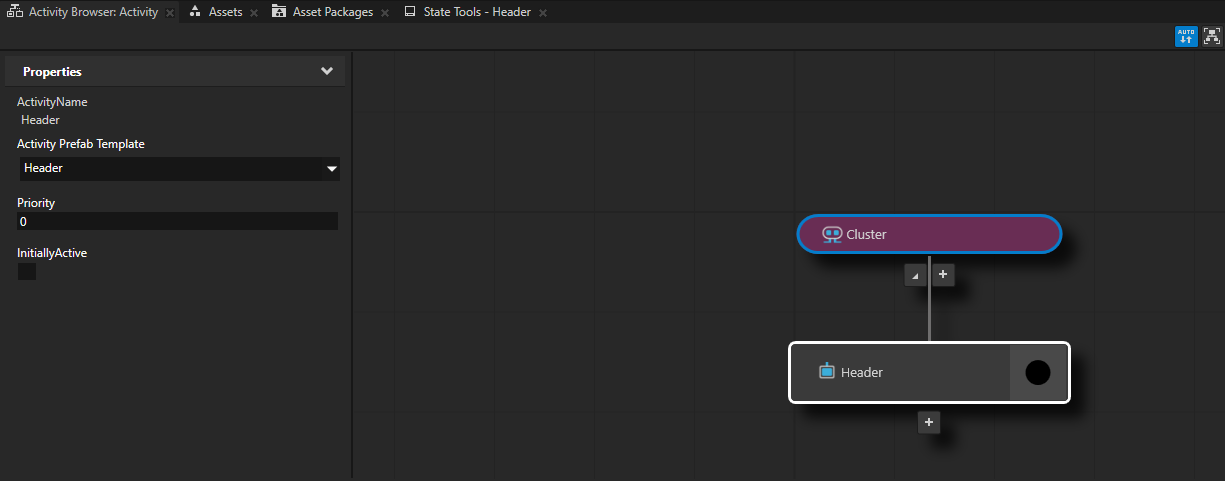
 , select Create Root Parallel Activity Host 2D, and name the node Cluster.
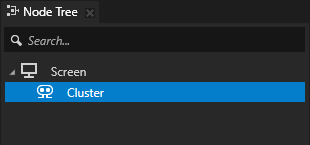
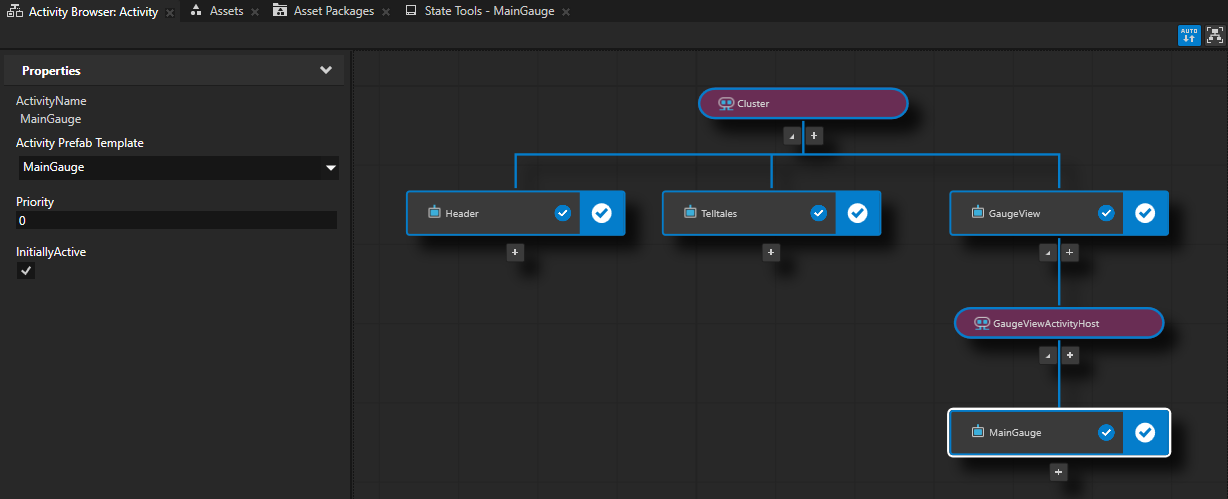
Kanzi Studio creates a Parallel Activity Host node under the Screen node in the Node Tree. In the Activity Browser Parallel Activity Hosts are purple.
An Activity Host defines the rules for when its child Activities are active. A Parallel Activity Host can activate more than one of its child Activities at a time. This feature often makes it the most suitable type of Activity Host for a top-level node of an application.
The Activity Browser shows all the possible UI states of an application, including Kanzi Studio solutions that include multiple projects. Use the Activity Browser to create, inspect, and interact with the UI states in your application.
Tip
To pan and zoom in the Activity Browser window, use these shortcuts:
Action
Shortcut
Pan
Click and drag the middle mouse button.
Press the Space key, and click and drag the left mouse button.
Zoom
Scroll the mouse wheel.
Press the Shift and Alt keys, and click and drag the left mouse button.
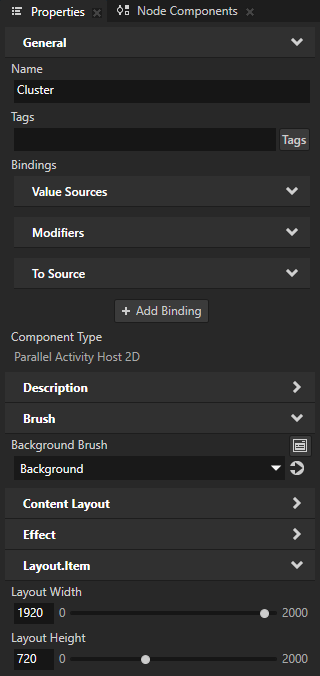
In the Properties, add and set:
Background Brush to Background
Layout Width to 1920
Layout Height to 720
You set the Layout Width and Layout Height properties so that the Cluster node has the same size as the Screen node.
All Activity and Activity Host nodes are Content Layouts. By default the size of a Content Layout node is determined by the size of its child nodes.

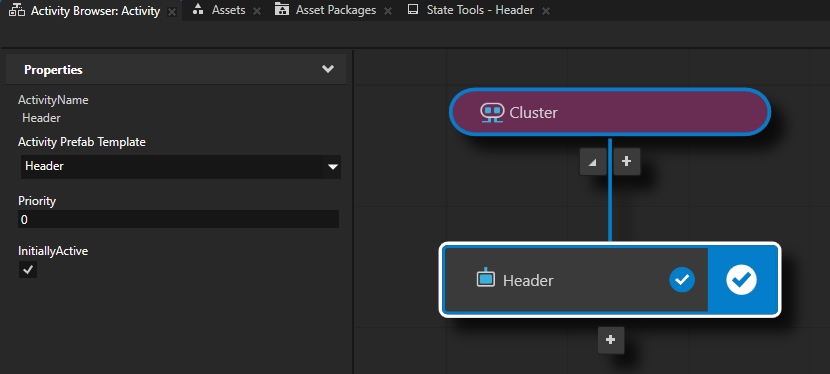
Add the header to the cluster UI:
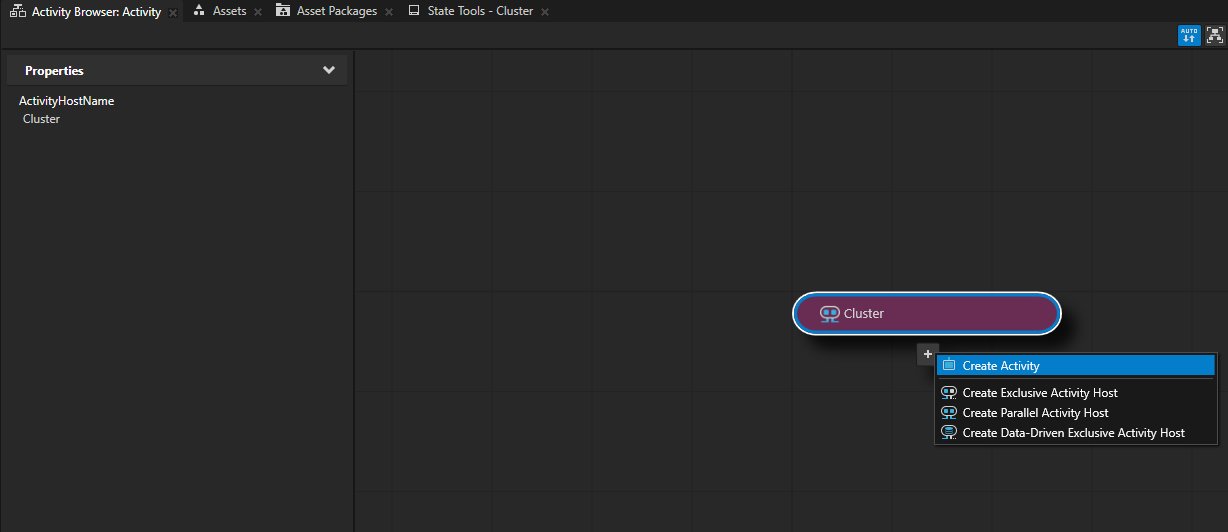
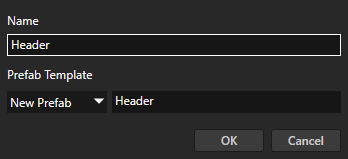
In the Activity Browser, below the Cluster Activity Host click
 , select Create Activity, and name the Activity and its prefab Header.
Every Activity in the Activity Browser has a prefab. In the Activity Browser when you add an Activity, you either select an existing prefab or create a prefab for your Activity. You can only select prefabs that are of the Activity node type.
Activities that you add in the Activity Browser are not nodes in the application node tree. They are only a visualization of the structure that Kanzi creates once you activate those Activities.
When you activate an Activity, Kanzi:
Creates an Activity node using its prefab.
Attaches the Activity node to the node tree.
Makes the Activity visible.
Sets the key focus to the Activity, if the Activity Host has key focus and is not configured differently. Controlling whether to set focus to an activating Activity.
Tip
In the Activity Browser, when you want to fit the Activity tree to the size of the Activity Browser window, in the upper-right corner click
 .
.
In the Activity Browser, select the Header Activity and in the side panel set the InitiallyActive property to enabled.
This way you set an Activity to be active when its Activity Host is active. To indicate this, the Activity Browser shows the
 icon for all such Activities.
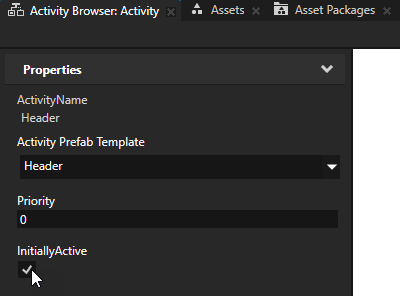
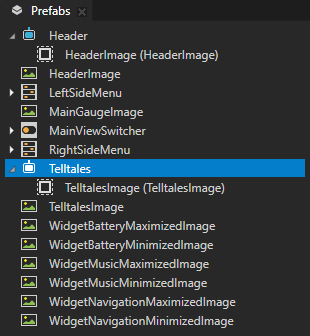
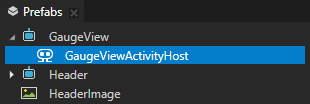
In the Prefabs, drag the HeaderImage prefab to the Header prefab.
The nodes that you add to an Activity prefab are visible and users can interact with them when the Activity that uses that prefab is active.

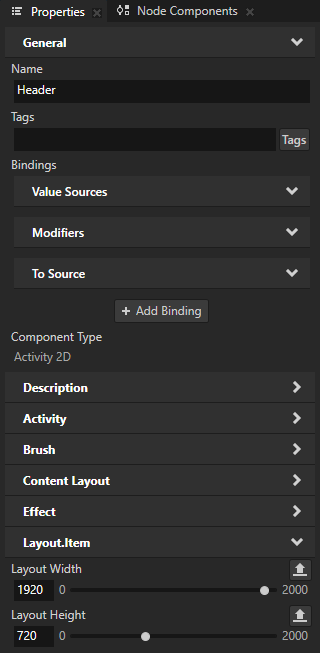
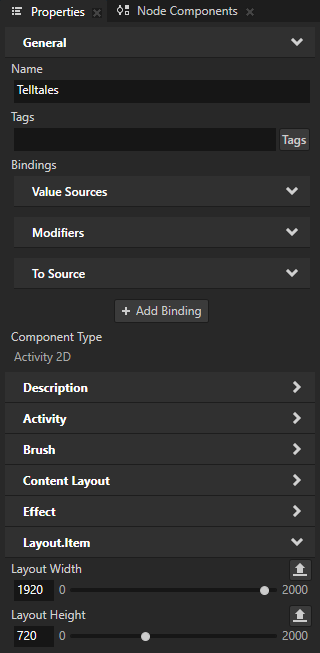
In the Prefabs, select the Header prefab and in the Properties add and set:
Layout Width to 1920
Layout Height to 720

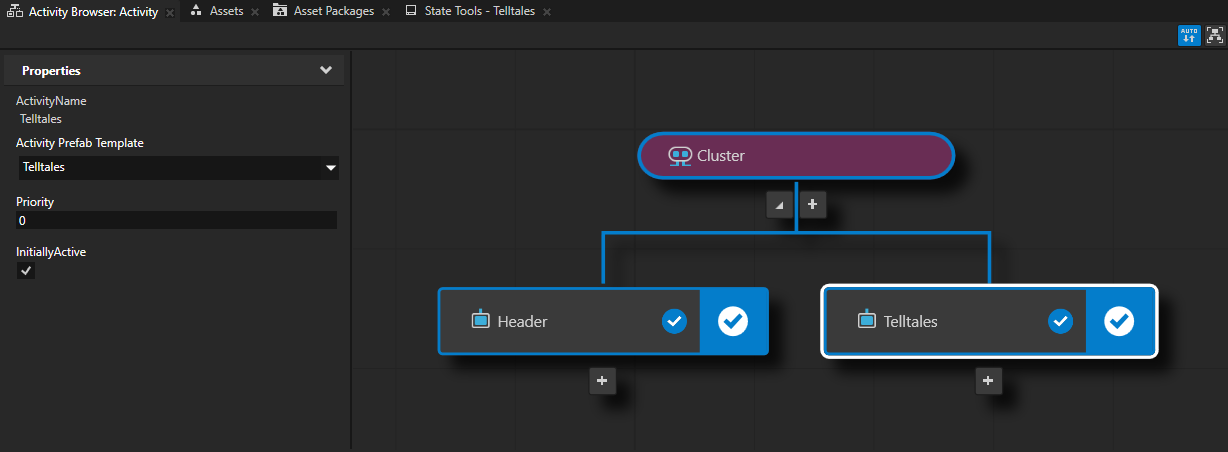
Repeat the previous step to add the telltales to the cluster UI, but name the Activity Telltales and use the TelltalesImage prefab.

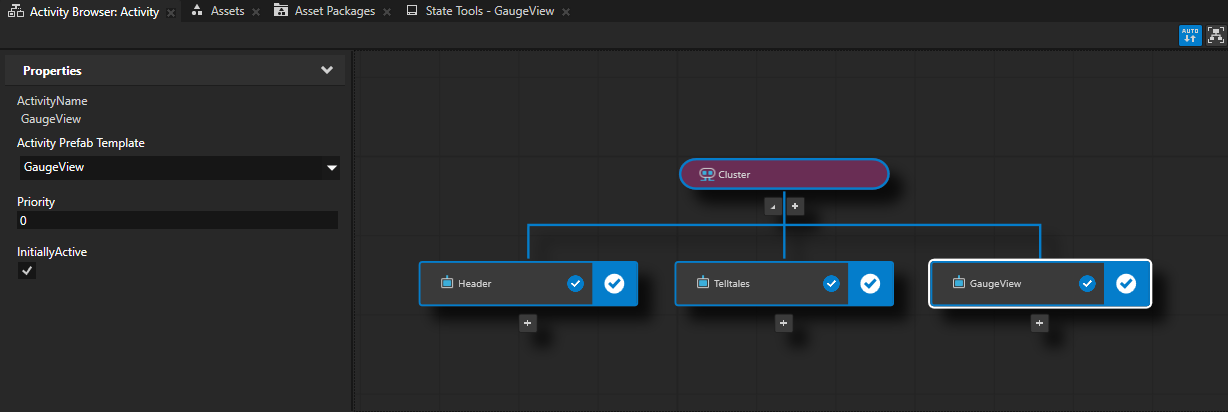
Add the main gauge to the cluster UI:
In the Activity Browser, under the Cluster Activity Host add an Activity, name it and its prefab GaugeView, and set the InitiallyActive property to enabled.
You use this Activity to show the main gauge and the cluster widgets. You add the widgets in the next step of this tutorial.

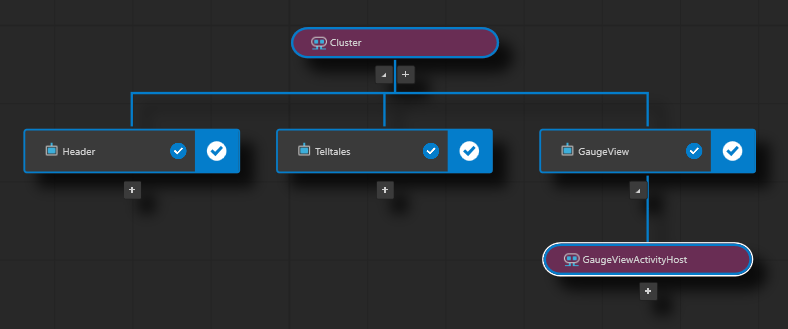
In the Activity Browser, in the GaugeView Activity add a Parallel Activity Host and name it GaugeViewActivityHost.
You use this Parallel Activity Host so that you can show and separately control the state of the main gauge and the widgets.
In the Activity Browser, in the GaugeViewActivityHost Activity Host add a MainGauge Activity and set its InitiallyActive property to enabled.
You use this Activity to show the main gauge in the center of the cluster.
In the Prefabs, drag the MainGaugeImage prefab to the MainGauge prefab.
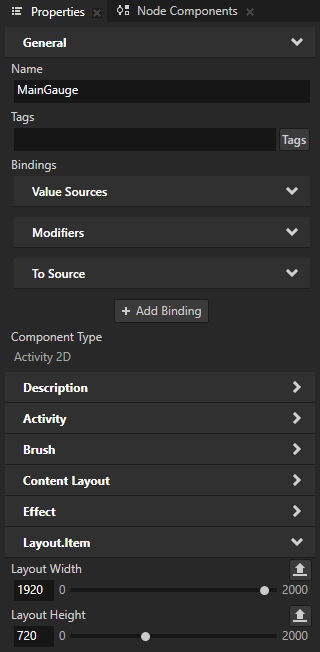
In the Prefabs, select the MainGauge prefab, and in the Properties add and set:
Layout Width to 1920
Layout Height to 720

Control Activities with a state manager
In this section you learn how to control an Activity node with a state manager.
To control Activities with a state manager
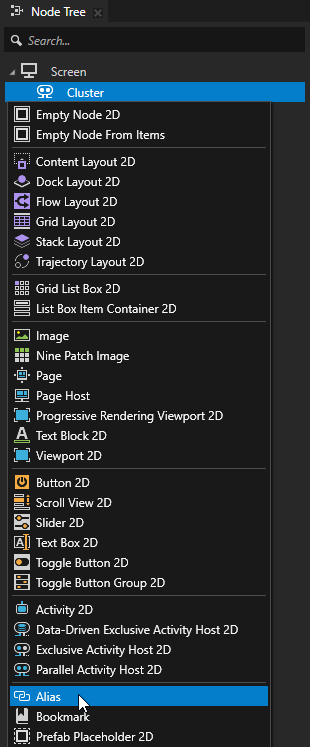
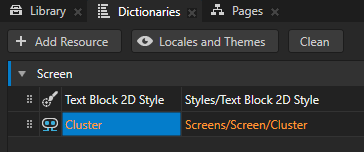
In the Node Tree, press Alt and right-click the Cluster node and select Alias.
Kanzi Studio creates an alias in the resource dictionary of the nearest node. In this project the nearest node with a resource dictionary is the Screen node.
Use an Alias to get consistent access to a Kanzi node. You can use aliases to access nodes both in Kanzi Studio and using the Kanzi Engine API.
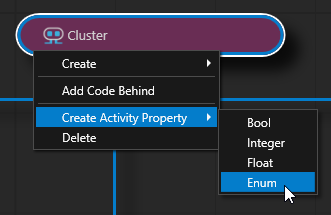
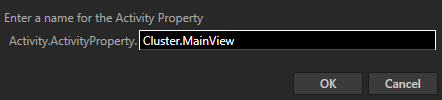
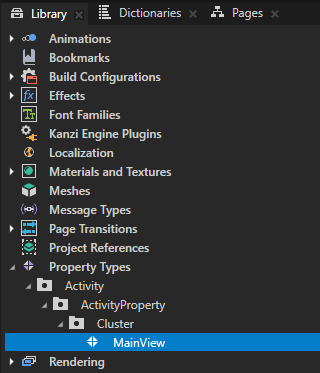
In the Activity Browser, right-click the Cluster Activity Host, select Create Activity Property > Enum, and name it Cluster.MainView.
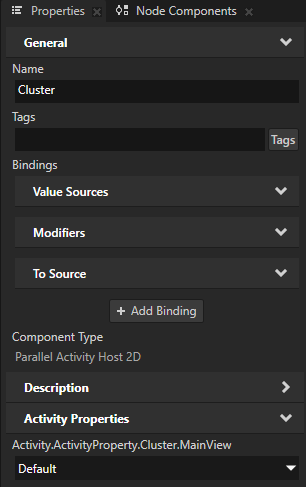
Kanzi Studio creates an Activity Property property type and adds it to the Cluster node.
You use this property type to control the cluster states.
For each Activity you can define properties that are specific to that Activity. This type of property is called an Activity Property and the values of these properties implement the state machine and logic of your Kanzi application. Activity Properties enable Kanzi to preserve the values of these properties even when an Activity is virtual. When Kanzi virtualizes an Activity, it serializes the properties of that Activity and when Kanzi unvirtualizes that Activity, it deserializes the state of that Activity and restores its property values.
In the Activity Browser, when you change the value of an Activity Property you set the runtime value of that property.
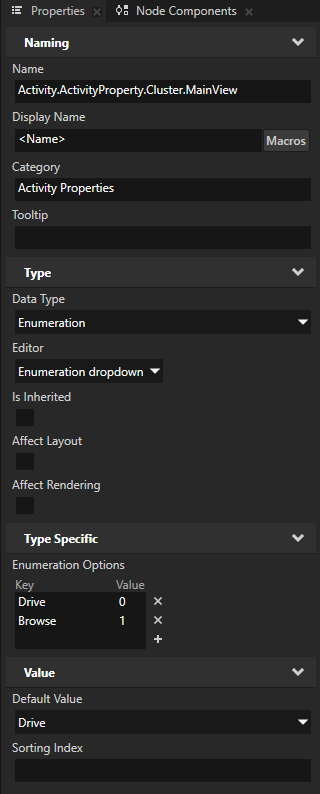
In the Library > Property Types, select the Activity > ActivityProperty > Cluster > MainView property and in the Properties edit the Enumeration Options so that the property has these enumeration keys and values:
Drive to 0
Browse to 1
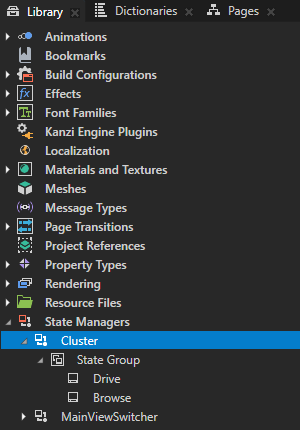
Create a state manager that you use to switch between the Drive and Browse states:
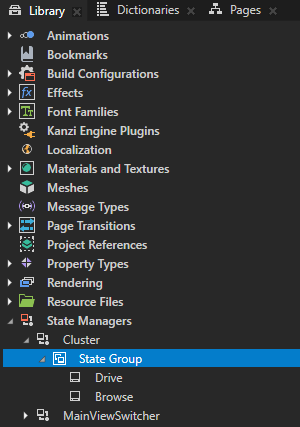
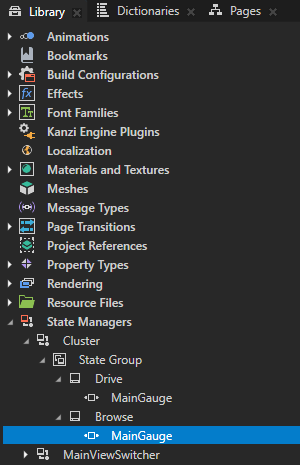
In the Library > State Managers, create a state manager named Cluster that has states Drive and Browse.
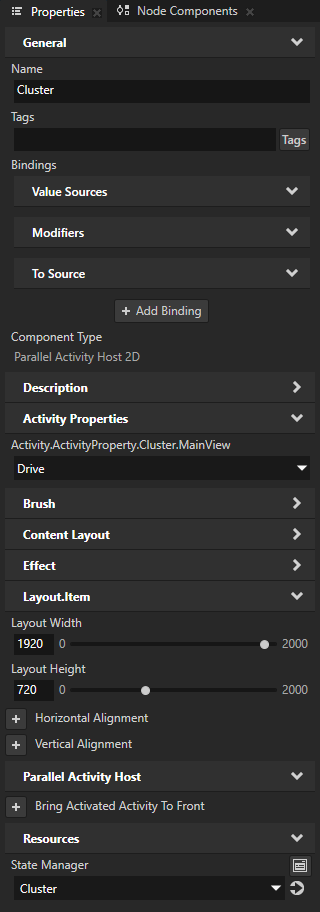
From the Library > State Managers, drag the Cluster state manager to the Node Tree and drop it on the Cluster node.
This way you add the Cluster state manager to the Cluster node. When you drop a state manager on a node, Kanzi Studio adds the Resources > State Manager property, and sets it to the state manager that you dropped.
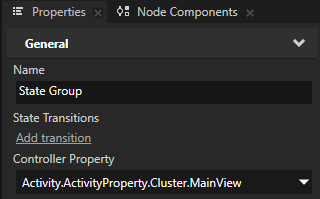
In the Library > State Managers > Cluster state manager, select the State Group and in the Properties set the Controller Property to the Activity.ActivityProperty.Cluster.MainView property.
You use the Activity.ActivityProperty.Cluster.MainView property to control this state manager.
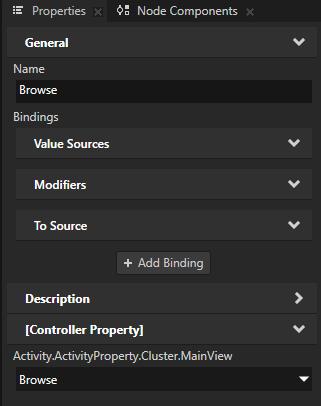
In the Library > State Managers > Cluster state manager, select the Browse state and in the Properties set the Activity.ActivityProperty.Cluster.MainView property to Browse.
In the Drive state, the value of the controller property is already set to Drive.
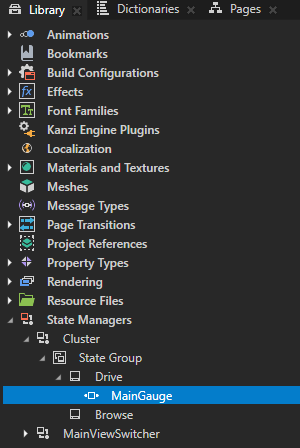
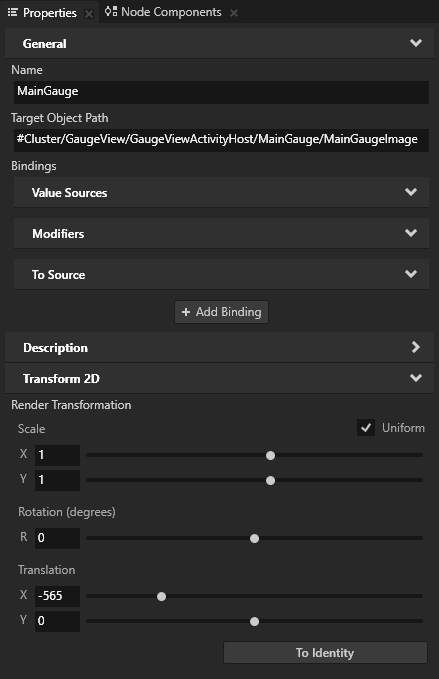
In the Drive state, create a State Object, name it MainGauge, and in the Properties add and set:
Target Object Path to
#Cluster/GaugeView/GaugeViewActivityHost/MainGauge/MainGaugeImage
You use the Cluster alias that you created earlier and the path from the Cluster node to the content that you want to control with this state.
Transform 2D > Render Transformation
You use the default value of this property because in the Drive state you want to keep the gauge where it is positioned initially.

Copy the MainGauge State Object that you created in the previous step, paste it to the Browse state, and set the Render Transformation property Translation X property field to -565.
This way you position the gauge in the Browse state to the left side of the cluster UI.
Create a UI element to control the state of the Cluster.
In the Prefabs, drag the MainViewSwitcher Toggle Button prefab to the Header prefab.
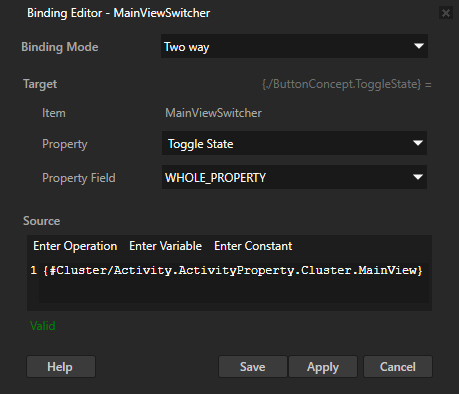
In the Prefabs, select the MainViewSwitcher prefab, in the Properties click + Add Binding, and in the Binding Editor set:
Binding Mode to Two way
Property to Toggle State
Expression to
{#Cluster/Activity.ActivityProperty.Cluster.MainView}Click Save.
This binding enables the MainViewSwitcher Toggle Button to get and set the value of the Activity.ActivityProperty.Cluster.MainView property in the Cluster Activity Host. This way the Toggle Button controls the state of the Cluster Activity Host.
You can now switch between the Drive or Browse states of the Cluster in these ways:
In the Preview, click the MainViewSwitcher Toggle Button
In the Activity Browser, select the Cluster Activity Host and in the side panel change the value of the MainView property
See also
To learn more about how to use the Activity Browser, see Using the Activity Browser.
To learn more about the Activity system, see Activities.
To learn more about the Kanzi Content Layout, see Using the Content Layout nodes.
To learn more about aliases in Kanzi, see Using aliases.
To learn more about using bindings, see Using bindings and Bindings expressions reference.
To learn more about the Kanzi state manager, see State manager.
To learn more about Kanzi Toggle Button Node, see Using the Toggle Button nodes.