Tutorial: Rotate a 3D model
In this tutorial you learn how to rotate with a swiping gesture a 3D model in your Kanzi application.
You create a Scroll View 2D node and connect it to the rotation of the camera that shows the model that you want to rotate. Then you use the properties in the Scroll View 2D node to fine-tune how the Scroll View node rotates the model.
This video shows the result of the tutorial.

This tutorial assumes that you understand the basics of working with Kanzi Studio. The best entry points for getting familiar with Kanzi Studio are:
Assets for the tutorial
The starting point of this tutorial is the <KanziWorkspace>/Tutorials/Rotation/Start/Rotation.kzproj Kanzi Studio project.
You can find the completed tutorial in the <KanziWorkspace>/Tutorials/Rotation/Completed directory.
Rotate a 3D model
To use a Scroll View 2D node to rotate a 3D model:
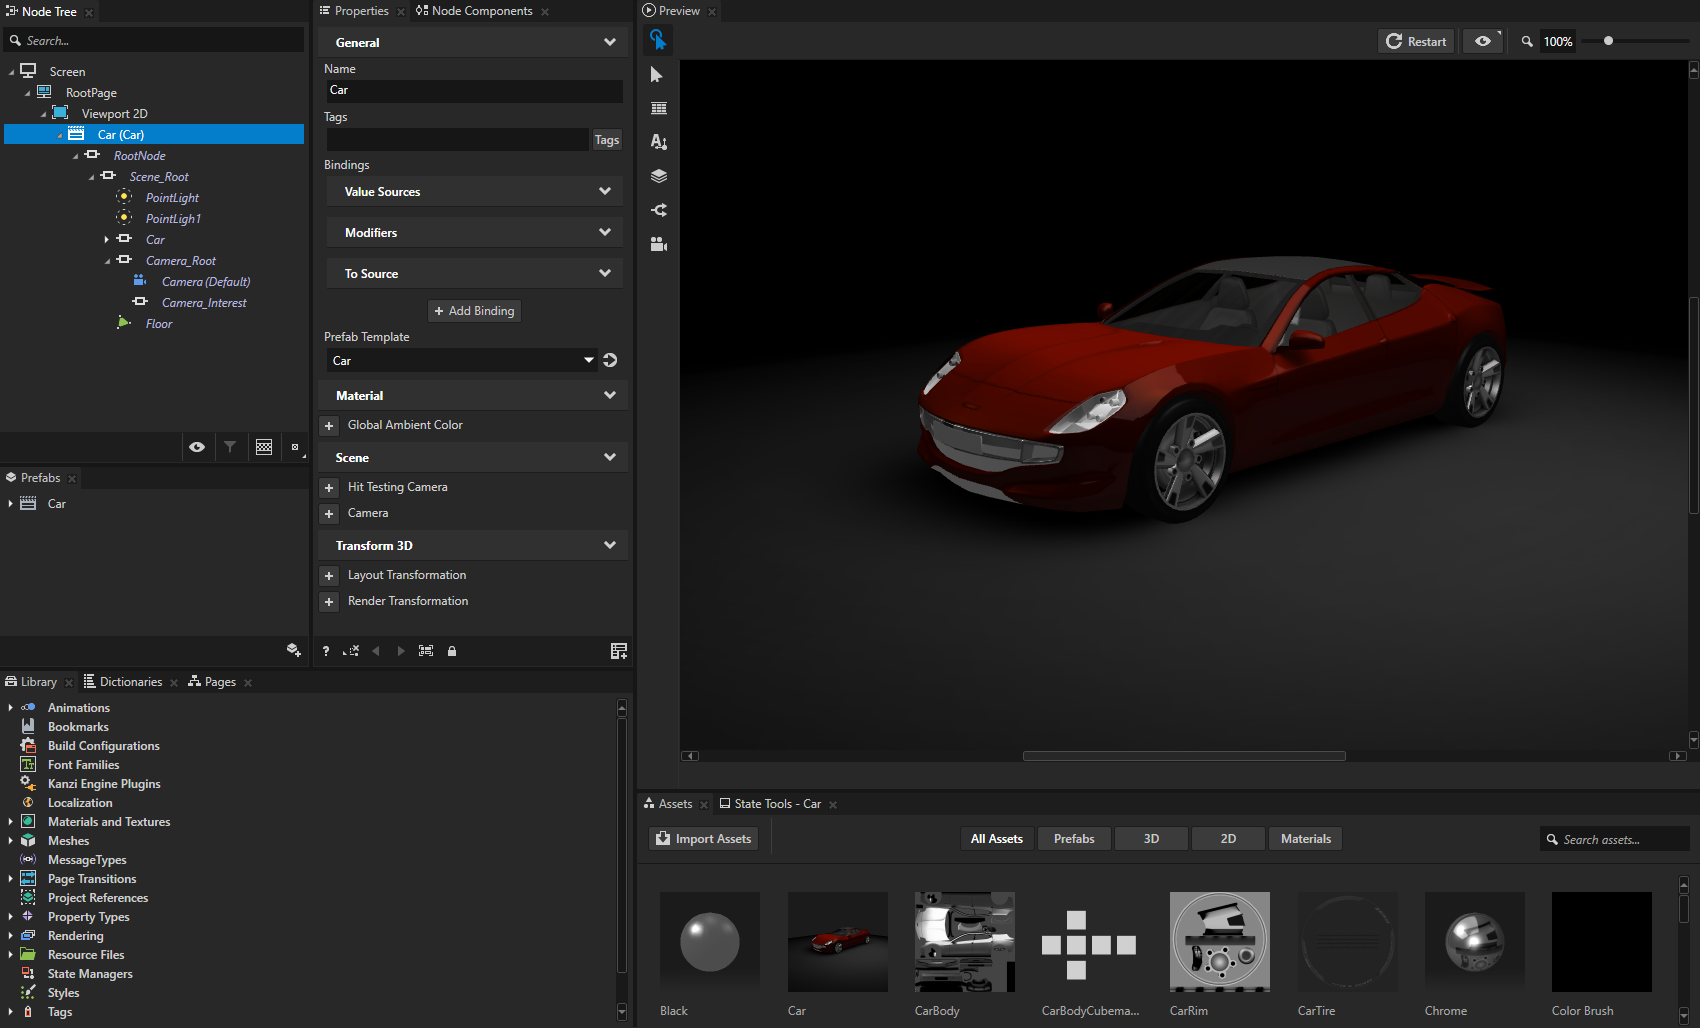
In Kanzi Studio open the project stored in
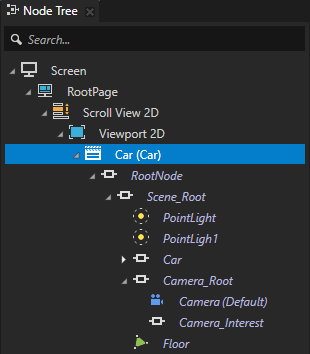
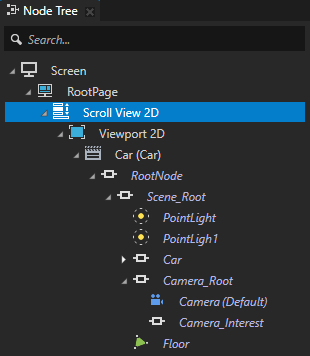
<KanziWorkspace>/Tutorials/Rotation/Start.The project contains the Car prefab that contains a model of a car, lights, camera, and the floor below the car.
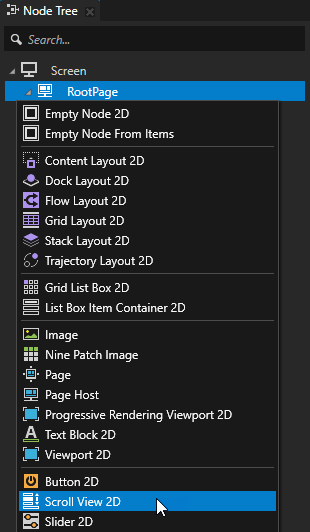
In the Node Tree press Alt and right-click the RootPage and select Scroll View 2D.
Use the Scroll View nodes to define an area where to generate scrolling messages in response to user input and physics-based animation.
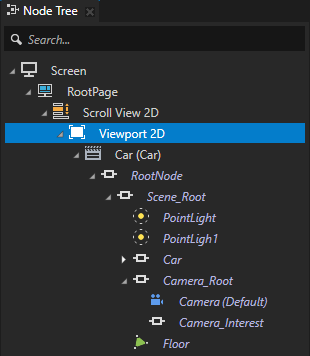
In the Node Tree drag the Viewport 2D node to the Scroll View 2D node.
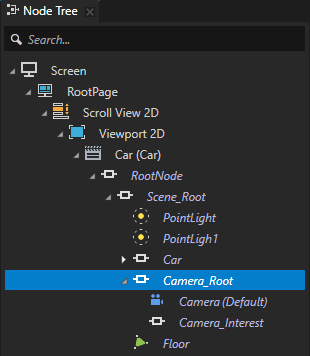
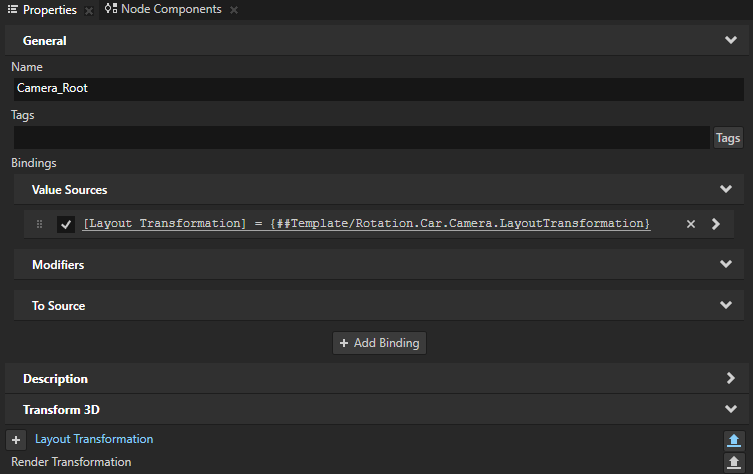
In the Node Tree select the RootPage > Scroll View 2D > Viewport 2D > Car > RootNode > Scene_Root > Camera_Root node, in the Properties next to the Layout Transformation property click
 , name the property type Rotation.Car.Camera.LayoutTransformation, and click OK.
Kanzi Studio:
, name the property type Rotation.Car.Camera.LayoutTransformation, and click OK.
Kanzi Studio:Creates from the Layout Transformation property a custom property named Rotation.Car.Camera.LayoutTransformation.
Adds the Rotation.Car.Camera.LayoutTransformation property to the Car node, which is the root node of the prefab, and creates in the Camera_Root node a
#Templatebinding to the property in the Car node.Shows the Rotation.Car.Camera.LayoutTransformation property as a frequently used property in the Car node.
You can now set the layout transformation of the Camera_Root node by setting the value of the Rotation.Car.Camera.LayoutTransformation property in the Car node.

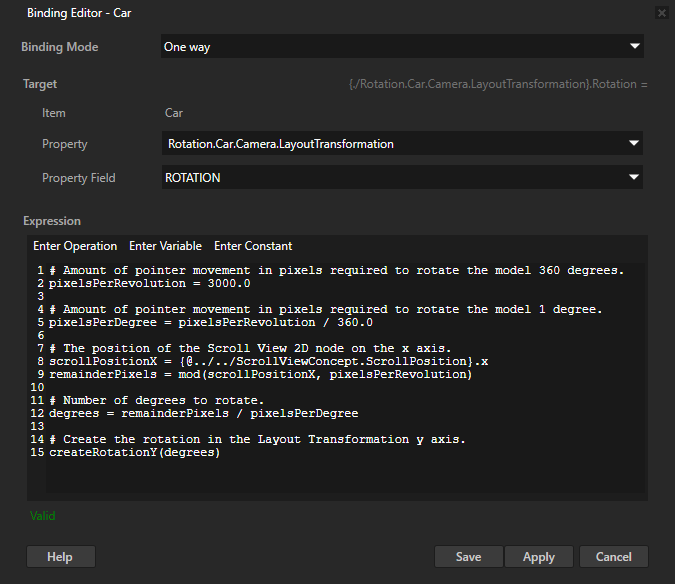
In the Node Tree select the RootPage > Scroll View 2D > Viewport 2D > Car node, in the properties click + Add Binding, and in the Binding Editor set:
Property to Rotation.Car.Camera.LayoutTransformation
Property Field to Rotation
Expression to
# Amount of pointer movement in pixels required to rotate the model 360 degrees.
pixelsPerRevolution = 3000.0

# Amount of pointer movement in pixels required to rotate the model 1 degree.
pixelsPerDegree = pixelsPerRevolution / 360.0

# The position of the Scroll View 2D node on the x axis.
scrollPositionX = {@../../ScrollViewConcept.ScrollPosition}.x
remainderPixels = mod(scrollPositionX, pixelsPerRevolution)

# Number of degrees to rotate.
degrees = remainderPixels / pixelsPerDegree

# Create the rotation in the Layout Transformation y axis.
createRotationY(degrees)
In this binding expression the
pixelsPerRevolutionvariable sets the amount of pointer movement required for the car model to make a full rotation. Dragging the pointer 3000 pixels makes the car model rotate a full 360 degrees.You can use the Scroll Position property to find out the current values of the x and y axes of the Scroll View 2D node. In this binding expression you get the position of the Scroll View 2D node on the x axis to rotate the camera on the y axis.
You use the createRotationY binding function to create the rotation in the Layout Transformation y axis.
Click Save.
Tip
When you write expressions for bindings in the Binding Editor, the fastest and most accurate way to add nodes and their properties to an expression is to drag them from the Properties to the Expression editor in the Binding Editor.
For example, to bind to the Scroll Position property of the Scroll View 2D node:
In the Node Tree select the Scroll View 2D node.
From the Properties drag the Scroll Position property to the Binding Editor and drop it on the Expression field. Then enter
.xto bind to the Scroll Position property X property field.
In the Preview you can now rotate the model when you click and drag the pointer on the x axis.
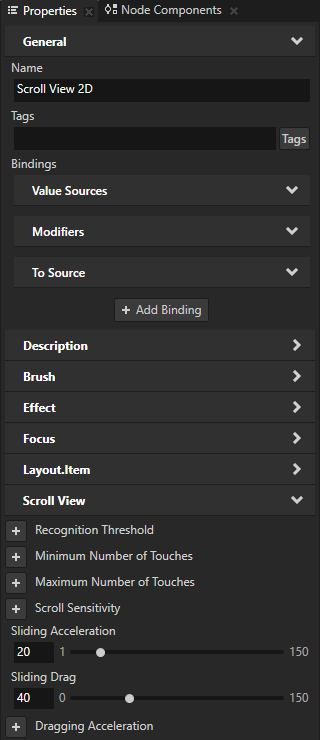
To adjust how the Scroll View node moves the object after you release the pointer with which you swipe, in the Node Tree select the Scroll View 2D node and in the Properties add and set:
Sliding Acceleration to 20
Sliding Acceleration property sets the acceleration of the node after you release the pointer with which you swipe. Use low values when you want the node controlled by the Scroll View node to slowly reach the final position. Use high values when you want the node to quickly reach the final position.
Sliding Drag to 40
Sliding Drag property sets how much drag affects the movement of the node after you release the pointer with which you swipe. The lower the value the higher the drag and the faster the sliding of the node controlled by the Scroll View node stops.
Now when you click and drag the pointer in the Preview, the model rotates and smoothly stops.
What's next?
In this tutorial you learned how to rotate a 3D model using the Scroll View control. You can further adjust the values of the Scroll View 2D node properties that define the rotation to get the result you want. For example, you can use the Dragging Acceleration, Dragging Drag, and Dragging Impulse to set how the model moves while you are still holding down the pointer with which you swipe the model.
You can also:
Learn how to control the position of gauge needles with custom properties. See Tutorial: Create gauges.
Learn how to create reflections. See Tutorial: Create reflections.
To learn more about what you can achieve with bindings, see Using bindings.
To find out more about the Kanzi prefabs, see Using node prefabs.
To learn more about creating Kanzi applications, see Tutorials.
To find out more about Kanzi Studio features, see Working with ....