Creating a post-processing effect
Use materials and render passes to create post-processing effects for 3D content. In post-processing you use a specific material to apply an effect on the content in a framebuffer that you draw to the screen using a render pass.
This topic shows how you can create a simple post-processing effect where you can adjust the level of color saturation. You can learn how to create a more complex post-processing effect by completing a tutorial. See Tutorial: Create a bloom effect.
Tip
Kanzi Studio comes with several physically based rendering material types, which include a built-in tone mapping shader. See Shaders and Using material types.
Tip
The <KanziInstallation>/Studio/Asset Library directory contains several material types that you can use to create post-processing effects. For example, use the MaterialTypes/VertexPhong/Postprocessing/PostprocessingBoxBlur.kzmat material type to create a simple blur effect. See Using material types.
To create a post-processing effect:
Define a post-processing material. For example, modify the DefaultBlit material to include the adjusting of the level of color saturation:
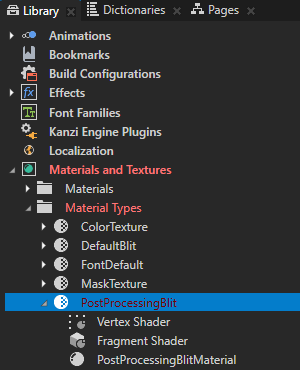
In the Library > Materials and Textures > Material Types duplicate the DefaultBlit material type and rename the material type to PostProcessingBlit and the material to PostProcessingBlitMaterial.
Tip
If your project does not contain the DefaultBlit material type, in the Library > Materials and Textures press Alt and right-click Material Types, and select DefaultBlit.
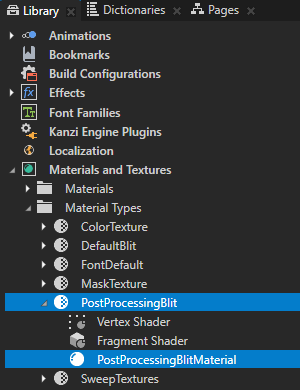
In the Library > Materials and Textures > Material Types > PostProcessingBlit double-click the Fragment Shader to open it in the Shader Source Editor, replace the contents of the shader file with this shader code, and click Save.
precision mediump float;

uniform sampler2D Texture0;
uniform float BlendIntensity;

// Defines the amount of color saturation.
uniform float Saturation;

varying vec2 vTexCoord;

// Converts an RGB color value to grayscale.
float colorToLuma(vec3 col)
{
    return col.r * 0.2126 + col.g * 0.7152 + col.b * 0.0722;
}

void main()
{
    vec4 color = texture2D(Texture0, vTexCoord);

    vec3 grayscale = vec3(colorToLuma(color.rgb));

    // Interpolate between the color and grayscale values using the Saturation
    // property to weight between them.
    gl_FragColor = vec4(mix(grayscale, color.rgb, Saturation), color.a) * BlendIntensity;
}
In the Library > Materials and Textures > Material Types select the PostProcessingBlit material type and in the Properties click Sync with Uniforms.
This way you create and add the property that you defined in the fragment shader to this material type and the PostProcessingBlitMaterial material that uses that property.
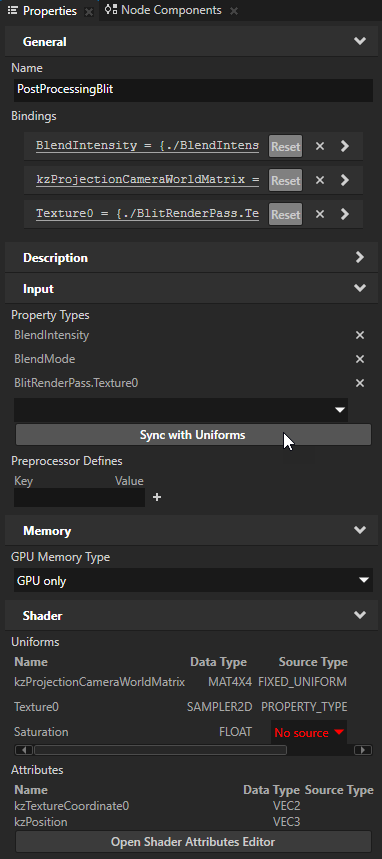
In the Create Property Type window click Yes to create the Saturation property type, in the Property Type Editor set the Slider Step property to 0,001, and click Save.
You use this property type to control the level of color saturation in the effect.

Use render passes to apply the post-processing effect.
For example, to apply a post-processing effect that sets the level of color saturation of 3D content:
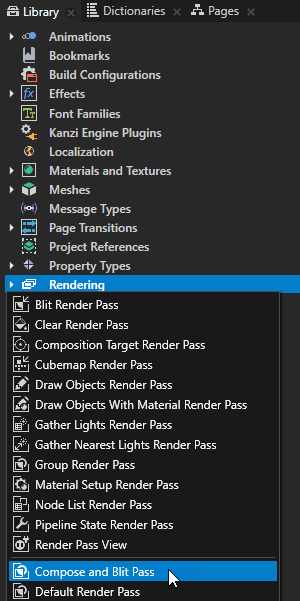
In the Library press Alt and right-click Rendering, create a Compose and Blit Pass render pass preset, and name it Post-process Color Saturation.
Compose and Blit Pass contains the render pass structure that enables you to blit to the screen Composition Target Render Pass render passes or textures using a specific material.
See Rendering content to composition targets.
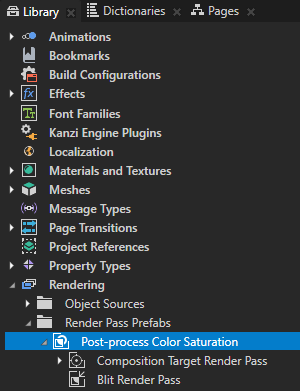
In the Library > Rendering > Render Pass Prefabs each top-level render pass is the root of a render pass prefab.
In a render pass prefab, you can create a hierarchy of render passes to achieve a specific rendering result.
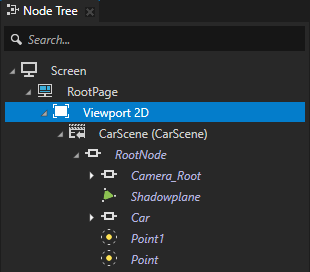
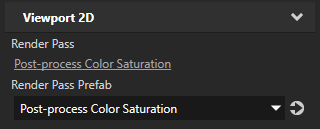
In the Node Tree select the Viewport 2D node that contains the 3D content to which you want to apply the post-processing effect and in the Properties set the Render Pass Prefab property to the Post-process Color Saturation render pass prefab.
Kanzi now renders the Viewport 2D node using the Post-process Color Saturation render pass prefab.
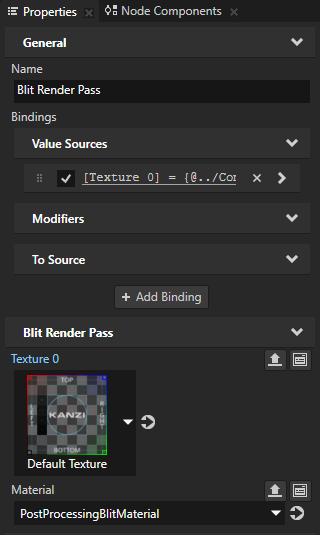
To use a post-processing effect, set a Blit Render Pass to render your content using a material which supports that post-processing effect.
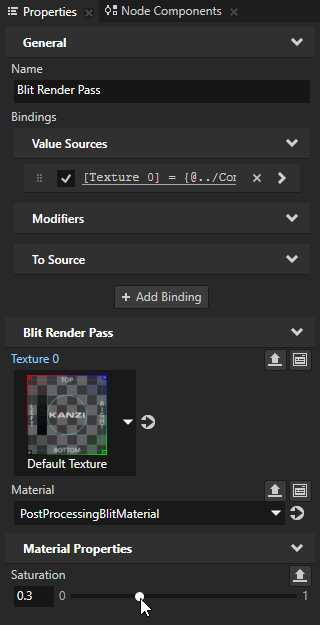
For example, in the Library select the Post-process Color Saturation > Blit Render Pass and in the Properties set the Material property to the PostProcessingBlitMaterial material.
To control a post-processing effect, add and set the properties that you created for the material that supports that post-processing effect.
For example, to control the level of color saturation, in the Library select the Blit Render Pass, in the Properties add the Saturation property, and set it to the desired value.