Tutorial: Combine Kanzi Studio projects into a single Kanzi application
In this tutorial you learn how to combine multiple Kanzi Studio projects to create a single Kanzi application.
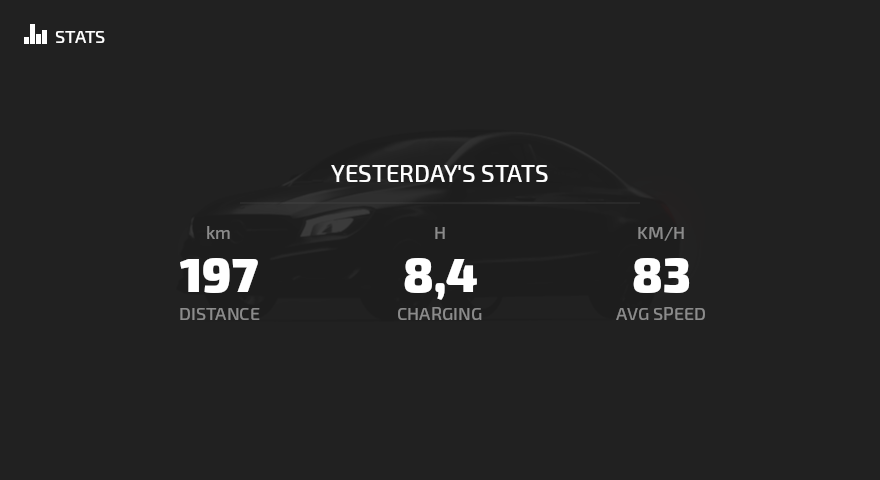
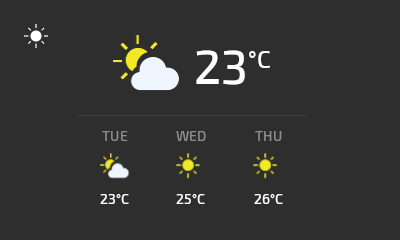
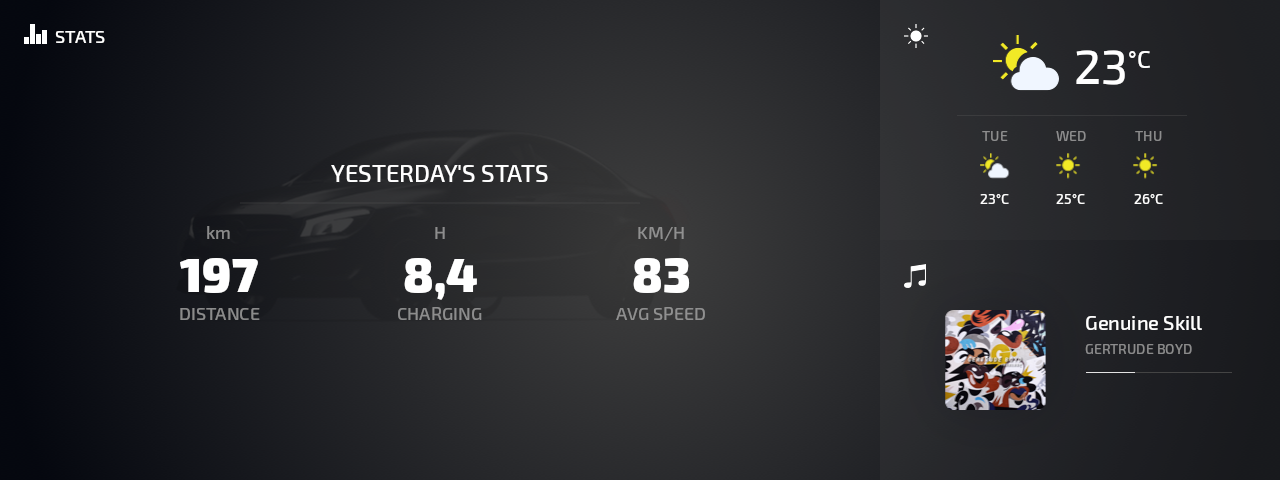
This image shows the result of the tutorial.

This tutorial assumes that you understand the basics of working with Kanzi Studio. The best entry points for getting familiar with Kanzi Studio are:
Assets for the tutorial
The starting point of this tutorial are the Kanzi Studio projects stored in the <KanziWorkspace>/Tutorials/Multi-project/Assets directory.
You can find the completed tutorial in the <KanziWorkspace>/Tutorials/Multi-project/Completed directory.
The assets for this tutorial include these ready Kanzi Studio projects which you combine into a single Kanzi application:
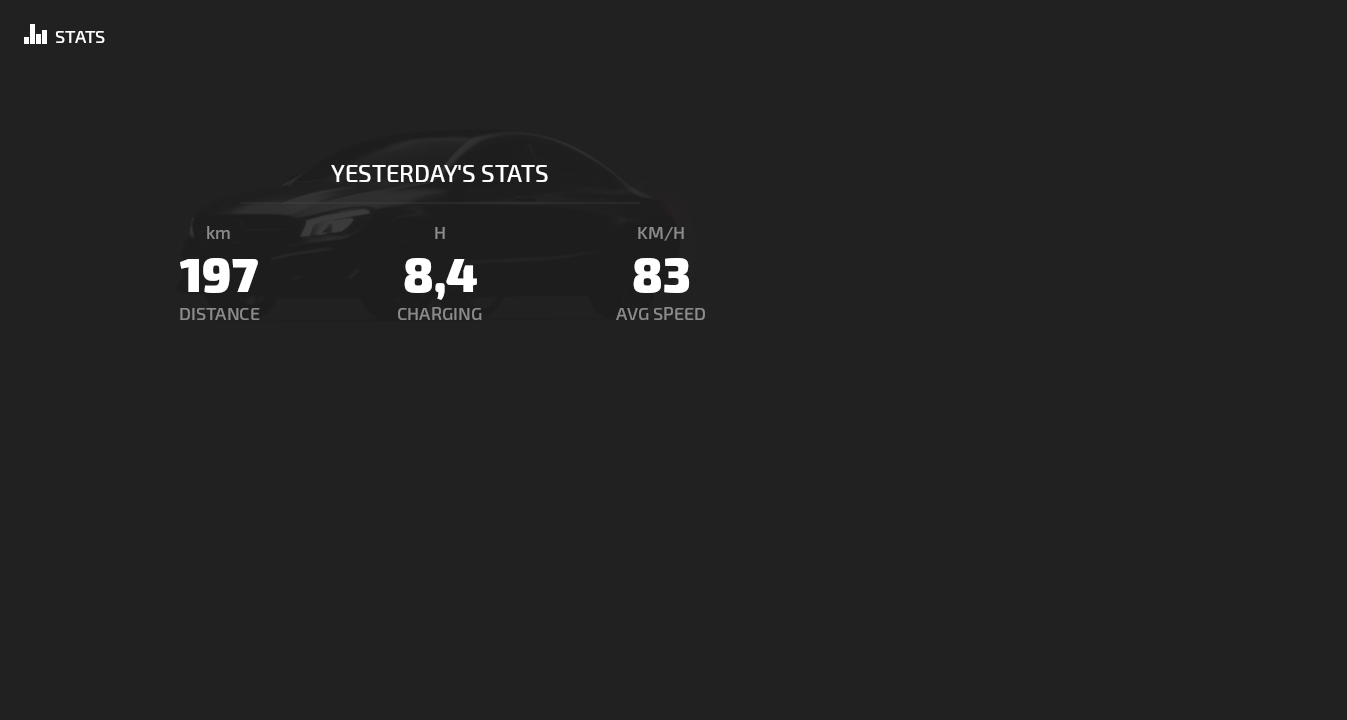
The Stats project contains a car statistics application.
The Weather project contains a weather information application.
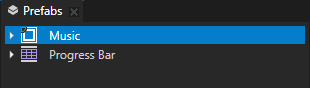
The Music project contains a music player application.

The Resources project contains only the resources that the projects in this tutorial share.
Create a solution and use content from another project
In this section you create a Kanzi Studio solution in which you combine Kanzi Studio projects and use a prefab from another project.
To create a project and use content from another project:
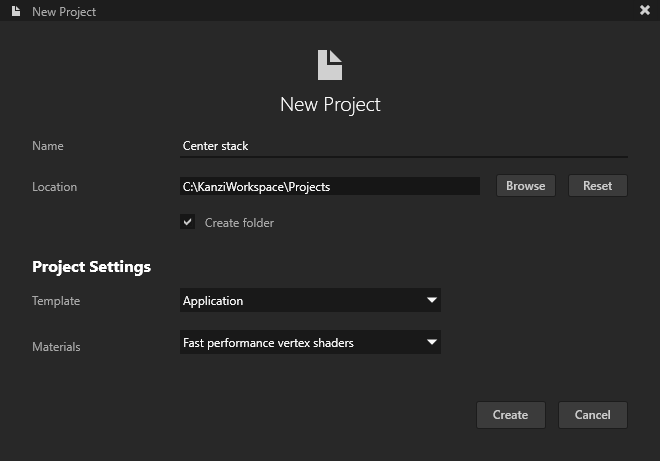
Create a project and name it Center stack.
You use this project to combine other Kanzi Studio projects in this tutorial into a single Kanzi application.
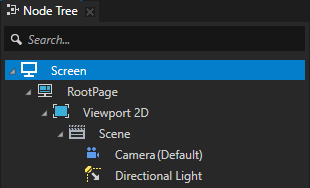
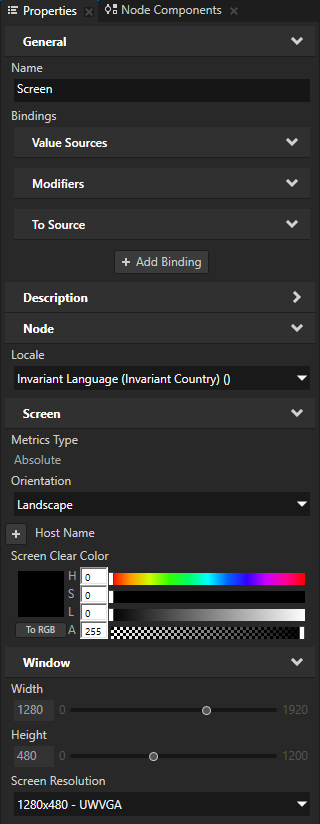
In the Node Tree select the Screen node and in the Properties set the Screen Resolution property to 1280x480 - UWVGA.
This way you set the size of the application screen.
Set the application background:
In the Assets click Import Assets, go to the
<KanziWorkspace>/Tutorials/Multi-project/Assets/Imagesdirectory, select theBackground.pngimage, and click Open.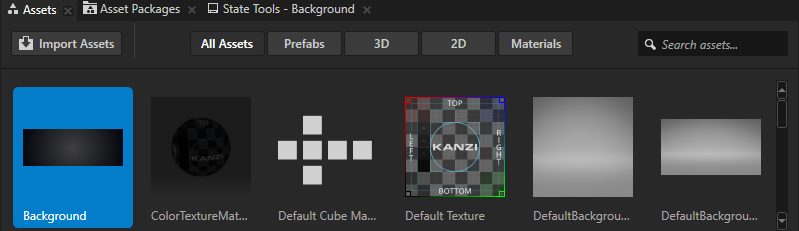
In the Node Tree select the RootPage node, in the Properties set the Background Brush property to + Texture Brush, name the brush, click
 next to the property name, and set the Brush Texture property of the brush to the Background texture.
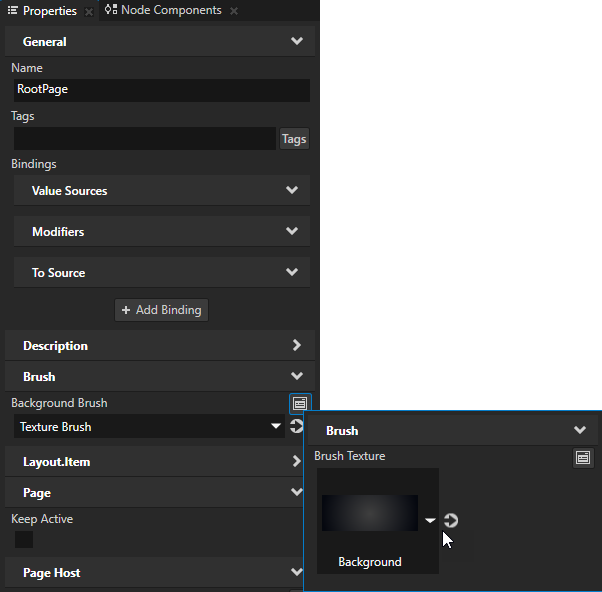
In the Node Tree right-click the Viewport 2D node and select Delete.
You can delete the Viewport 2D node because you do not create any 3D content in this tutorial.

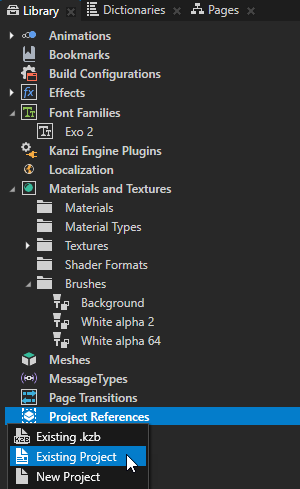
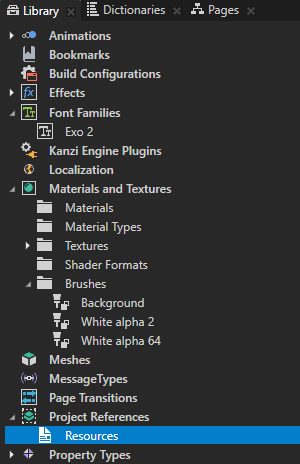
In the Library press Alt and right-click Project References, select Existing Project, and select the
<KanziWorkspace>/Tutorials/Multi-project/Assets/Stats/Stats.kzprojproject.Kanzi Studio loads:
Stats project The Stats project contains a car statistics application. You place it in the main part of the final Kanzi application.
Resources project Kanzi Studio loads the Resources project because the Stats project contains a project reference that points to the Resources project.
In the project tabs the Preview icon
 marks the project which is active in the Preview.
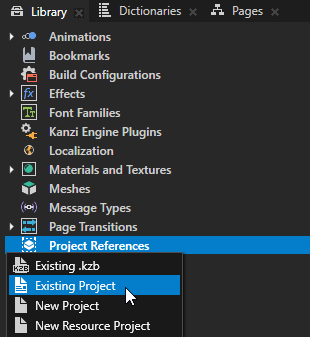

Tip
When the project that Kanzi Studio shows in the Preview or any of the referenced projects contain changes that you have not yet exported to the kzb files of the projects, in the Preview the Restart button is orange.
To see the projects whose content in the Preview is outdated, hover over the button.
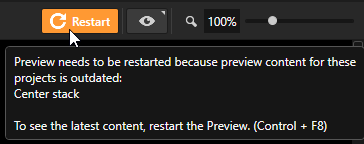
In the Preview click Restart and in the Kzb export dialog click Yes to export the kzb files of the referenced projects.
Kanzi Studio creates the kzb and configuration files from the Stats and Resources projects. Kanzi Studio stores the exported files in the
Binarydirectories of the Stats and Resources projects.This way you make the content of the Stats project available to the Preview of the Center stack project.

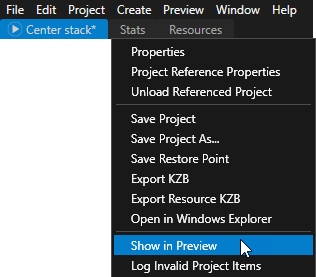
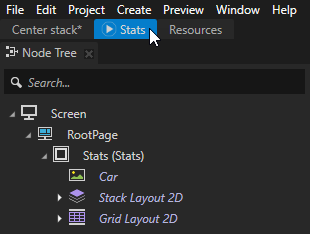
In the project tab right-click the tab of the Stats project and select Show in Preview.
You now see the content of the Stats project in the Preview window.
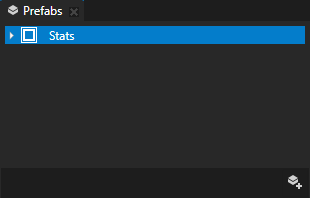
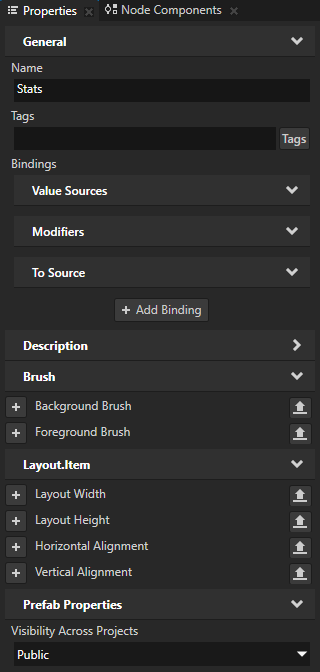
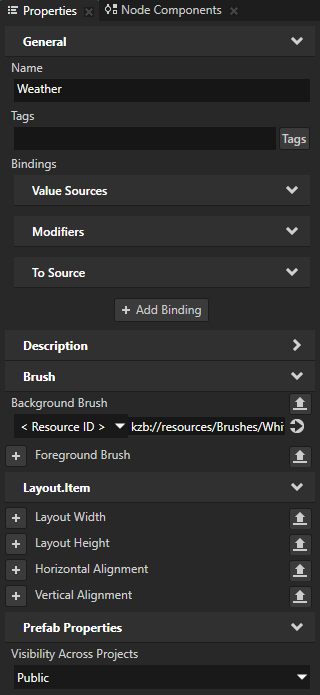
In the project tab bar select the Stats project, in the Prefabs select the Stats prefab, and in the Properties set the Visibility Across Projects property to Public.
The Visibility Across Projects property controls the availability of a resource in the dropdown menus of referencing projects.
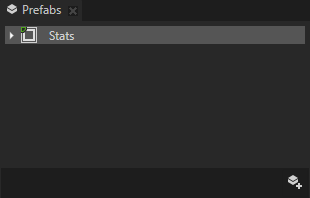
In the Prefabs and Library a green icon in the top left corner marks the public items.
Tip
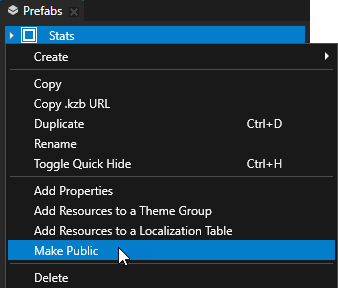
To make an item public directly in the Library or Prefabs, right-click the item and select Make Public.
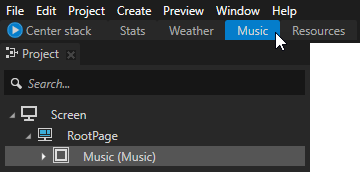
In the project tab bar double-click the Center stack project.
This way you both select the Center stack project and see it in the Preview.

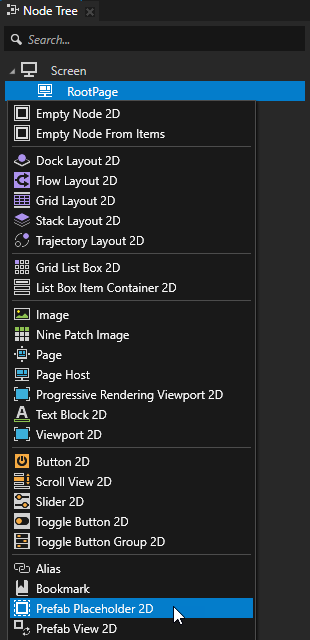
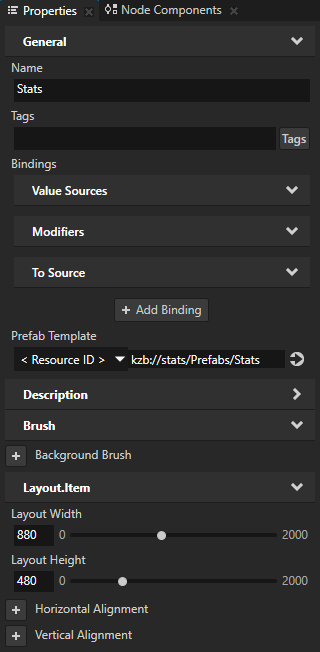
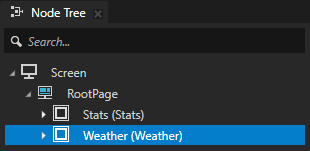
In the Node Tree press Alt and right-click the RootPage node, select Prefab Placeholder 2D, and name it Stats.
You use this Prefab Placeholder node to instantiate the Stats prefab from the Stats project.
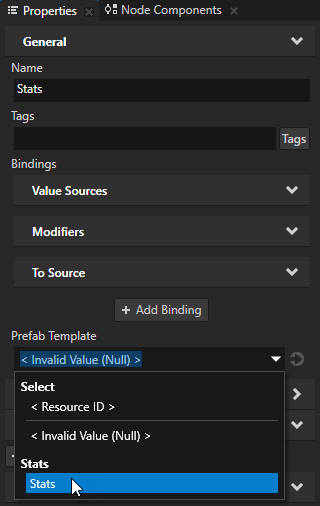
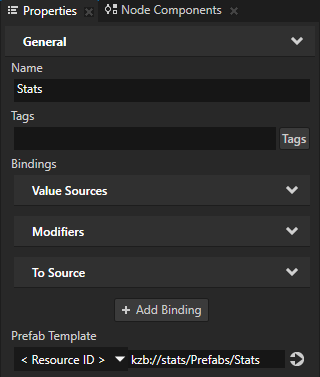
In the Properties set the Prefab Template property to the Stats prefab of the Stats project.
Kanzi Studio sets the Prefab Template to the kzb URL of the Stats prefab which you set visible to referencing projects earlier in this procedure.
In the Properties add and set:
Layout Width to 880
Layout Height to 480
You use these properties to set the size of the prefab from the Stats project in the Center stack project.

Add prefabs from other projects
In this section you add to the Center stack project prefabs from the Weather and Music projects.
To add prefabs from other projects:
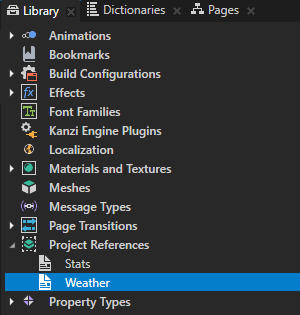
In the Library press Alt and right-click Project References, select Existing Project, and select the
<KanziWorkspace>/Tutorials/Multi-project/Assets/Weather/Weather.kzprojproject.The Weather project contains a weather information application. You place it in the top-right corner of the Center stack project.
Tip
The order of project references in the Library > Project References determines the order in which Kanzi loads the kzb files of the projects when you run your application.
In the Preview click
 to restart the Preview and export the kzb file of the Weather project.
This way you make the content of the Weather project available to the Preview of the Center stack project.
In the project tab bar select the Weather project, in the Prefabs select the Weather prefab, and in the Properties set the Visibility Across Projects property to Public.
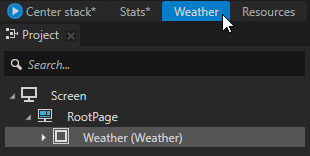
In the project tab bar select the Center stack project, in the Node Tree select the RootPage node, create a Prefab Placeholder 2D node, name it Weather, and in the Properties add and set:
Prefab Template to the Weather prefab of the Weather project
Layout Width to 400
Layout Height to 240
Horizontal Alignment to Right
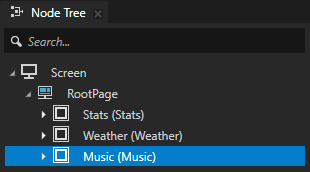
Repeat the steps in this section to add the Music prefab from the
<KanziWorkspace>/Tutorials/Multi-project/Assets/Music/Music.kzprojKanzi Studio:In the Music project set the Visibility Across Projects property of the Music prefab to Public.
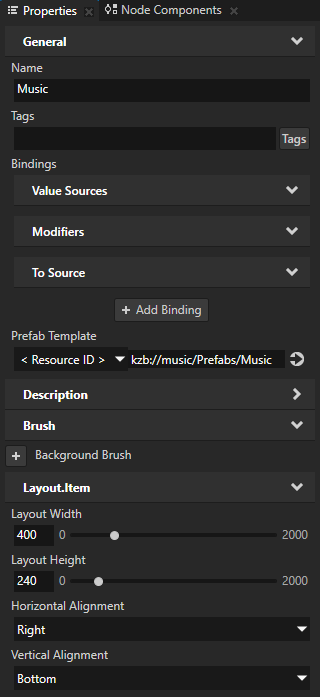
In Center stack project name the Prefab Placeholder 2D node Music and in the Properties add and set:
Prefab Template to the Music prefab of the Music project
Layout Width to 400
Layout Height to 240
Horizontal Alignment to Right
Vertical Alignment to Bottom
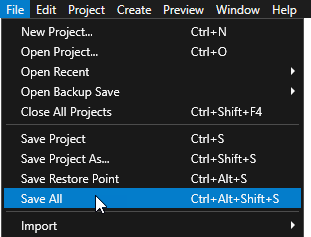
In the main menu select File > Save All.
This way you save the changes you made to the Center stack, Stats, Weather, and Music projects.
Use resources from another project
When your Kanzi application consists of several Kanzi Studio projects, use a dedicated project which contains only the resources used across these projects. For example, in such resource project you can store fonts, brushes, styles, and images which you want to use in more than one Kanzi Studio project of your Kanzi application.
In this section you replace the common resources in the Music project with resources from the Resources project.
To use resources from another project:
In the project tab bar select the Music project, in the Library press Alt and right-click Project References, select Existing Project, and select the
<KanziWorkspace>/Tutorials/Multi-project/Assets/Resources/Resources.kzprojproject.The Resources project contains only the resources that the projects in this tutorial share.
Tip
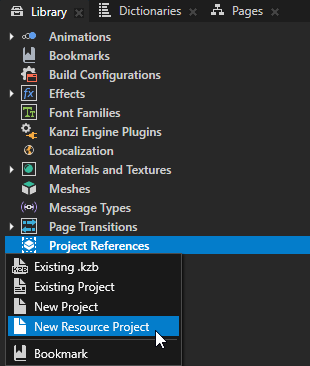
When you want to create a project to store common resources that you want to share across projects in a Kanzi solution, press Alt and right-click Library > Project References, and select New Resource Project.
A resource project contains only the Screen node in the node tree and does not contain the default Kanzi Studio project resources, such as the Default Texture and DefaultBackground textures.
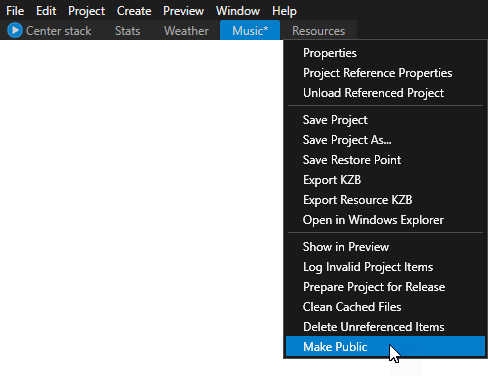
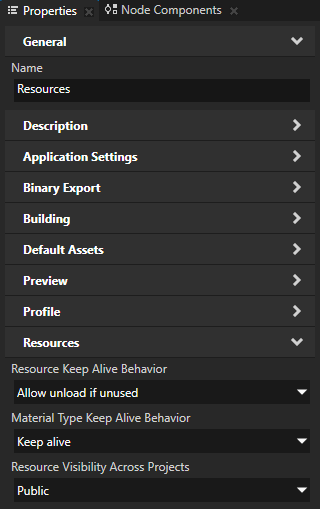
In the project tab bar right-click the tab of the Resources project and select Make Public.
This way you set the Resource Visibility Across Projects property of the Resources project to Public.
When you set the Resource Visibility Across Projects property of a project to Public, you make all resources of that project available in the dropdown menus of referencing projects.
Kanzi Studio marks public projects with a green marker in the top left corner of the project tab.

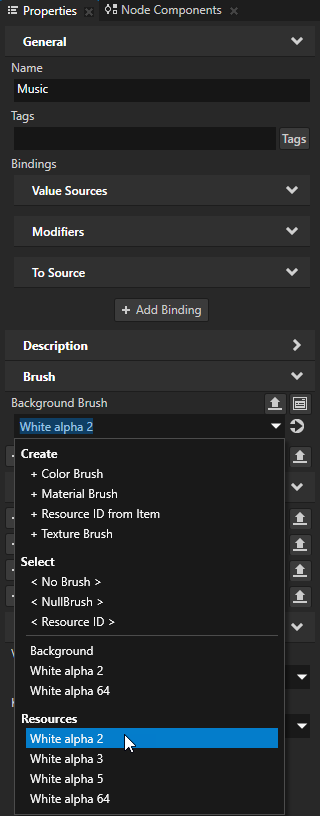
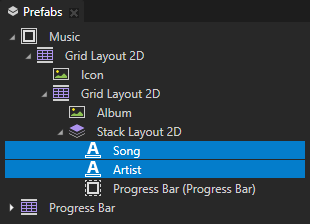
In the project tab bar select the Music project, in the Prefabs select the Music prefab, and in the Properties set the Background Brush property to the White alpha 2 color brush of the Resources project.
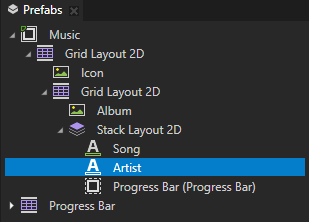
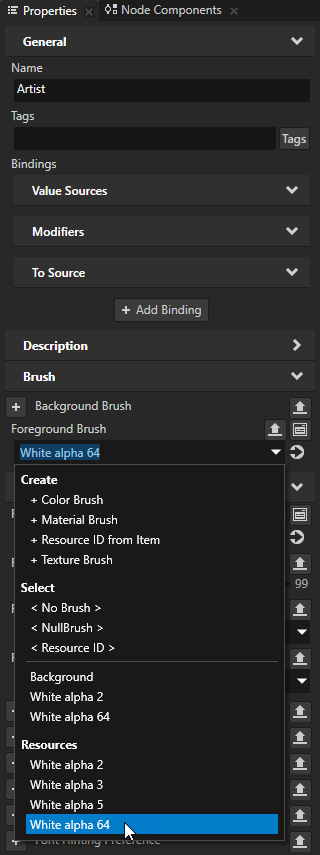
In the Prefabs > Music select the Artist node and in the Properties set the Foreground Brush property to the White alpha 64 color brush of the Resources project.
In the Prefabs select the Song and Artist nodes, and in the Properties set the Font Family property to the Exo 2 font family of the Resources project.

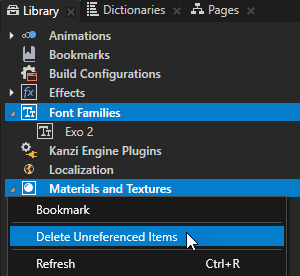
In the Library select the Font Families and Materials and Textures libraries, right-click Materials and Textures, and select Delete Unreferenced Items.
You can remove the Exo 2 font family, and the White alpha 64 and White alpha 2 brushes from the Music project because you set the Music project to use these resources from the Resources project.
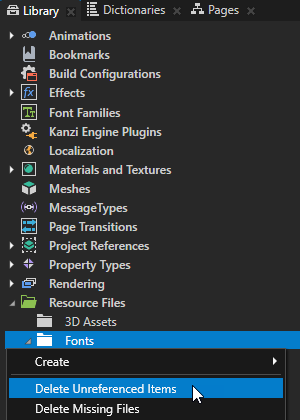
In the Library > Resource Files right-click Fonts and select Delete Unreferenced Items. You can remove the Exo 2 Medium font from the Music project because it is no longer used by that project.
In the Preview click
to restart the Preview and export the kzb file of the Music project.
Edit prefabs from another project
In this section you add to the Center stack project the possibility to control the position of the music player progress bar in the Music project.
To edit prefabs from another project:
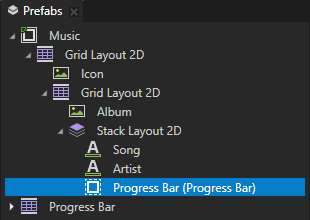
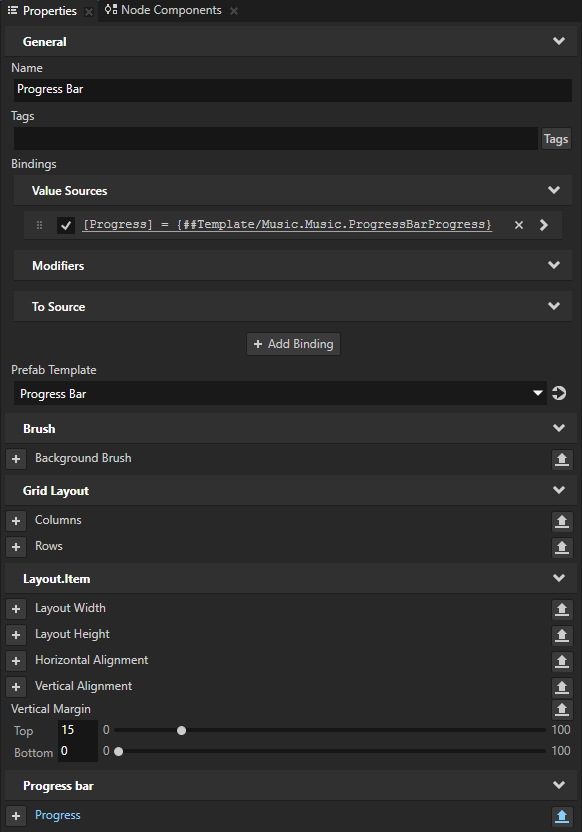
In the project tab bar select the Music project, in the Prefabs > Music prefab select the Progress Bar prefab placeholder, in the Properties next to the Progress property click
 , and in the Publish Property dialog click OK.
Kanzi Studio creates from that property a custom property, adds it to the root node of that prefab, and creates a
##Templatebinding to the property in the root node of that prefab.This enables you to edit the appearance of the prefab from the root of the prefab. In this tutorial this enables you to edit the appearance of the Progress Bar using the Progress property in the Music prefab.
In the Preview click
to restart the Preview and export the kzb file of the Music project.Kanzi Studio creates the kzb file and configuration files from the Music project. The kzb file contains the custom property that you created in the previous step.
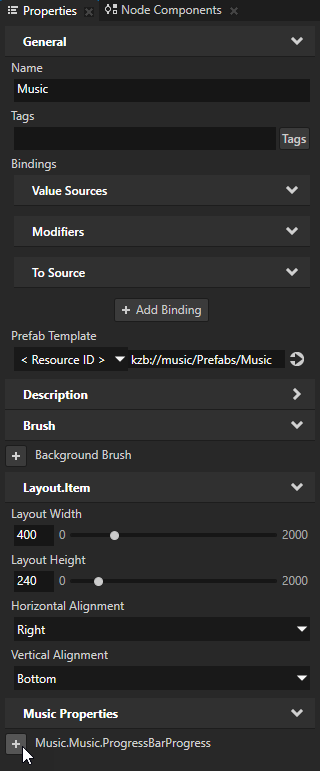
In the project tab bar select the Center stack project, in the Node Tree select the Music prefab placeholder, and in the Properties add the Music.Music.ProgressBarProgress property.
You can now use the Music.Music.ProgressBarProgress property in the Center stack project to control the position of the music player progress bar in the Music project.
What's next?
In this tutorial you learned how to combine Kanzi Studio projects into a single Kanzi application. Now you can:
Learn how to create cluster gauges. See Tutorial: Create gauges.
Learn how to create cluster indicators. See Tutorial: Create cluster indicators.
See also
To learn more about the options available when you combine multiple Kanzi Studio projects, see Combining Kanzi Studio projects into a Kanzi application.
To learn more about how to use prefabs, see Using node prefabs.